

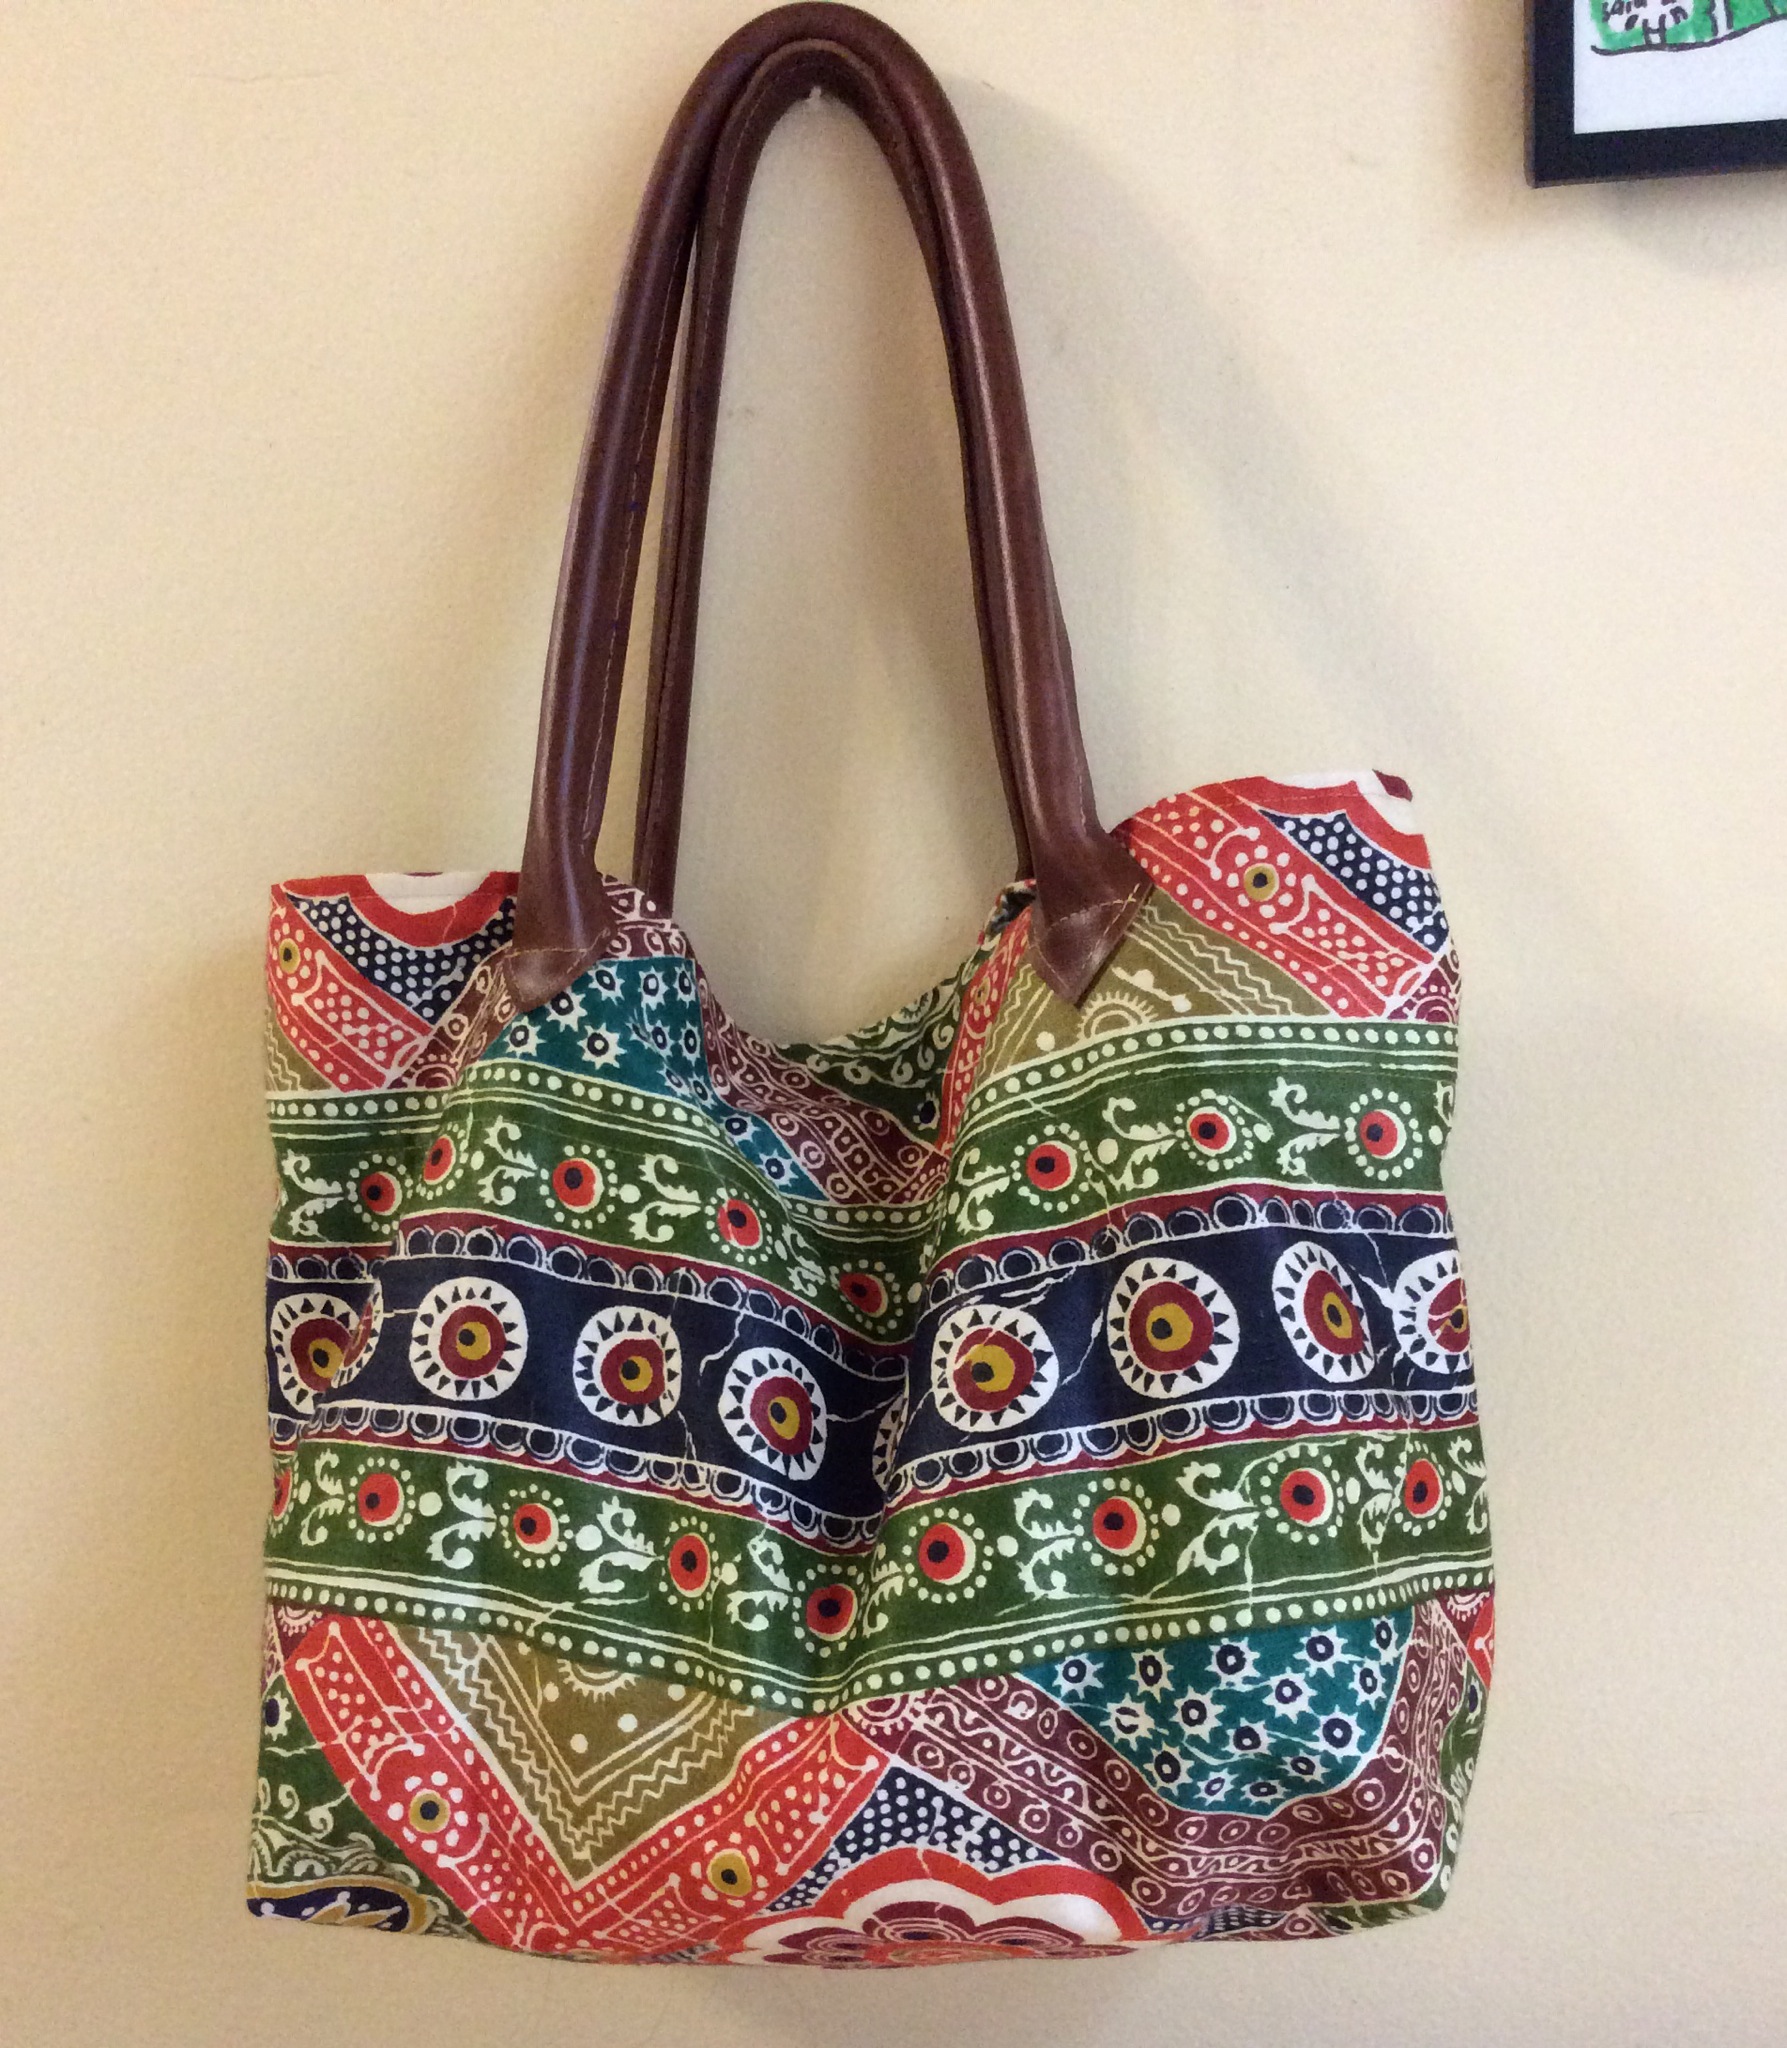
I made this bag last week. The fabric was a curtain panel that I bought at a garage sale. Pretty wild for a curtain but great for a small tote. I am in love with this fabric – the colors and the design are very me and I would love a tshirt that looked something like this (and this is not clothing fabric). So I am going to show you the “behind the scenes” process of how to make a faux batik like this that I can print on any fabric I want to. I am going to make a seamless repeat inspired by this design and show you how I do it.
I get asked in classes very often “do you use Photoshop or Illustrator for your designs?” The answer is yes. I often use both on a single design. Sometimes I throw in some PicMonkey too. It all depends on the effect I am trying to achieve. Hopefully as I show you the process I use you will be able to see a little bit of how that works.
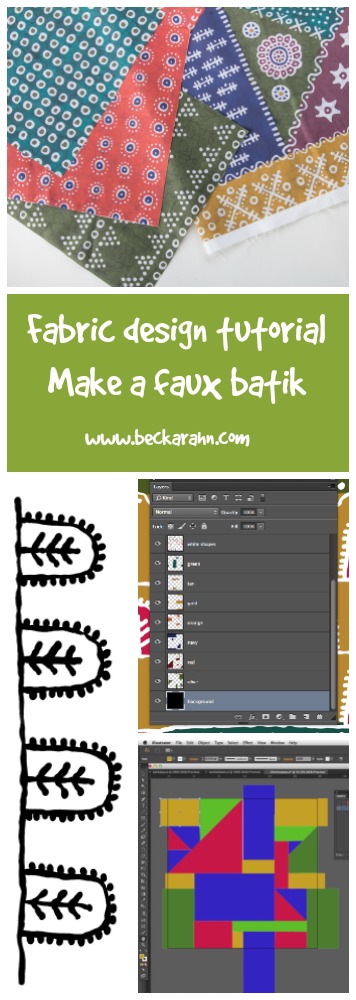
Faux Batik: Step One
Even though I am going to design this fabric digitally, Step One doesn’t involve Photoshop or Illustrator. When you look at the inspiration print, there are a lot of organic lines and shapes. They are blobby and irregular. The designs might repeat, but each one is a little different than the one next to it. This is because real batiks are made by drawing designs with wax, which doesn’t lend itself to a lot of precision. Irregular lines like the ones drawn with wax are really hard to make digitally, so I wanted to start with something that would give me the line quality without having to do a lot of digital manipulation. My solution: Paint.
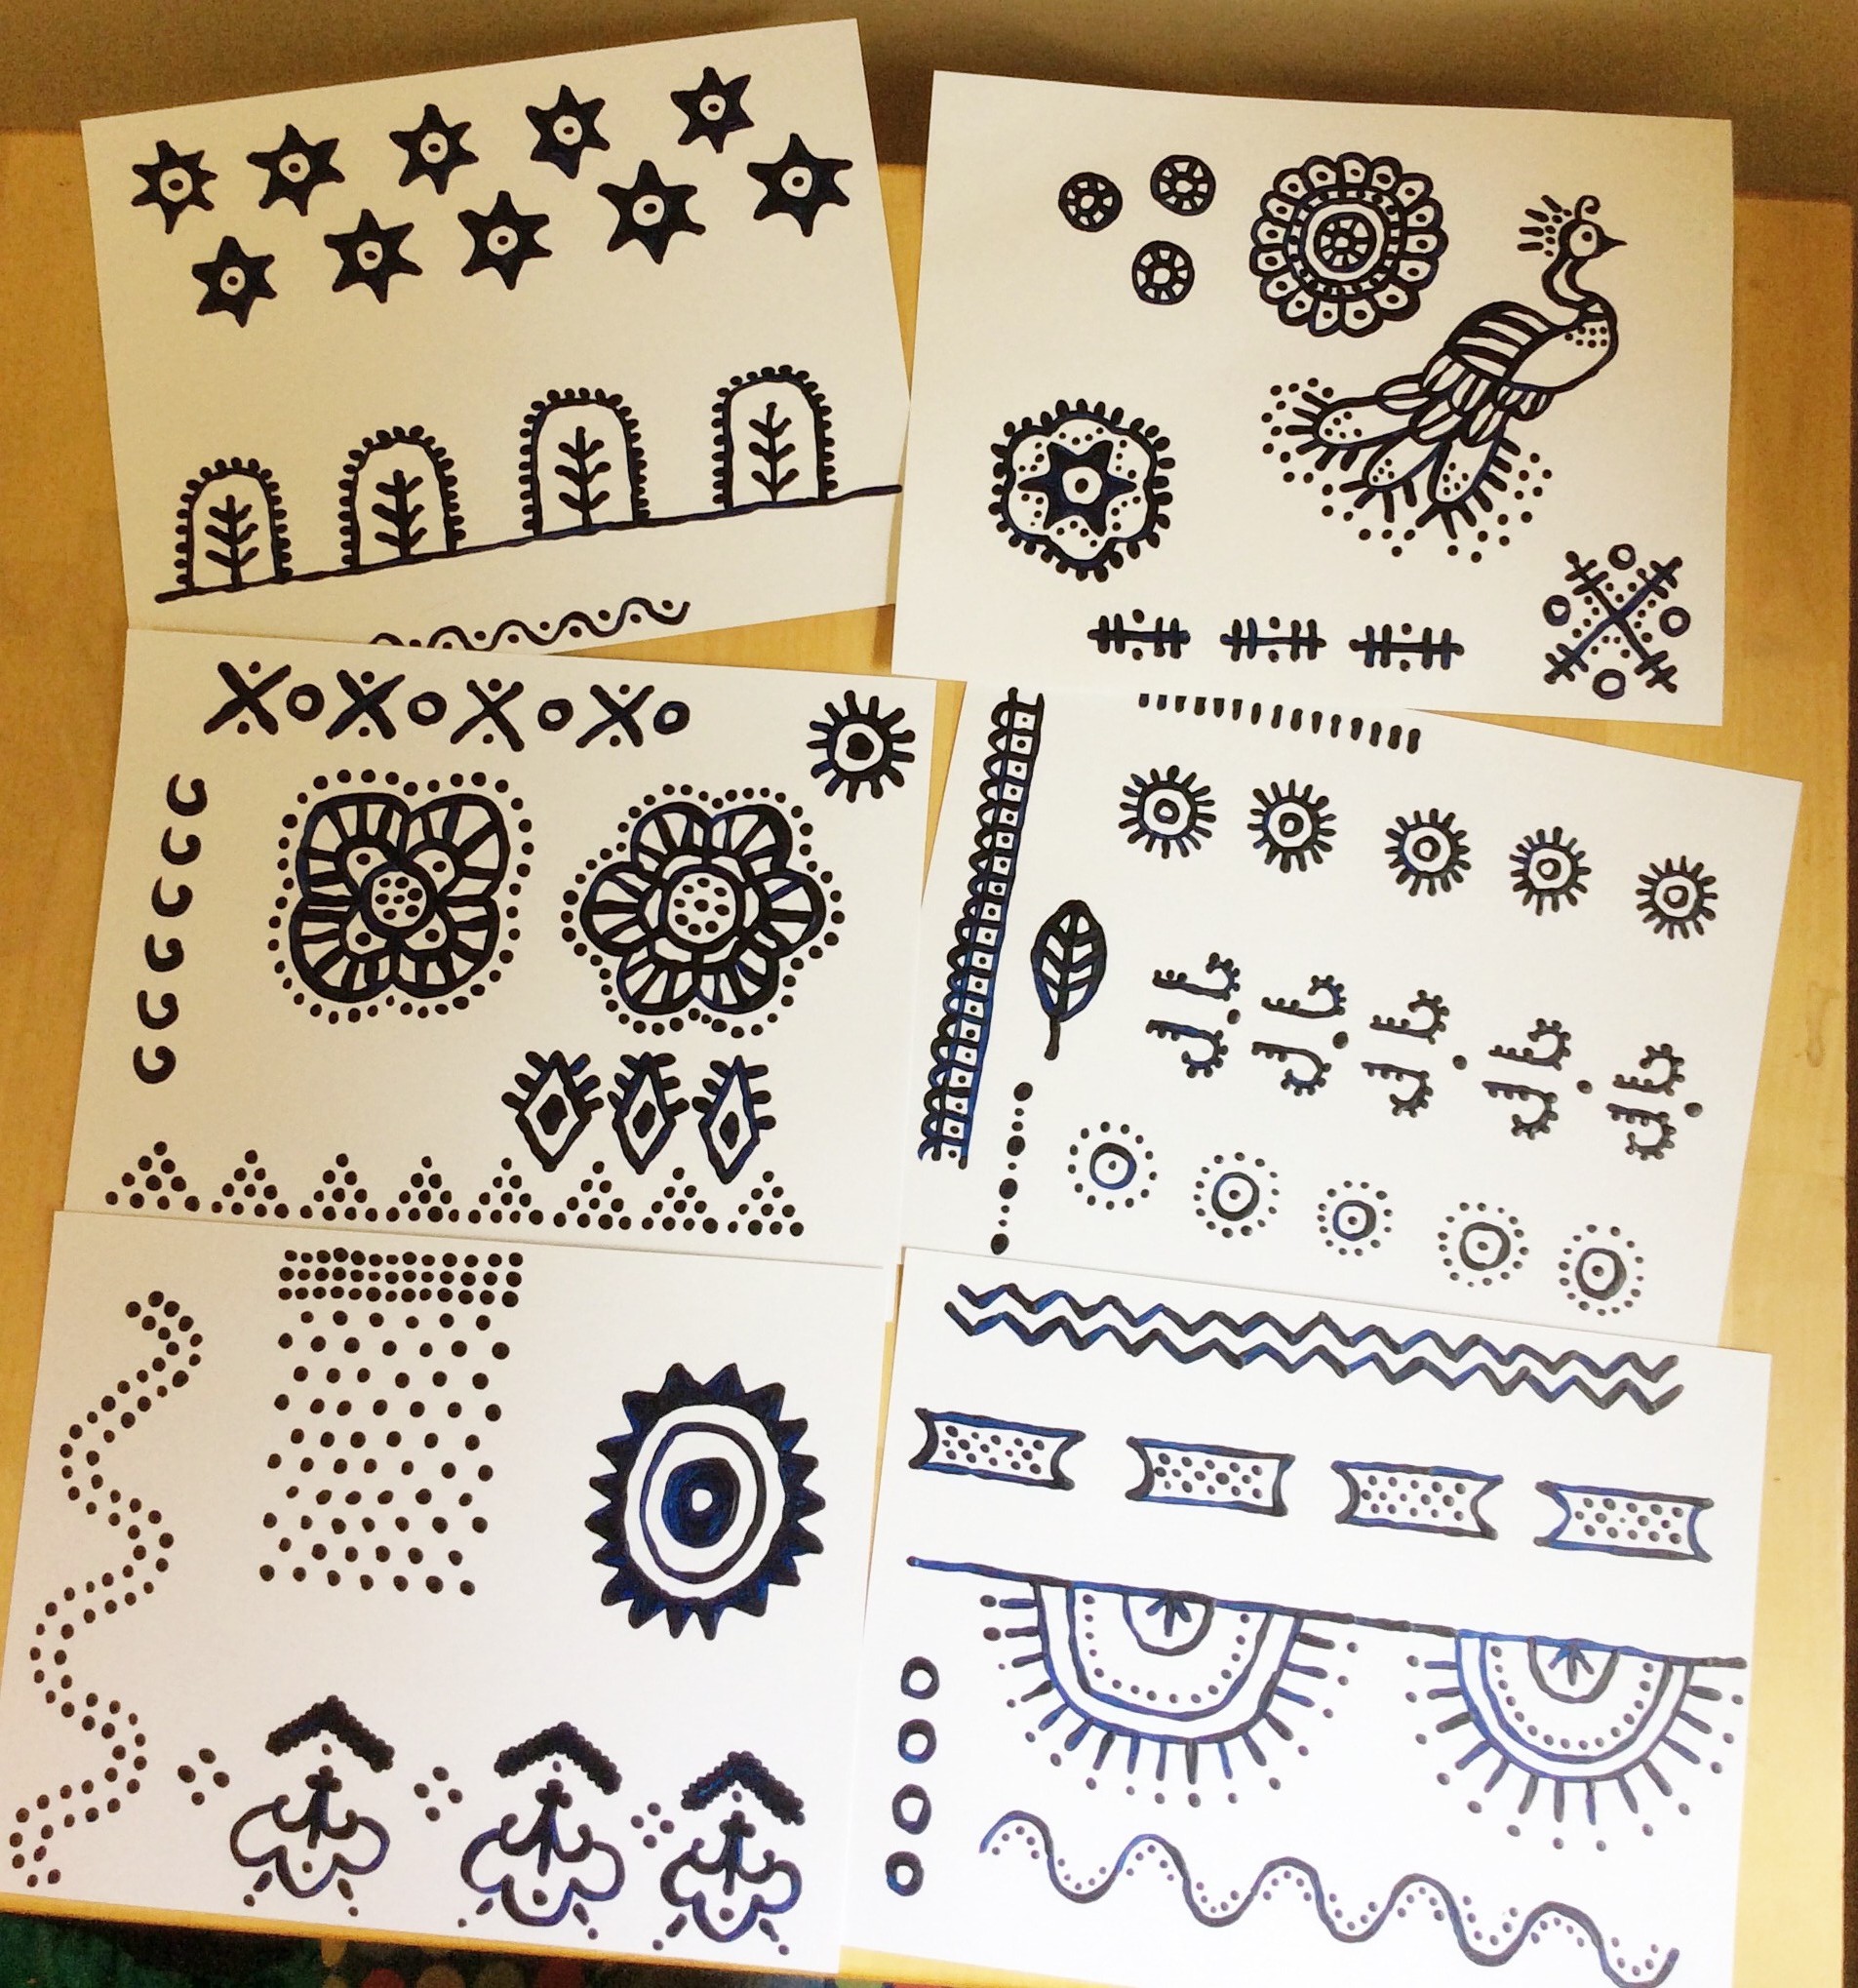
This morning I painted 6 sheets of card stock with batik motifs. I didn’t worry about making specific designs but just made elements that I will be able to cut out, shrink, duplicate and put together to make my repeat tile. I did a few shapes that could be borders and tried to think about small, medium and large shapes that I could use. I used the bag fabric as inspiration for some and others (like the peacock) I made up myself. These were done with some acrylic craft paint and a small tapered brush on white card stock. Acrylic paint has some nice body to it so it was easy to change the pressure on the brush and get some great line variations. I know many people like to do this kind of work in a sketch book but that never works for me because it is so much easier and cleaner to scan separate sheets of paper than a big bulky book. Personal preference.
Once they are dry, I will scan them. I painted these designs at a pretty large scale based on the line weight my brush could do, so I plan to scan them at about 150 dpi because I know I won’t need to make them any bigger than this for my finished fabric.
More in this series: Part One • Part Two • Part Three • Part Four • Part Five • Part Six
My goodness. Look at you go! Thanks for letting us watch the design process.