15 July, 2021

Sewing with Spoonflower’s Cotton Lawn

2021-07-15T16:12:37-05:00Everything Else|2 Comments

I was really excited to get a yard of Spoonflower’s new Cotton Lawn to try out. This new fabric is a very finely woven lightweight cotton. It’s very smooth and has a crispness that makes it feel really nice in your hand. I got just a yard of fabric printed in one of my designs and decided to make my favorite tank, which is the Gemma by Made By Rae. I have probably made a dozen of these tanks over the years and if you have ever taken an in-person class from me, you probably have probably seen me wearing one. It’s my go-to teaching outfit.

Usually I make this tank in the poly crepe de chine because it has always been the lightest weight and most drapey of Spoonflower’s fabric options (I am not counting chiffon, which is very transparent and not so appropriate for this kind of garment.) So I thought that lawn would also be a great option, but I have to say that I have mixed feelings about this version in lawn.
Print Quality

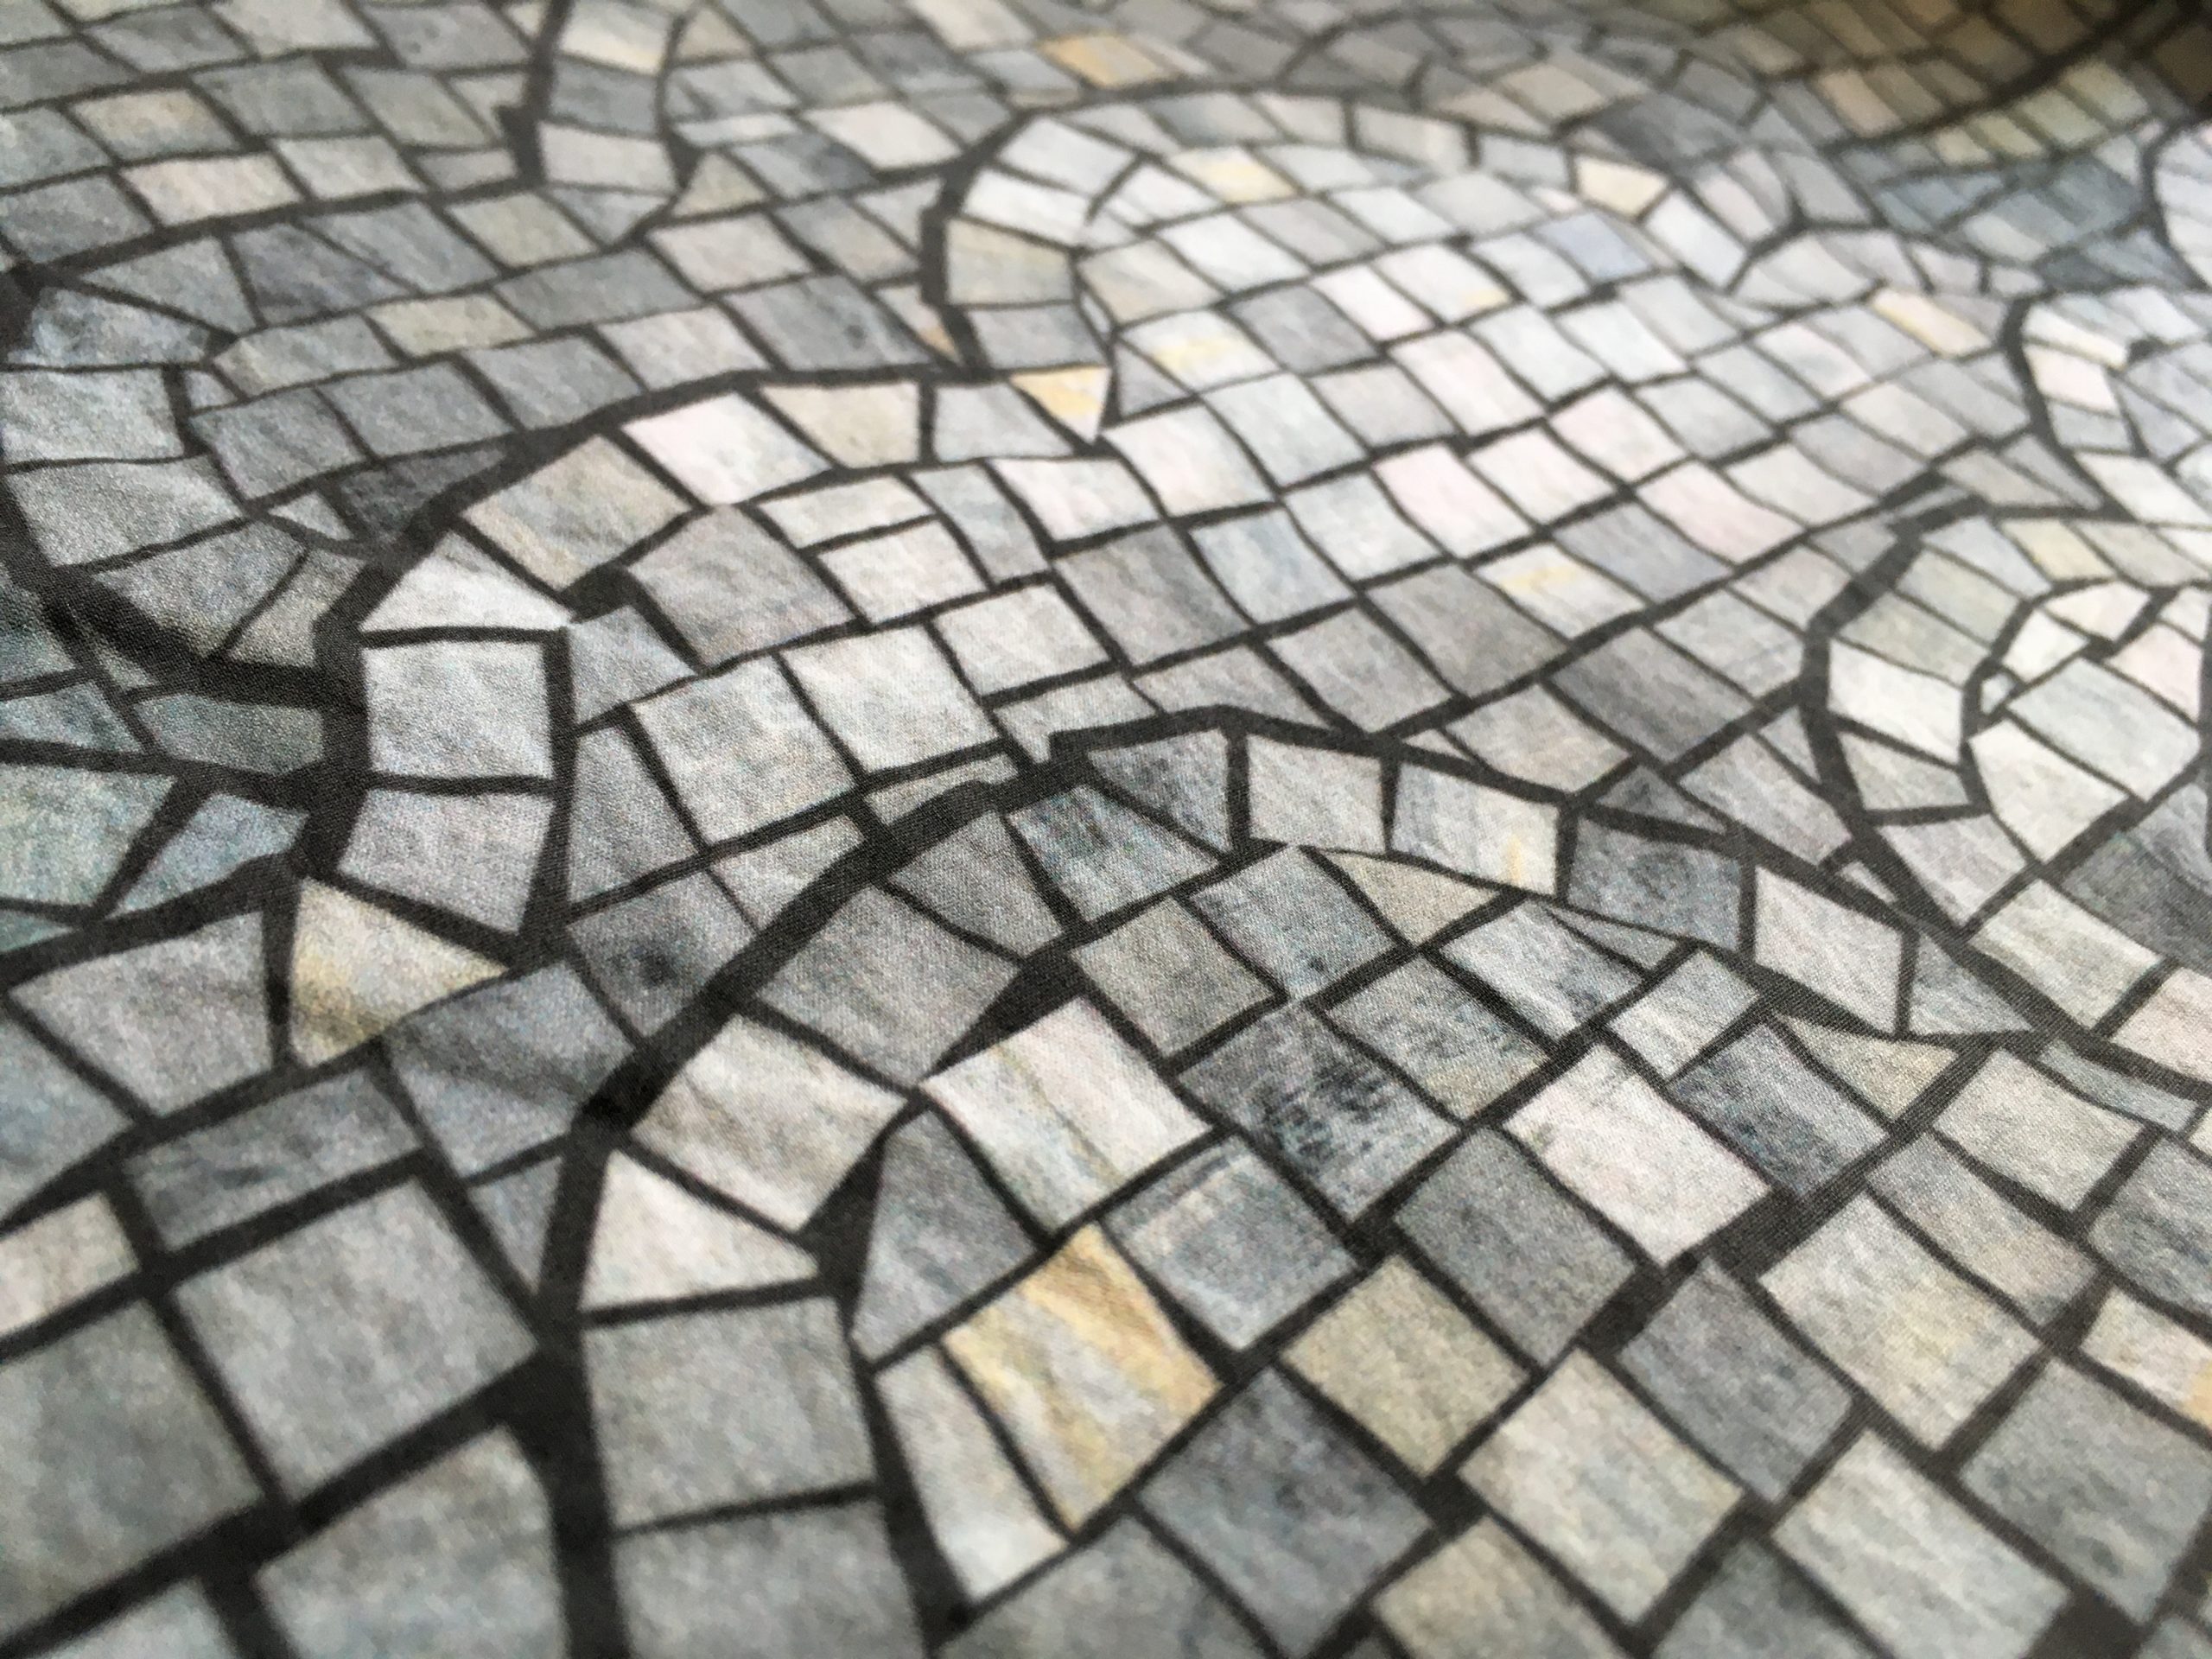
The sharpness and color of the printing on the cotton lawn is just outstanding. As I talked about in my earlier review of Spoonflower’s Signature/Poplin/Sateen, some of the finer details can get lost on the more textured fabrics. The lawn has such fine threads that it really captures all of the texture. This is a design that I made with cut paper mosaic tiles made from handpainted deli paper. You can see all of the brush strokes and color depth really well. This might be a new favorite for me when we are talking strictly the look of the printing.

Sewing with the Cotton Lawn

Since this is a pattern I have made many times before, I just got out my pattern pieces and set right to work. I made the size I usually make. Because I noticed when I washed this fabric that it really didn’t fray at all going through the washer and dryer, I chose to just leave the seam allowances unfinished. I usually serge them when I am working with the poly crepe de chine.

Where I started to have issues was when I started sewing. The first seam totally shredded the thread about half way through the side seam. I thought that was a little weird, but I figured I probably just needed a new needle, so I ripped out the stitches and traded needles on my machine. For the kind of sewing I do most often, I use a standard Schmetz Universal 80/20 needle, so that was what was in the machine and also the new needle I put in, but after the second seam I was still having issues with the thread. So I unthreaded and rethreaded my machine and tried again. I was starting to get a little frustrated.

Then I decided that maybe lawn needed a finer needle than what I normally use. Trading out needles project by project isn’t something I do often but I decided that was worth a try. I dug through the drawer where I keep my needles and came up with a 70/10 Universal needle, which is just slightly smaller. The 70/10 was somewhat better, but let’s just say that I wouldn’t show anyone the stitches on the inside of this top. The trick I discovered was to stitch really slowly and steadily with this smaller needle and it seemed to do just fine. If I went too fast, the thread would start to shred again.

Probably a microtex/sharp needle would be even better, but I didn’t have any of those in my stash and I didn’t feel like a special trip to the store made a lot of sense for this one project. I will for sure get some if I decide to sew another project with lawn.

Do I love my finished project?

The thing that surprised me the most about my finished tank was that I totally don’t like the way it drapes in the lawn fabric. Like I mentioned earlier, this lawn has a crispness to it which means although it is soft and lightweight, it is not very fluid. When I put on the tank top, it feels like it stands away from my body a little bit too much and the same size that I always make felt like it was too big. It feels frumpy and a little like I am wearing a maternity top, to be honest.

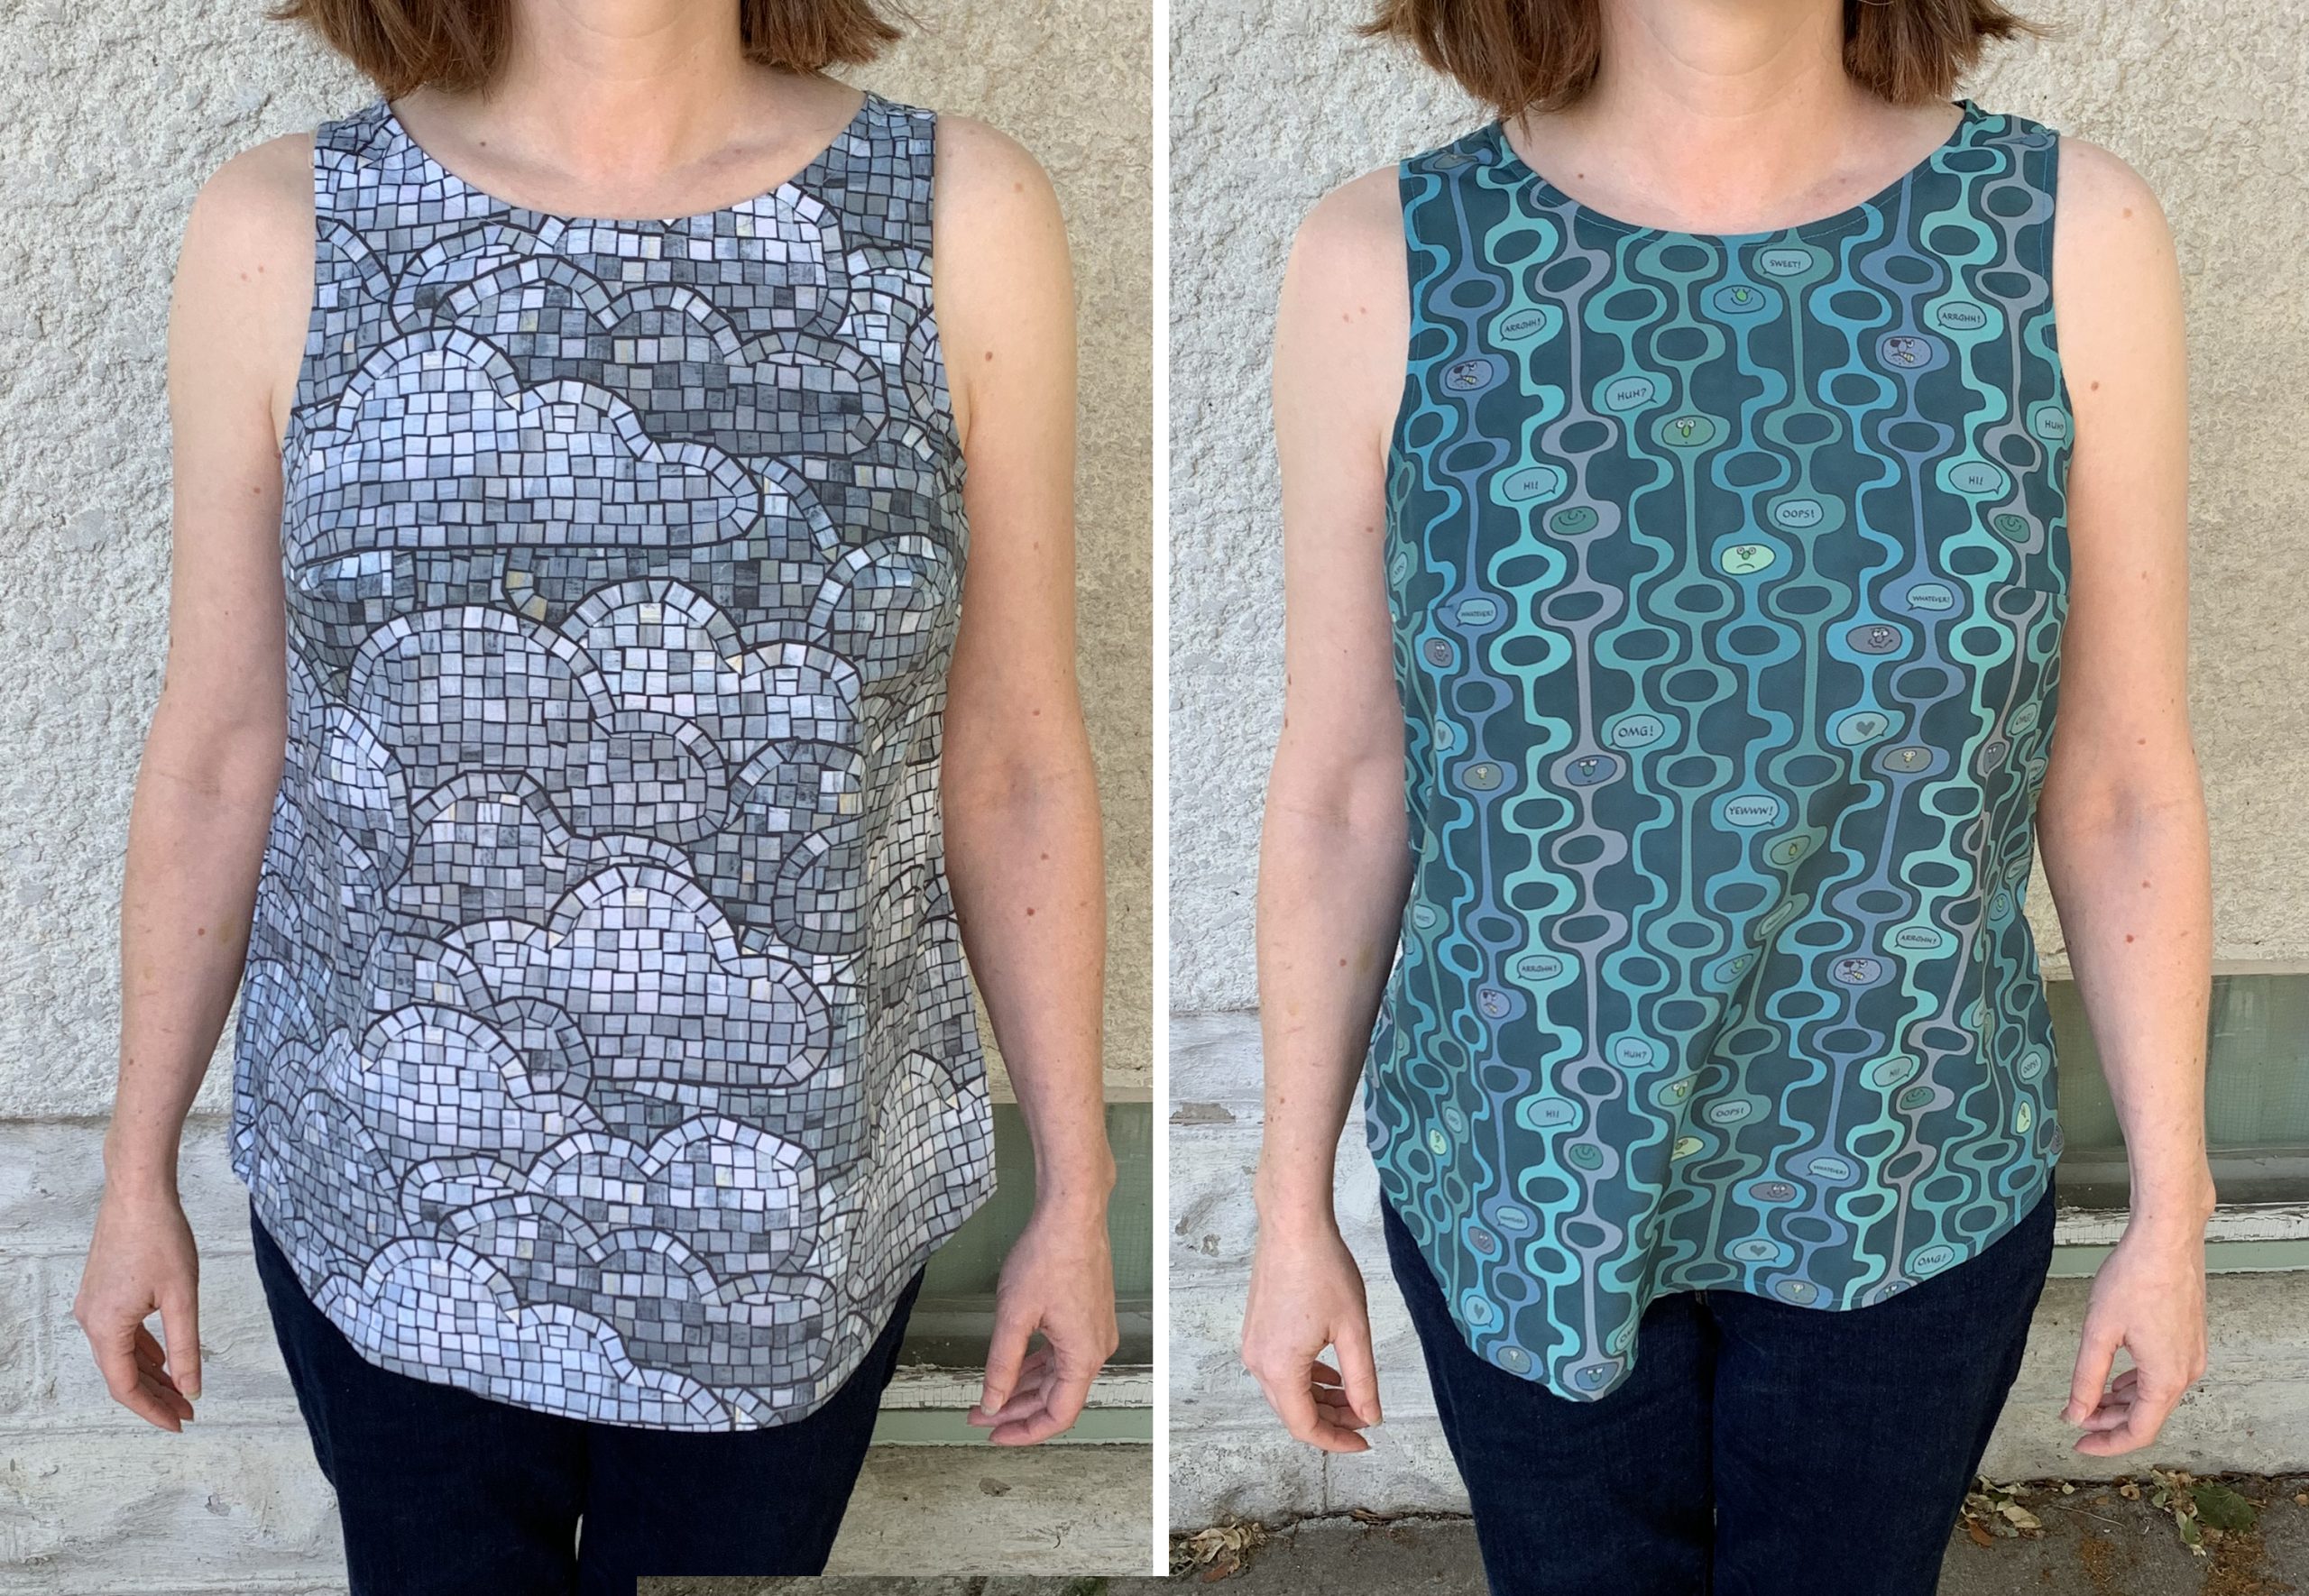
Here’s a photo of the exact same tank in cotton lawn and poly crepe de chine, side by side. You can see how differently the two fabrics hang in this finished garment. I knew the crepe de chine was a much more fluid/flowy fabric, but I didn’t think it would make as much difference as it does. After I looked at the version in lawn I decided that I am going to add some darts to reshape the underbust/waist a little so it hangs a little better, but I wanted to get this photo in its original version first. I think that will help take out some of the extra fabric that is letting it bell out away from my body and it will feel more like it fits. The fabric feels really nice to wear, but I think if I was choosing a pattern for cotton lawn next time, I would pick something slightly more fitted or structured to take advantage of that fabric crispness.
Other things to note

A few other details I noticed. The lawn irons beautifully. It came out of the washer and dryer with very few wrinkles and even after I made this and had it sitting folded on my studio table for a few weeks, the creases were minor. One of my big issues with a previous cotton lawn that Spoonflower had years ago was that it wrinkled like crazy and it held on to creases and wrinkles. This one is a great improvement over that.

I occasionally need to print labels for garments or projects and I think that cotton lawn may be my new favorite fabric for that. Because of the fine smooth surface I think text will be more easily readable and the relative lack of fraying means it may be able to hold up to leaving raw edges exposed.

Overall impressions

I think it’s a lovely fabric and a nice addition to the Spoonflower line-up, but I think it might require a little more patience or careful choice of sewing tools/threads to sew it well. I will plan ahead a little more before I tackle my next project.
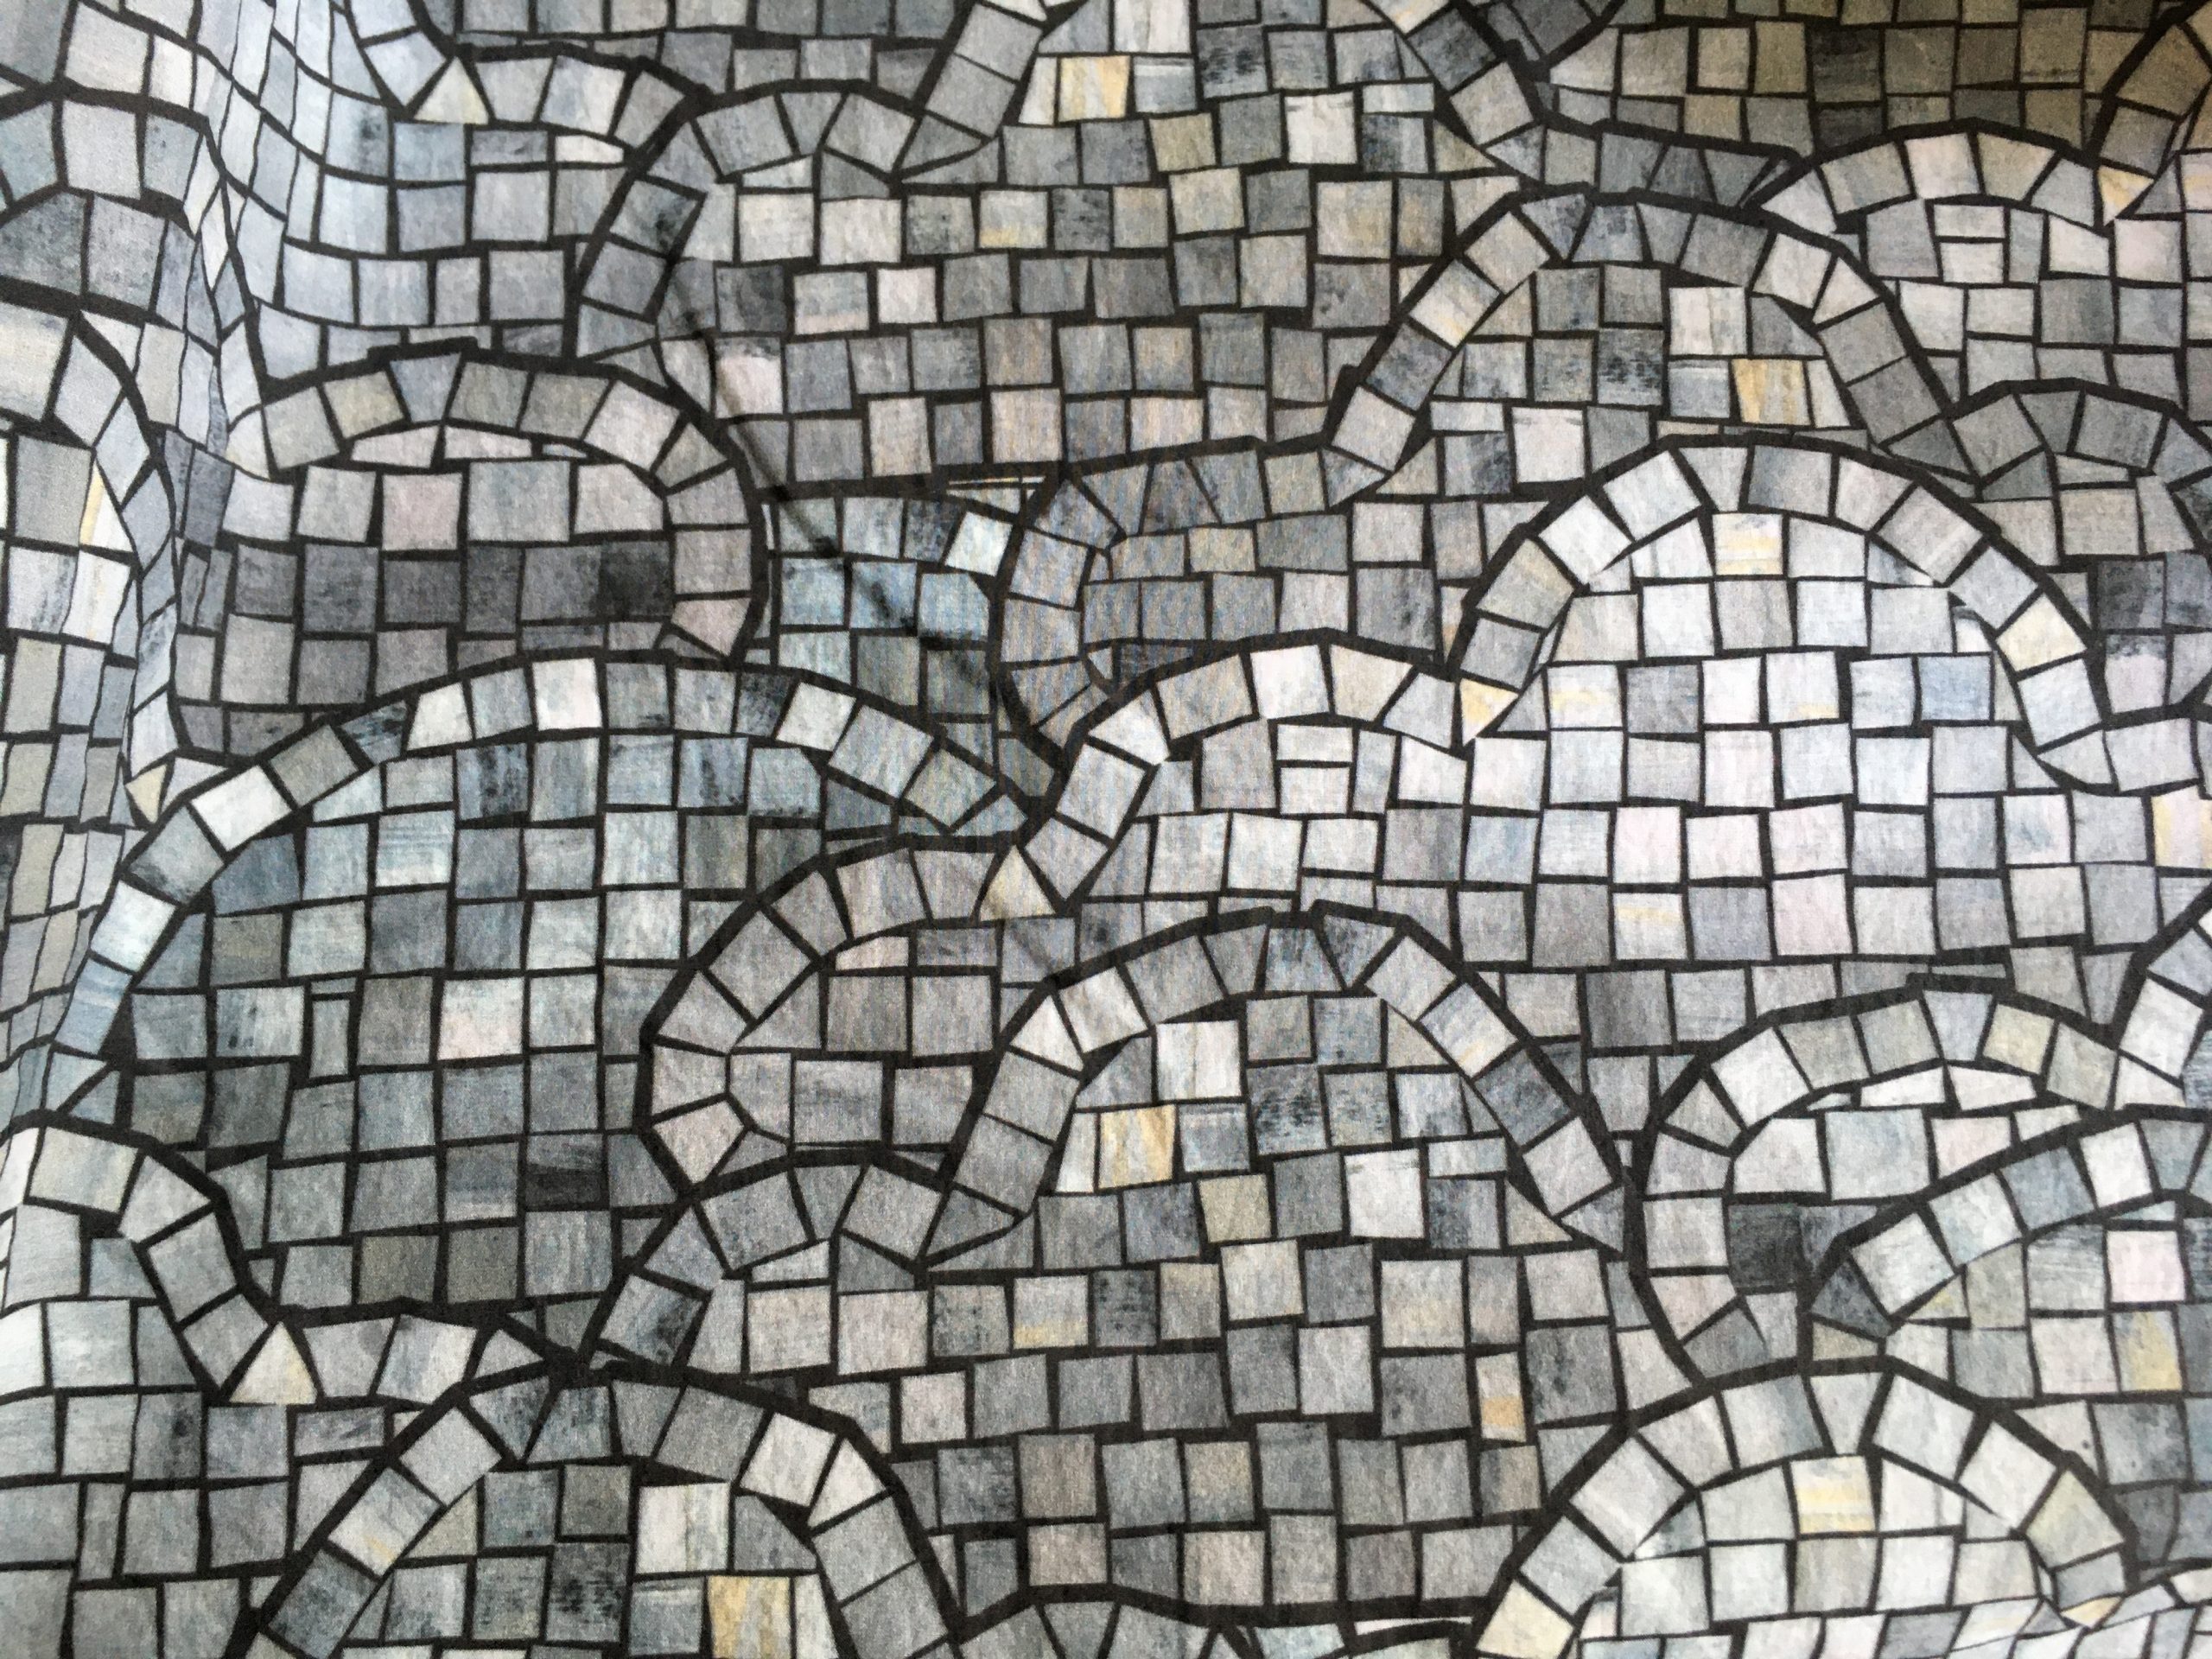
The fabric design for this top is my Storm Clouds Mosaic and it is available in my Spoonflower shop. The crepe de chine fabric pictured is a personal design, made as a gift for a friend.

2 December, 2015

Photo Cheater Quilt: A tutorial in 6 parts

2015-12-02T09:01:43-06:00Spoonflower & Fabric Design, Tutorials|Comments Off on Photo Cheater Quilt: A tutorial in 6 parts

I put together a really fun digital fabric quilt project using a collection of rainbow-hued photographs.  The finished quilt gets lots of “oohs and aaaahs” when I bring it to class as a sample.  Spoonflower has just posted the whole tutorial to their blog and here is a round-up of the links.

How to Create a Photo Cheater Quilt

Cheater Quilt Lesson One: Developing your Theme & Curating Photos

Cheater Quilt Lesson Two: Assembling your Color Collages

Cheater Quilt Lesson Three: Creating your Canvas

Cheater Quilt Lesson Four: Placing the Blocks

Cheater Quilt Lesson Five: Materials & Finishing your Quilt

Share!

Please show us your finished quilts by sharing a photo using hashtag #SpoonChallenge on your favorite social media outlet! We would love to see them.  My friend Amy from PennyCandyHandmade took the idea and ran with it.  See her awesome Hawaii-themed quilt here.

22 October, 2015

Digital Fabric Design: Cheater Art Quilt

2015-10-22T17:51:46-05:00|Comments Off on Digital Fabric Design: Cheater Art Quilt

Another opportunity to go beyond The Spoonflower Handbook by creating an art quilt with digitally printed fabric. In the first class we will create a small art collage from textured and patterned paper; a hands-on way to add depth and complexity to your design with minimal computer skills needed. The second night we will scan to transform that art into a digital format and enlarge it to fit on a yard of fabric. Finish with some simple “photoshopping” to add details or adjust colors and get tips for creating coordinating prints to accompany your design. Your finished design can be printed to make a quilt or wall hanging, finishing/sewing to be completed on your own time. Materials fee $7, payable to the instructor. See supply list at registration for more details on technology and materials.

This class is 2 sessions: December 7 & 14

9 September, 2015

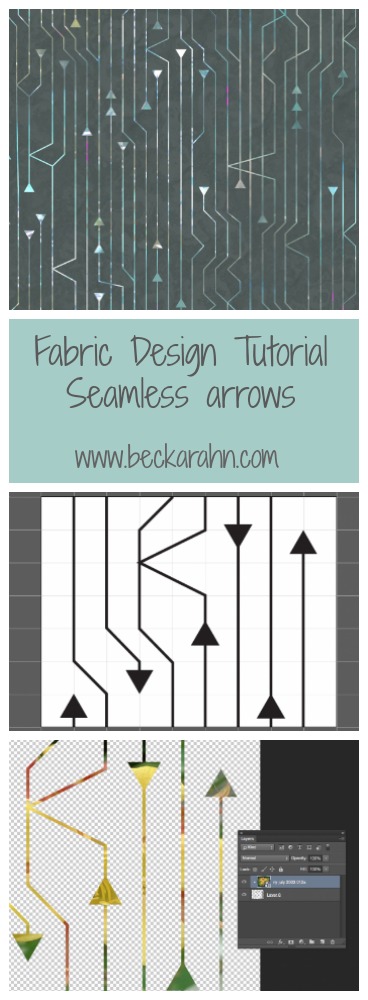
Tutorial: Seamless Arrows Pattern, Part Four

2016-03-16T10:04:02-05:00Spoonflower & Fabric Design, Tutorials|Comments Off on Tutorial: Seamless Arrows Pattern, Part Four

(This is part four of a tutorial for making a seamless arrow pattern.  Find Part One and Part Two and Part Three here.)

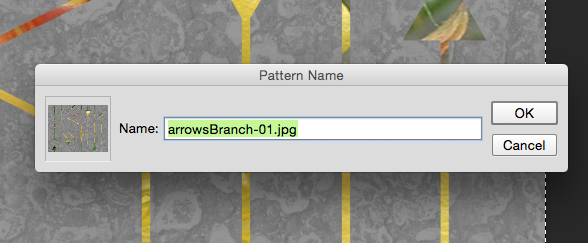
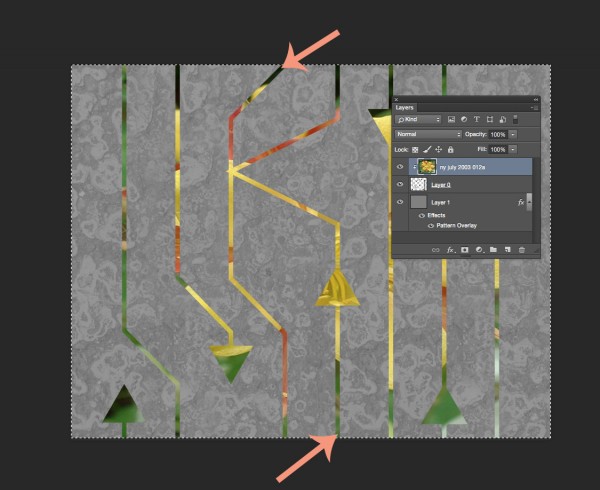
Proofing and touching up the pattern is the finishing step to create the seamless arrow design and I am going to do that with the Photoshop pattern tool.  The first thing I do is select the whole design (Edit -> Select All) and create a pattern tile by choosing Edit -> Define Pattern and click OK.

Screen Shot 2015-09-09 at 10.46.34 AMIt will look like nothing has happened.  That’s ok!  The tile that you selected has been saved in the patterns palette, which is kind of hidden.

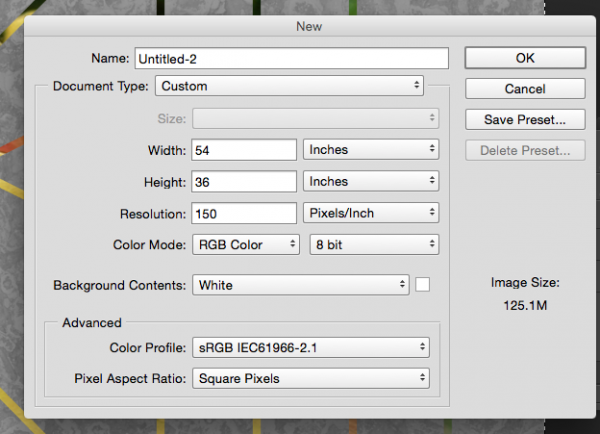
To proof the design, I create a new blank file that is the size of a yard of fabric. That’s an arbitrary size – I just think it’s nice to look at a large number of repeats.

Screen Shot 2015-09-09 at 10.46.58 AM

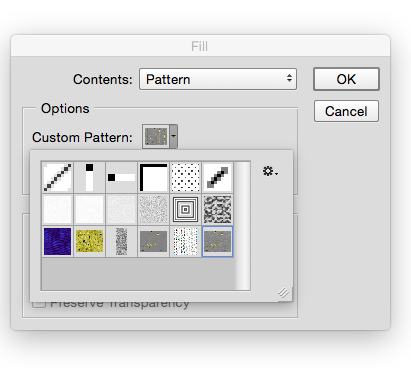
Then I choose Edit -> Fill from the menu.  From the pop-up Fill menu, choose Pattern from the contents drop down menu.  Just below that in Options there is another drop down and in it, you should find that pattern you just saved.  (See what I mean about a little hidden.)

Screen Shot 2015-09-09 at 10.47.25 AM


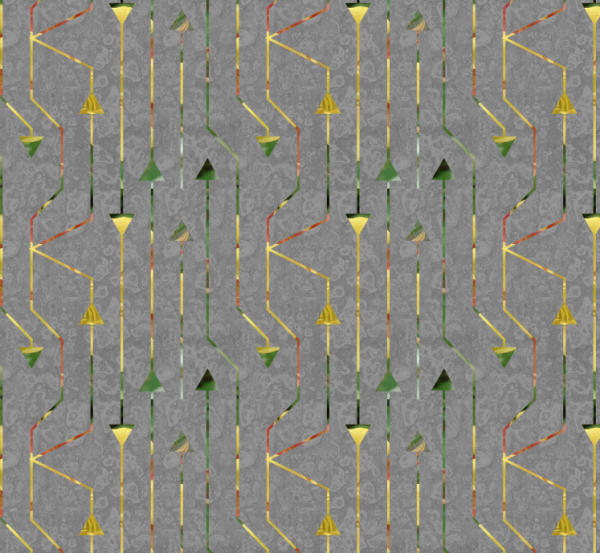
Now you can see what it looks like when the tile is repeating across a whole yard of fabric.  And right away a couple of things jump out at me.

arrow

Oops.  I didn’t think about the edges and I have a blank space where there aren’t any arrows.  I can fix that by cropping out some of the blank space.  The other thing that jumps out is a seam where the color changes. The color change is kind of abrupt and it makes a dark line.  I can fix that pretty easily by going back a step to my original file.  I select the photo layer of that flower because that is where the color is coming from.  The easiest way for me to make that contrasting line to go away is to just use a paintbrush to just touch it up. I choose a green color from the bottom of the image and paint some at the top where that really deep green was, hiding that seam line and blending the two together.

arrows2

After I do those two little edits…

Screen Shot 2015-09-09 at 11.23.29 AM


I have a pretty good finished design.  I save that tile and that is the repeat that I can upload to Spoonflower and print my fabric.  This is the version that I used for my grant project exhibition, which I will post photos of very soon.

Screen Shot 2015-08-07 at 11.26.11 AM

More in this series: Part OnePart TwoPart ThreePart Four

arrowsPin


4 August, 2015

Upcoming Classes: New Classes this fall

2015-08-04T11:52:41-05:00Classes & Teaching, Spoonflower & Fabric Design, UpcomingClasses|2 Comments

waterlilyquilt

I am teaching a LOT of new classes this fall and I am really excited about that.  I am going to be one busy lady.

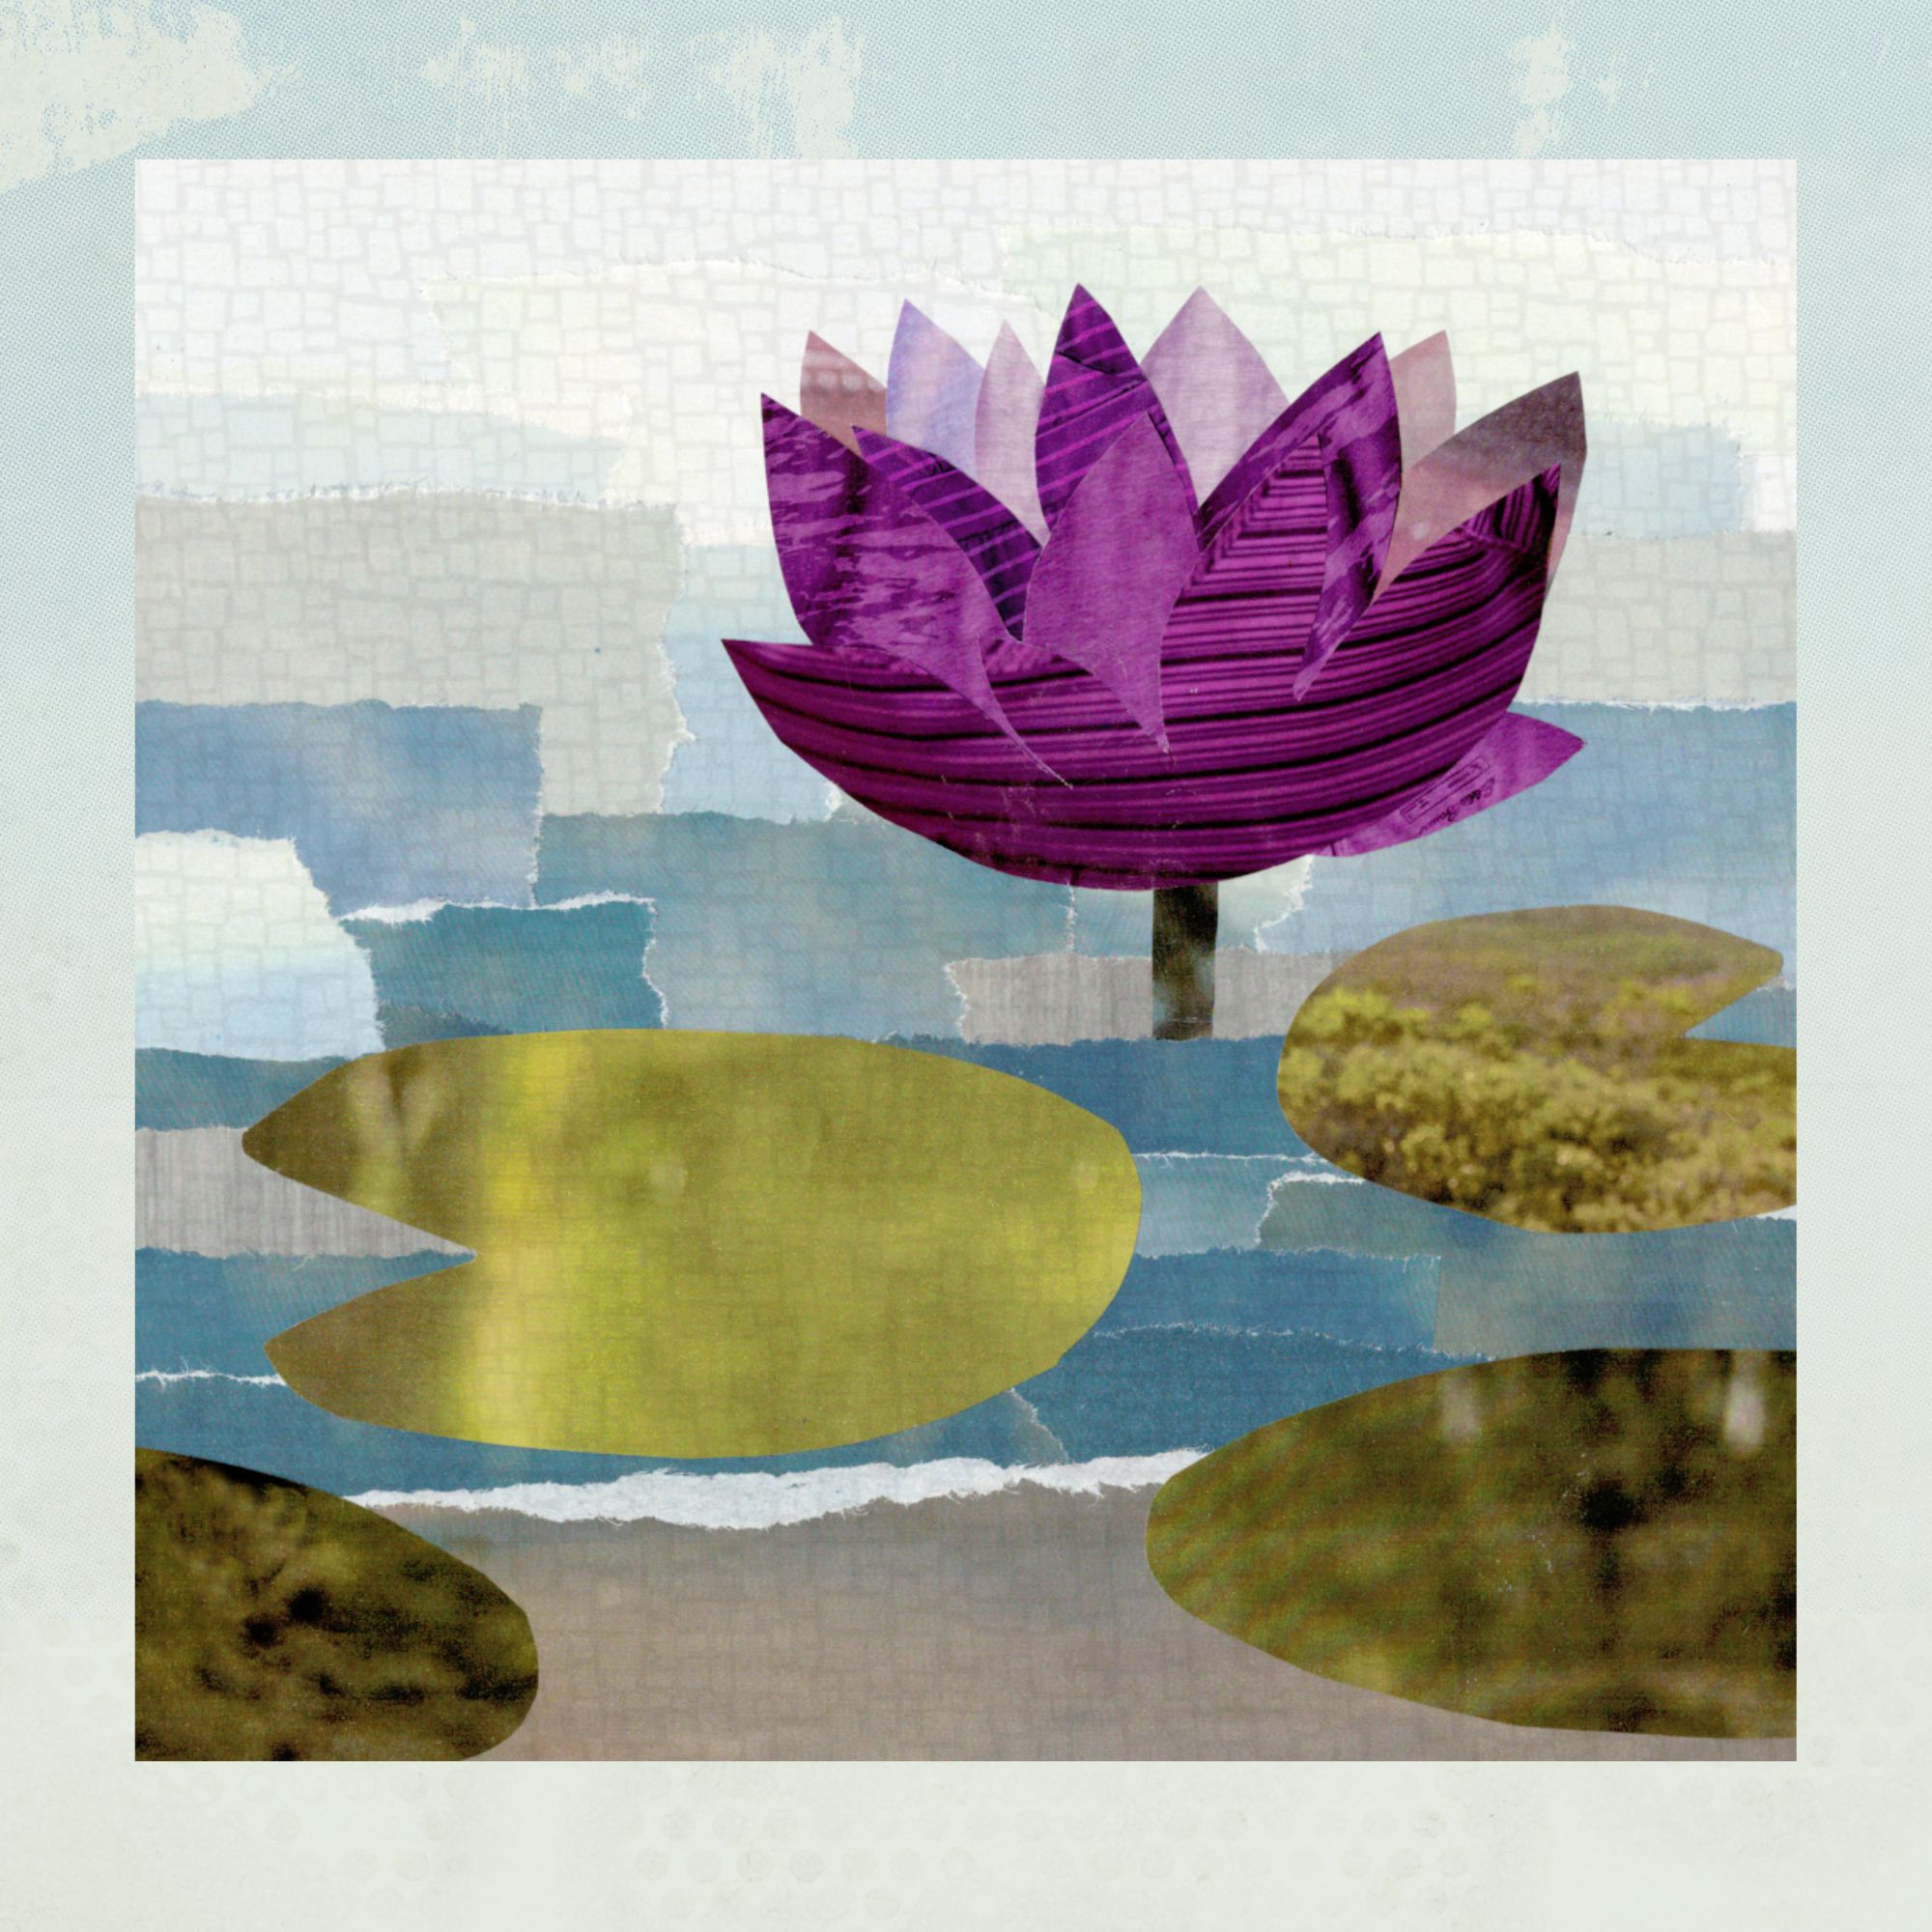
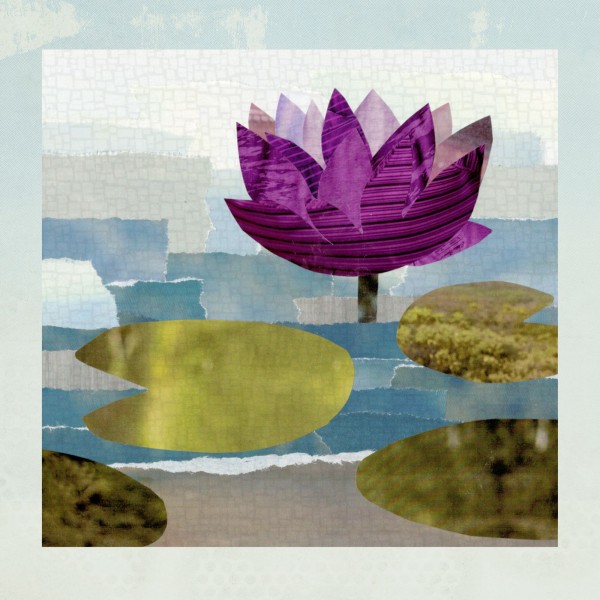
The waterlily is a sample for my Digital Art Quilt class.  It is one of the “Beyond the Book” classes that I am teaching, which are based on projects from The Spoonflower Handbook, but I am taking them a step further and adding some hands-on components.  This is based on a really cute quilt project from the book using an original piece of  collage art.  We are going to expand the collage idea by making paper collages, handpainting some papers and adding digital layers to the design as well.  This one is made only from the pages of an Eddie Bauer catalog and a sharpie drawing of pebble shapes.  I think I am going to print it at about 15 inches square and finish it as an art quilt.

Check out most of the fall classes here on my Upcoming Classes page.  I have a few more to come that are waiting to confirm dates.

19 June, 2015

My 7th Spoonflower-iversary!

2015-06-19T11:13:37-05:00An Artist's Life, Spoonflower & Fabric Design|Comments Off on My 7th Spoonflower-iversary!

Screen Shot 2015-06-19 at 9.33.10 AM

June 20th is my 7 year Spoonflower-iversary.  That was the day I uploaded and ordered my very first fabric.  I remember getting my invitation to join the site.  At that point, you signed up to be on a waiting list and Spoonflower would invite groups of people to join at a time.  They only had one printer and I think you could only order a yard or two at a time.  I remember reading about Spoonflower in someone’s tweet and Googling to find the site and signing up that minute.  Printing my own fabric?  For real?

Screen Shot 2015-06-19 at 9.37.21 AM

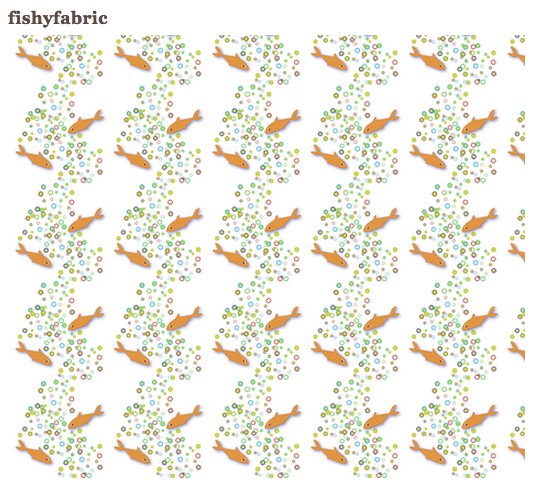
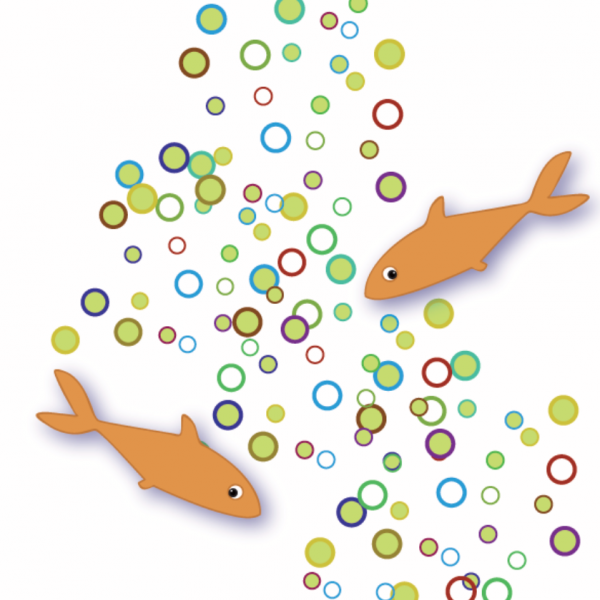
When it came time to design my very first fabric, I had no idea what to draw.  I don’t usually suffer from the “fear of a blank page”, but I was truly stuck.  It was intimidating. I wanted to love it, I wanted it to be mine.  So I decided to do something practical.  I made a fabric that matched my Etsy shop banner, thinking I would make some gift bags to send Etsy orders in.  Smee the fish and bright colored bubbles.  I even did a top-to-bottom seamless repeat of the bubble pattern, which when I look back on it now seems pretty sophisticated for my first design.  I didn’t end up making gift bags from that fabric, because I couldn’t do it.  When I unwrapped the package a few weeks later and I had my first yard of fabric in my hands, it was perfect.  It was like the best Christmas present ever. It was my design and it was real fabric.  I couldn’t cut it up and give it away.  I still have that yard and it’s still my very favorite.  I bring it to class with me sometimes and show it to my students.

I didn’t know it then, but that was the day I found my niche.  I had been working at an art center for years, and I had taught hundreds of people how to do all kinds of fiber art, but I didn’t really feel like I had an art form to call my own.  I wasn’t a quilter or a fashion designer or a felter, although I could do all of those things.  I wasn’t really passionate about any of them.

I ordered several more designs and tried all kinds of things, but it took me a couple of years before I really figured out what to do with my own fabric and that was this dress.

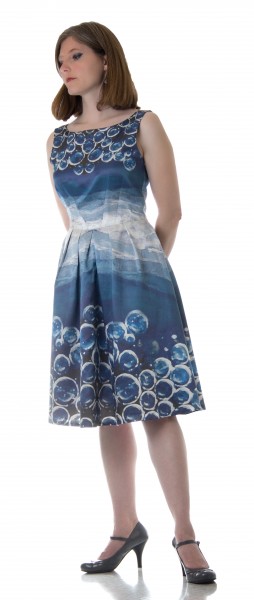
Glaciology.  Digitally printed silk from engineered photo.


I wish I could remember exactly the inspiration for this.  I had a couple of events that fall I needed to dress up for.  I loved those two photos the design is made from. I had a brainstorm.  I meticulously re-drafted all of the pattern pieces for this in Illustrator and placed the photos on each piece.  I had to figure out how to make files that were each exactly 1 yard of fabric so I could place all of the pieces. I wasn’t sure what it would look like when it was printed.  Would the colors look right?  Would it look too much like a photo billboard?  I had no idea if it would work.  After I ordered the fabric, I realized that I had made 2 left skirts instead of a left and a right and I had to redo and reorder that piece.  I wasn’t sure how much it would shrink or even if it was the right weight for a dress. I had never even ordered this silk-cotton fabric before.  (It turned out to be perfect.)  It was a leap of faith and the worst that I figured would happen was that I would end up with some random silk scraps and no dress.

It maybe sounds cheesy to say Spoonflower changed my life, but it’s kind of true.  I loved designing fabrics but it wasn’t something I could just do, except by hand.  When I was in college I worked at a summer theater and I costumed an entire show with costumes made from muslin, drawn on with sharpies and colored with crayons.  I wanted them to look like they were out of a coloring book.  Completely impractical (not washable), but such a great concept.  I block printed borders on satin fabrics for another show because I couldn’t afford the fancy fabrics and trims I wanted to make the costumes look lush and “royal”.  I could print fabrics on my ink jet printer, but only 8 1/2 x 11 inches at a time. I never could find the fabrics I wanted in my head because they didn’t exist.  I now have a whole gallery of fabrics that exist because I designed them.  This September, almost exactly 5 years from the day I ordered the fabric for that dress, I am going to have an exhibition of my work and our new book is going to be released and it is all about digitally printed fabric.

Wow.

So, cheers to Spoonflower and Stephen and Kim and Darci and all of the creative and wonderful people I have worked with at Spoonflower.  When you are a painter, you don’t think about the people who make your paint or your brushes.  I am lucky enough to have a whole fabulous team that is helping me do what I do.


Go to Top