It was a dark night in the big city…
…Our phone had been ringing like a broken alarm clock, with reports of tricks and treats happening all over the neighborhood. We were in for a long night…”
…Our phone had been ringing like a broken alarm clock, with reports of tricks and treats happening all over the neighborhood. We were in for a long night…”
A few posts back, you probably saw our annual Halloween photo. My husband and I started doing photos about 15 years ago. We felt like it was dumb to send out photos in Christmas cards, so one year we sent out a Halloween costume photo instead. It was so much fun that it became an annual thing.
We come up with the top secret theme around late summer and figure out how to stage the photo in October sometime. They are nearly always taken in our basement photo studio with much creative reuse of furniture, sawhorses and velvet drapes. I always say that they are about 80% costume and 20% Photoshop.
This year our storyline was Newt Scamander (author of Fantastic Beasts and Where to Find Them, of the Harry Potter universe) interviewing a “fantastic beast” for his book. We hadn’t done a Harry Potter theme yet and it was fun to pick a less “main story” character. Newt has his own movie (which I like a lot) but I know that was not nearly as main stream as the HP series.
We thought about pixies or bowtruckles, but I decided that I wanted to be a mermaid. I didn’t want to make a mermaid tail that fit me, however. I thought about it and just decided that it would be 100% too much work. So we talked about it and decided that we would try to make the tail part of my costume as a miniature.
And there it is. The tail is about 10 inches tall and made from air drying paper clay, wire and some iridescent film. I googled and found a super detailed tutorial from a doll maker about how she made a mermaid tail from shrinking angelina film around a wire form and I pretty much followed her instructions. It worked pretty great and I loved the very organic texture of the slightly tattered holes in the webbing.
I didn’t want to deal with baking such a big thing in polymer clay, so I used paper clay for mine. It is an air dry clay and although I read a bunch of reviews that warned about it cracking and shrinking, I had neither problem. I let it dry slowly for about 4 days before I painted it. The texture of the scales I made with a drinking straw. I cut a snip off of the end so I had a half circle and carefully carved scales the whole length of the tail.
I painted it with acrylic paints. Golden Acrylics makes a series of interference colors that you can mix in with other opaque paint, so I blended my own mix of turquoise with interference gold and blue to make a beautiful iridescent.
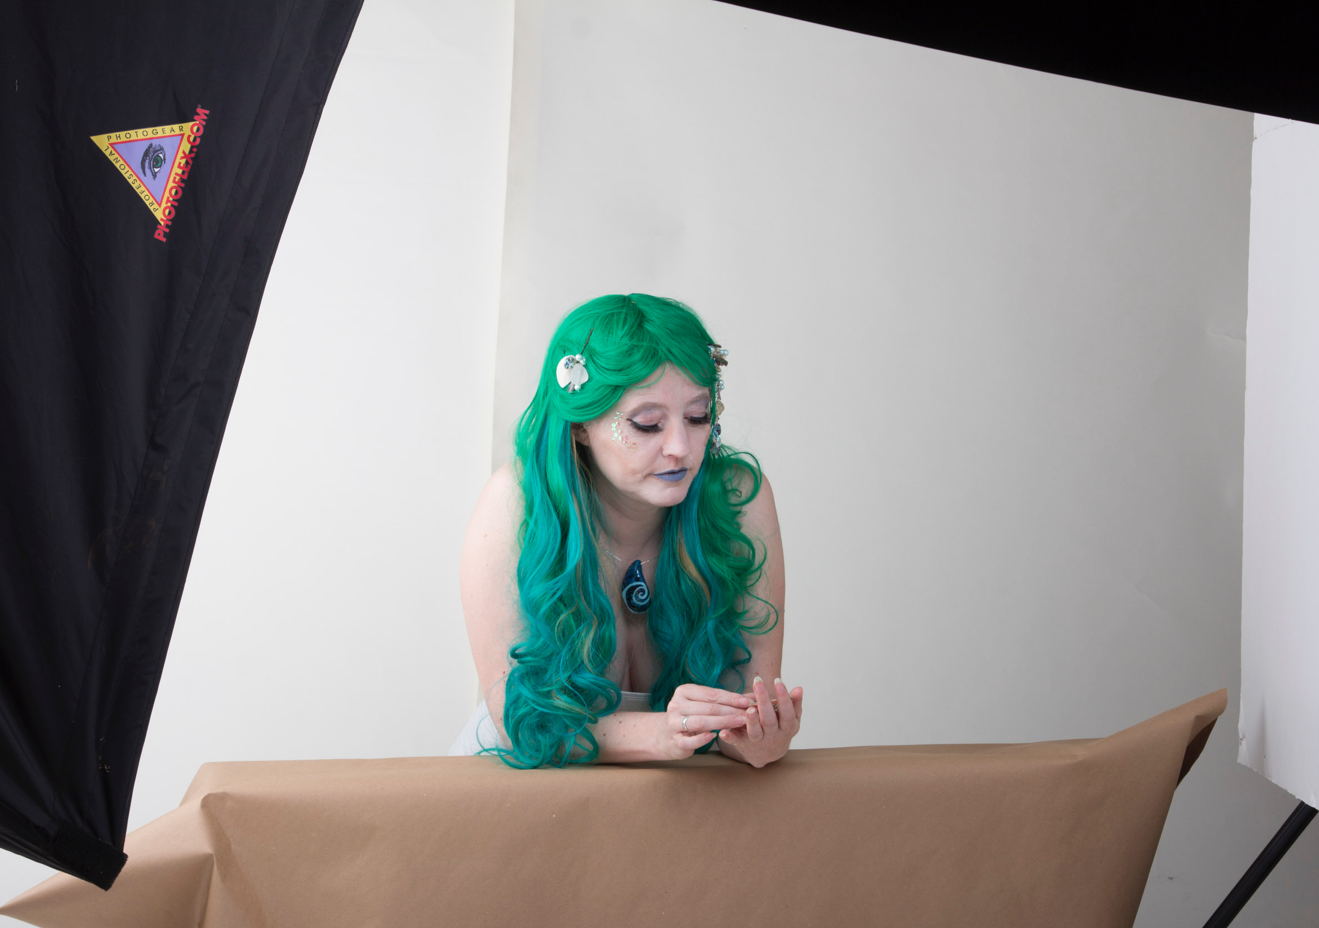
We photographed the tail by itself against a piece of pale blue paper. Originally we photographed it against white, but we realized that the iridescent quality of the tail fin film was showing up very dirty gold against white paper. We spent some time being really frustrated trying to color correct that, but when we switched to blue and reshot it was so much better.
When we talked about creating a “set” for this scene, I wanted to be leaning on a sea wall with my tail flipped up and Newt could be sitting nearby to do the interview. We didn’t have a set piece, among the chairs and sawhorses that we often use, that was going to make a realistic looking wall, so we decided to make that as a miniature too. It is made from the same air dry clay and a bag of aquarium gravel. It was about 12 inches long and 2 1/2 inches high.
We built it on a cardboard base and decided to make an “L” shaped wall so we could adjust the angles to match our scene. The clay was white, so after this had dried, I gave it a wash of muddy grey paint to tint the “grout” between the stones. I tore off little bits of some sphagnum moss to glue on for some weeds and painted on some lichens with green paint.
We borrowed the wooden decking from a photo we took in St Augustine, FL. I think our ocean comes from a kayaking photo from Lake Superior.

I already know what next year’s theme is going to be and it is going to have some fun bits and pieces to assemble too. It takes most of a day to shoot and assemble the photo, but it is one of my favorite annual projects.
Halloween is my favorite holiday. I imagine most of you have figured that out by now if you’ve been popping in here at the blog for any length of time. Every year my husband and I do a Halloween photoshoot. We’ve been doing this for years now. Some people do photos for their Christmas cards, we do Halloween. The collage above are some of the “greatest hits”. (You should be able to click on the photo to see it larger.) Each is about 80% photo and 20% Photoshop magic. Clockwise they are: The Evil Queen and the Magic Mirror (powered by Google), Sweethearts, Star Trek (with guest appearance of Lucy), Mr and Mrs. Lincoln, I Dream of Jeanne, Andrew Rahn: Double Reed, Vaudeville Magicians and Alice & the Cheshire Cat. The theme for the year is always top secret and I am busily sewing the costumes for this year’s installment, which will be posted on Halloween. I hope you are having fun this week with some costume or decorating projects to fit the season!
I love to do a little behind-the-scenes post about the annual Halloween photo to tell you a little about it and this year there is a neat story. First some fun facts you might not know when you look at the photo.
The neatest part of this photo is the tuxedo.
 I originally had a whole other plan for the Halloween theme, but then I got this tuxedo in the mail. It belonged to my Uncle Lester (actually my great-great-uncle). Lester Grimes, “The Paper Wizard”, was a magician in the 1920s and 30s. He was known for tricks that involved paper and origami and performed one of the opening acts at the 1932 World’s Fair. He was a friend and colleague of Harry Houdini and actually acquired Houdini’s collection of books about “spiritualism” after Houdini’s death.
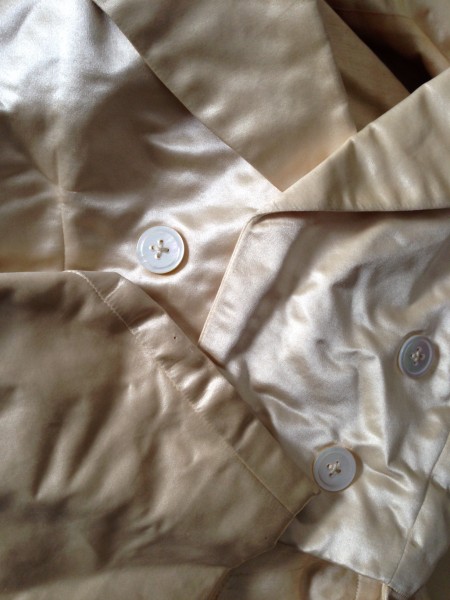
The tuxedo is one that he wore in one of his acts and family history says that it was made for him by the costumers at Radio City Music Hall. I raise my coffee in a toast to those costumers because it is beautifully made and it amazing condition. My dad found this in a box of old family treasures and decided that since I am the family expert in all things fabric that the tuxedo should come to me. The minute I pulled it out of the box, I knew it would fit and I knew it had to be the Halloween theme. The rest wrote itself.