2 February, 2017

Screaming Hairy Armadillos (or armadillos as the road to inspiration)

2017-02-02T17:55:37-06:00An Artist's Life, Spoonflower & Fabric Design|2 Comments

There is a lot going on in the world right now that makes some of us want to scream. I get it. But I think we need a little break from that to talk about a different kind of screaming.

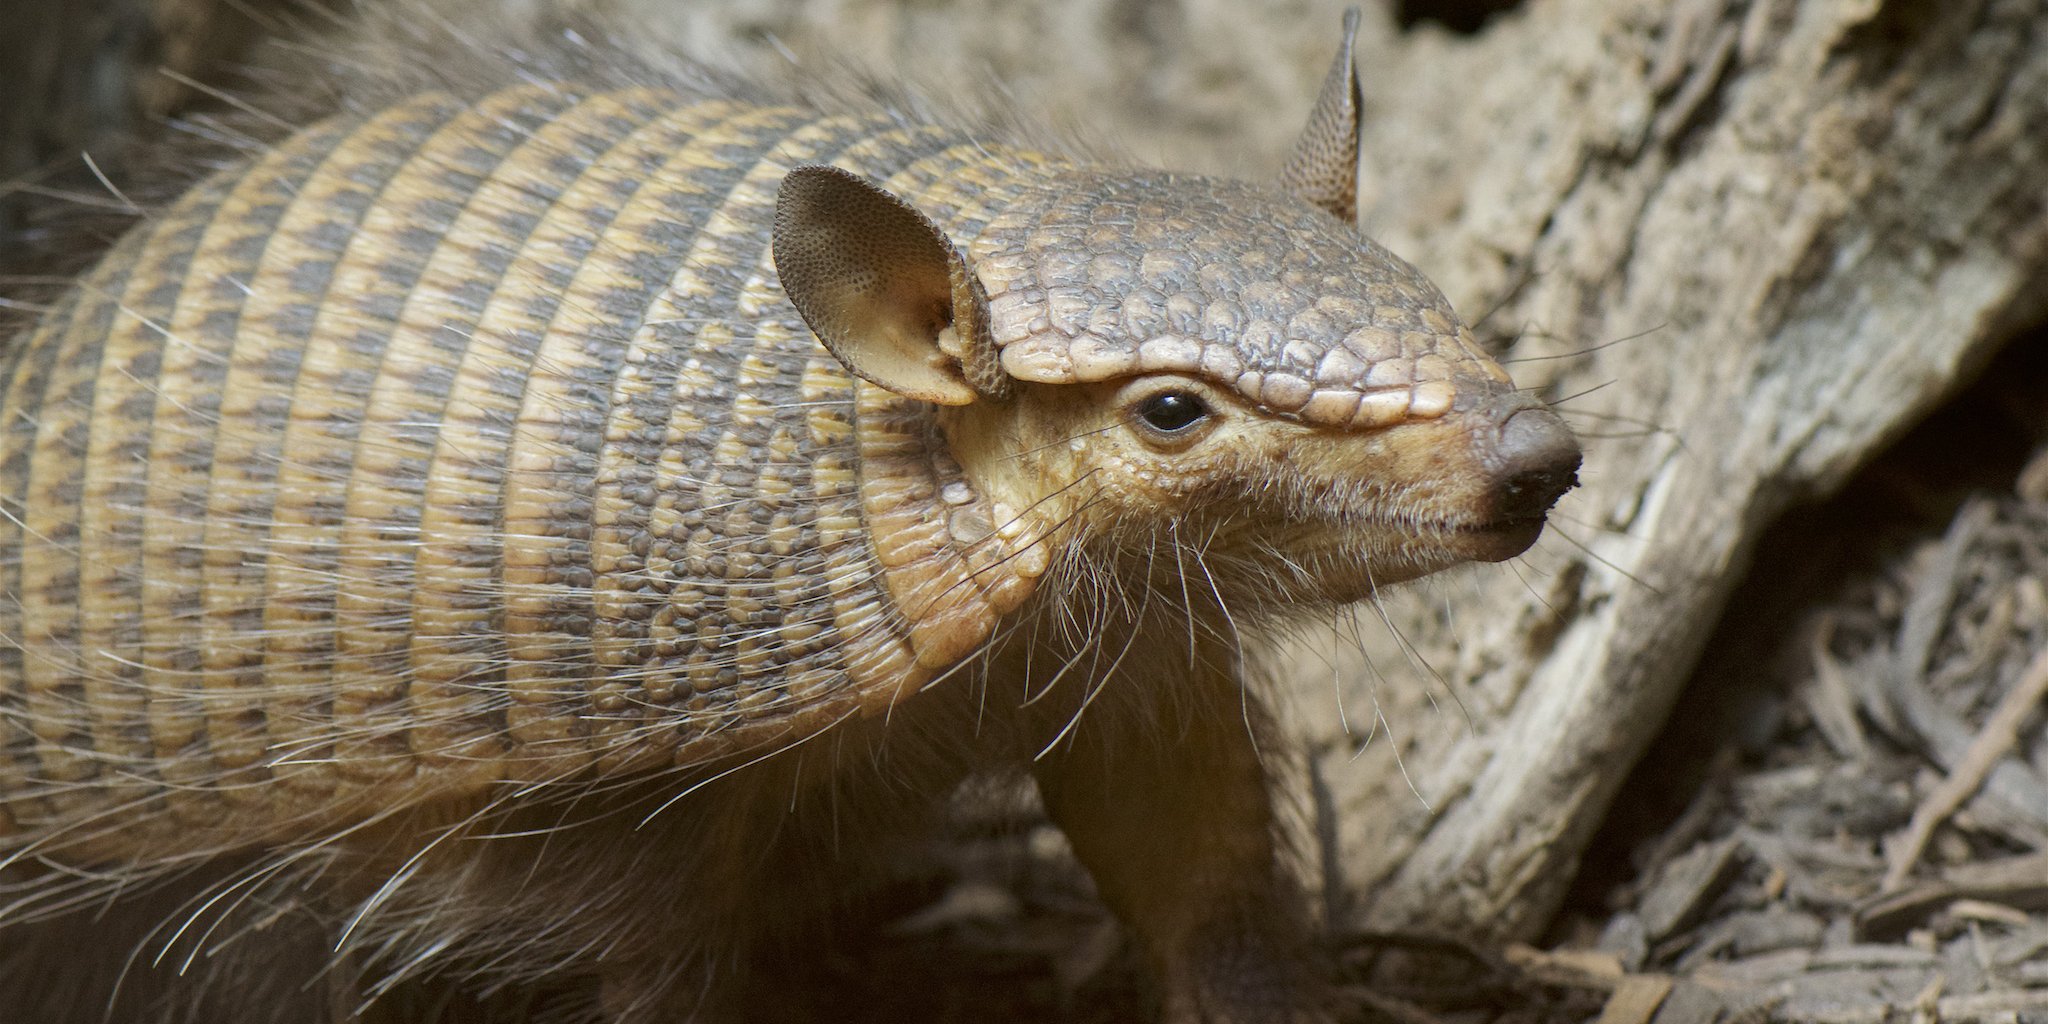
Let me introduce you to Amber.

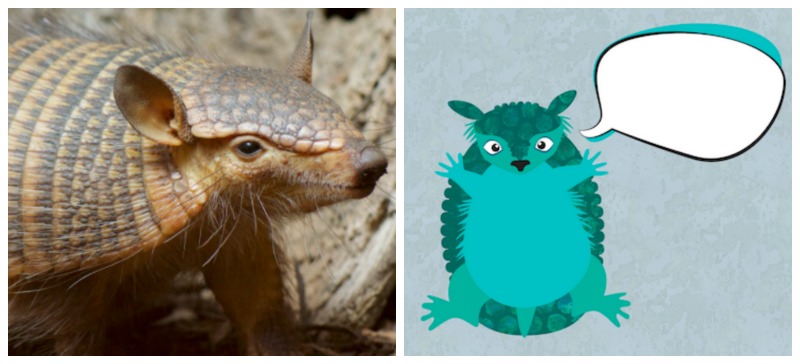
She’s a screaming hairy armadillo from the Smithsonian National Zoo. They tweeted about her last week. And my mom and I both saw it and were curious. Why was she called a “screaming” hairy armadillo? I get the parts about hairy and armadillo, but screaming?

So we Googled it.

And then we got the giggles. My dogs are now in love with Amber’s cousin-in-the-video and come running in the room when I play the sound. I told my mom “I think I need to design something with screaming hairy armadillos on it”. This might be the first fabric I have ever designed inspired by a sound. :)

So I thought about that for a couple of days. I have been working non-stop on grant/exhibition projects and I needed a day to goof off and design something fun. And I thought it would also be fun to talk a little about that process.

First I studied a bunch of armadillo photos and thought about how to make that great armor texture they have. Cut paper bits? Something photographic? Lace? Then I saw something pop up in my Facebook feed about making a paint texture with bubble wrap.

Screen Shot 2017-02-02 at 4.48.30 PM

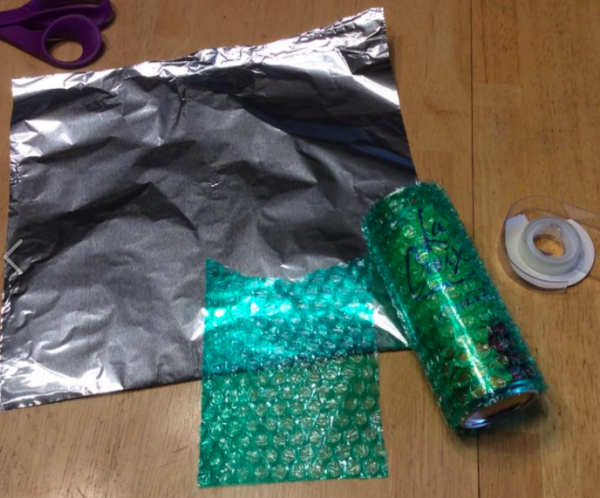
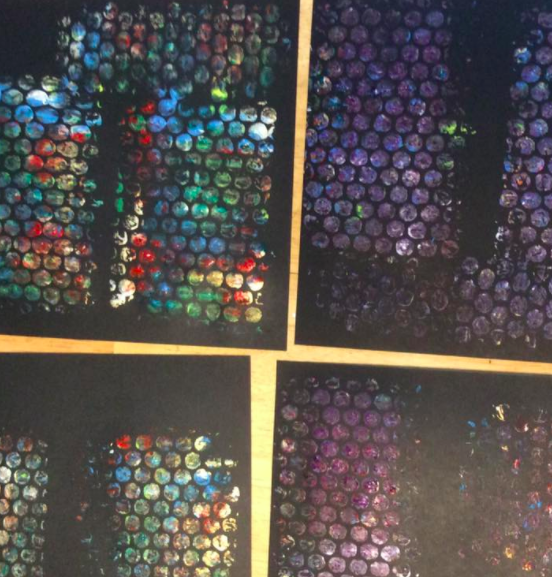
So I grabbed a piece of bubble wrap and some double-sided tape and made myself a roller around an empty soda can. I squirted out some paint on the tin foil, rolled some on the roller and painted some sheets of black card stock.

Screen Shot 2017-02-02 at 4.50.27 PM

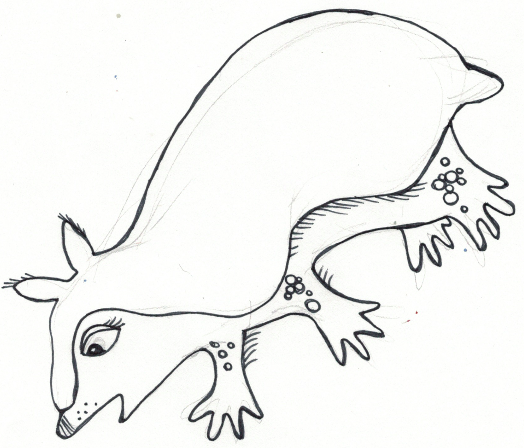
Messy, but perfect! Then I started drawing some armadillos. I did a quick pencil sketch and then drew over them with a fine sharpie pen.

Screen Shot 2017-02-02 at 4.52.40 PM

I thought I would just fill in their backs with the paint texture and have them be hand drawn. Turns out that they are perfectly cute little guys, but not very successful as fabric. I played with colors and fills and I just couldn’t get them to balance. The bubble wrap texture was so bold and dark and the lines here too delicate. Bleh. So I walked away for a bit.

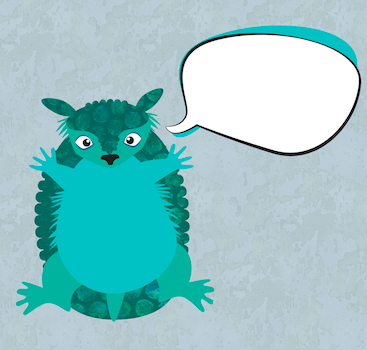
Then I tried re-drawing them using layered shapes in Illustrator. That worked a lot better. The big blocks of solid color were much more balanced with the bubble wrap texture. I am kind of in love with them.

Screen Shot 2017-02-02 at 5.03.04 PM

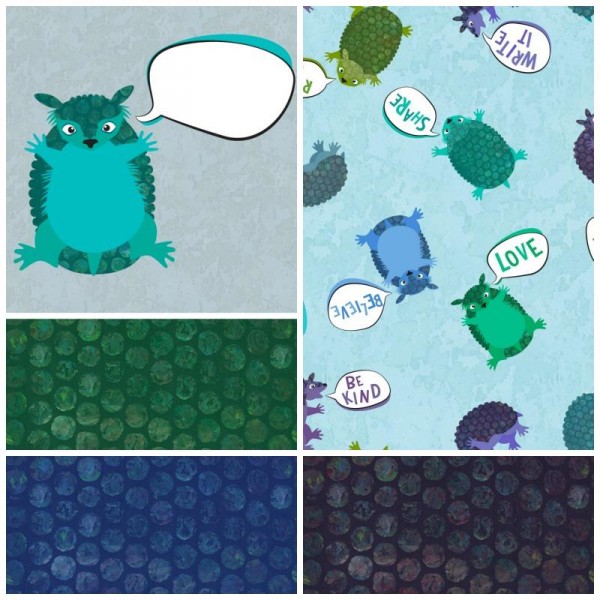
The bubble wrap also got a little tweaking. I changed the transparency of that layer to be about 45% and put it over the same base color of the armadillo (turquoise in this example). The black in the bubble wrap print darkened the color up so that I got a nice related shade and you can still see some of the rainbow colors in the paint.

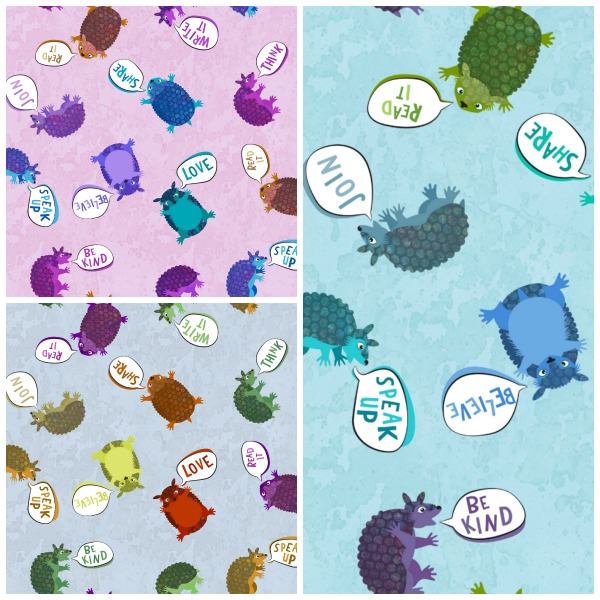
Then, we all know they are screaming armadillos, so they needed to say something. Only I couldn’t make up my mind what they needed to say, so I actually did two versions of the design: one with blank speech bubbles and one with “just do it” sort of positive messages: read it, think, love, believe, speak up, try, make good art.

I thought it would be fun to have options. Want your armadillos to scream Happy Birthday? or Congrats? Or Happy Retirement? Then you can fill it in with fabric markers, paint, embroidery, or sharpies. A friend sent me a list of “g-rated” swear words yesterday. She remembered that I talked about a collaborative print I did in a class with phrases like “oh piddle” and “son of a biscuit” and I now think it would be super funny to do a version with the armadillos politely swearing up a blue streak. But that’s another day.

bluearmadillos

So I started with a blue and green colorway and did two color variations, one with bright earthy colors and another with pinks and purples. The background of the armadillos is a photo of peeling paint from a utility box. Sometimes amazing textures come from weird places. But it goes nicely with the other paint textures. I took the same bubble wrap scan and made a seamless texture out of it too. So you can also get coordinating “polkadots” that match the armadillo armor.

versions

bubbles

I named them “Activist Armadillos” and I have uploaded all 16 designs to Spoonflower as fabric or wrapping paper designs. I have ordered swatches of all of the versions and I will post an update when I get them and decide if I need to make any tweaks to the design. I can’t wait to see them.

I think the screaming armadillos would make an awesome tote bag with a lining of armor polkadots. I might have to make that for me.

8 July, 2015

Design Challenges = Practice

2015-07-08T11:04:48-05:00Spoonflower & Fabric Design|3 Comments

bag

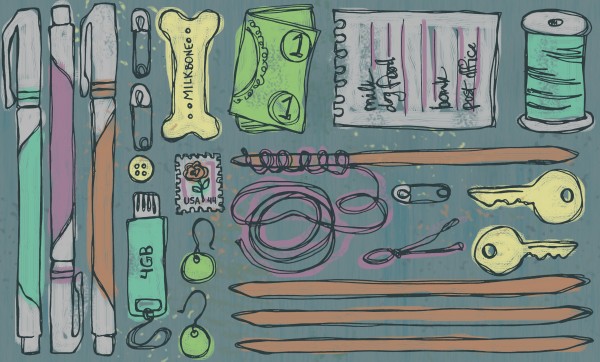
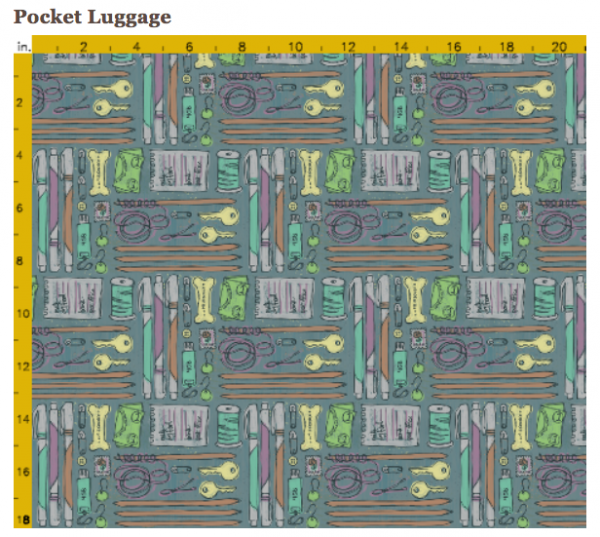
This is my design for the weekly Spoonflower design challenge.  The theme this week is “What’s in your bag?”.  The idea is that everyone carries around something interesting in their purse or bag and you should use that ephemera as a basis for a design.

Screen Shot 2015-07-08 at 9.25.43 AM


I don’t actually worry too much about the voting part of these contests, although it is very fun and validating to see the likes and comments from everyone.  For me these design challenges are all about deadlines and practice. With all kinds of skills from playing musical instruments to sports, you get better by practicing.  I feel like design is the same way.  I am out of practice with pen and paper drawing.  I participated in Illustration Friday for quite a while, but I got busy with other things and stopped.  So for these last few challenges, I have been drawing and digitally coloring. Practice. I don’t think pen and pencil drawing is a mandatory component to being a great designer, but I do think the more skills you have in your toolbox the more versatile you are.

The other creative challenge that I love is having a random topic as inspiration.  Being assigned a topic takes you out of your comfort zone.  It makes you think about topics you might never design and to really think about all the different ways you could represent lemonade or llamas.  Next week is a baseball theme.  I know next to nothing about baseball and I am really not a fan, so it is a real challenge to me to come up with what to design.  I think it will involve dogs and baseballs.  I know a lot about that.

This week’s “bag” challenge was pretty wide open and I decided to go a little bit literal, because I thought it was fun to have a fabric design that was just commonplace and odd objects.  It was drawn in 3 sections.  I started with the sharpies and made them and the knitting needles deliberately very directional to make almost a basketweave kind of pattern with the lines formed by those two components. I drew these bits all with fine tip sharpies and scanned them.  I started coloring this one in Photoshop very “inside the lines” and pretty and then deleted the whole thing. It was too “nice”.  I started again with a grungy streaky Photoshop brush and painted in things by hand.  I added a layer of “fibers” in the background with a filter and then added some splatters and erased some bits of the colors to break it up and add texture.  I played with the colors a lot.  I wanted a dark background because when I think of “what’s in your bag” I always think about rummaging around in the inevitable dark corners of my tote bag.  I ended up choosing slightly muted colors for coloring the odds and ends that I think look a little like chalk against the dark background.

If you don’t like to illustrate, there’s no reason you couldn’t do your own thing. Use the Spoonflower or Illustration Friday topics as a jumping off point for a little creative exercise: how about taking a photo of “what’s in your bag” or writing a haiku?

always lost, searching

compartments and dark corners

provide camouflage

26 March, 2015

Inspired by your space?

2015-06-16T17:16:58-05:00An Artist's Life, Everything Else|4 Comments

Screen Shot 2015-03-26 at 1.07.22 PM

Finding inspiration isn’t a problem for me.  In fact, it’s almost the opposite.  I am compelled to create things and I am never lacking for ideas.  Sometimes it is difficult to actually finish something because I always have a better idea in the middle of what I am doing.  My mom will attest to this.  She tells stories of elaborate schemes presented to her in order to get her to take my sister and I to the local hobby store. No one was bored at my house.

There’s an expectation, or perhaps a social media inspired trend, that I am feeling right now that when you are an artist that you do a lot to find inspiration.  You create a mood board or a journal or you collect things that inspire you.  You put things in your space to provide inspiration.  In fact, you have a specific inspiring space where you do your work.  And you post photos of your inspiring space to help inspire others.  And you pin photos of other people’s inspiring spaces.

Abby, a blogger who I follow, just posted something the other day about a comment left on a photo she posted of her laptop at the kitchen table:

This question really struck me. I started to wonder what people might be imagining it looks like here at my house when I’m writing or sewing or podcasting or working on my business. Do they think it looks somehow different than this? Sexier than my kitchen table? And if they do, why?

What makes us want to imagine artists in beautiful light-filled loft studios surrounded by a rainbow of paint tubes where even the drop cloth is color-filled and brilliant? Or writers sitting in bustling coffee shops sipping espresso and effortlessly dashing off inspired tomes?

In fact, this has been somewhat of a recurring theme for me lately.  In an art group I belong to, we had a discussion about journaling.  One of the artists is in a mentoring program that does not require, but strongly recommends, that you keep a journal of your experience.  She wasn’t sure where to start or how she could do it without it becoming something she felt obligated to do, rather than inspired by.  Another group meeting recently had an activity where we were each asked to bring our sketchbooks and talk about our process.   A friend stopped me at an art show and was disappointed when I said I didn’t have a studio that I work in.  (I get asked this a lot)

I actually find all of those things the opposite of inspiring.  I don’t like to have other people’s work in my space.  I have art all over my house,  but nothing specifically there to “be inspiring”, just things that I love.  I don’t want to have a photo clipped from a magazine that I can copy.  I don’t keep a sketchbook or a journal.  In fact it was very awkward for me at this meeting with the sketchbook activity – I felt as though I had to defend myself for not having one.  I keep a notebook of notes, but it’s all math and technical notes.  I write down RGB and hex codes for colors.  I write out the math for determining how much ease and the size of the facing on my wrap skirt. It’s practical and it’s information I know I might need again.  I also keep meeting notes in there and stuff I write down while on phone calls.  It’s not very inspiring.  I like working in my house and being able to scratch my dogs and go make tea or a piece of toast when I feel like it.  Sometimes I work in my sewing room, but it’s small and so sometimes I spread out all over the dining room table.  There’s a card table set up in the dining room right now too because I am working on a big project and I feel like I need the space.  Sometimes I spend the whole day at the computer, which is on a big messy desk cluttered with coffee mugs, earrings and camera equipment. And I am not talking business chores on the computer, it’s a part of my art process and one that I love.  But not exactly inspiring either (at least to anyone else.)  Believe me, erasing pixels is exactly as exciting as watching paint dry.

I think about the artists who I know and love and none of them have Pinteresty workspaces or processes.  My friend Donna works with buckets of frozen rhubarb leaves and stews made from a whole lot of other things that most people would compost.  There is nothing romantic or pretty about that.  (I imagine some of them smell bad, too.)  Another friend’s studio is a mish-mash of storage space, staging area and place to make a mess.  She doesn’t want the mess at her house, so the studio is the place to make the mess and it invites you to do it.  I work in the dining room or at the kitchen table or on the back porch or sometimes all in my head.  I may or may not be wearing a matched pair of socks while I do it.

Do I burst your bubble by admitting this? Are you sad that I don’t have a secret artistic sketchbook to show you?  Do you want me to have a studio and a pretty Pinterest-worthy wall?  (I am curious now.)  Do you have a sketchbook of inspiration?  Does it work for you?  Or do you do it because that’s what artists do?


1 October, 2014

Digital Design Tutorial: Faux Batik Part Five

2016-03-16T09:48:00-05:00Spoonflower & Fabric Design, Tutorials|Comments Off on Digital Design Tutorial: Faux Batik Part Five

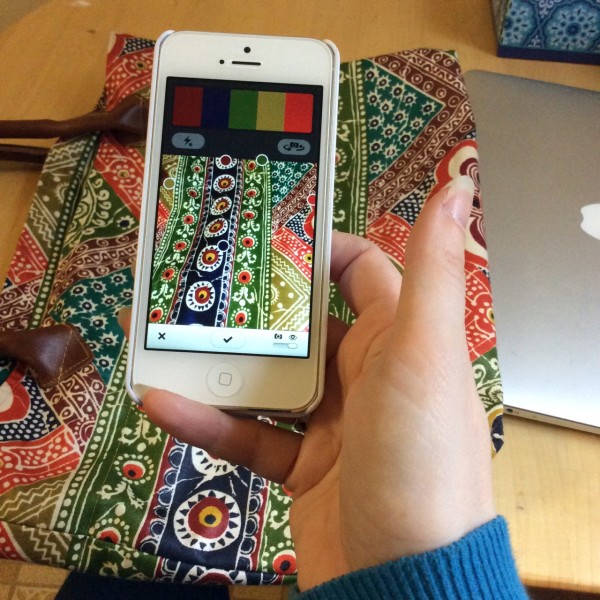
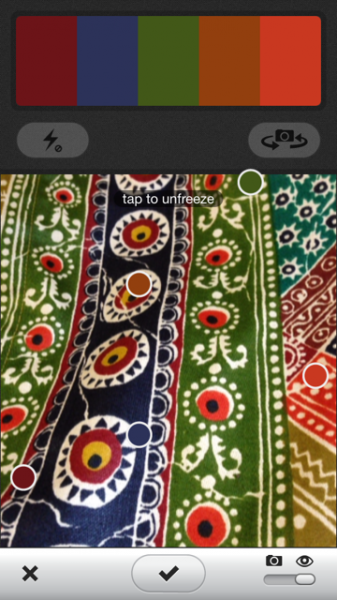
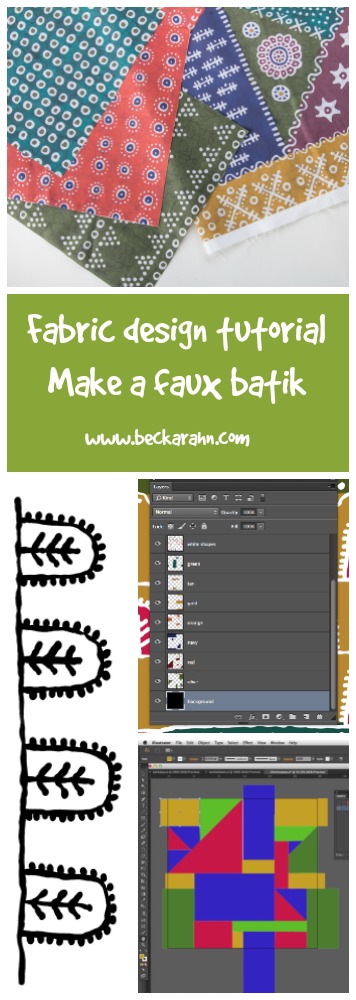
Today is all about color!  Now that I have most of my design laid out, I want to start to think about the colorway for this fabric.  The colorway is the set of colors I am going to use.  I really love the colors that were in my original inspiration fabric.  I could pick these colors out on my own in the color palette in Photoshop, but I want to show you a really fun tool that you can use for creating colorways.  It’s called Adobe Kuler and it is a free app for your iPhone or iPad. Edit: You would know it. In the week since I posted this tutorial, Adobe did an update. The app is now called Adobe Color and the screens are slightly different but still work essentially the same.

photo(3)It uses the camera to look at whatever you want to capture a colorway from and it picks out a set of colors from what it sees.  As you move around 5 little circles pop around the scene and identify colors.  You can tap the screen anytime to freeze it and then click the check box to save the colors.

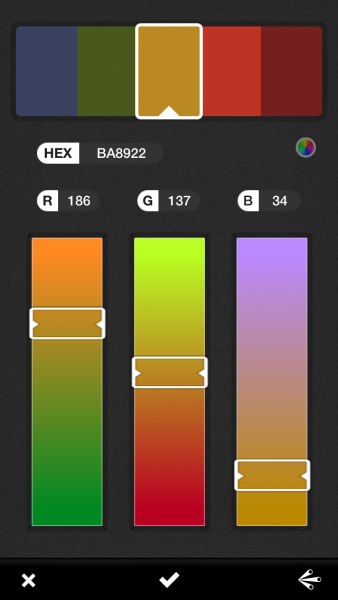
photo 2Once I have saved it, I can open up the colorway by tapping a little icon that looks like a panel of sliders and here is the best part…

photo 1For each color, it shows me the HEX code and the RGB values, which are codes I can type right in to Photoshop or Illustrator.

Now remember that it is using a camera to capture the colors.  Your colors will be influenced by the light the camera sees, shadows and so forth.  So it might not be the final colors you use for your design, but it’s a great place to get started or even to just get inspired.

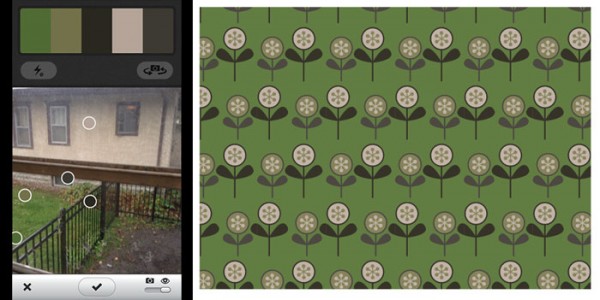
Here’s a colorway out my kitchen window on this rainy Wednesday and a little vector pattern to go with it.

rainy

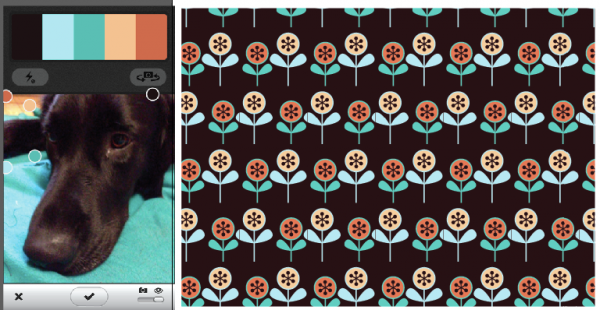
And here’s a version in a Chester colorway.

Screen Shot 2014-10-01 at 12.03.15 PM

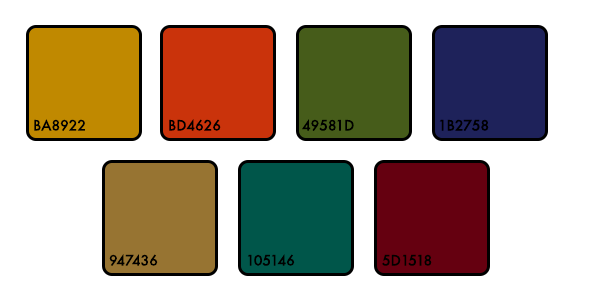
I did a couple more shots with Kuler of my bag and I have come up with this colorway for my faux batik fabric.  I may tweak these a little bit later when I see what they all look like together, but this will be my starting point.

Screen Shot 2014-10-01 at 11.48.07 AM

More in this series: Part One • Part TwoPart ThreePart FourPart FivePart Six

batikPin

25 September, 2014

Digital Design Tutorial: Inspiration Bonus

2014-09-26T07:57:48-05:00Everything Else|Comments Off on Digital Design Tutorial: Inspiration Bonus

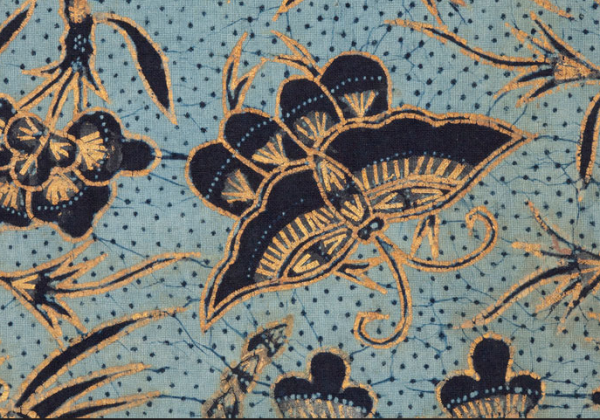
image from Asian Art Museum exhibition

image from Asian Art Museum exhibition


This is a little bonus post for my tutorial series on creating a faux batik.  I know that it is hard sometimes to know where to start a design.  It’s the dreaded blank page syndrome!  If you don’t have a favorite faux batik bag like mine for inspiration, you might need a little help coming up with design ideas.  These are a few places you might look for inspiration:

Ta Ta Indian Stamps at Etsy.  She has a great collection of beautiful wooden stamps for sale.  Plenty of eye candy here!

e-Quilter Fabric store has a huge selection of batik fabrics.  We used to live really close to them when we lived in Boulder but I didn’t know it at the time!

Batik Exhibition from the Asian Art Museum.  Some lovely examples, especially of patterns filling a space.

Go to Top