 I spent a truly delightful weekend taking a workshop from the very talented Jackie Abrams. Textile Center had Jackie come to teach a 2 1/2 day class on bias plaited baskets. I am not a basketweaver, in fact, I had only ever made one basket before I took this class. This gave me a rating of “0” on my name tag at the start of class. There were several of us “zeroes” in class and although we were the total beginners, I never felt like I was struggling to keep up even though there were “fives” in the room, a credit to Jackie’s teaching style. I took the class on a whim. Jackie was organized and thoughtful and just lovely to email back and forth with while I was setting up the class (so I knew I would like her) and it has been a challenging spring for me creatively and I thought this would be a great jump start. I am so glad I did.
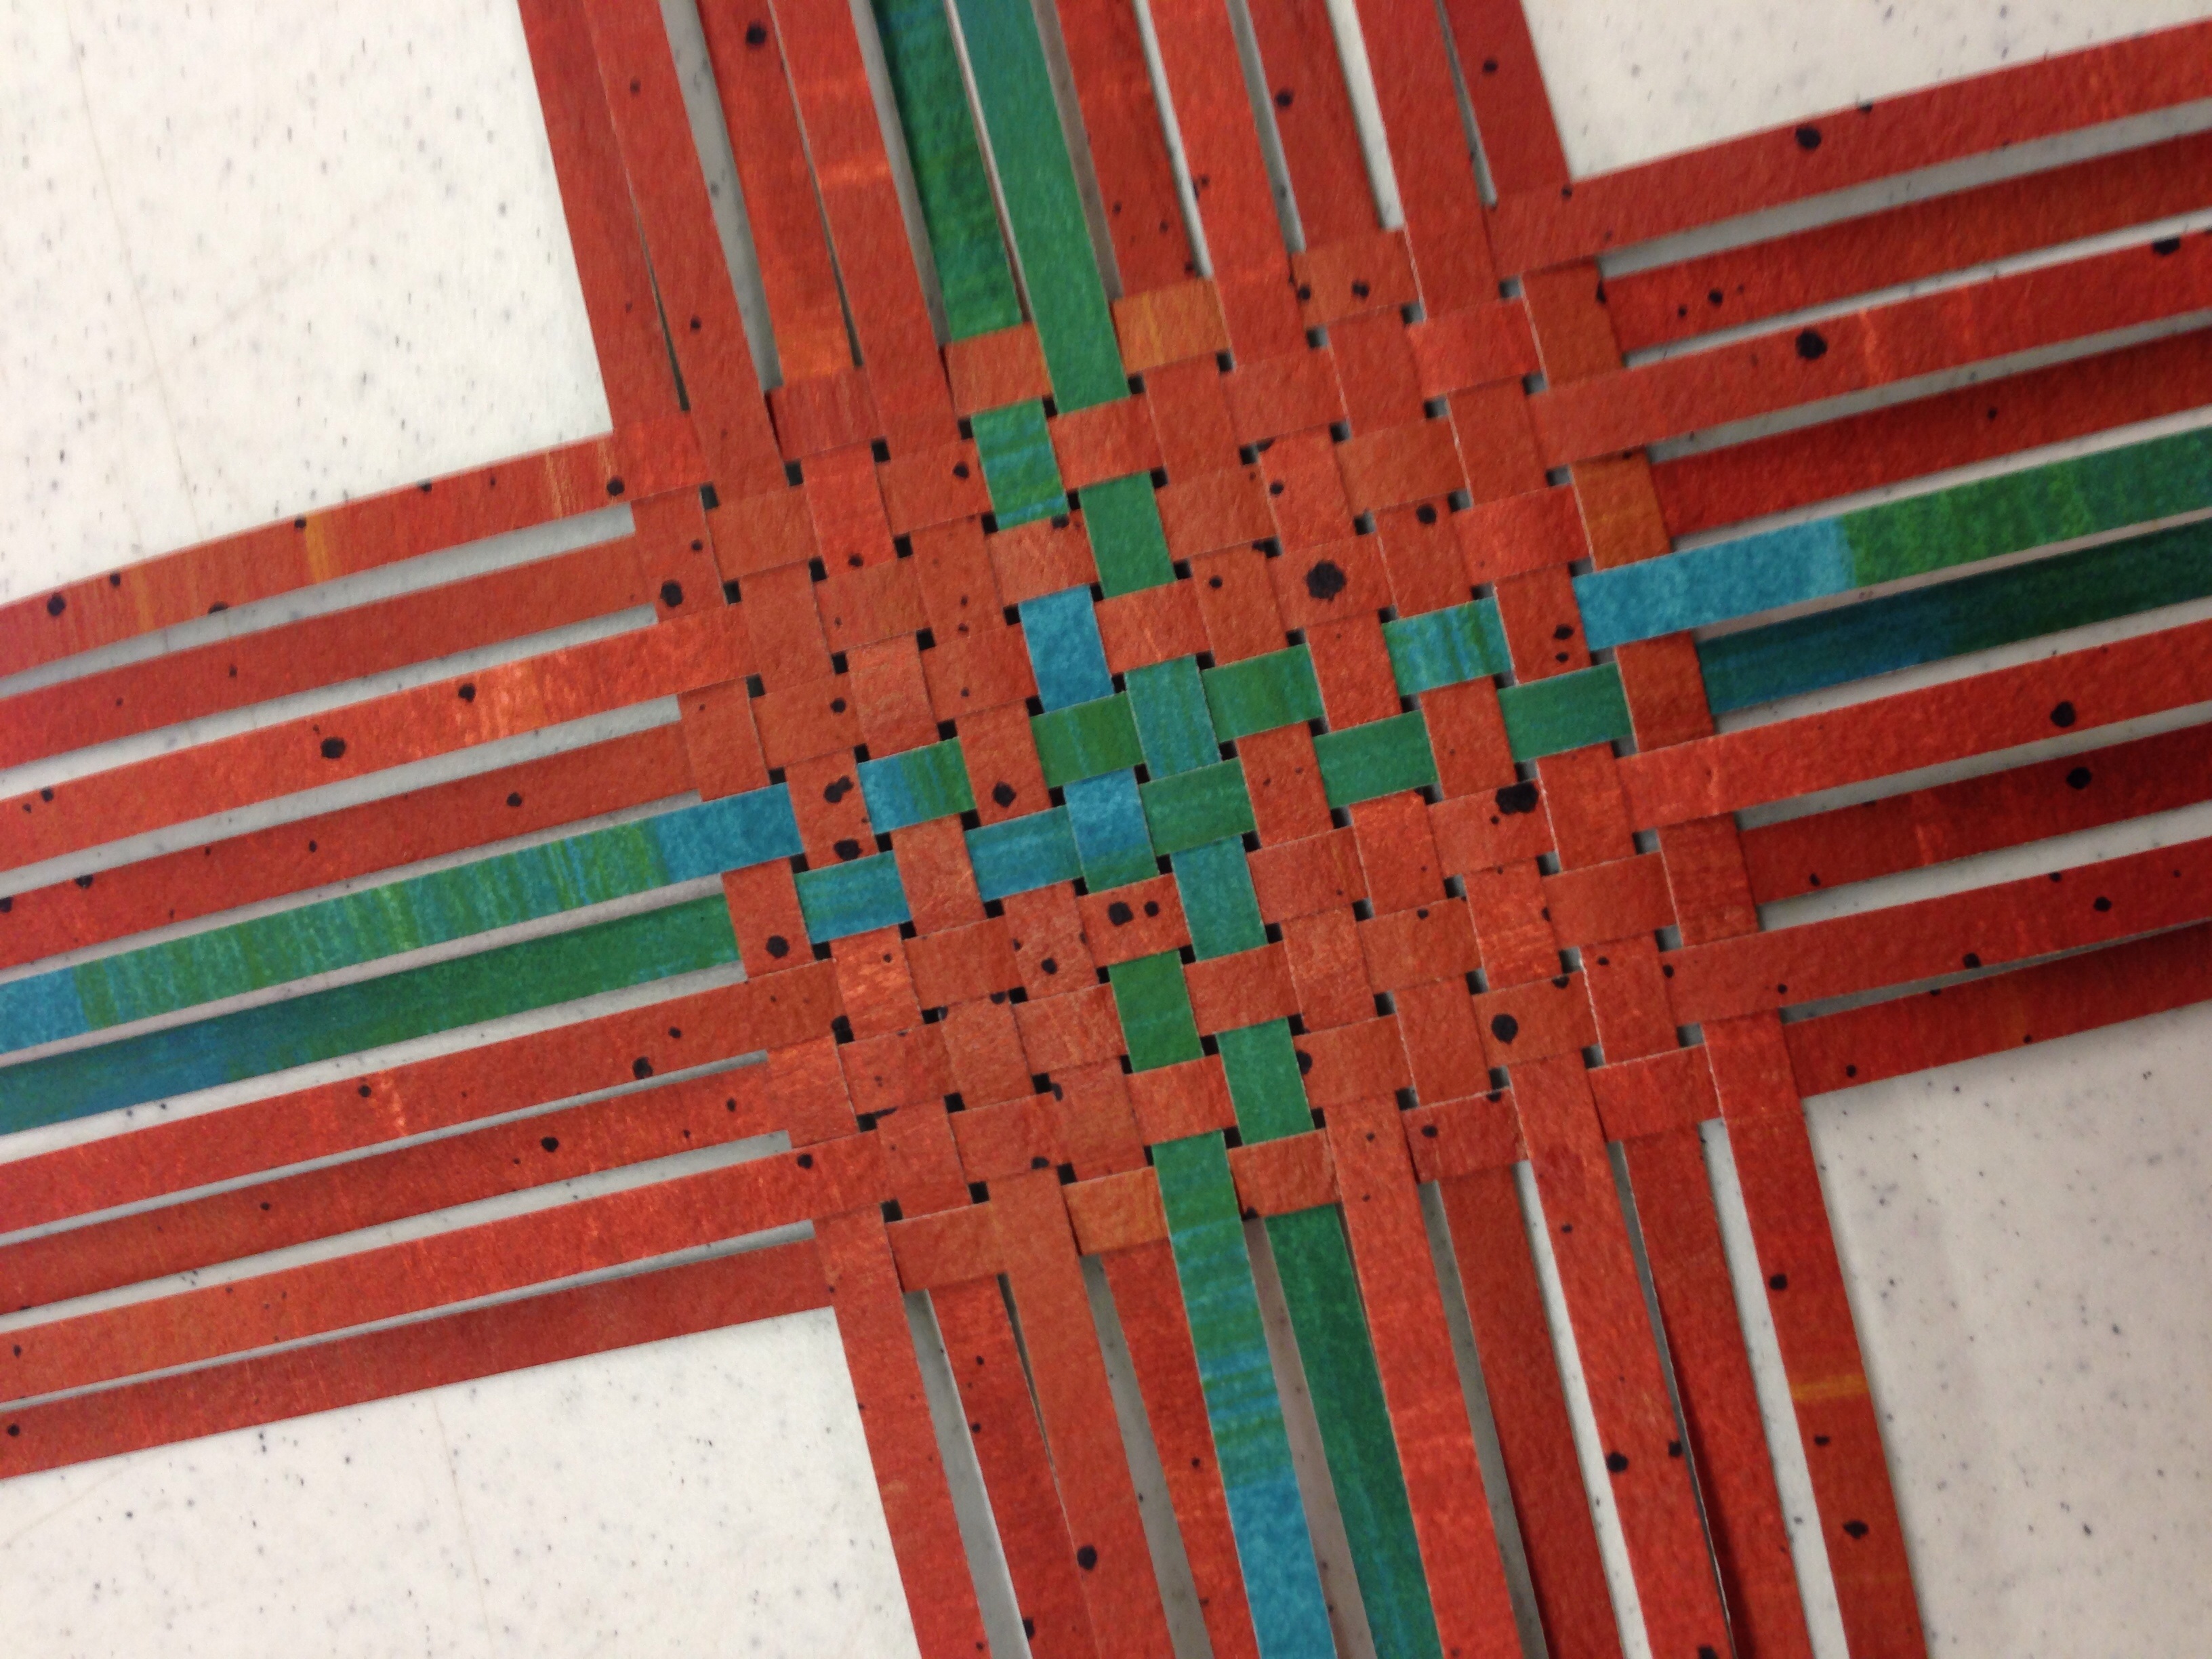
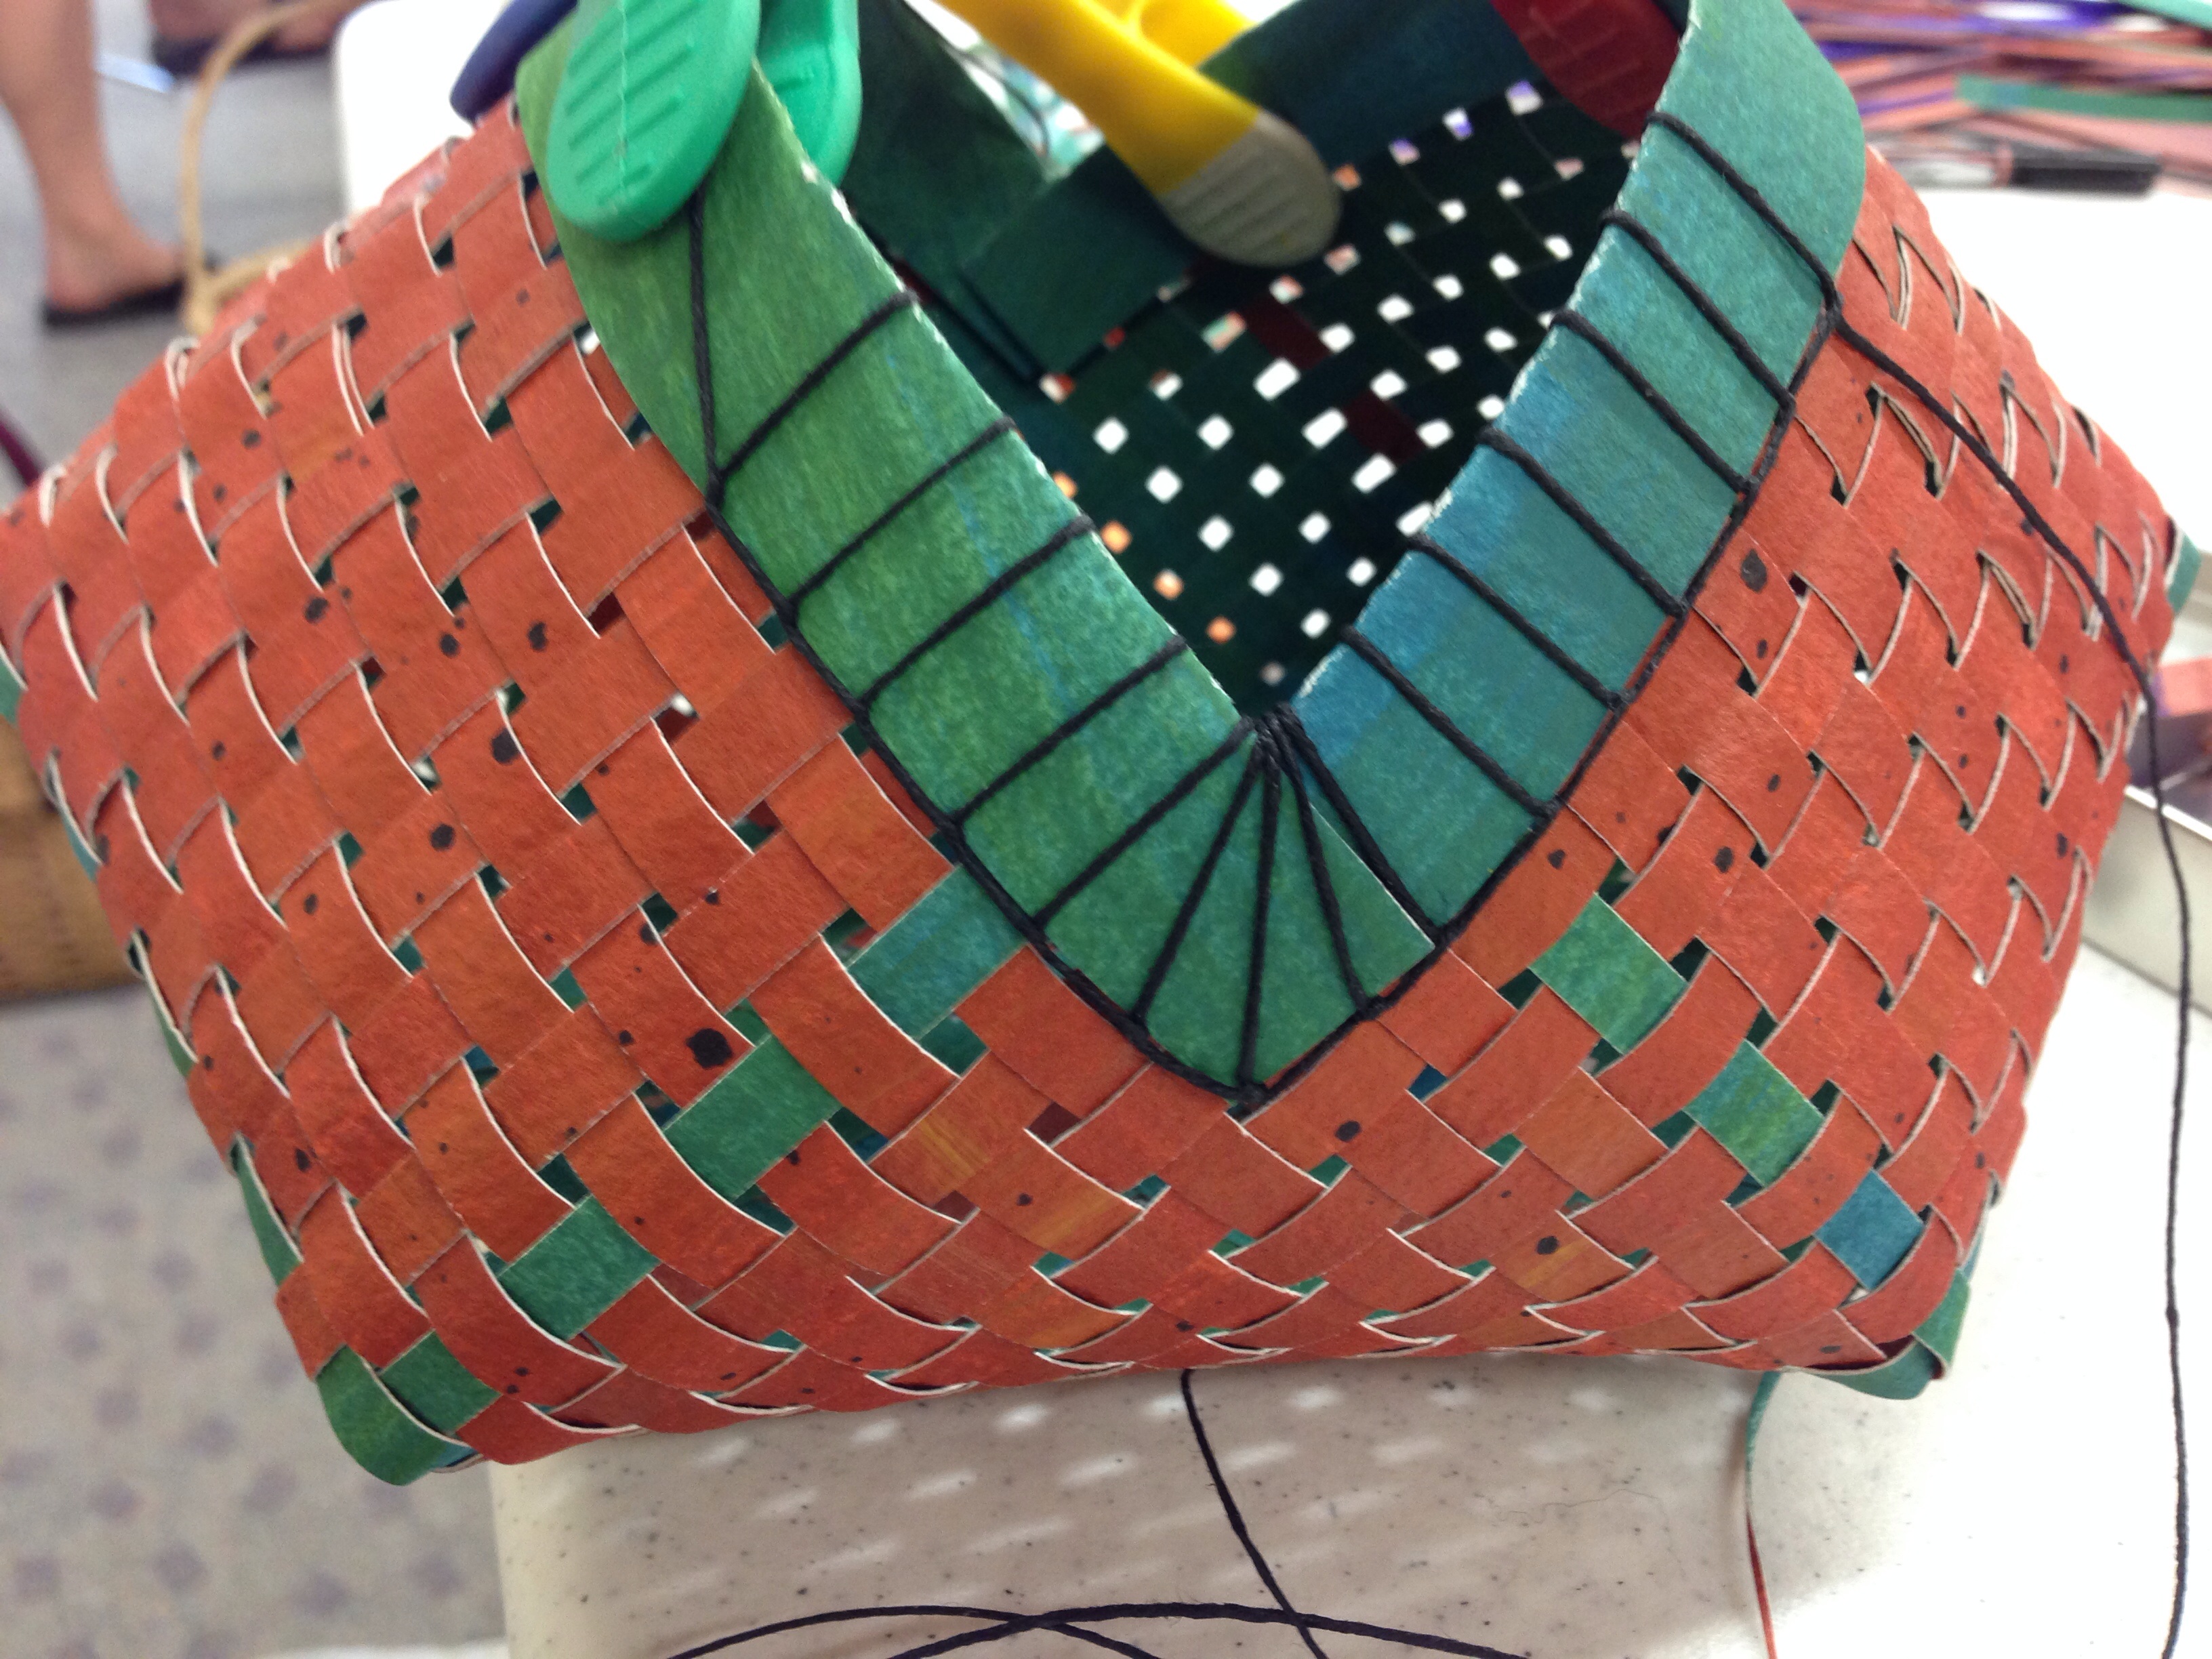
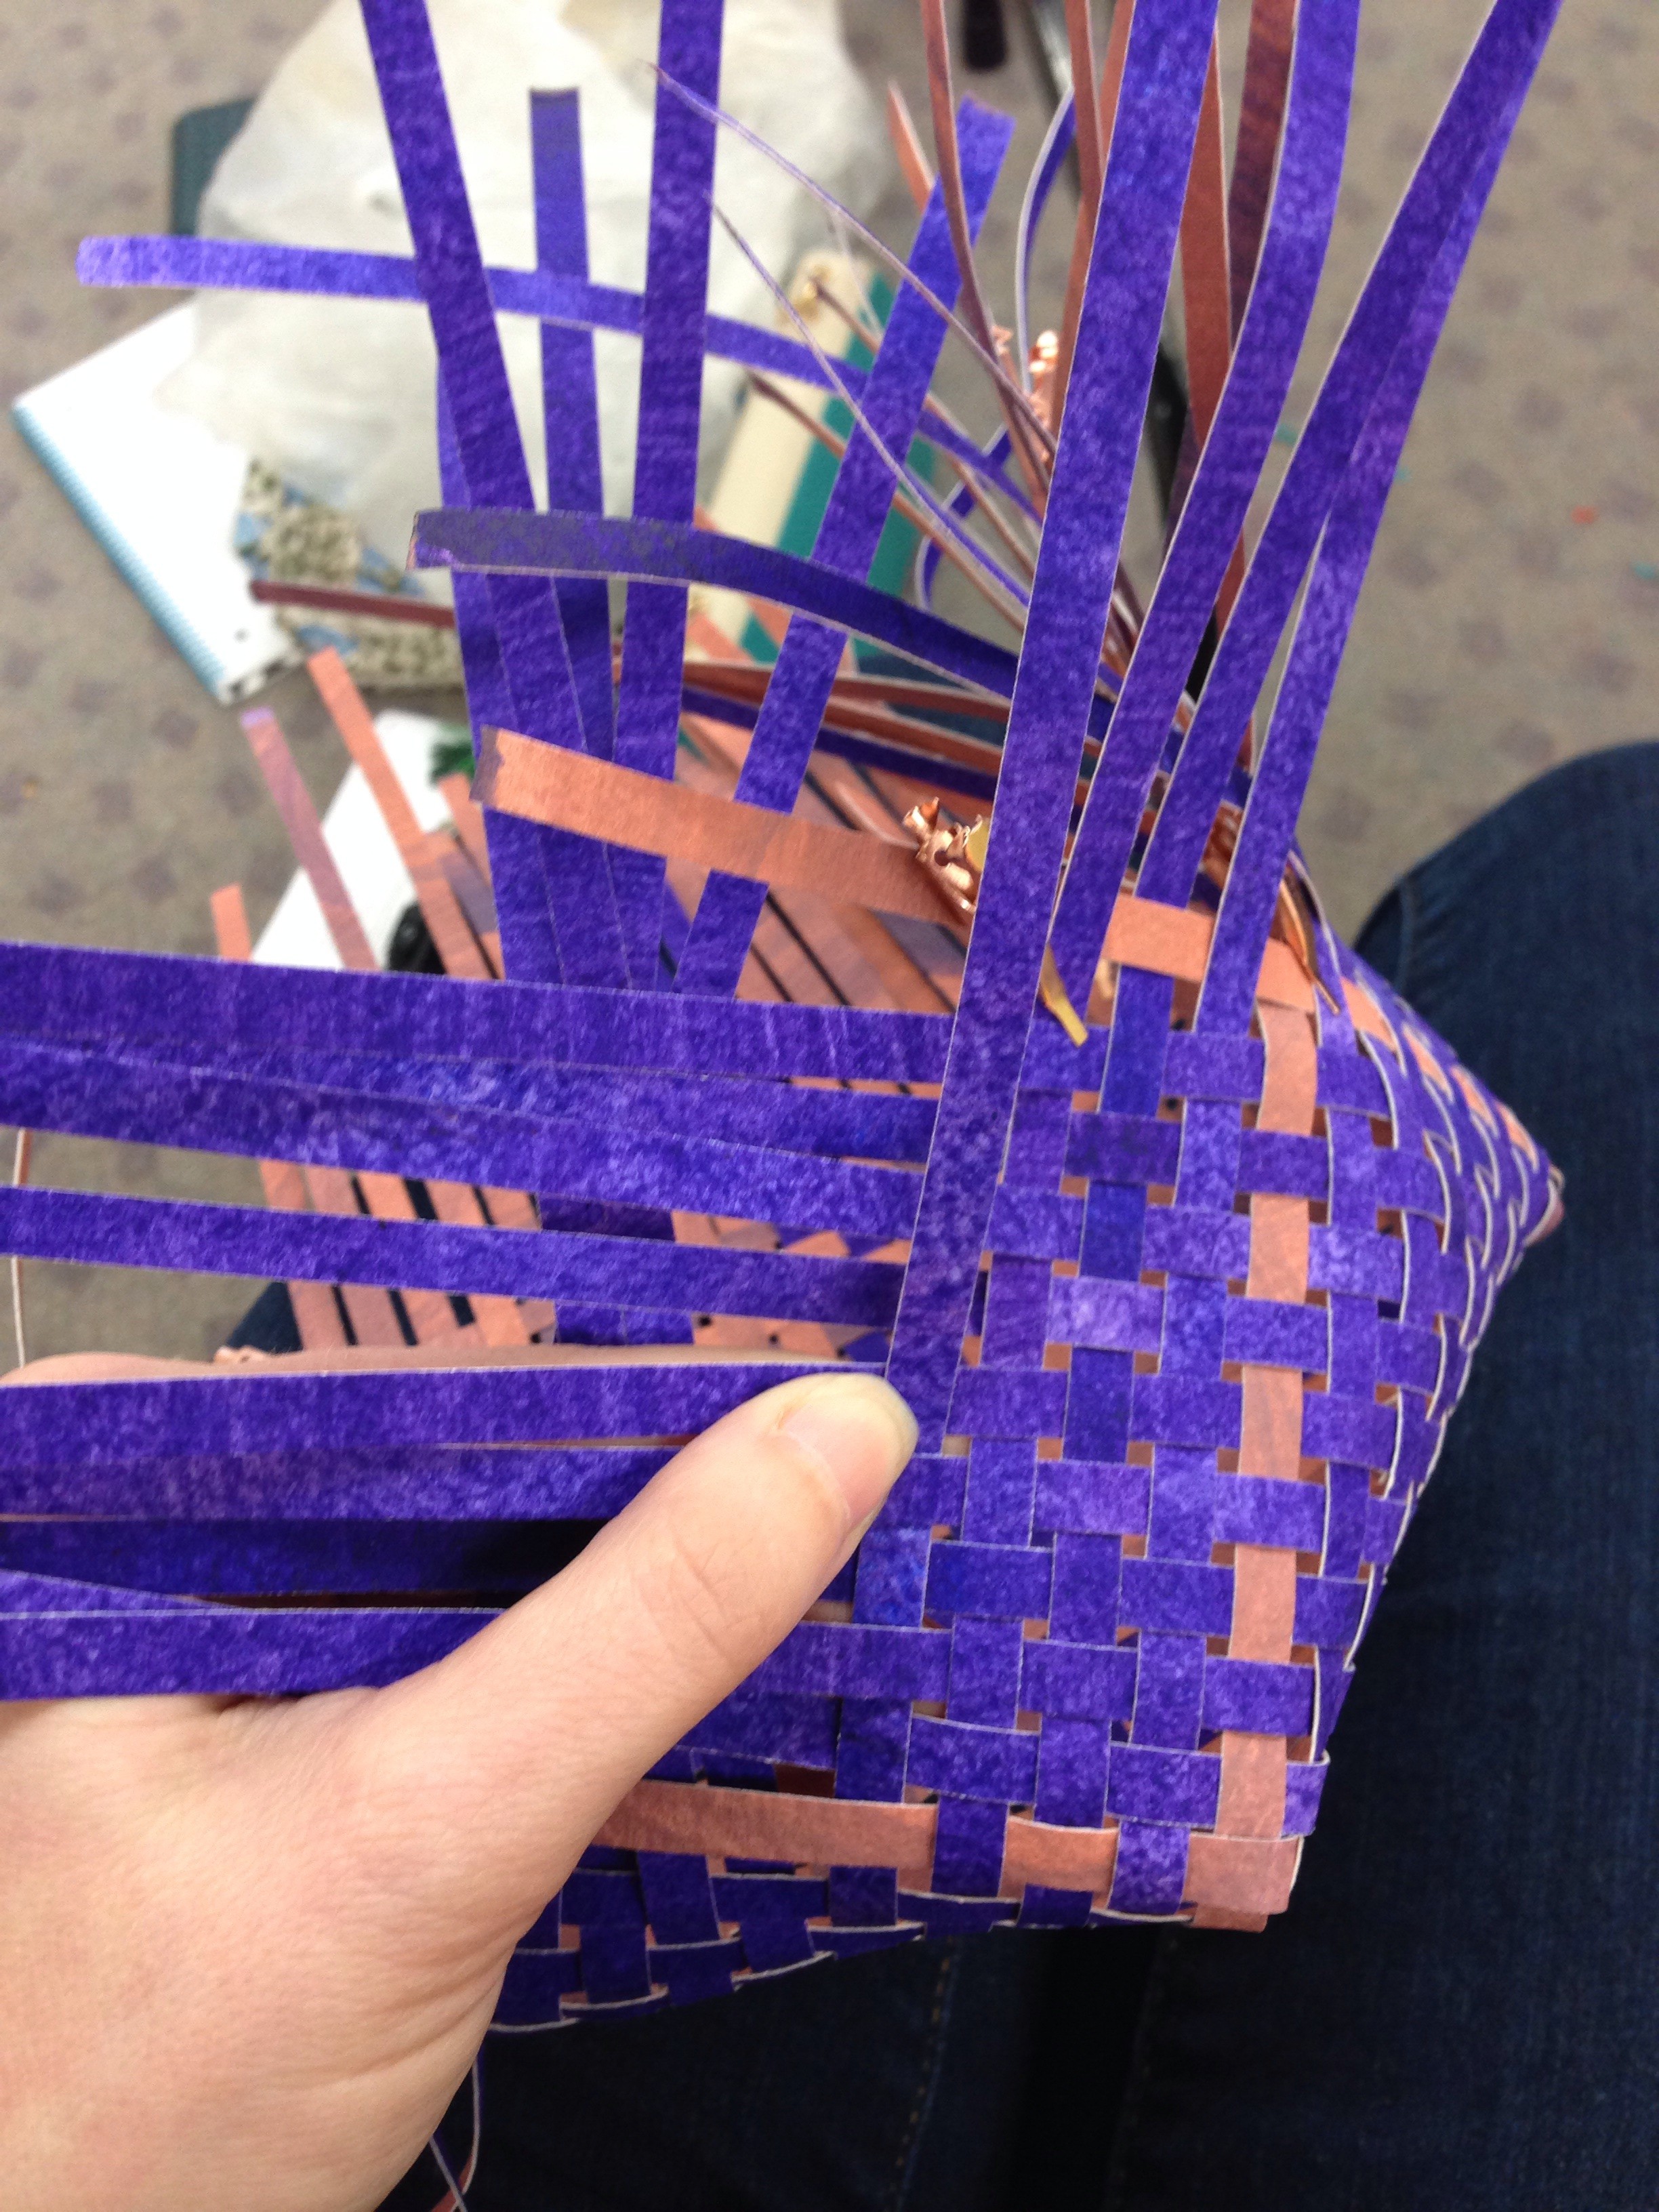
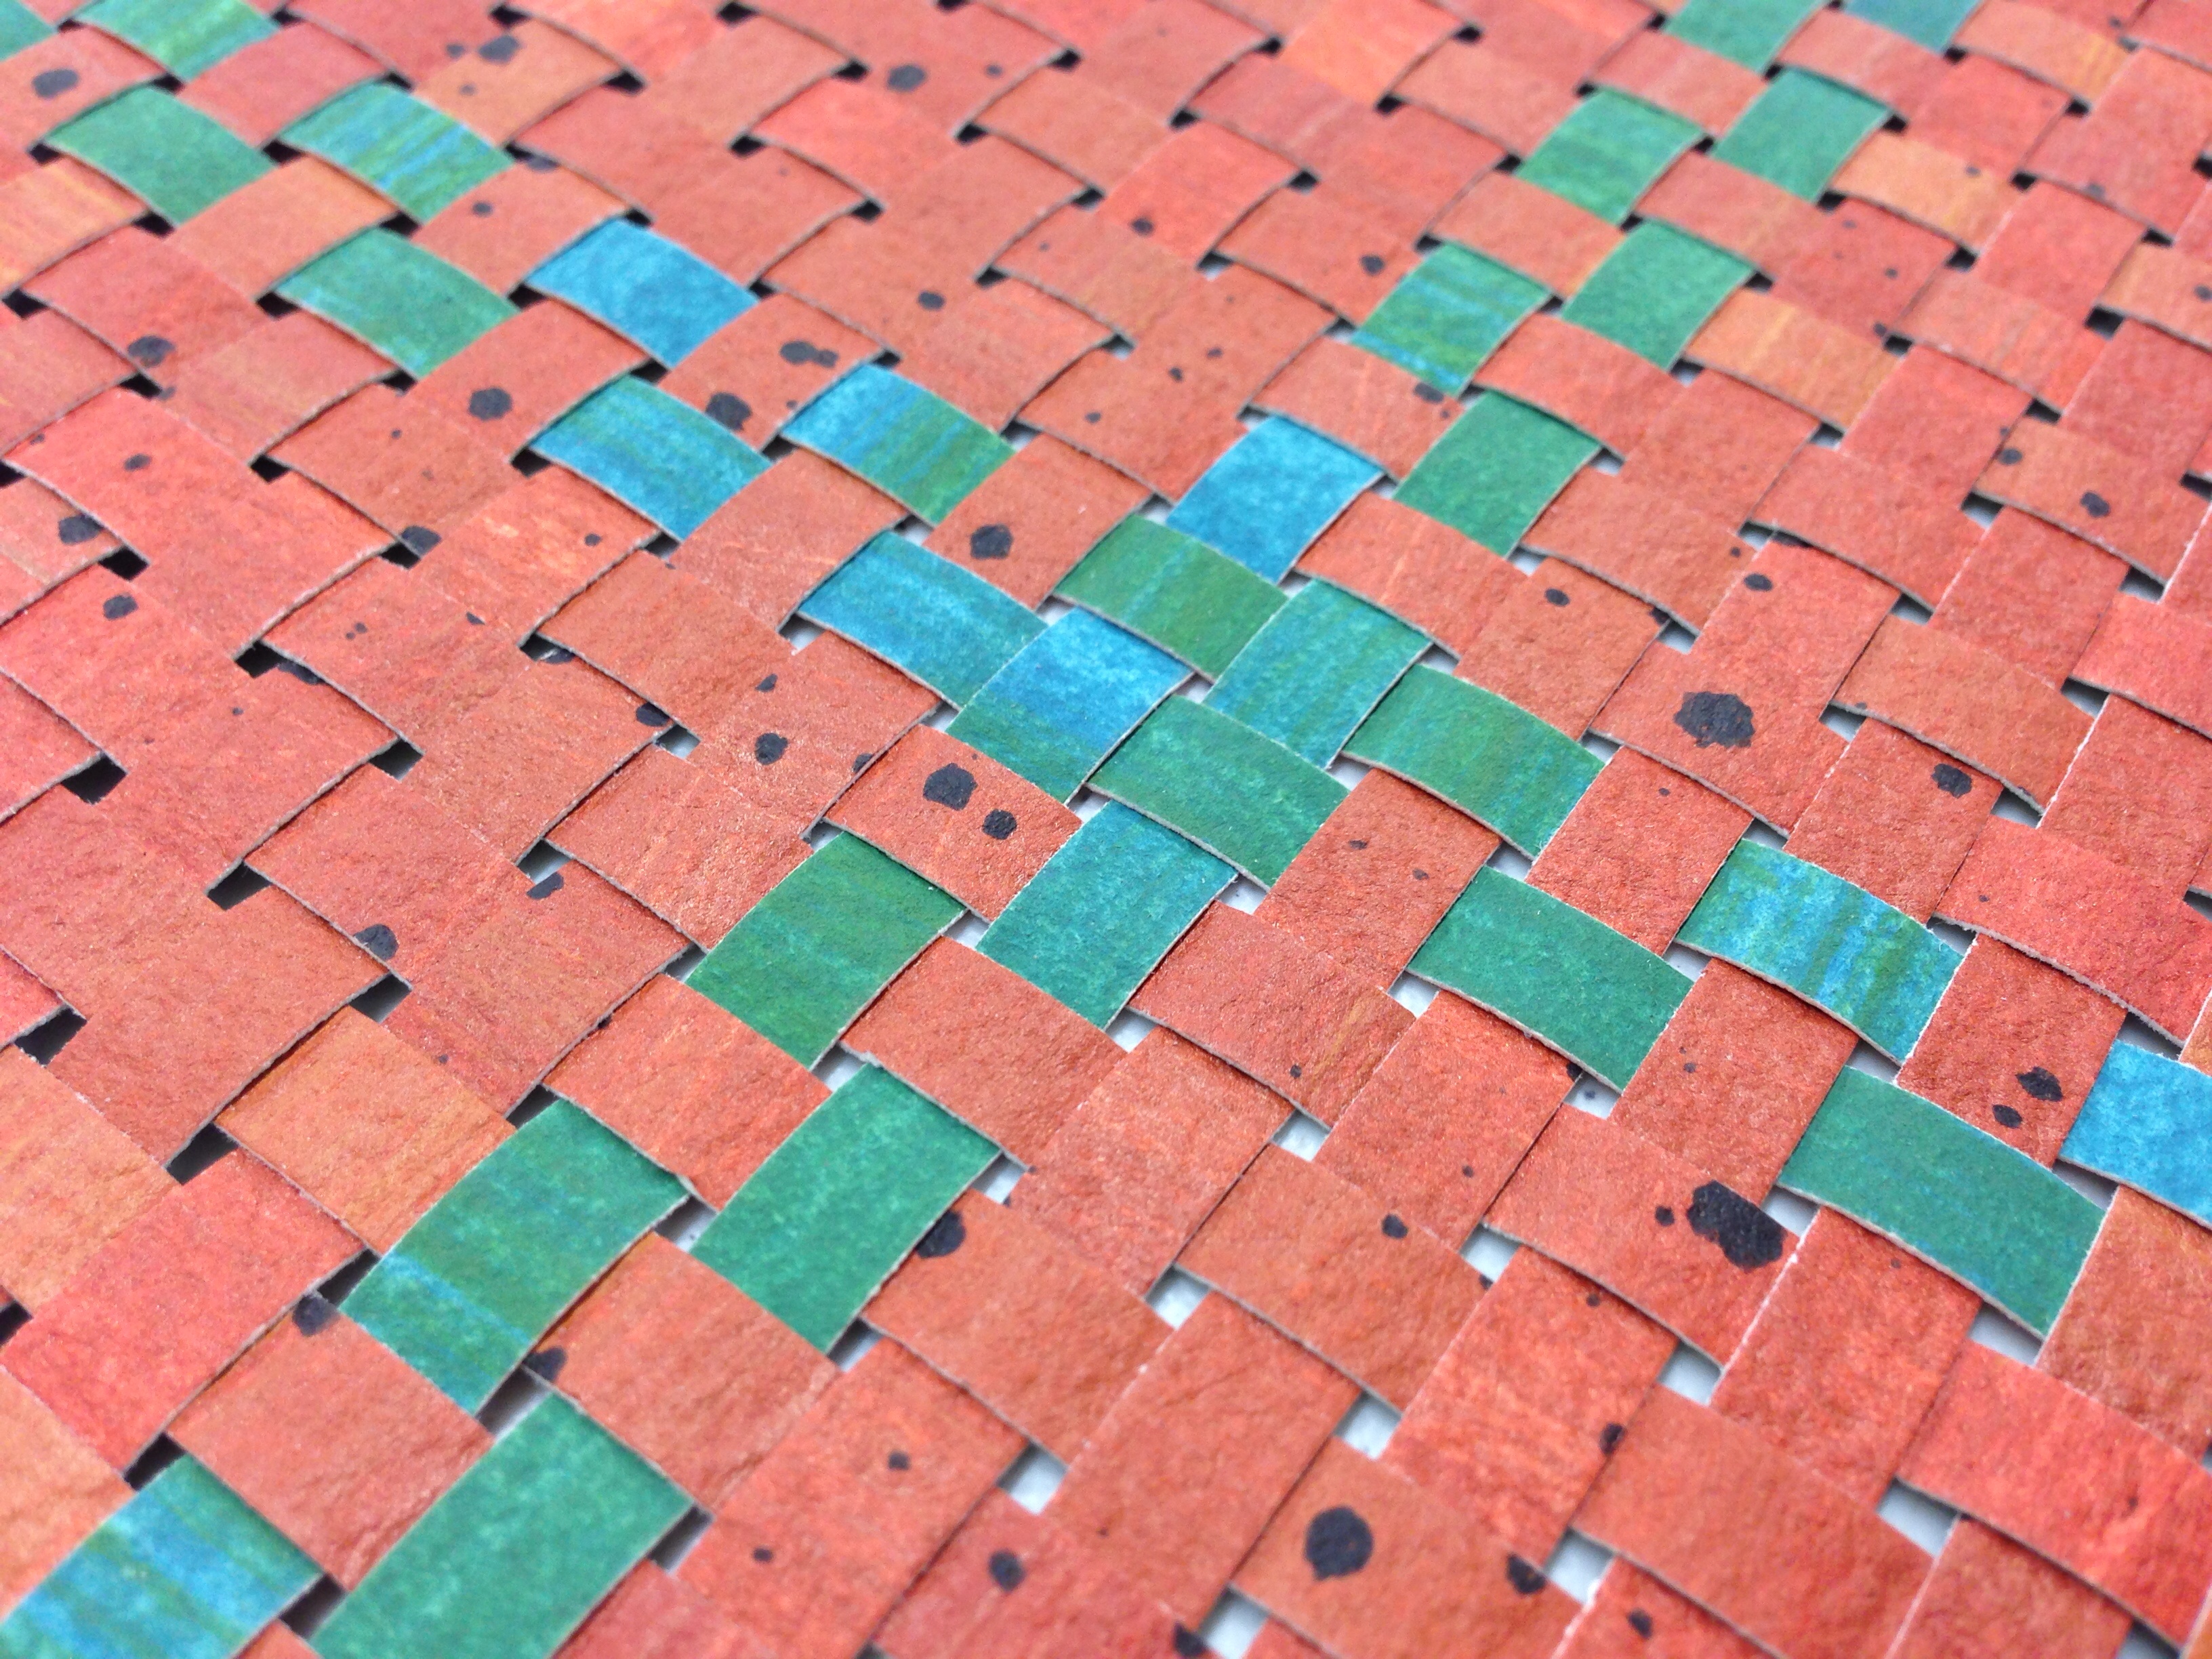
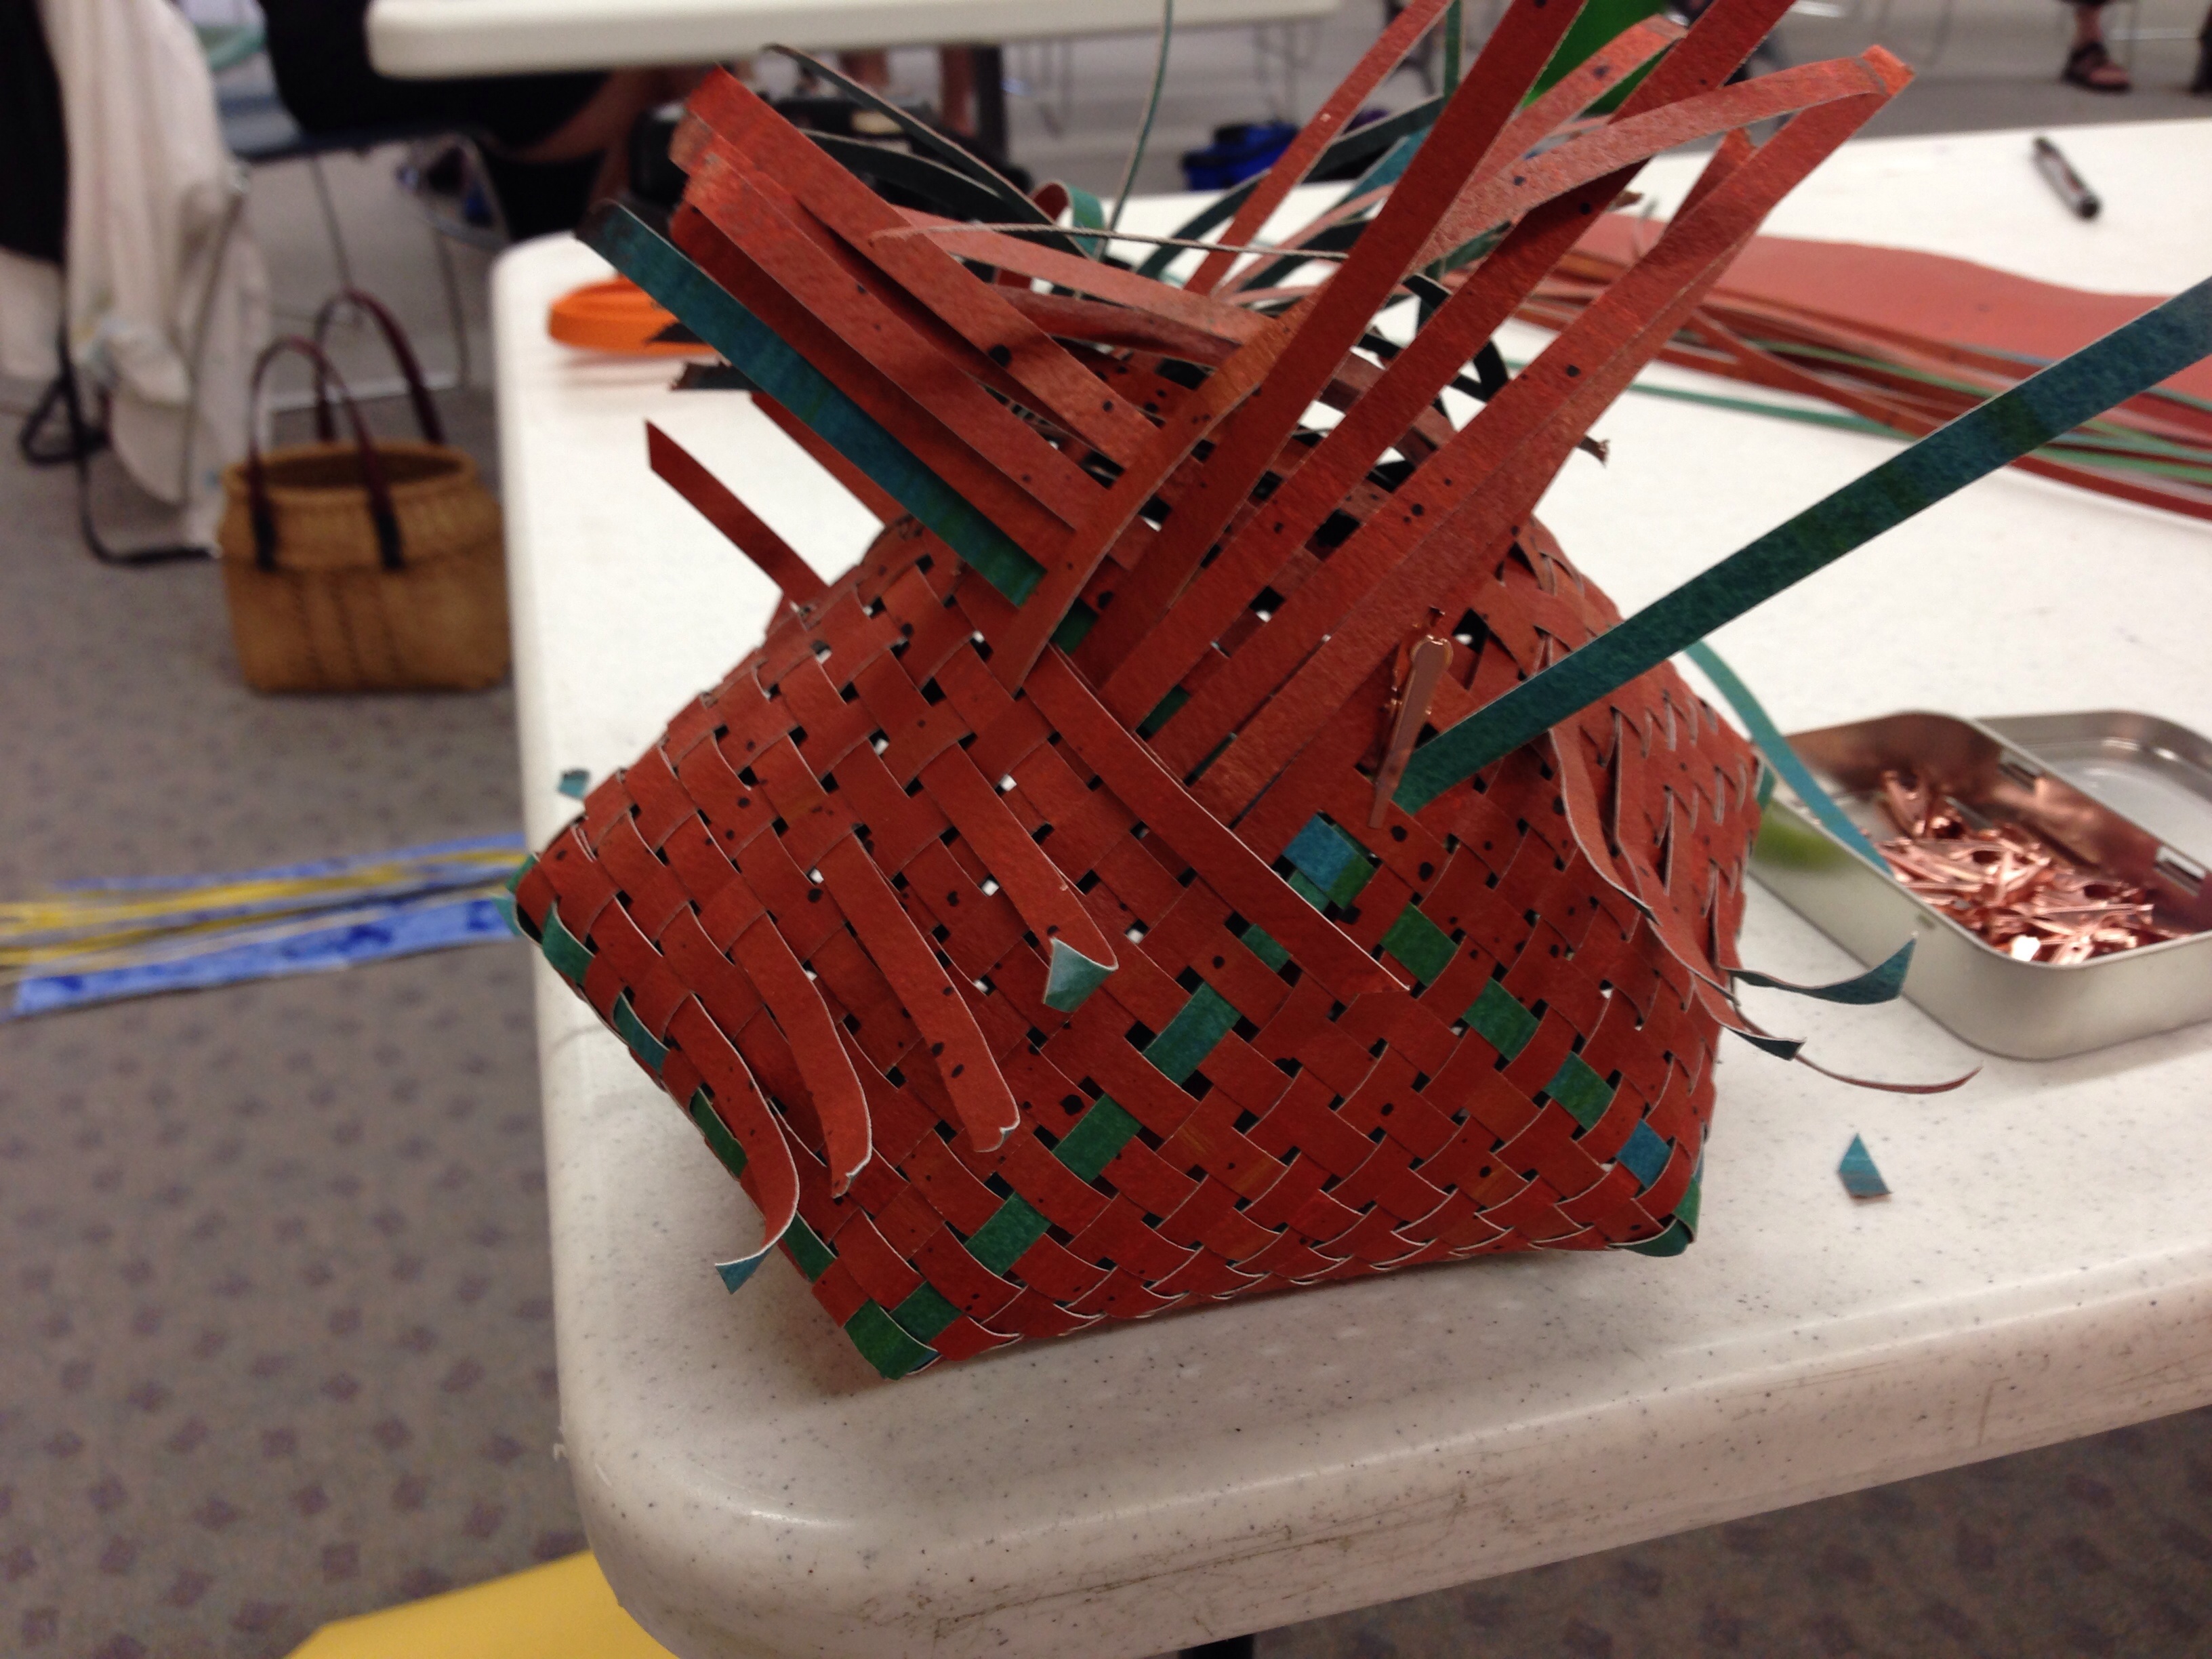
Bias plaiting works on the bias. You weave the base, over-under-over-under, and it looks just like a flat paper coaster. It reminded me a lot of the woven paper placemats I have made with kids. The bias comes in when you start to shape and you do that by bending things on the diagonal. It was tough to get the hang of at first and I really forgot what it is like to be a beginner at something totally new. It’s sort of rare that I jump into something that I don’t have a little experience with. After wrestling with my first corner, I watched Jackie demonstrate again and it surprised me how much more it made sense the second time. It also took me a little while to make the connection that I was working with the bias of a woven “fabric”, which stretches and compresses does all kinds of crazy things. Once I remembered “oh yes, bias” and realized that I could boss the paper around a bit more, then things started to click.
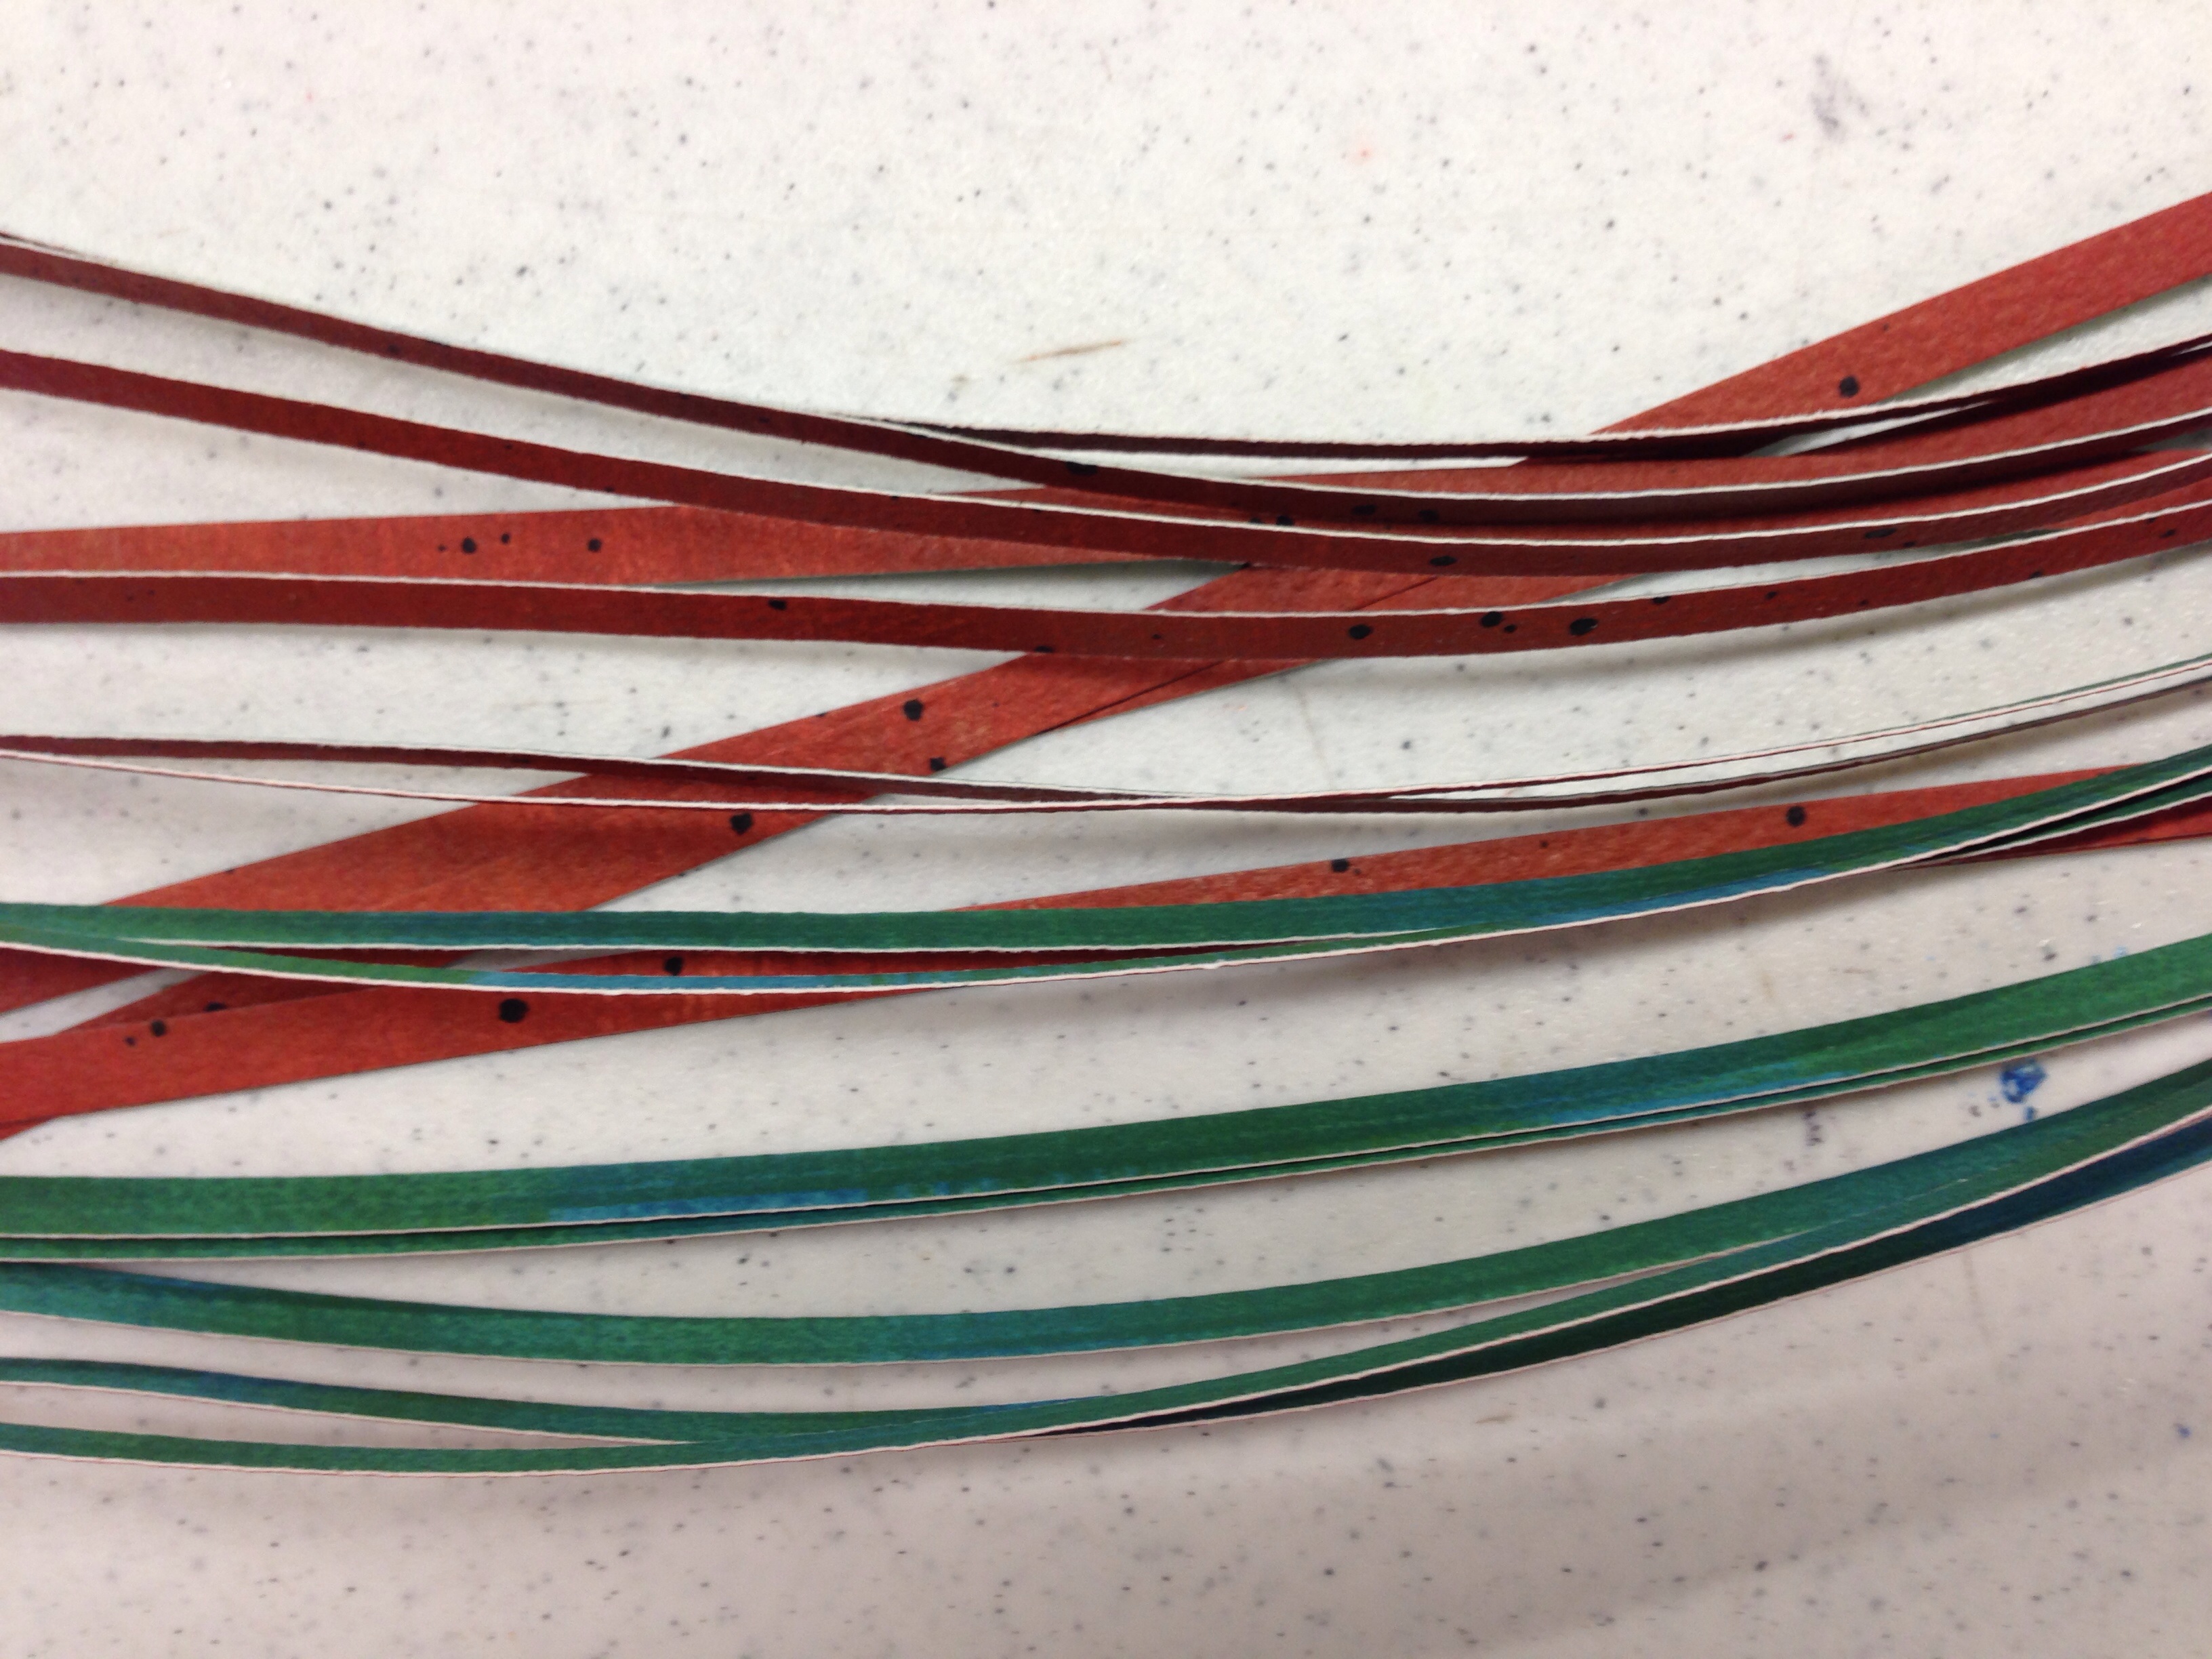
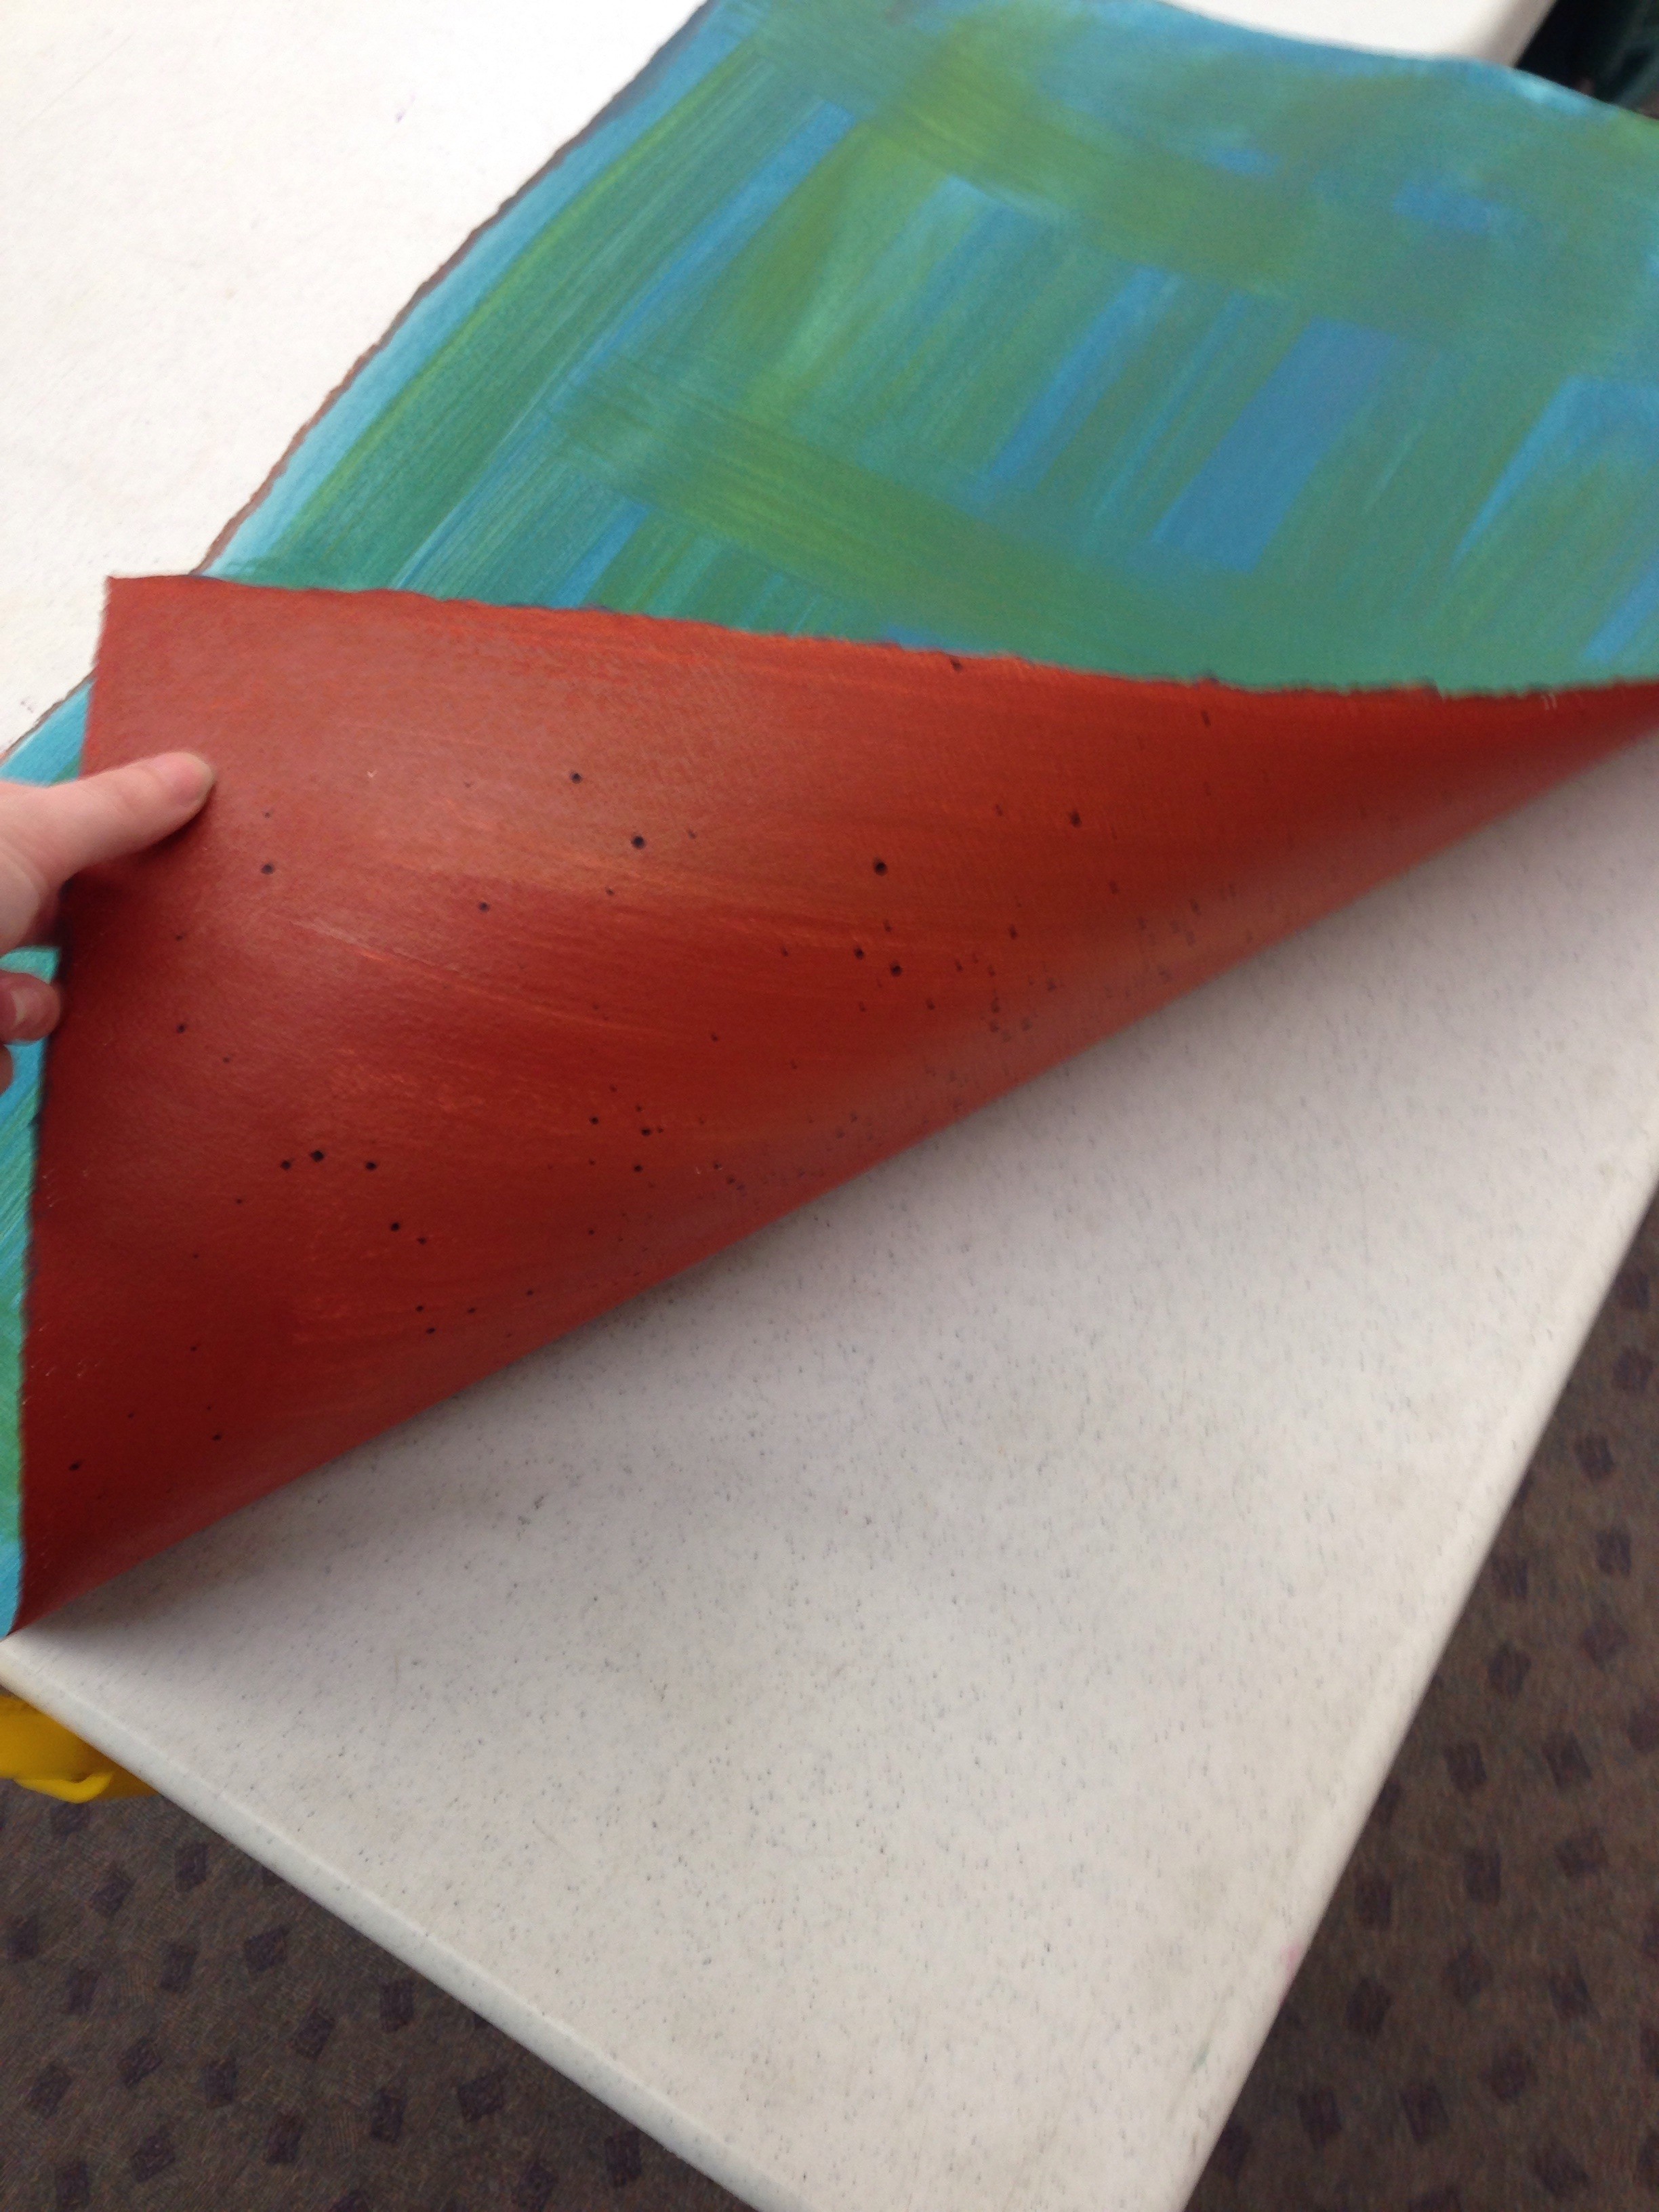 Our material was painted watercolor paper, which is a lovely thing to work with. It’s thick paper which is hard to crease (which is a good thing) and is much less fragile than I had at first thought it would be. We painted each sheet of paper on both sides because in this basket, you end up seeing both sides (and the contrasting colors are a huge help in remembering what piece to put where.) Painting was fun because really anything goes and some of the wildest papers made some really great baskets. We cut it into 1/4 inch strips using a pasta machine. (Brilliant!)
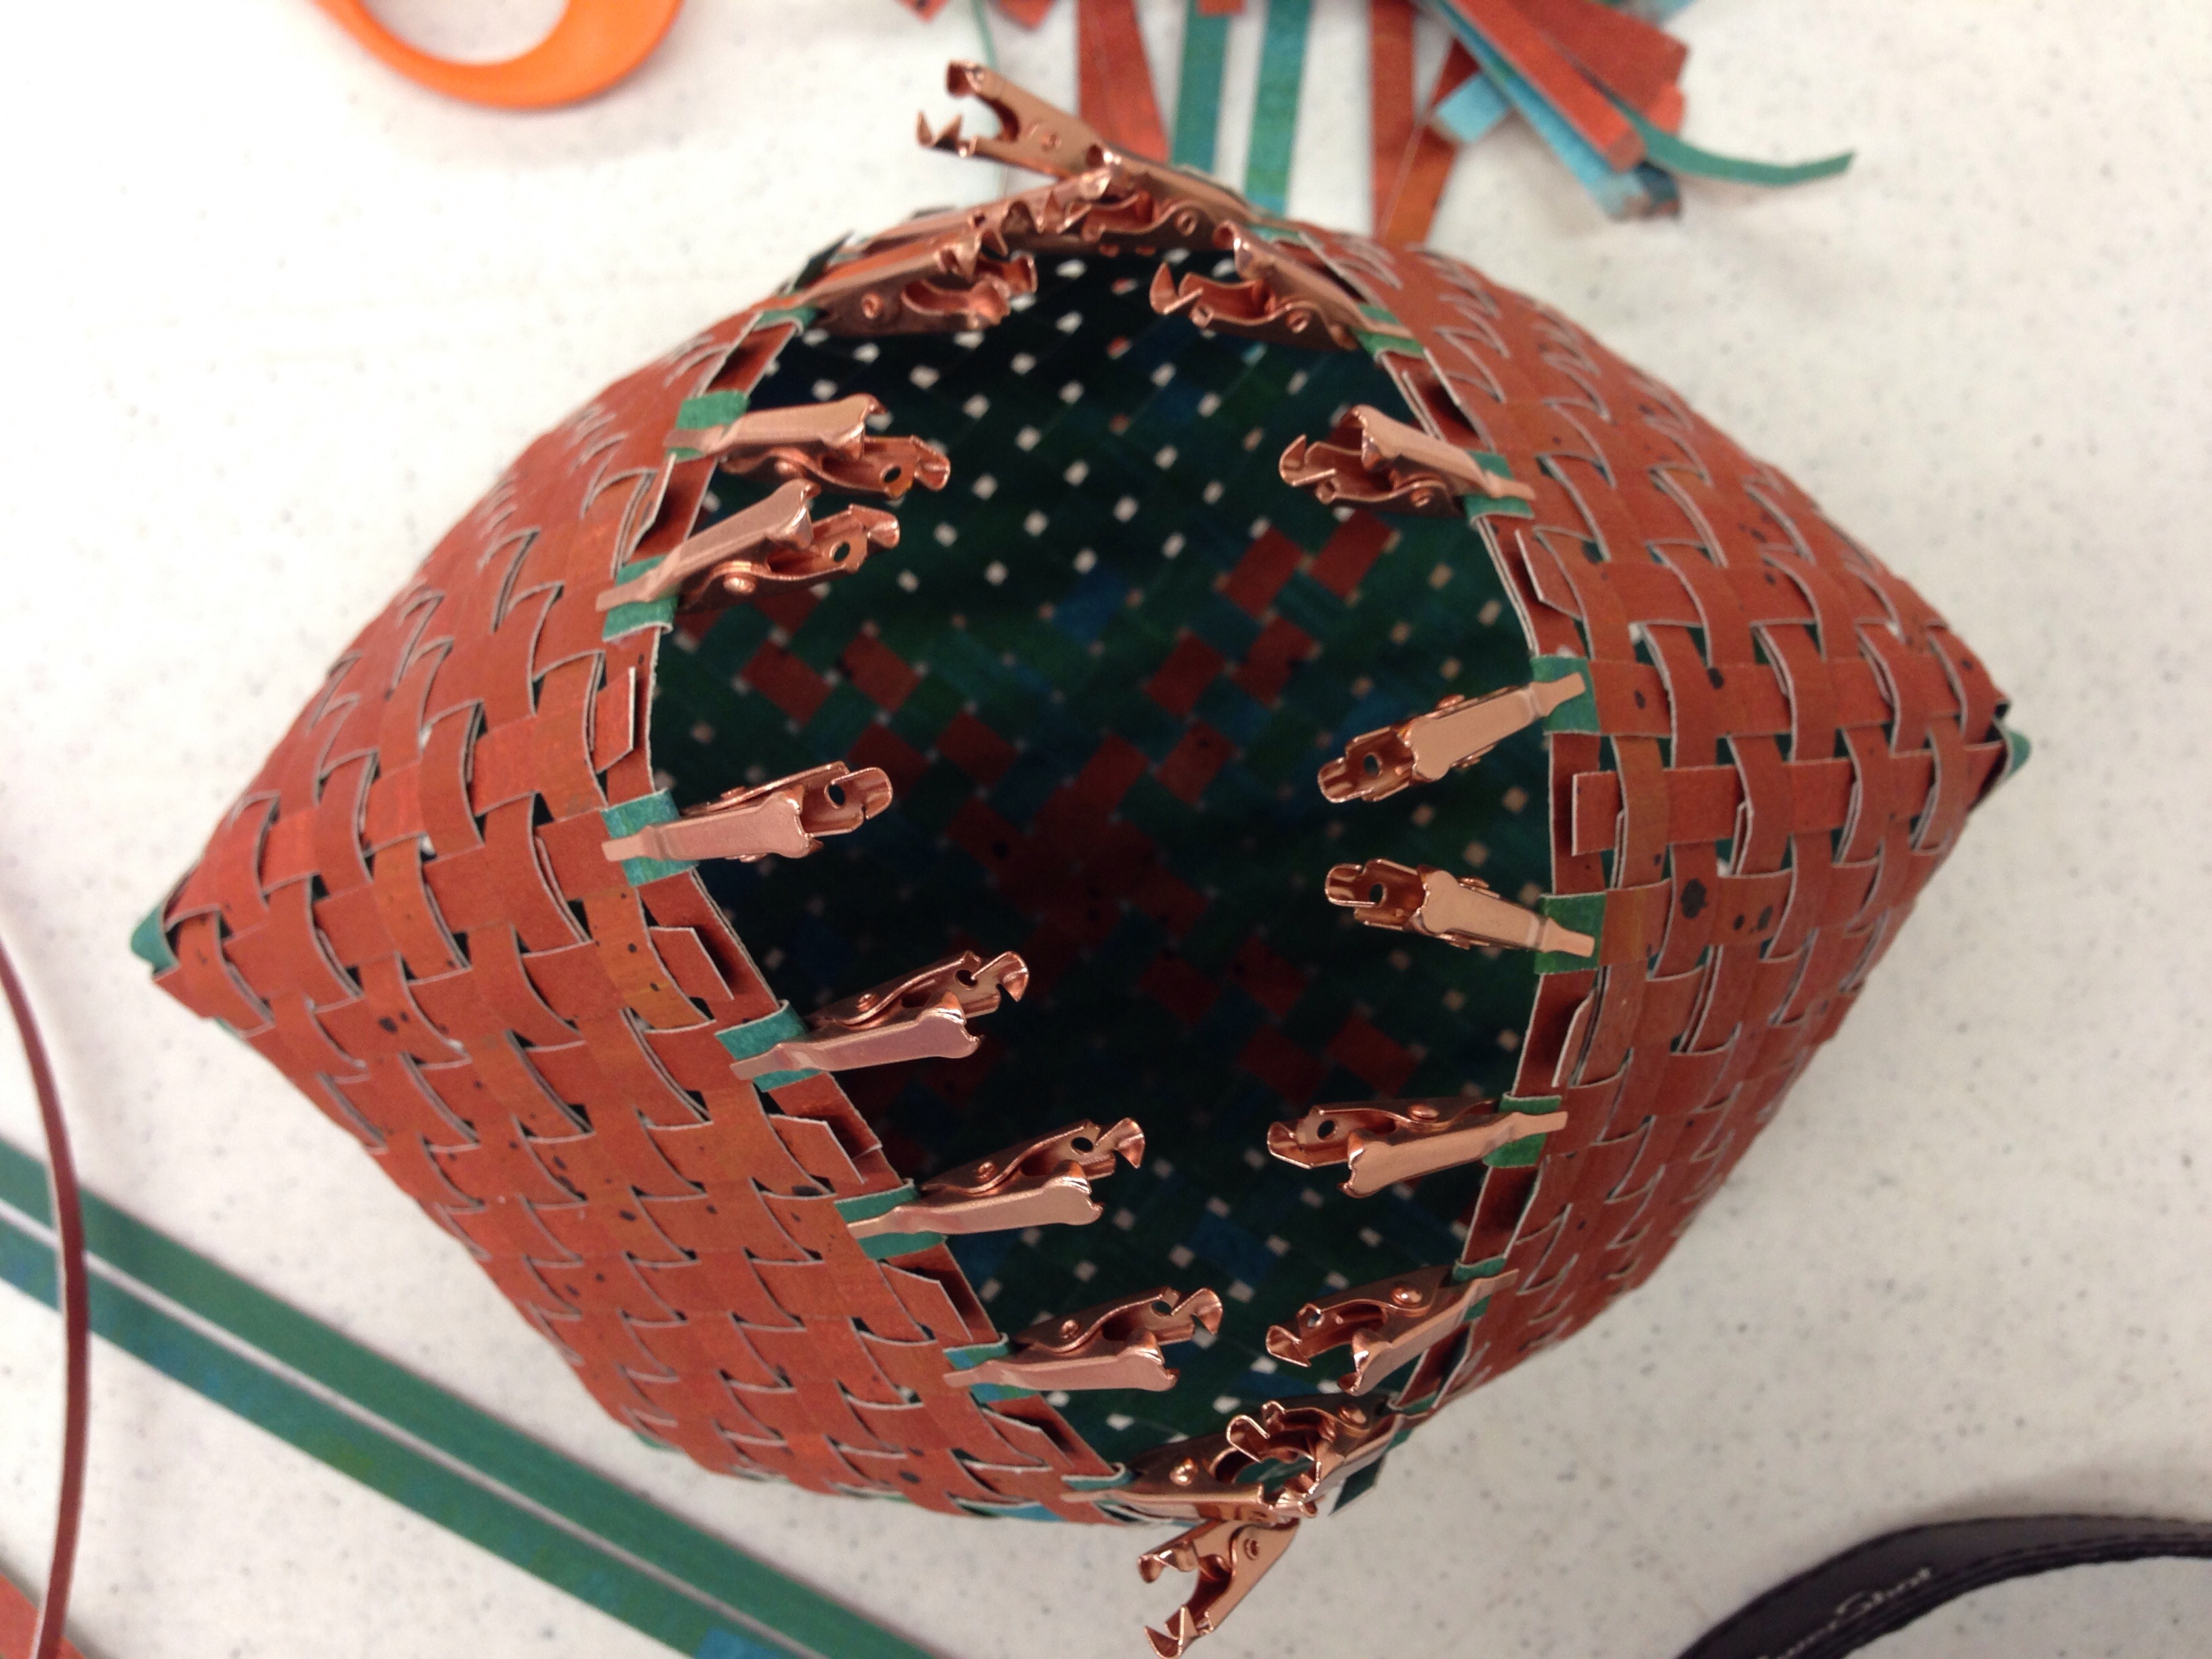
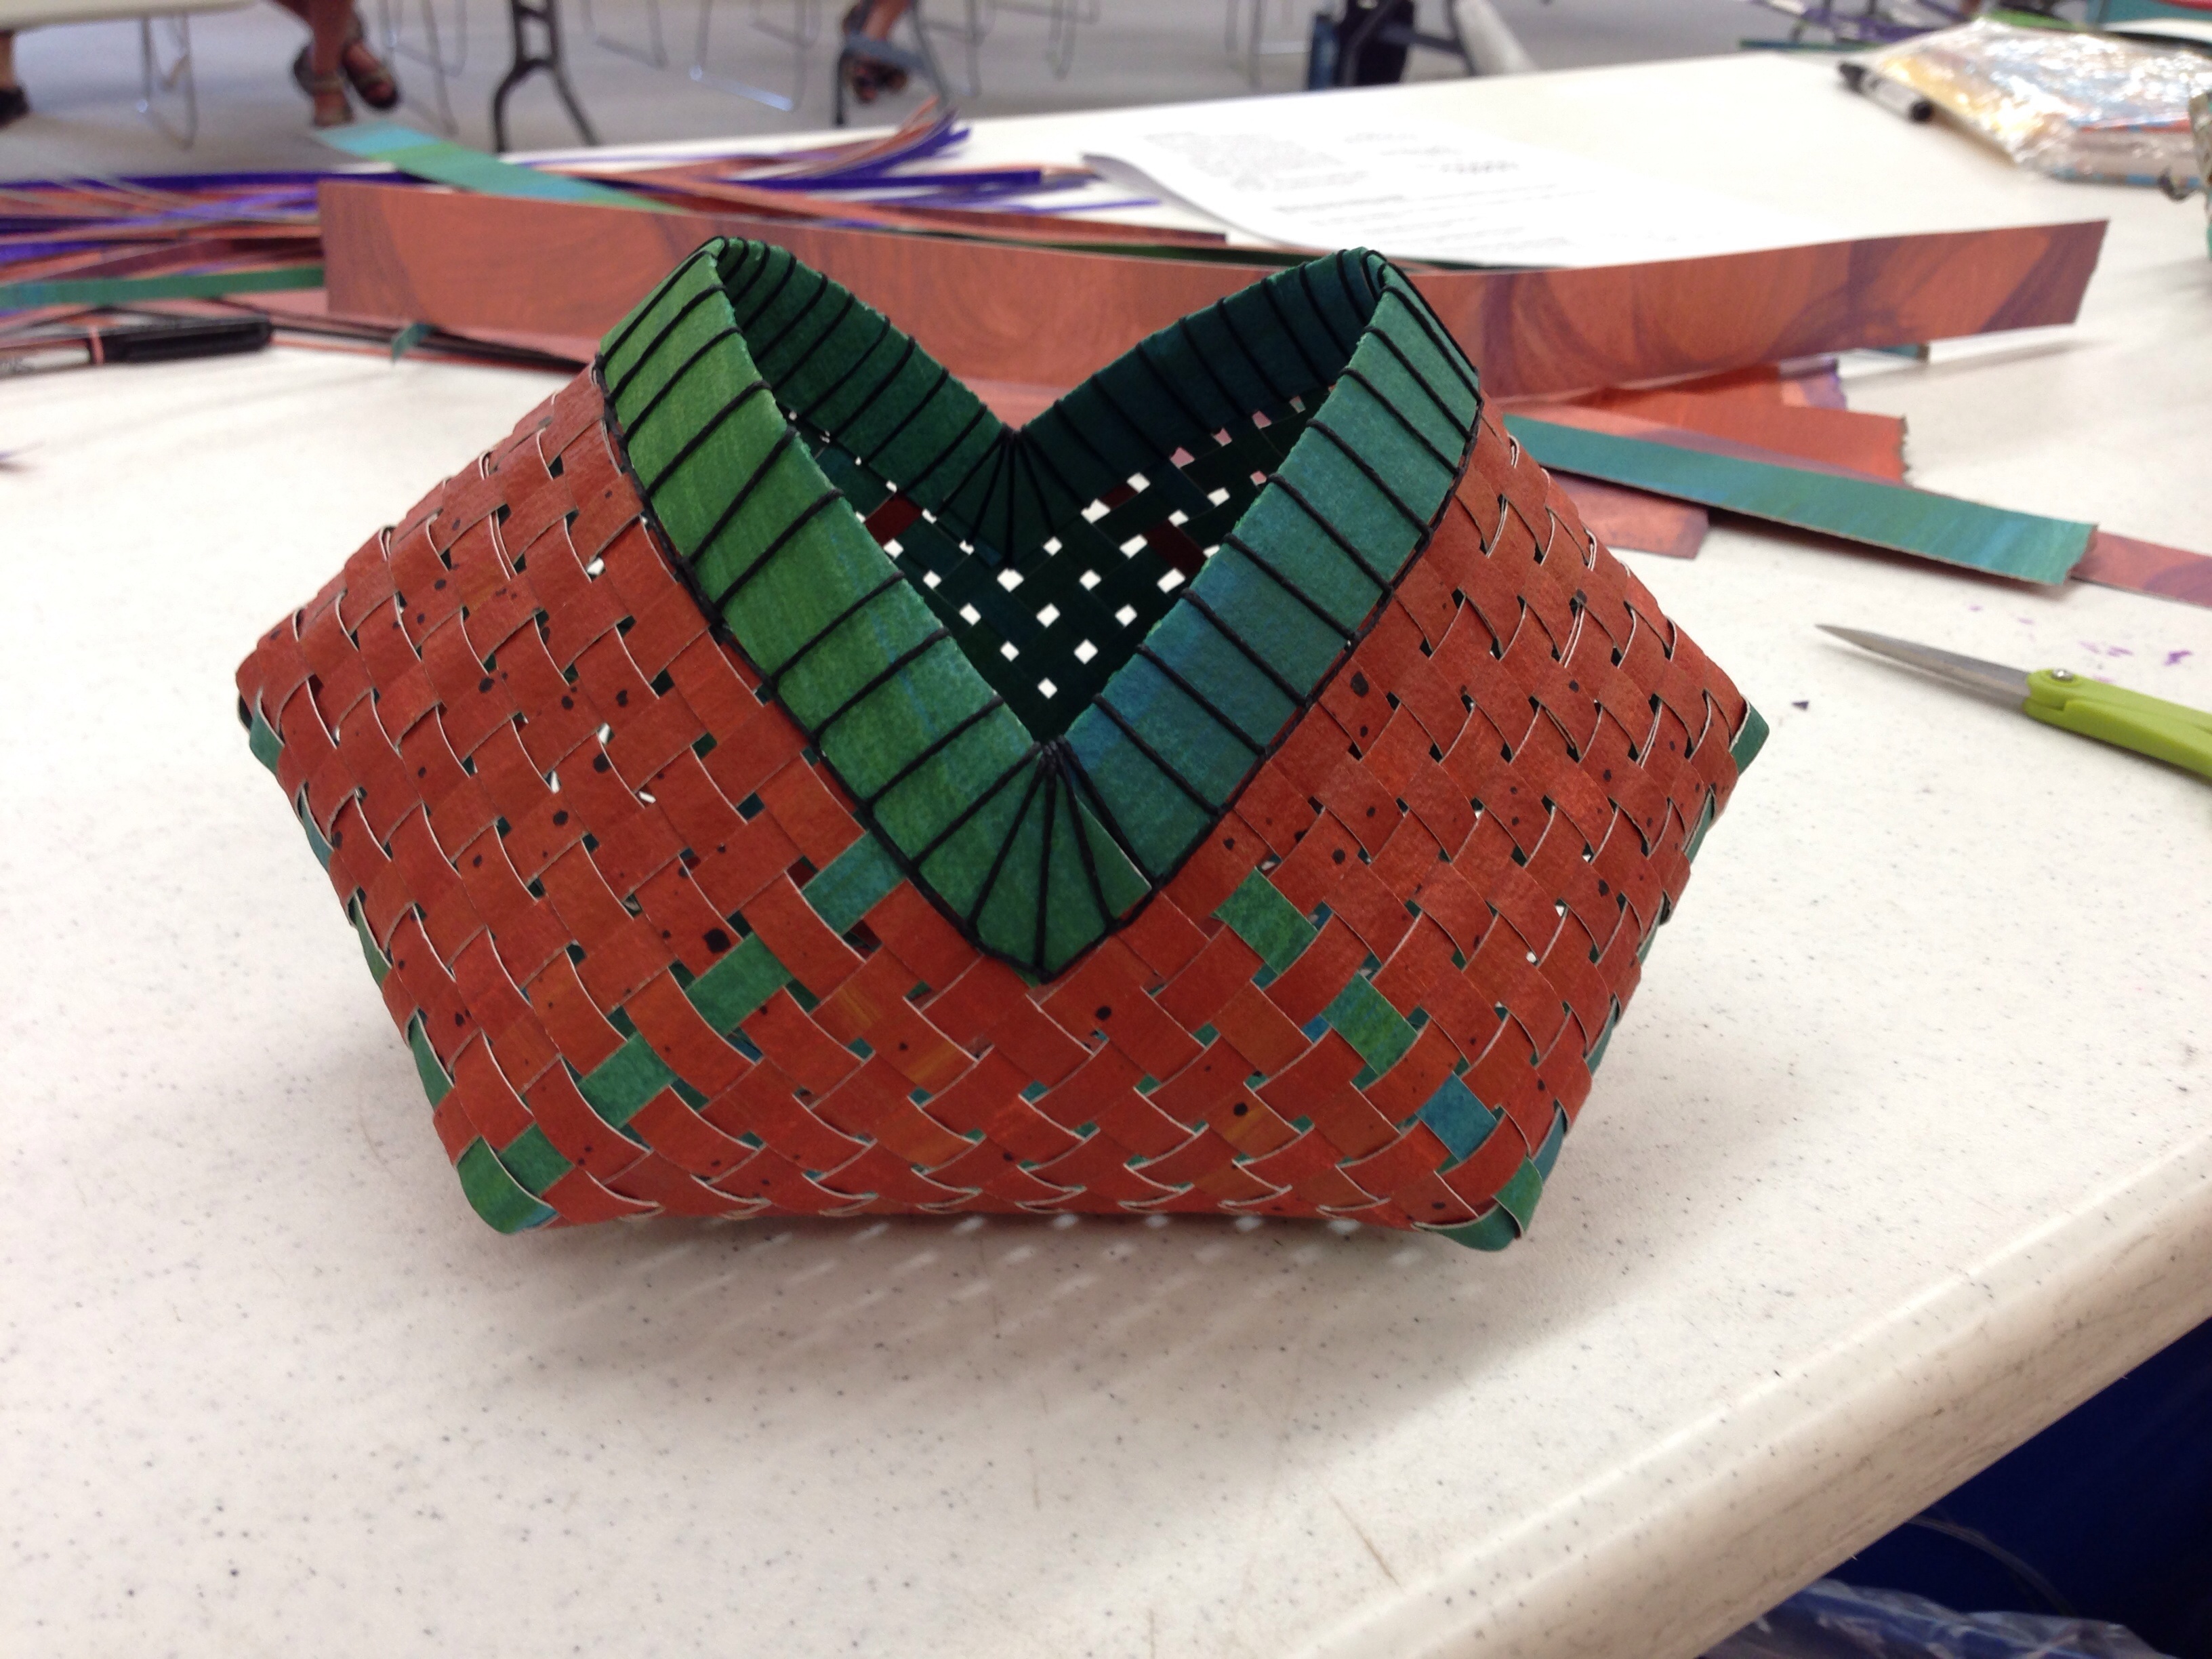
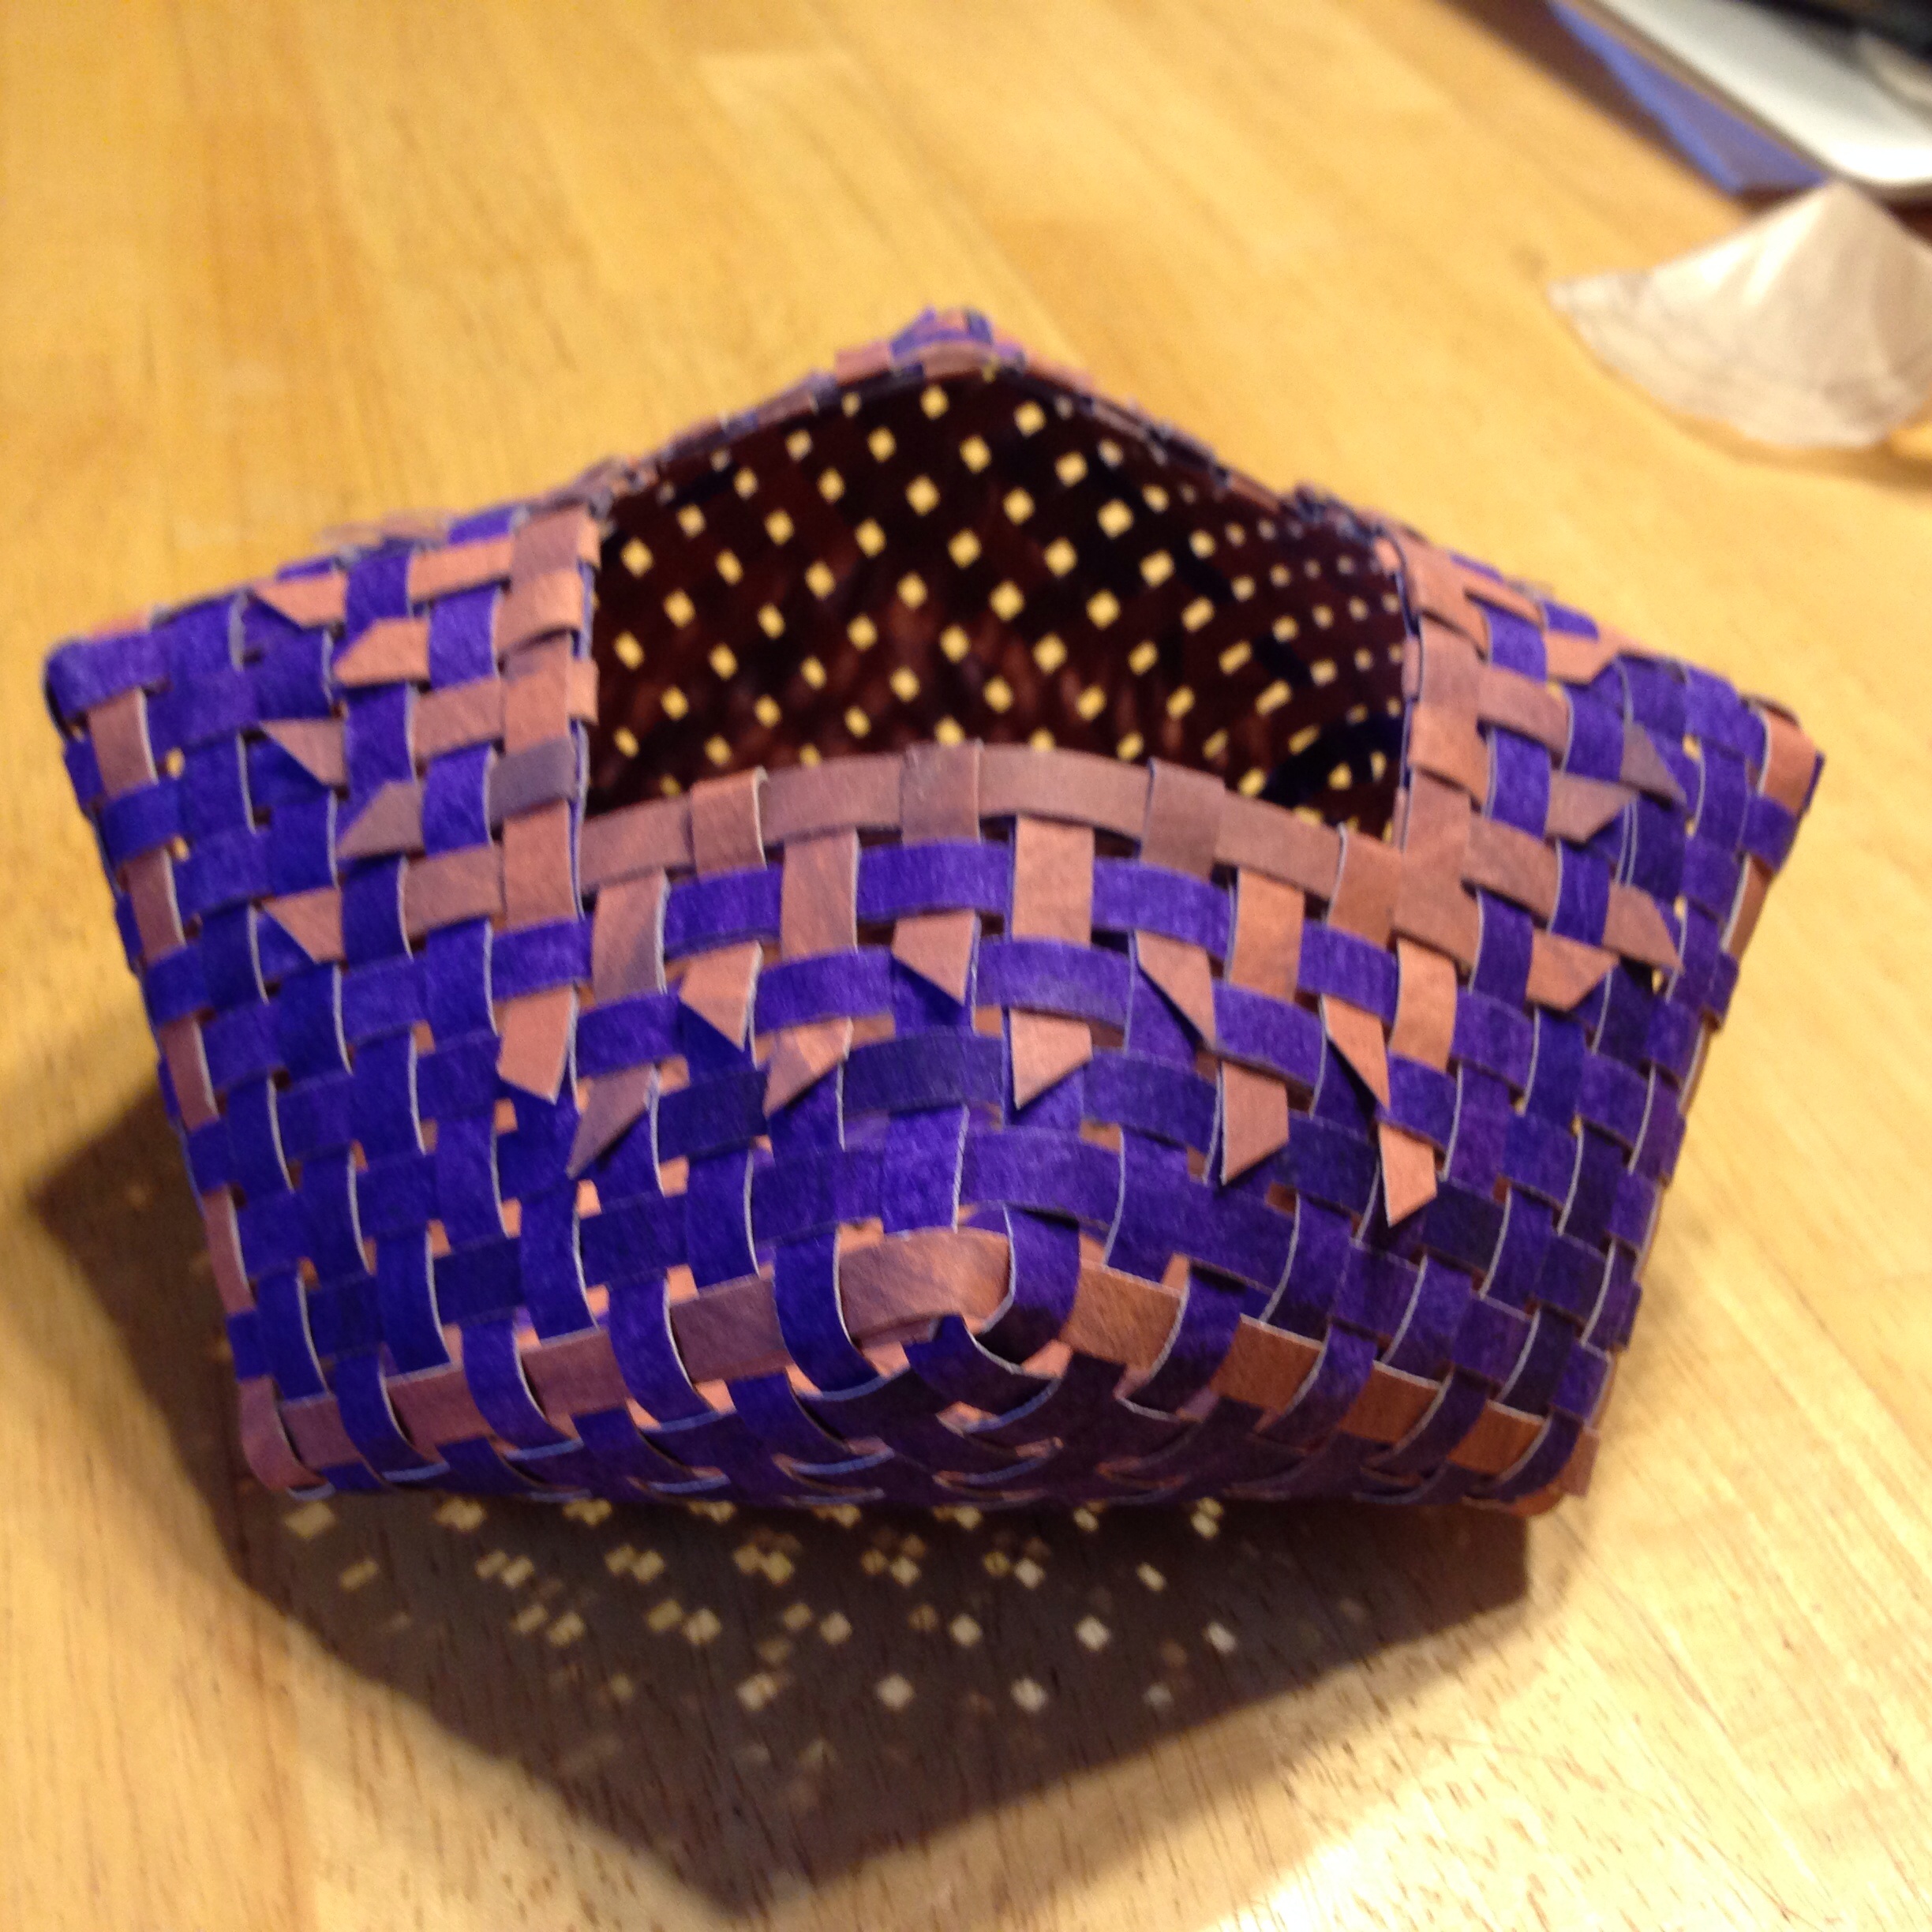
You sculpt your flat paper by adding corners which change the direction and shoulders which are decreases (like k2tog for those knitters reading along). Some of the class members went for asymmetrical sculptural pieces. I (being a zero) decided that I would rather get a little practice with the classic symmetrical shapes first, so I made two different baskets in class: a “kimono” and a “pillow”.
The little clippies come from the electronics department at Radio Shack. You should have seen the look on the face of the teenaged boy at the counter who asked me what project I was working on. Basketmaking? Priceless.