15 July, 2021

Sewing with Spoonflower’s Cotton Lawn

2021-07-15T16:12:37-05:00Everything Else|2 Comments

I was really excited to get a yard of Spoonflower’s new Cotton Lawn to try out. This new fabric is a very finely woven lightweight cotton. It’s very smooth and has a crispness that makes it feel really nice in your hand. I got just a yard of fabric printed in one of my designs and decided to make my favorite tank, which is the Gemma by Made By Rae. I have probably made a dozen of these tanks over the years and if you have ever taken an in-person class from me, you probably have probably seen me wearing one. It’s my go-to teaching outfit.

Usually I make this tank in the poly crepe de chine because it has always been the lightest weight and most drapey of Spoonflower’s fabric options (I am not counting chiffon, which is very transparent and not so appropriate for this kind of garment.) So I thought that lawn would also be a great option, but I have to say that I have mixed feelings about this version in lawn.

Print Quality

The sharpness and color of the printing on the cotton lawn is just outstanding. As I talked about in my earlier review of Spoonflower’s Signature/Poplin/Sateen, some of the finer details can get lost on the more textured fabrics. The lawn has such fine threads that it really captures all of the texture. This is a design that I made with cut paper mosaic tiles made from handpainted deli paper. You can see all of the brush strokes and color depth really well. This might be a new favorite for me when we are talking strictly the look of the printing.

Sewing with the Cotton Lawn

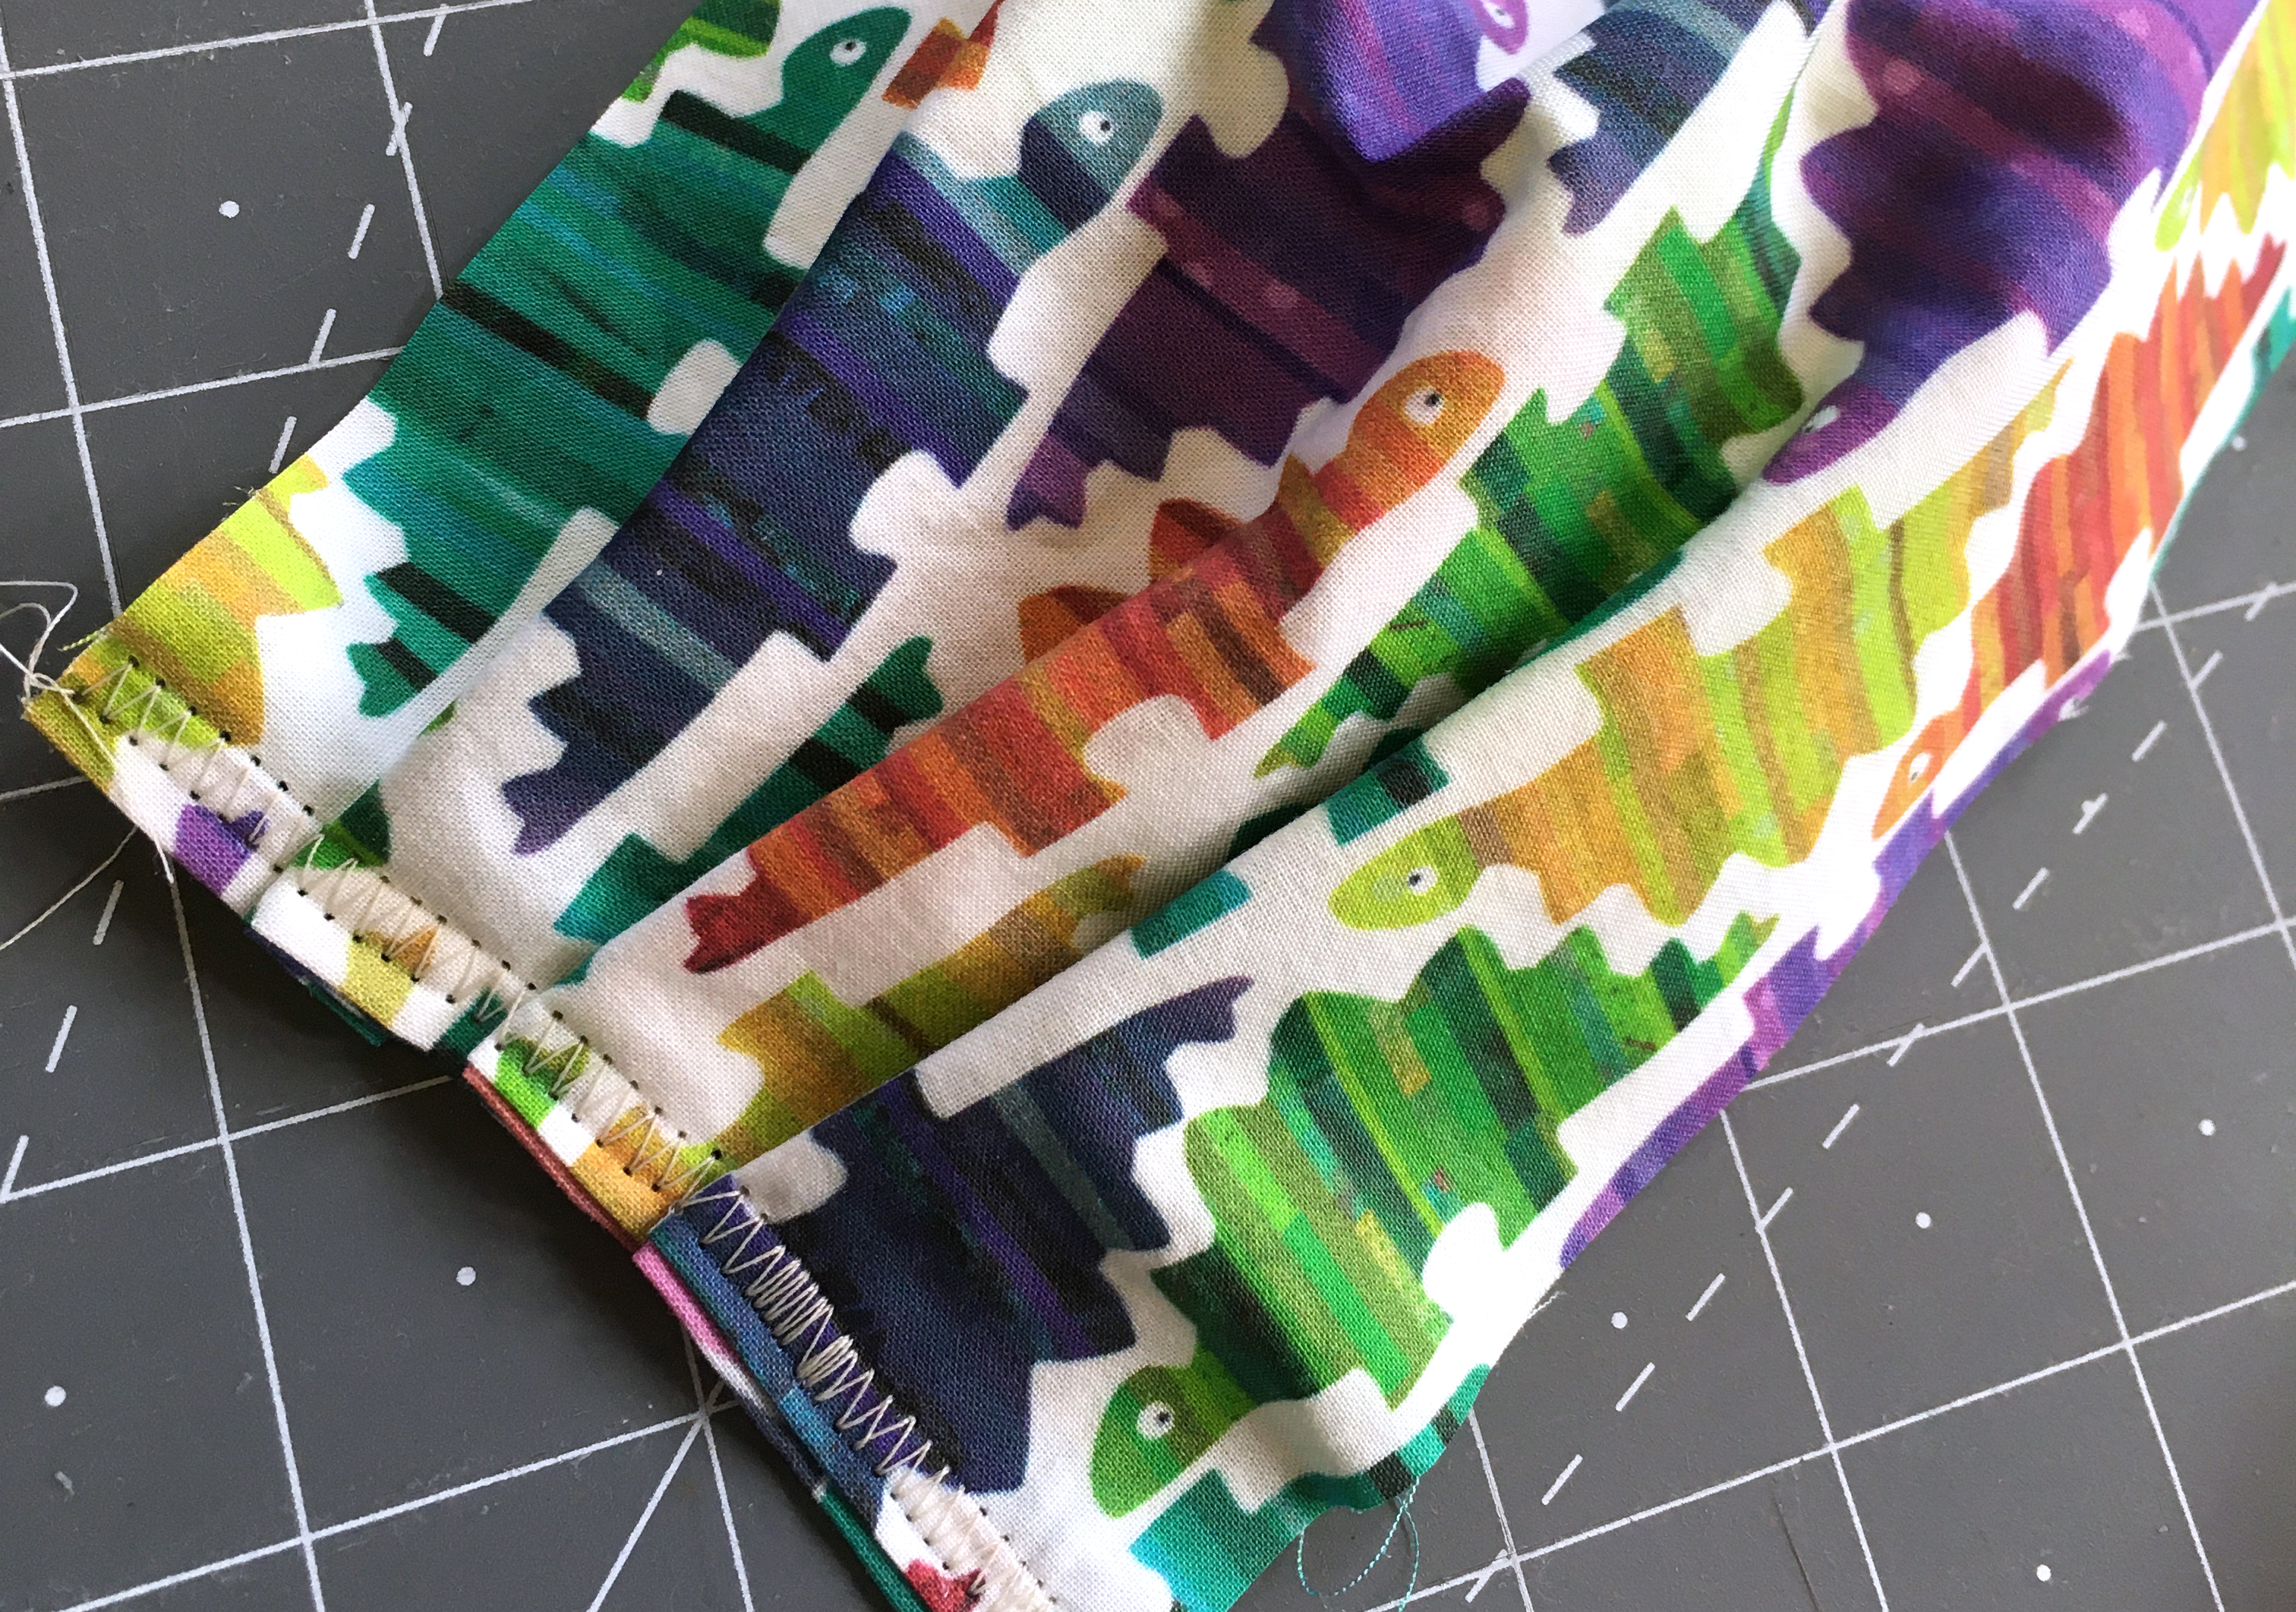
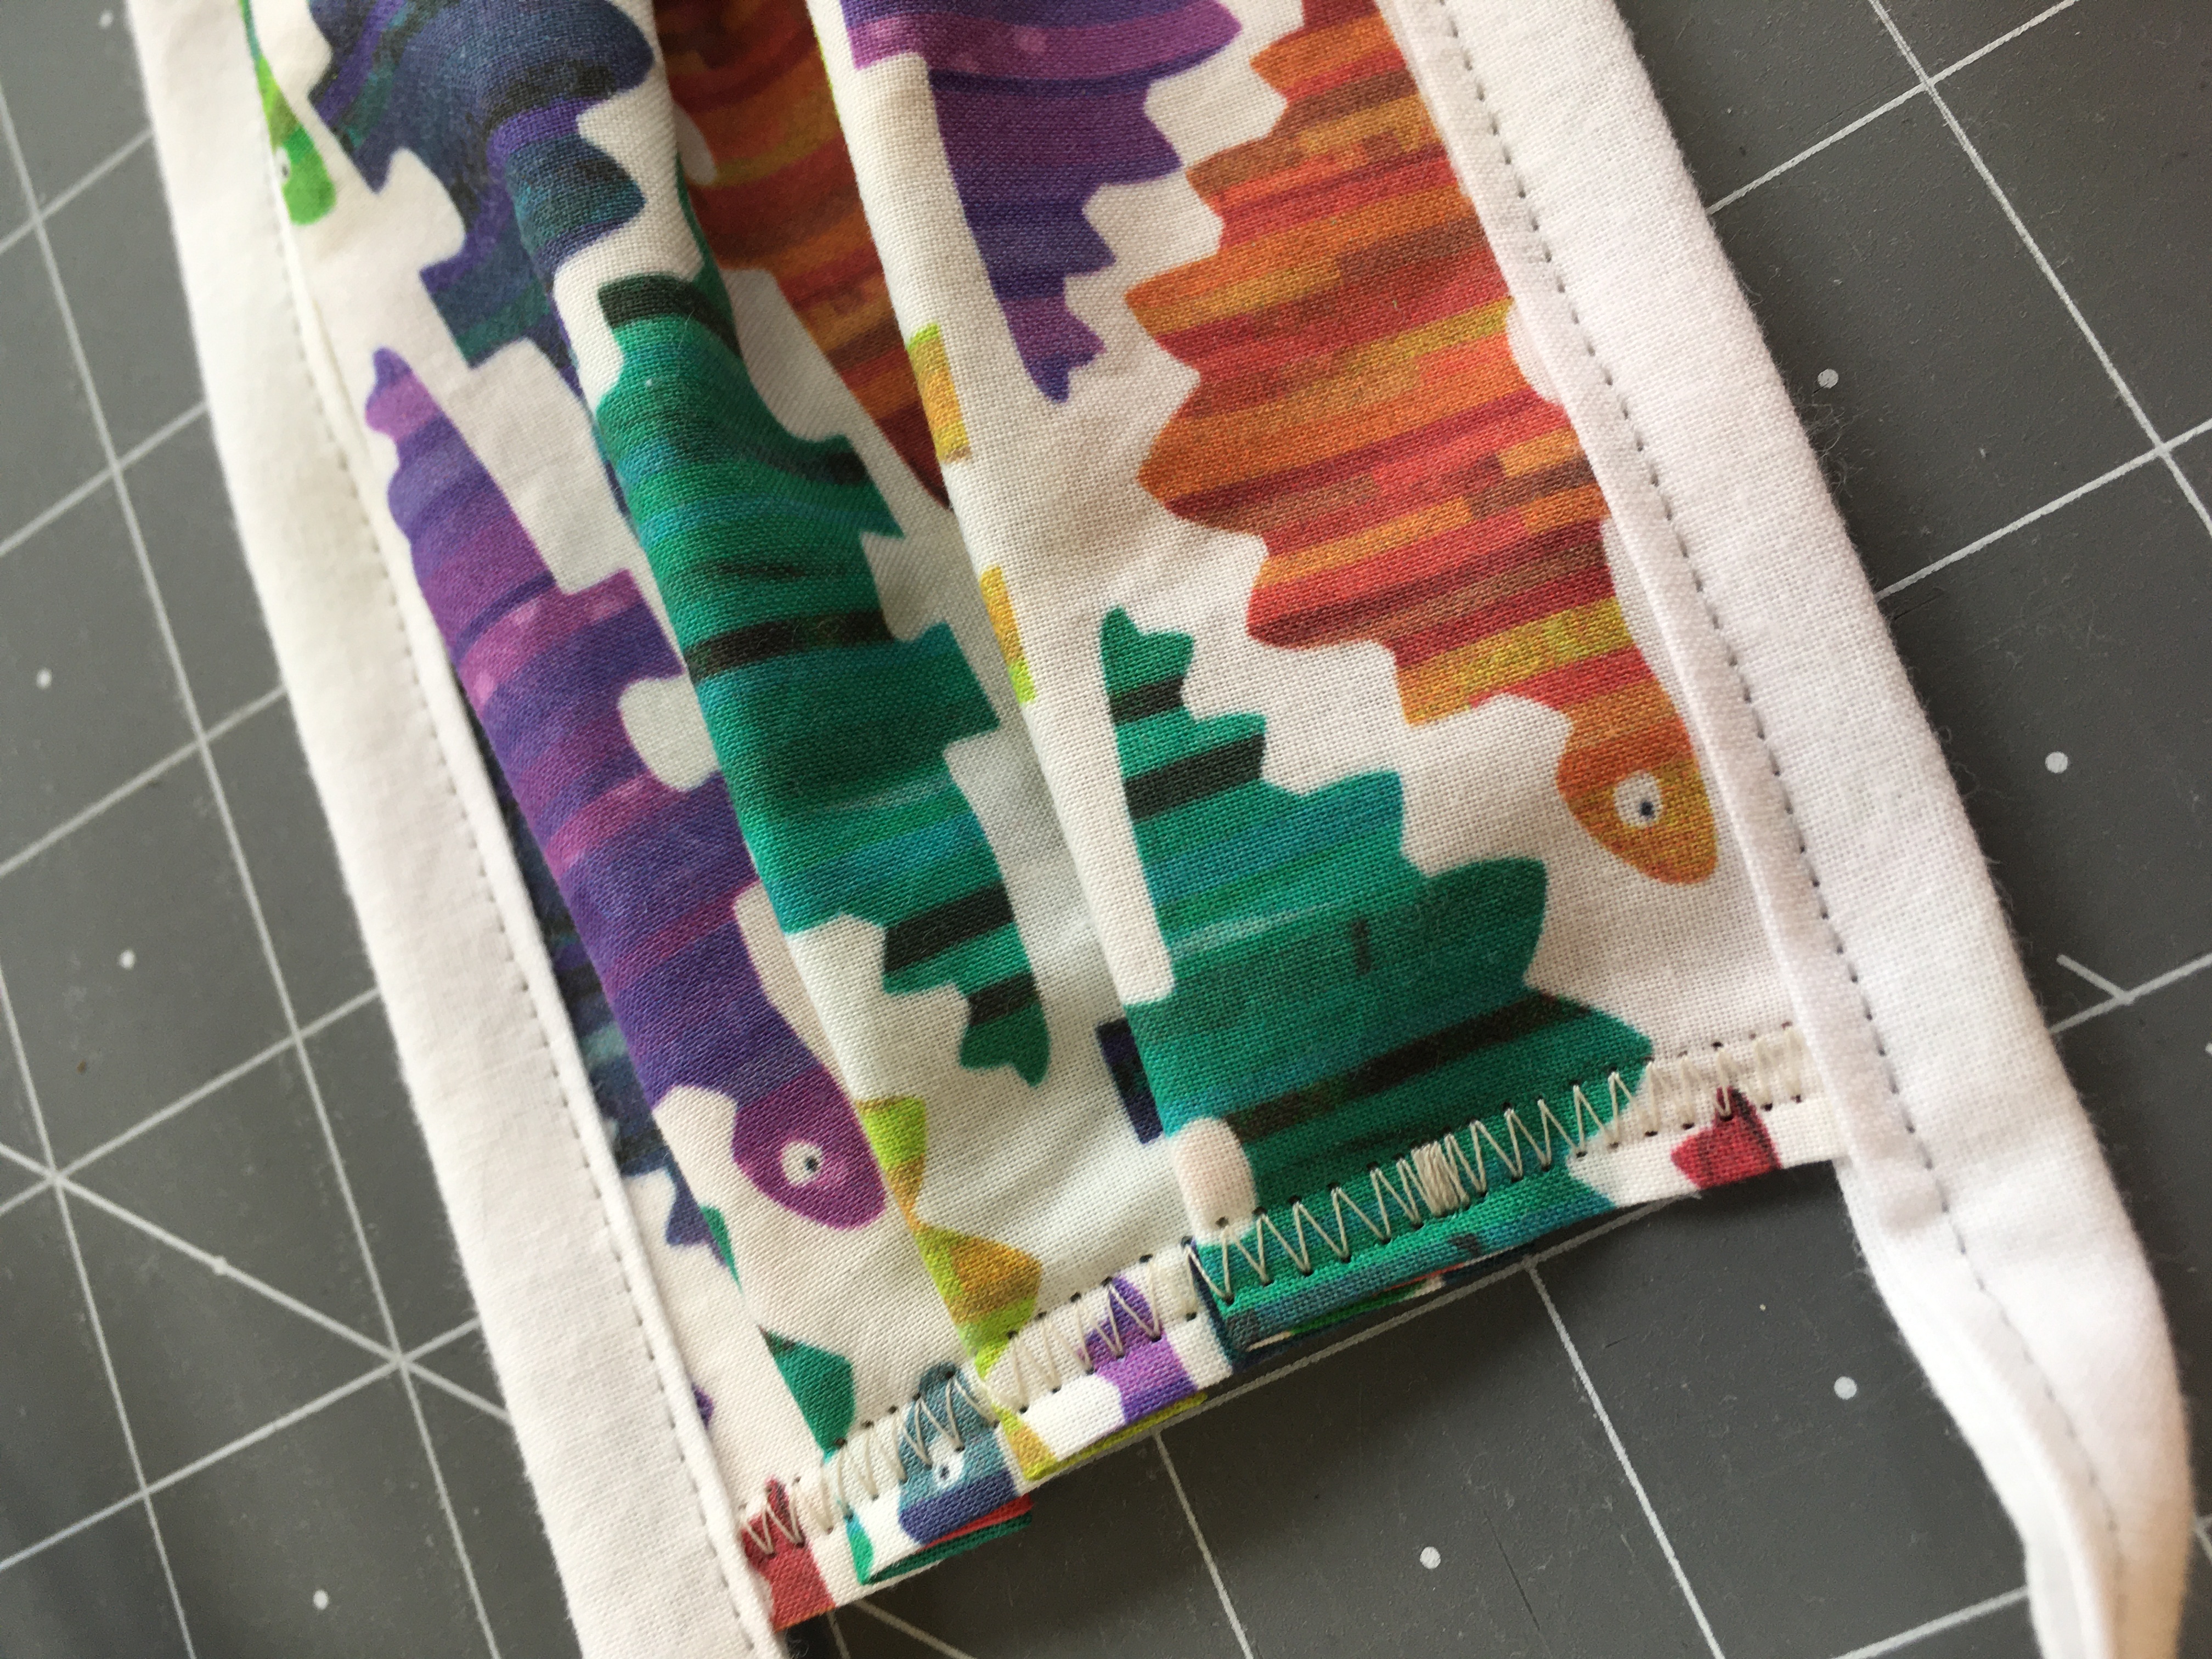
Since this is a pattern I have made many times before, I just got out my pattern pieces and set right to work. I made the size I usually make. Because I noticed when I washed this fabric that it really didn’t fray at all going through the washer and dryer, I chose to just leave the seam allowances unfinished. I usually serge them when I am working with the poly crepe de chine.

Where I started to have issues was when I started sewing. The first seam totally shredded the thread about half way through the side seam. I thought that was a little weird, but I figured I probably just needed a new needle, so I ripped out the stitches and traded needles on my machine. For the kind of sewing I do most often, I use a standard Schmetz Universal 80/20 needle, so that was what was in the machine and also the new needle I put in, but after the second seam I was still having issues with the thread. So I unthreaded and rethreaded my machine and tried again. I was starting to get a little frustrated.

Then I decided that maybe lawn needed a finer needle than what I normally use. Trading out needles project by project isn’t something I do often but I decided that was worth a try. I dug through the drawer where I keep my needles and came up with a 70/10 Universal needle, which is just slightly smaller. The 70/10 was somewhat better, but let’s just say that I wouldn’t show anyone the stitches on the inside of this top. The trick I discovered was to stitch really slowly and steadily with this smaller needle and it seemed to do just fine. If I went too fast, the thread would start to shred again.

Probably a microtex/sharp needle would be even better, but I didn’t have any of those in my stash and I didn’t feel like a special trip to the store made a lot of sense for this one project. I will for sure get some if I decide to sew another project with lawn.

Do I love my finished project?

The thing that surprised me the most about my finished tank was that I totally don’t like the way it drapes in the lawn fabric. Like I mentioned earlier, this lawn has a crispness to it which means although it is soft and lightweight, it is not very fluid. When I put on the tank top, it feels like it stands away from my body a little bit too much and the same size that I always make felt like it was too big. It feels frumpy and a little like I am wearing a maternity top, to be honest.

Here’s a photo of the exact same tank in cotton lawn and poly crepe de chine, side by side. You can see how differently the two fabrics hang in this finished garment. I knew the crepe de chine was a much more fluid/flowy fabric, but I didn’t think it would make as much difference as it does. After I looked at the version in lawn I decided that I am going to add some darts to reshape the underbust/waist a little so it hangs a little better, but I wanted to get this photo in its original version first. I think that will help take out some of the extra fabric that is letting it bell out away from my body and it will feel more like it fits. The fabric feels really nice to wear, but I think if I was choosing a pattern for cotton lawn next time, I would pick something slightly more fitted or structured to take advantage of that fabric crispness.

Other things to note

A few other details I noticed. The lawn irons beautifully. It came out of the washer and dryer with very few wrinkles and even after I made this and had it sitting folded on my studio table for a few weeks, the creases were minor. One of my big issues with a previous cotton lawn that Spoonflower had years ago was that it wrinkled like crazy and it held on to creases and wrinkles. This one is a great improvement over that.

I occasionally need to print labels for garments or projects and I think that cotton lawn may be my new favorite fabric for that. Because of the fine smooth surface I think text will be more easily readable and the relative lack of fraying means it may be able to hold up to leaving raw edges exposed.

Overall impressions

I think it’s a lovely fabric and a nice addition to the Spoonflower line-up, but I think it might require a little more patience or careful choice of sewing tools/threads to sew it well. I will plan ahead a little more before I tackle my next project.

The fabric design for this top is my Storm Clouds Mosaic and it is available in my Spoonflower shop. The crepe de chine fabric pictured is a personal design, made as a gift for a friend.

9 June, 2021

Fabric Review: Spoonflower’s Minky, Celosia Velvet and Performance Velvet

2021-06-09T15:02:49-05:00Everything Else, Fabric Reviews, Sewing & Design, Spoonflower & Fabric Design|2 Comments

Spoonflower just introduced their new Performance Velvet fabric and I thought that it was a great time to do a fabric review of the Three Plush Fabrics of Spoonflower. As always with my other reviews of Spoonflower fabrics, I just want to say that these are my own opinions and experiences with these fabrics. I don’t get any kind of promotional, incentive, or other kickbacks; I just like to be able to share some in-depth info with students in my classes and all of you out there trying to get started designing your own fabrics.

Spoonflower has three great fabrics with a napped or plush finish: Minky, Celosia Velvet, and Performance Velvet. You can click through any of those links to see the detailed specs on each of those fabrics.

What they have in common.

All three of the fabrics have several things in common. All three are 100% polyester and 54″ printable width. All three have a plush or napped surface, which vary in pile length from .5mm (celosia) to 2mm (minky). All three are heavier or thicker weight fabrics compared to quilting cotton.

All of the printed designs are technically sharp, because the plush fabrics move around as you brush your hand over the surface, that can make fine details disappear and edges look softer than if you print on a smooth fabric like Sateen or Poplin.

Key Differences.

Here are some of the key differences I noticed that might help you choose which fabric is best for your project.

Fabric Base Color

Minky and Performance Velvet are bright white, where Celosia has a little more cream undertone. I don’t think it effects the print colors substantially, but you would notice if your design had a lot of white space or lighter colors in it. You can see in the photo above that the pale blue on the bottom of the design is slightly greener on the Celosia Velvet because of the warm base color underneath.

Look and Feel of the Fabrics

All three are very soft to the touch, but I think the Performance Velvet has the nicest hand feel with a very soft surface and a thick plush feeling fabric. Although Minky is very soft on the surface, it is also the thinnest of the fabrics, so it doesn’t feel as substantial. Celosia Velvet has a plush that feels slightly stiffer, more of what I think of as “upholstery velvet”.

Each fabric also has a distinct finish. Celosia Velvet has a subtle shine that is my personal favorite. I think that little bit of reflection gives it a more luxe look than the others. Performance Velvet has a matte finish. It reminds me of a vintage cotton velvet that you occasionally find in a thrift store. Minky looks “furry” to me and I think you see the nap or the fact that it’s a plush much more obviously than the others.

Drape

I think this is one of the most distinct differences between the three fabrics. In the photo above I tried to demonstrate so you can see how each fabric behaves. On the left, I pinched the fabric and picked it up, so you can see how the folds fall naturally. On the right, the fabric is laid flat, pinched and twisted.

Celosia Velvet is the stiffest, even though it’s about 2oz lighter per yard than the Performance Velvet. It has a more structural feel and no stretch. You can see it falls in very stiff folds.

Performance Velvet is the next softer drape. Although it is technically a thicker/heavier fabric, it falls in softer folds when you pick it up and it moves a little more freely.

Minky has the most drape of the three, with a more liquid sort of movement. It is only 6 oz per yard compared to Performance Velvet’s 11 oz, so even though it reads as “thick” it is really lighter weight. You can see the “furry” surface of Minky most when it is bent or rippled. Minky is also the only one of the three fabrics with a little stretch on the widthwise or cross grain.

The Back

One thing I think is always missing is a little info about what the reverse side of these fabrics look and feel like, which really is important for some projects.

Celosia Velvet is the most “upholstery” like with a plain woven back. Although Spoonflower’s site says it is a knit, it’s definitely not, as you can see the structure and it frays exactly as you’d expect a woven to do. It’s not exactly rough on the back, but it feels sturdy rather than soft.

Performance Velvet has a backing that feels and looks a lot like craft felt. It’s soft and has a slightly brushed look. The Performance Velvet is much creamier white on the back than it is on the front.

Minky has a smooth knit on the reverse.

What can you make with them?

I’ve used all three of these fabrics for different projects: Sara Coat (left), Filter Other Offset Jacket (middle), SeaSerpent Pillow (right). (you can click on any of those titles to read more and see larger photos)

Before Spoonflower had introduced either of the velvet options, I decided to try making a coat out of Minky. Because the Minky is so relatively light weight and stretchy, I actually backed all of the fabric with an inner lining of a lightweight twill before I sewed this coat so it looks much less drapey than it really is. That was a good choice for this project. It has a great texture, almost like a faux fur and the cuffs were made with velvet ribbon stitched in stripes. It was easy to sew, although I think my choice to line it also helped with that. If I were going to make a throw or a cuddly quilt, I would go for Minky with something else as a backing because it is so drapey; the others would make very stiff blankets.

The Filter Other Offset jacket is made from Celosia Velvet and I think the photo almost captures some of the sheen. Because velvet has a nap that wants to “push” the pieces out of alignment with each other as you sew, this took a lot of pinning and I really appreciated the walking foot on my sewing machine. I have also made a number of tote bags and other project bags from Celosia and everyone always comments on how nice it feels. I think Celosia makes a project look lush. I don’t think Celosia would be really great for clothing other than outerwear type uses. It really doesn’t have much drape so it’s good for structured or tailored shapes. I have also done a little upholstery with the Celosia Velvet.

The pillow was made from a sample fat quarter I ordered of the Performance Velvet. It’s a great pillow fabric! It was easier to sew than the Celosia (with much less slipping) and I really like the way it felt substantial and it went together so fast. I would really like to make a jacket from the Performance Velvet next. I think because it is a little softer/drapier than Celosia that it might make a great casual jacket or a winterweight skirt. I also think Performance Velvet would make great stuffed toys.

The fabric design featured in this post is called Wildflowers. It is made from a cut paper illustration made from handpainted paper and is available in my Spoonflower shop.

12 May, 2021

When did you learn how to sew?

2021-05-18T10:49:18-05:00Everything Else|2 Comments

I saw a thing going around Instagram recently asking people to tell their stories about when they learned how to sew. Many many of them were stories about how people either learned when they were 11 years old from a family member or they learned during 2020 because it was 2020 and they decided it was time to figure it out. Both answers are pretty awesome.

So I thought about what my story would be and the answer is: I am still learning.

Just this past couple of weeks I was making a new piece for an exhibition I was invited to. It is always completely delightful to be invited to show your work and I wanted to make something new. The opportunities to get my art out there have been pretty scarce this last year because nothing was open, so there just wasn’t much demand. So I haven’t been really making exhibition pieces; I’ve been focused elsewhere.

When I make a piece for an exhibition, I usually start with a story I want to tell. I have had an idea for series of pieces in my head for a while; the story is about having conversations about mental health. As my husband and I navigated our way through the last two years, we realized that one way that we had of coping with everything going on with COVID, elections, riots, and the loss of both of our beloved Labradors to cancer was to talk about how we were feeling. And we agreed that we could talk about all of the “dumb stuff” that you convince yourself is silly: “Why am I still crying a month after my dog died? Grown-ups don’t do that.” And admitting to each other when we were each having rough mental health days. We realized that those conversations were important to helping us feel better and let go of some anxiety about the situation and the world in general. It helped to just talk about it.

So I started the first piece in the series a few weeks ago and this first one is about anxiety. Because the series is about conversations, I asked my family and a few close friends to describe to me what they thought anxiety looked like. Their images were striking: an oil slick, a never-ending waterfall, crackling blue electricity, a white hot dagger between your shoulder blades, heavy and enveloping, a dark forest with movements you can’t quite identify, a glowing red ember. I took all of those images and I created a fabric design to capture those feelings.

Next I decide what the garment is that I want to make with the fabric. I like to make garments vs quilts or other more traditional “art” objects because I enjoy sewing them. I like that the wearer can be part of the story. I like that a garment is something that people can identify with and understand because we each have so much experience with clothing. You can imagine someone wearing it. You can imagine what it feels like. That’s harder for people to do with a painting or a sculpture, I think.

Most often I get a shape in mind for a piece I want to make and I search through my large file cabinet full of mostly vintage patterns to find something that’s close to the right shape. I don’t really enjoy drafting an entire piece of clothing completely from scratch. I know how to do it, but that part of the process just really doesn’t add to the piece for me, so usually I find something that’s close and I adapt it to what I need. For this one, I wanted to capture the idea of something enveloping and heavy, so I decided to make a cape-coat out of heavy cotton sateen.

I planned, I adjusted, I cut out and I got ready to sew. And this is where I completely lost my mind. I forgot how to sew.

I don’t mean that literally, of course. I was one of those who learned how to sew when I was 8 or 9. Cinnamon Bear, who is pictured up at the very top of this post, is wearing a hand-smocked pinafore I made for her when I was 11, with help from my friend Berit. I sewed my wedding dress in my dorm room at college. My first summer job was making costumes for a local childrens’ theater. It’s pretty well in my blood.

But when I sat down to sew this coat, I made every mistake in the book. And I mean ALL of them. I think I seam ripped every single seam at one point or another. I misread directions. I reversed pieces. I misunderstood diagrams. I am not kidding; I did it all. I thought the whole thing was going to be a complete disaster and that I was a little bit losing my mind.

Even though I “know” how to sew, I was out of practice and out of rhythm. I forgot that I have a process I usually do of reading through all of the instructions and making notes before I start.  I was overconfident when I was adding extra ease stitches that the dumb pattern didn’t call for so that something would match up better when really I was sewing the pieces completely backwards. I didn’t listen to my gut telling me it shouldn’t be this hard.

In the end, the piece turned out great. I like how everything went together and I am happy with the final piece, even though it took twice as long as I thought it would. I relearned a lot of things, like remembering to slow down and read the directions, but I also learned new things. Because this was a coat and cape sort of fused together, the way that the top of the sleeve worked was ridiculously complicated and completely fascinating. I am really pleased I figured it out. It was a new-to-me fabric substrate that I chose for the piece, Spoonflower’s Longleaf Sateen Grande, which was really lovely to work with. It ended up being just slightly less drapey than I really wanted it to be, but I decided that the stiffness sort of added to the feeling of weight and enveloping/constricting that I was going for. Did it match the design idea I had in my head for this piece? Almost. The chiffon that I incorporated into the design didn’t behave in any of the ways I wanted it to, so I had to change the design. It’s not quite what I envisioned, but I adapted. It was a great reminder that learning is always a process and no matter how much you “know” something, there’s always something new to learn.

22 March, 2021

How I take Photos & My Studio Setup

2021-03-22T13:09:33-05:00An Artist's Life, Everything Else, Tutorials|1 Comment

I thought it might be really appropriate to start off with a “How it started; How it’s going” kind of meme to talk about photography. When I first started making my art to sell or to show at gallery exhibitions about 20 years ago, the first and worst stumbling block was getting good photos. I had a camera, but I had no experience in what it took to get great photos of objects and I absolutely couldn’t afford to hire someone to take photos for me. So I needed to learn how to do it myself. This was before Etsy was really around, so there weren’t a bunch of tutorials to help you or recommend photo white boxes that were easy to find. (Wow, I am making myself feel old!) So everything I learned was by trial and error and I mean LOTS of trial and error.

The felted dragon shown up above was one of the first photos of my art that I found when I went digging through my photo archives. This is the photo straight off my camera. You can barely see the little guy because the image is so dark. I thought a plain background would be best, so I draped some white fabric behind it but it’s really wrinkly and not really professional looking at all.

Things I learned: You always need more light.
LIGHT. Light is the answer to nearly every photo dilemma. This is absolutely the one thing that made the most difference to my photos. My very first photo setup was to put objects on a table in my guestroom and masking tape a piece of white muslin up behind them. I had four utility shop lights that I got from Home Depot and I put the brightest bulbs in them that they were rated for. I clipped them on the back of a folding chair so I could aim them at whatever I was photographing. The photos still looked a little dark, but I could usually fix them in Photoshop to make them a little better. They weren’t amazing photos, but they were pretty good and it worked for me for a long while. It was a struggle to photograph some things, so I started to look for something that would help.

I did a lot of searching around for a light box because that was something people were recommending on Etsy. I found a folding plastic white box called a “Foldio” with a strip of LED lights that were attached to the top edge of it. It ran off of a 9V battery. It was brand new, just off a Kickstarter campaign. The Foldio has gotten much fancier and more powerful than the one I had; some of the new ones look awesome. But that original basic model really gave my photos a serious upgrade. The bracelet above is a beaded silk cuff and these were best sellers in my Etsy shop for a while. That photo is also straight off the camera without any edits.

Things I learned: Ditch the fabric.

One of the things I learned when I had the Foldio is that a sheet of white posterboard or craft foam is 100 times better than a piece of fabric as a background. Paper doesn’t have wrinkles and no matter how many times I would iron that piece of fabric, you still saw wrinkles and folds. Now I have both large sheets of white foam core and a big roll of white paper that I use as the background for everything in my studio. The bonus of using white versus another color as a background is that white reflects light. So effectively it’s like adding more light to your scene and more light is always helpful.

The problem with the white box was that I really couldn’t photograph anything larger than a loaf of bread because it wouldn’t fit into the box. And I started to make larger pieces that needed much more light again. One solution was to take things outside. If I could get a bright overcast day, photographing pieces against a piece of white paper taped up to my house worked great. This bag (made by my friend Pat Grady) was something we needed an image of for a postcard at the art center I worked at. So I took it home, dressed up in this cute ensemble, and my husband helped me take this photo using natural light. You can see we had to do some Photoshopping still to make it work, erasing the seam in the paper and so on.

Things I learned: Use a reflector.

For bigger items it helps a lot to have a big white surface to reflect extra light back on to the scene. For this shot, we had a big sheet of white foam core that we propped up on a chair to help get more light on the bottom of the scene where it was a little shadowy. You don’t see the effect with your eyes very well, but the camera can totally see the difference.

Natural light works amazingly well, but let’s be realistic. I live in MN and there is about one day in every month that has the right combination of bright, overcast, no snow, and not windy to be able to take photos. And especially with an Etsy shop, I can’t be limited to hoping I can take photos once a month. So, we borrowed some lights from a co-worker to get this shot (above). We set it up in the corner of an office, taped up a piece of white paper and had a couple of really bright lights and one big light with an umbrella on it to light up the whole scene. We thought we’d try out his set up and see if maybe we needed to buy some lights like this. You can see there is still some Photoshopping that had to happen, but this turned into a pretty great photo.

What I learned: The larger the item, the more light you need.
Getting a whole person lit up evenly from head to toe takes a lot of light. I realized that if I wanted to continue to photograph my garments, I was going to need to invest in some photo lights. We started looking at the free-standing umbrella style lights that you could buy as a kit on Amazon. We talked about painting a corner of our unfinished basement bright white to use as a giant sized white box.

Here’s the part where we got lucky. A friend of ours who is an artist and photographer decided to downsize his studio and gave us some hand-me down equipment in exchange for us helping him with his website. Best trade ever. Instead of reflector lights, these are strobes inside big fabric boxes which are like a giant camera flash. We have two and you can see them in this photo. The large one is to the left and the smaller one is behind me. On the right hand side you can see sheets of white foam core that we are using to reflect light to that other side. This was a photo that we staged for an event at the art center where I worked where they were giving me an award and needed a photo of me for the invitation. I wanted to show off the skirt without it being a photo of my face and so we came up with the idea of doing a parody on the Magritte “Son of Man” painting. You can see the final photo up at the very top of this post.

Our setup is a Speedotron kit similar to these. (You can also find them used like we have.) It’s amazing. I photograph nearly everything in my basement studio with these lights. I say nearly everything because for things that I post on social media, that’s still a piece of white posterboard next to a window with the camera on my phone. Because that also works amazingly well. And using this pro equipment is a little bit of a process. I have a checklist taped to the wall downstairs so I turn on everything in the right order. And I never remember the settings on the camera so I have a cheat sheet for that too.

Other than the lights, our studio isn’t fancy. We have an unfinished basement (which I LOVE) and we have about a quarter of the space dedicated to photo equipment, mostly because I use it often enough that it’s nice to not have to get it out and put it away all the time. The backdrop is a roll of white paper that we roll up when it’s not needed. I’ve upgraded to wider paper since this photo was taken so I don’t have to Photoshop out that seam all the time. We have a shelf that holds all of the clips, clamps, dress forms and props that I use for photos and a stack of large sheets of foam core to act as backgrounds and reflectors. This is where we take most of our annual Halloween photos as well. This one took a lot of creativity to get this mood lighting just right.

You’ll notice that I haven’t even mentioned the kind of camera I have. That’s because having an expensive or super fancy camera isn’t necessary for great photos. I take a lot of photos for things like social media and all of the instruction sheets for my Etsy kits with my iPhone because it’s small and convenient and does a great job. When I shoot things in the studio, I have a Canon 60D which we got in about 2010 and it still works super well. We got a couple of upgraded/specialized lenses that are for specific tasks like shots for my Etsy shop (24mm pancake lens).

I’ve also talked a lot about Photoshopping, but really you don’t need to have Photoshop either. I did when I first started out because I couldn’t quite get the photos I wanted. My goal with photos now is to get it right in the camera so I never even have to open it in Photoshop. That saves so much time!  It took me a long time and a lot of learning to get to that point, but I can now do an entire photoshoot of new designs without anything but minor touchups. It’s not hard to learn, but you have to be willing to take a lot of photos and try new things until you get something you like. There’s no one cookbook recipe for how you need to photograph your work; everyone has different items with different challenges. I still get it wrong sometimes and have to go back and move lights around and try things set up in different ways.

I wrote this post because I friend said “You should write something about your photo setup; you always have great photos of your work.” and I wanted to show that there’s a lot of behind the scenes work to make it look that way. Hopefully this will give you an idea of where to start if you want to try learning how to photograph your own work too.

30 October, 2020

This post is brought to you by me, or how affiliate links can make it harder for the rest of us

2020-11-15T14:06:37-06:00An Artist's Life, Classes & Teaching, Everything Else|1 Comment

I got an email a few days ago asking me a question about a Spoonflower fabric. I get questions like this on a semi-regular basis with someone wanting a recommendation for a project they are working on. I am happy to chime in with my experience; I’ve used most of the fabrics for one project or another. My site is covered with Spoonflower fabric in use. But as I was writing the email answer, I thought to myself, “didn’t I already write a blog post that answered this?” It felt like deja vu. I checked and it turns out I hadn’t, but my first instinct was to just look up that post and send the person a link to it. After all, if I wrote up a post it’s probably more in depth, more detailed, more thoughtful than what I would answer writing you an email in response.

But, I was talking with another colleague and apparently there is a kerfluffle in the craft/knitting/sewing online community because a teacher responded to a question just like I was going to do: “here’s a link to a video on my website where I answer that question.” Only the problem is that the person asking didn’t like that response and accused the teacher of just being self-promotional. Apparently a personal email in response to a question would have been fine, but a link to a video answering the same question wasn’t. Wow.

This made me think about an Instagram account that I unfollowed just a couple of days ago. The person was demonstrating some kind of a tool in a video post. It was something about quilting, which isn’t really my thing, so I didn’t pay a lot of attention to the post. But there were lots of comments asking about a tool that they used. It was the follow up video to that which really caught my attention. In that follow up post, the IG Influencer basically went on a rant about how they weren’t going to answer the questions about the tool and they weren’t going to provide a link so everyone should just stop asking. The reason? They stated they get paid for doing promotional posts and this tool creator didn’t pay them to do a post and they don’t work for free. I found that so distasteful that I unfollowed right then.

So don’t get me wrong, I believe people should be paid for their work. This especially goes for artists and makers. But the Influencer culture has started to creep into what I do; that idea of being paid to make recommendations for things.

I teach about things which require some technology. It’s not like knitting where I can grab any set of needles made by anyone (or even some chopsticks) and show you how to do a cast on. I have to pick an app or a software and show you how to use it in order for you to learn how to make a repeating pattern or extract a HEX code. I can’t know every app on the planet, so I am going to pick one I know and I like working with it. I can teach you a class on how to sell your work online in big general ideas, but the class people really want is the one about how you understand advertising in Etsy; a very specific thing that they need help with. I can’t teach you anything about that without talking about Etsy. And in some ways that can start to feel a little bit like an infomercial.

So here’s where it starts to get sticky: when is a recommendation really a recommendation?
It’s hard to tell anymore. 

I taught two classes recently. One was a technology related class where I showed a bunch of different kinds of apps and software. I talked about how I know some of the app developers because I have been a beta tester for them for a lot of years. Why do I volunteer to be a tester? Because I like the tool and how it works and I’m married to a guy who writes software for a living. We know lots of people who write software and apps. I like to help make this app better because I use it all the time and I know how important those beta users are. But I got some feedback after the class that it felt like I was promoting my friend’s stuff. In the another class, it was more hands-on and everyone got a packet of materials for the project. I let everyone know the specifics about where I got those materials and what they were working with. I always buy materials for classes from small businesses if I can possibly do it. That means I’m not buying in bulk from a big box craft store, but I’m getting everything from Etsy shops (or locally). And I know some of those sellers a little bit because I order from them often. And I order from them often because I think their shops are awesome and carry quality stuff which gets to me fast, which I can’t always say about those big box stores. I love being able to use my business and art practice to help support other artists. That’s really important to me.

But then I started to second guess myself. Would people think I was only recommending these shops/apps because I get a discount or a kickback? (Spoiler: I don’t.) Another teaching colleague mentioned a Facebook group that she belongs to that only allows you to post a recommendation for something if you don’t know the person you are recommending. So you can’t recommend your own video that answers a question and you can’t recommend one by someone you know. What’s left? Recommending something you randomly found on Google? That doesn’t seem super helpful. (And why do I want to spend my time Googling answers for someone else? Sheesh!)

So I thought about it. And I talked to some colleagues. And I decided that the person who thought I was a little too infomercial-like had a point. Because how would anyone know that I’m not a paid Influencer if I don’t say so? So many things we see online are so artificial. You can Photoshop anyone into any scene; you can mock up 100 different virtual products with your design on them; you can add virtual eye makeup to your Instagram videos. We all should look at things with a healthy dose of skepticism, right?

It made me think about the language I use when I talk about the things that I love and how important it is to be transparent. I need to talk about why I choose to use the tools I use when I am teaching about them if I want people to understand that I am not just showing you this because I get a little kickback when you click it. There is absolutely nothing wrong with being an Influencer and having your business rely on affiliate links and ad income, but it’s not what I do. And I realized that it was important to me to say that.

So I decided to write this post and say that I don’t use affiliate links or ads or cookies and I added that to the blog footer. I don’t get any discounts, kickbacks, credits, promos, royalties, freebies, or commissions for any of the services or apps I teach about or recommend. I teach about Spoonflower and Etsy (and lots of other things) because I like what they do and I have a lot of experience with those platforms that I like to share with others. I am a teacher; that’s what I do. I absolutely recommend shops and apps and things made by people I know because that’s probably why I know them. I had a great experience and came back. I believe in community, whether it’s a tiny online community or a big real-life one. It’s why I’ve served on Boards of Directors and grant evaluation panels and why I participate in pilot programs and beta tests because it’s important that someone does that work to help make the community thrive.

20 April, 2020

Making masks. My version with some sewing tips.

2020-04-20T15:50:22-05:00Everything Else, Freebies & Patterns, Sewing & Design, Tutorials, Videos|3 Comments

I posted a tutorial for working with a bias tape maker today on my social media channels (I will post that again below) and got a bunch of questions about how I was making masks and what pattern to use. So here is what I have been making. This is a version that is based on one that was posted by Fairview Health (associated with the University of MN). I have simplified the sewing instructions they provided because I saw a simpler and cleaner way to construct them. I am not going to provide a step-by-step tutorial here, but I will give you the basics.

Cut two rectangles that are 9 inches by 7 inches. They recommended using 2 different fabrics so you can easily tell the inside and outside of the mask if you need to take it off and put it back on.

Place the rectangles right sides together and stitch just the short sides, using about a 1/4 inch seam allowance. Turn right side out and press flat.

Make three tuck pleats about 1/2 inch each along each short edge of the rectangle. You can pin these. (I have a lot of practice at this kind of thing, so I just eyeballed them.) I used a wide zig-zag stitch to then stitch over the pleats about 1/4 from the edge. This is thick, so don’t force your machine or you will break needles at this step. Do this on each short edge. It doesn’t matter which way you pleat, as long as the pleats go the same way on each end.

Cut two strips of fabric to make ties. I use the full width of a piece of 45″ super soft muslin, cut 2 inches high. (I fold the fabric in half, matching the selvedge edges and cut it all the way across.) A 45″ fabric is a great length to make ties.

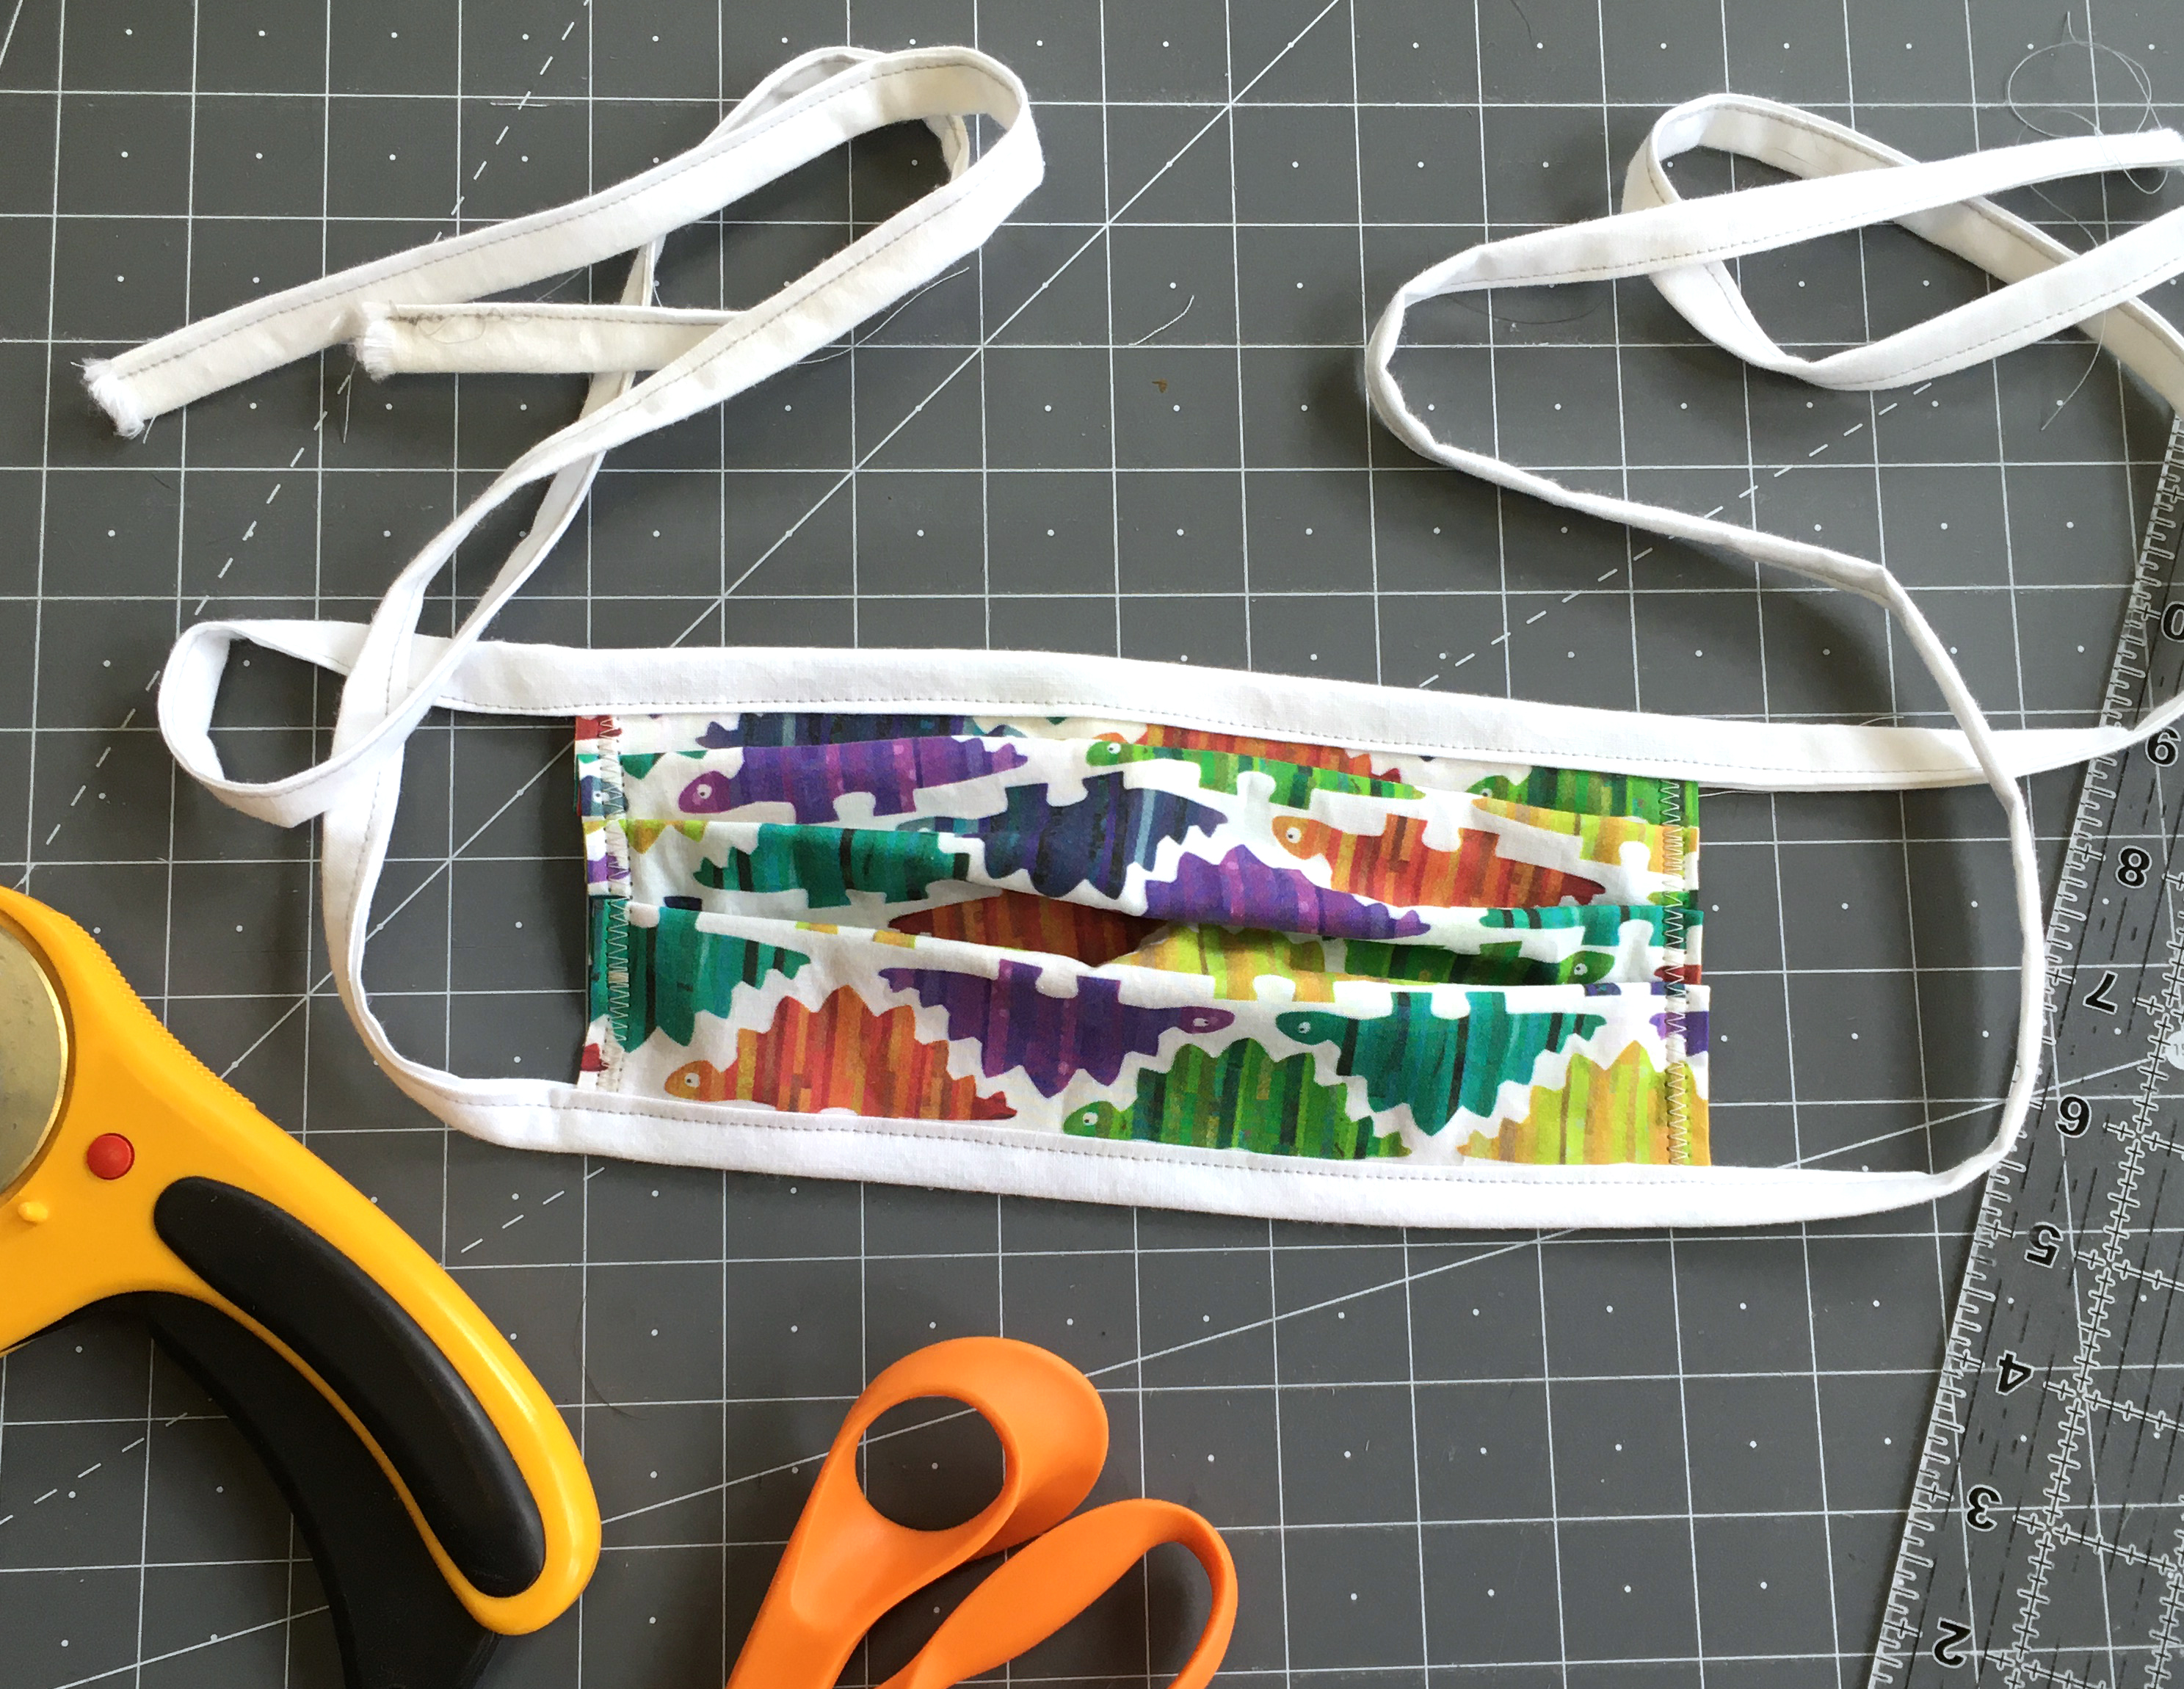
Use a 1 inch bias tape maker to press the long edges of your strips (see video below). Fold the strips in half (the short way) to find the center and pin that to the center of one long edge of the mask. Starting at the end of the tie strip, fold in half the long way (matching the folded edges) and stitch close to the fold. When you get to the mask (pinned to the center of the strip), slide the mask raw edge inside the folded strip and keep stitching all the way to the end of the tie. Repeat for the other long edge of the mask. You don’t need to worry about finishing the short ends of the ties, because they are the fabric selvedge, they won’t fray. These are reversible (top to bottom and inside outside)

If you’d like a wire/pipecleaner to help fit it to the top of the nose, that would be very easy to insert at the center as you are stitching the tie strips.

Go to Top