

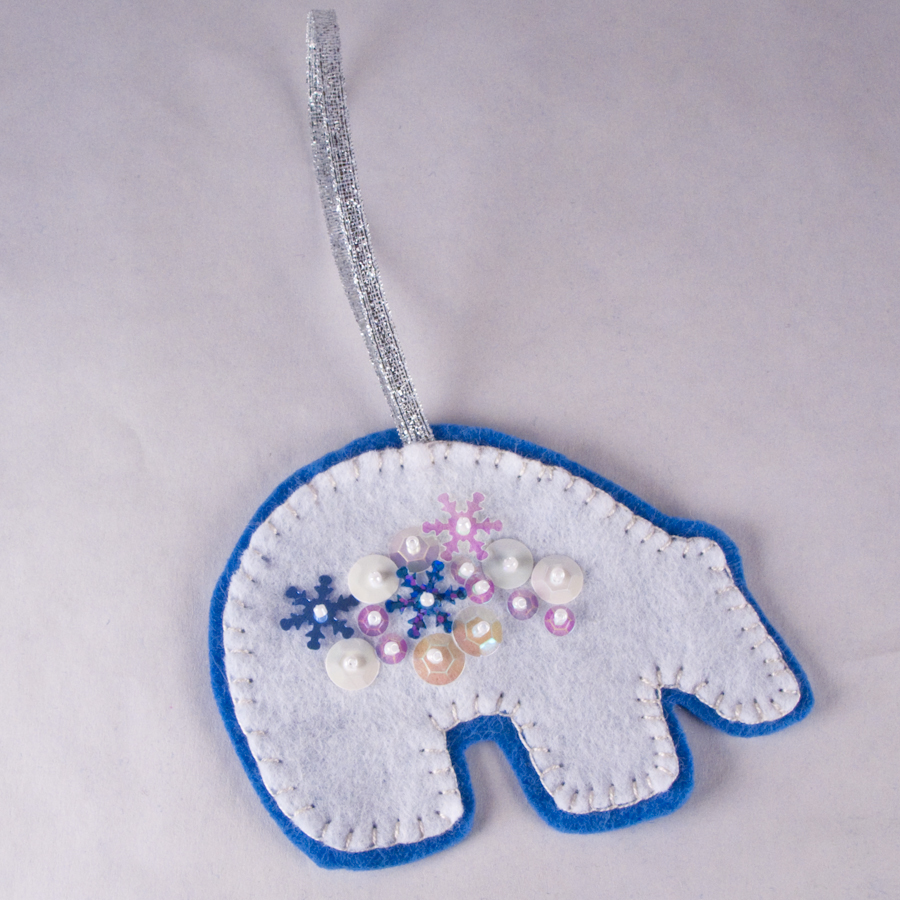
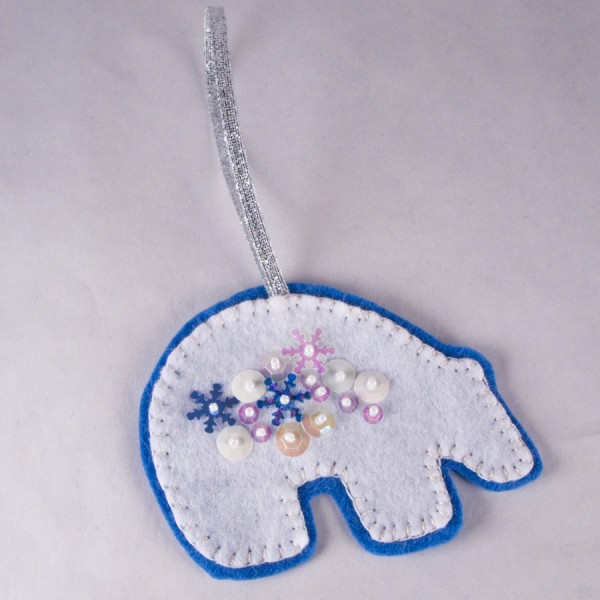
Holiday Ornament Tutorial: Frosty Polar Bears
 Materials
- 6 x 6 inches of white felt
- 6 x 6 inches pale blue, grey or green felt
- white embroidery thread, white sewing thread
- an assortment of white, clear, silver and pale blue sequins, any shape or size
- white, clear or silver seed beads
- narrow ribbon, about 6 inches long
Tools
- Small sharp scissors
- Beading needle
- Embroidery sewing needle
A note about the sequins I used: I found snowflake shaped sequins in the scrapbooking section at the craft store and I think they were really perfect on this snow bear. You can also find squares, stars and other shapes.
Instructions
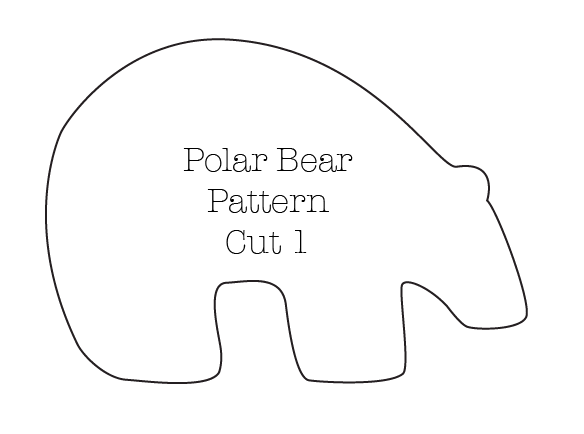
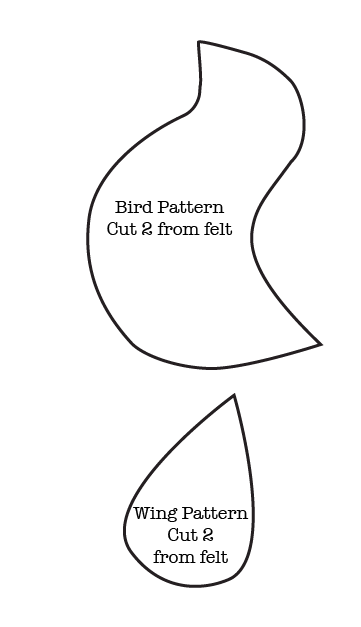
1. Right-click or option-click the bear pattern below and save it to your computer. Then print it out. Using the pattern, cut out one bear from white felt.
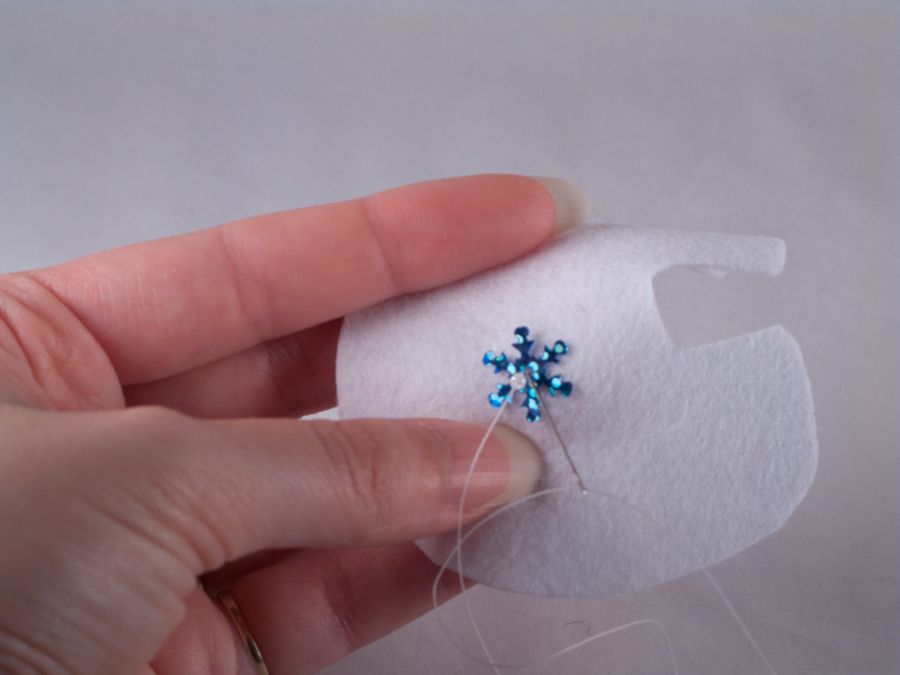
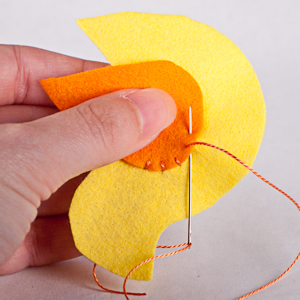
2. Thread your beading needle with a piece of regular sewing thread. Tie a knot in the end. Poke the needle through from back to front, where you would like one sequin to be.
3. Thread a sequin, then a seed bead on to the needle. Stitch back through the hole in the sequin, back through the fabric and pull the thread snug. The bead will hold the sequin in place. Cover the bear shape with as many or as few sequins as you like.
4. Continue to stitch the rest of the sequins in the same way. Be careful not to pull the thread too tight between stitches making the felt pucker. When you have finished adding sequins, tie off your thread on the back and trim the ends. You can add just a few or cover the bear with sparkles. That’s up to you.
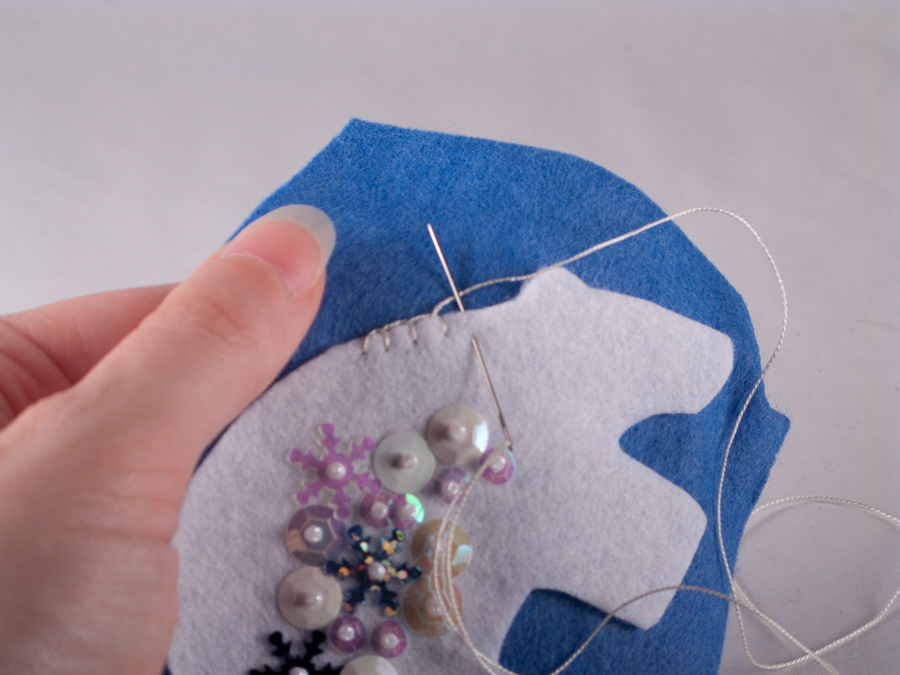
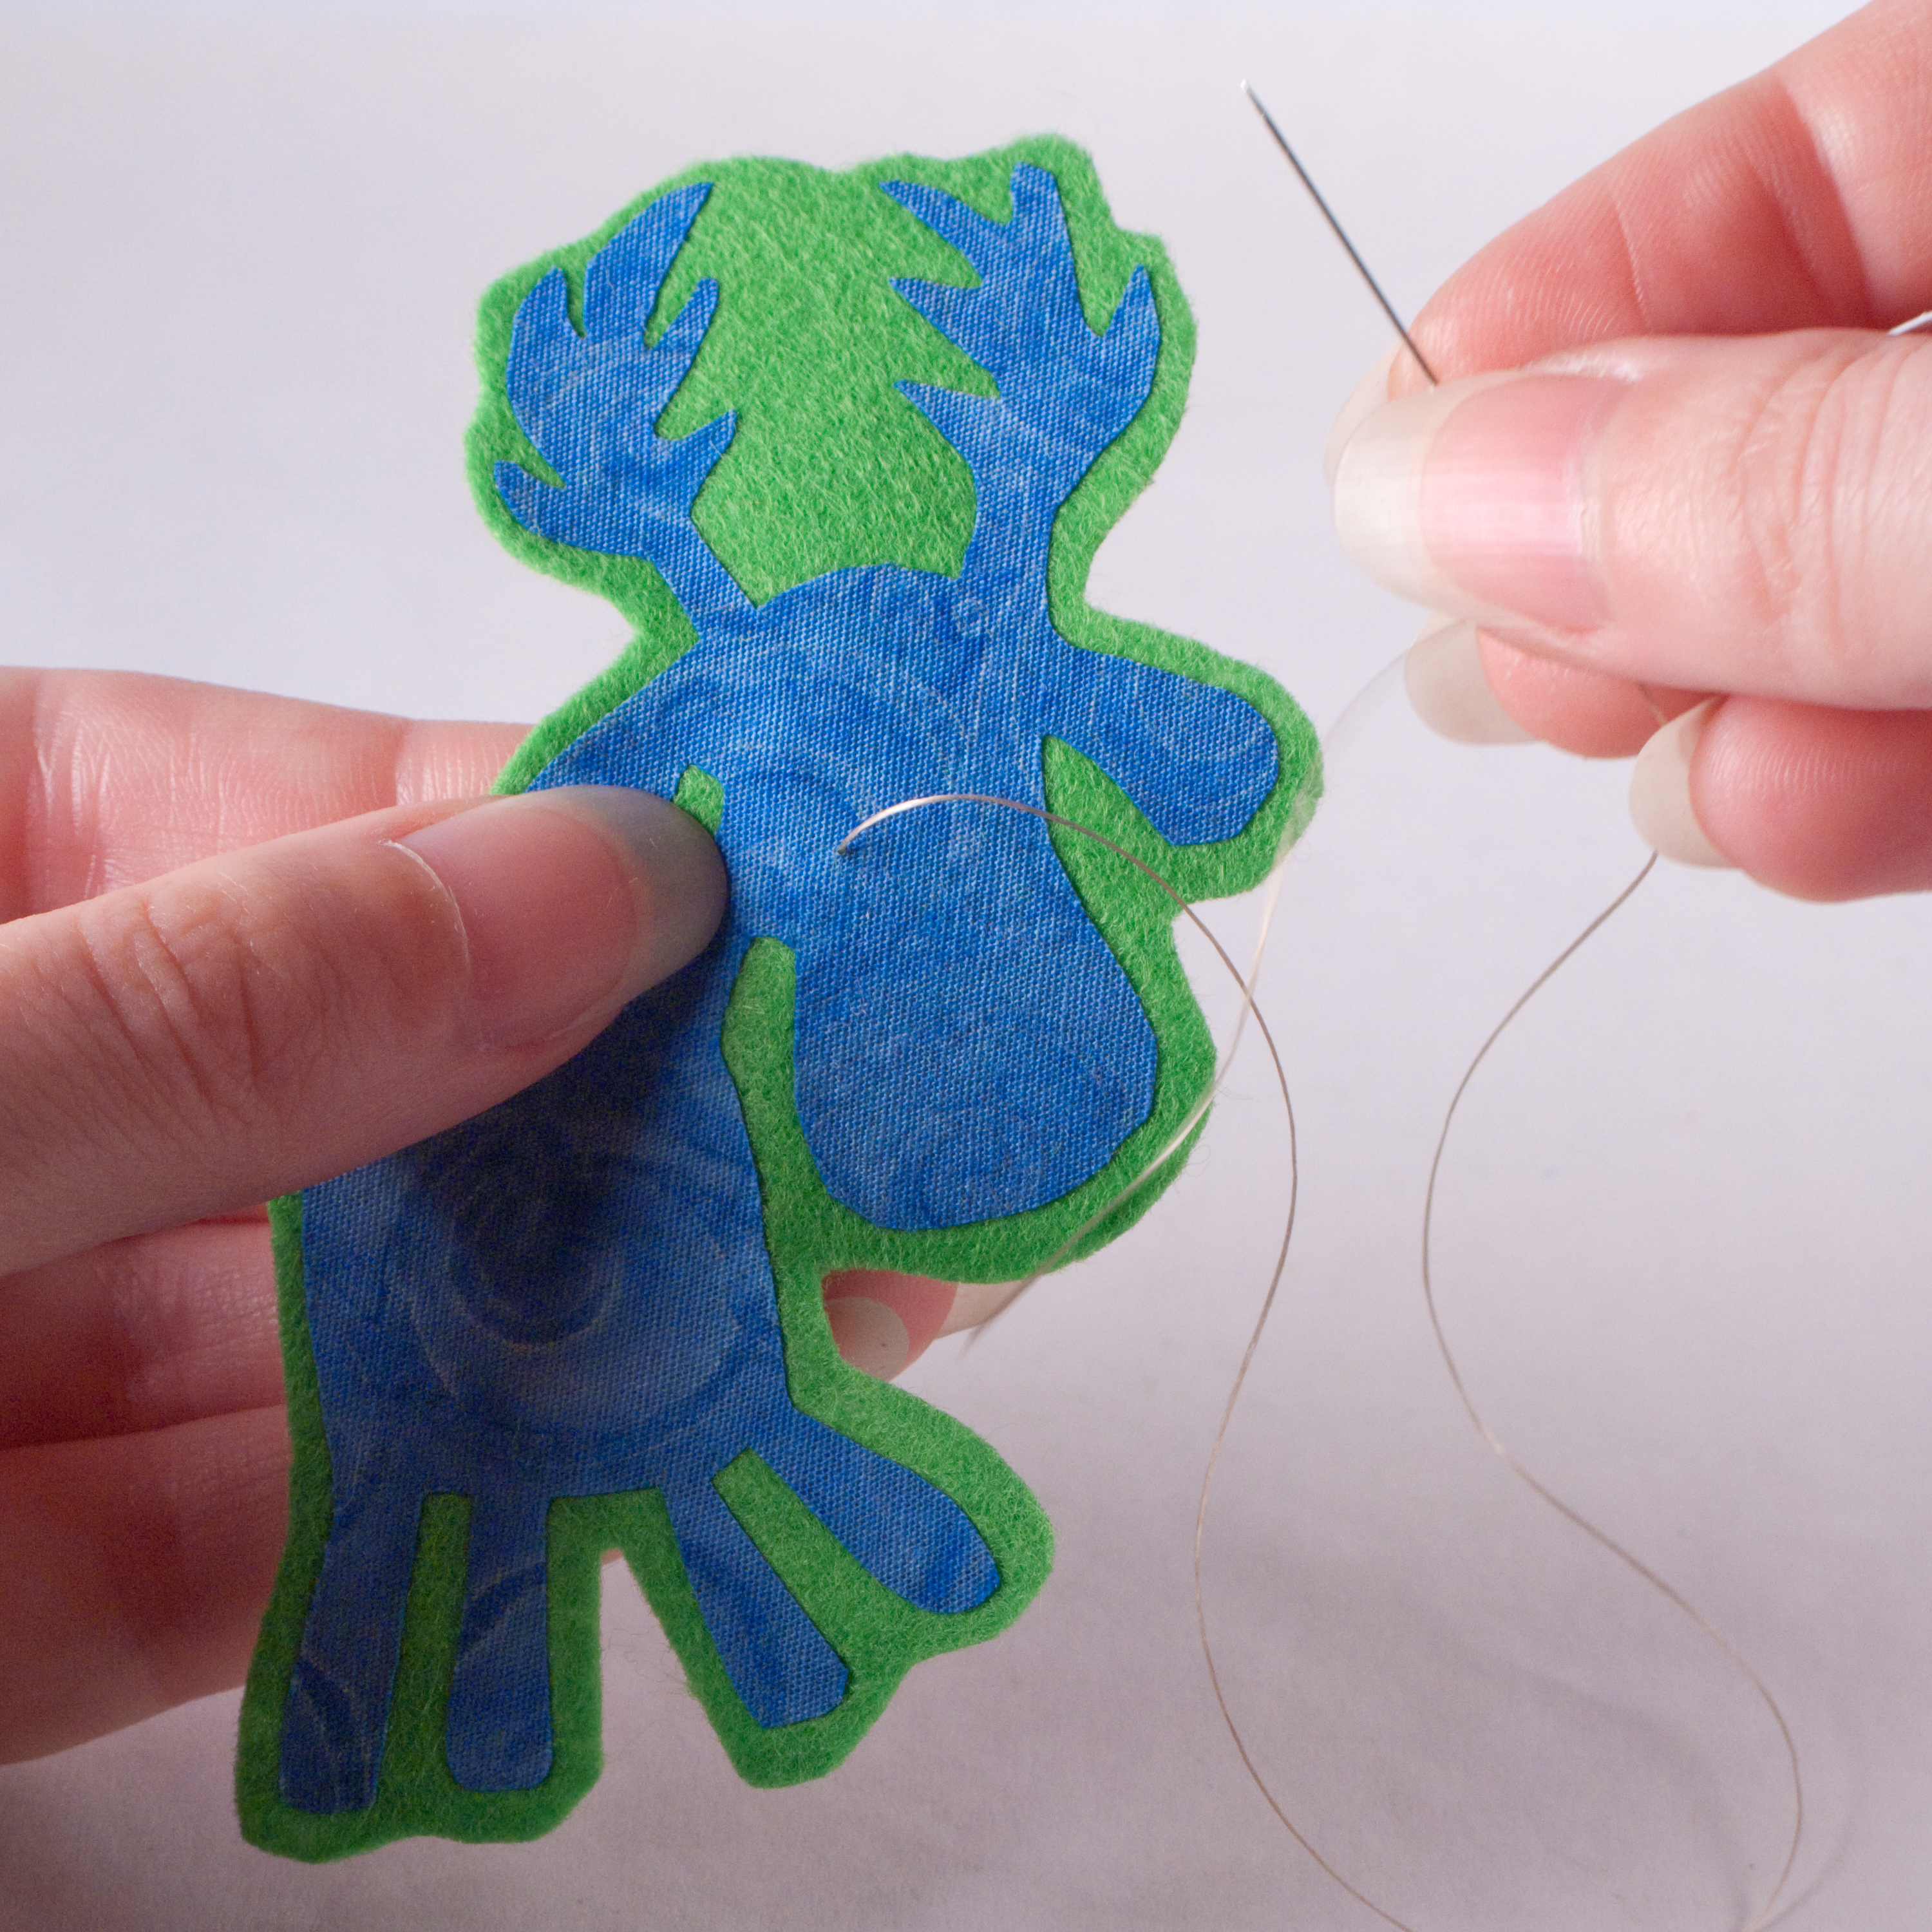
5. Place your be-spangled bear on the colored felt. Thread a needle with embroidery thread and tie a knot in the end. Poke the needle from front to back just inside the edge of the bear. Pull the thread until it stops at the knot.
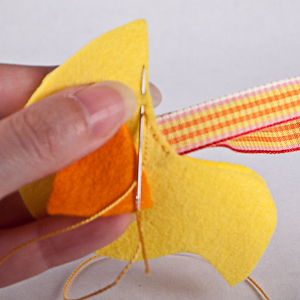
6. Blanket stitch around the edge of your bear. As you get to the top of the bear’s back, fold the ribbon in half, place the cut ends of the ribbon between the layers of felt and stitch them into the blanket stitch as well.
7. Trim the extra colored felt about 1/8 inch bigger than the bear, leaving an outline of the colored felt. Be careful not to trim the ribbon.


