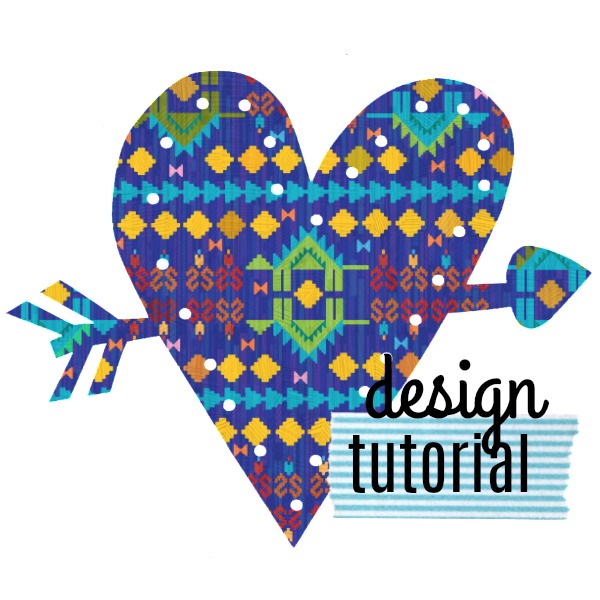
Since Valentines Day is just around the corner, I thought I would post a quick tutorial for making a heart shaped cut out design. You can use any image or pattern and “cut it out” to make it into a heart shape. (Or any other shape you want to use. The steps are the same.)
Make a heart
The first thing is to create your heart. I want a nice smooth shape that is basic black and white. You could use some clip art, but I really prefer to make my own “clip art”. (pun intended) With my own art, I never have to worry about using a copyrighted image or inadvertently stealing someone else’s design. I could draw something in Illustrator or use the vector tools in Photoshop, but I think it is so much easier to just start with a piece of paper. Seriously.
Why? I like the quality of the shape. Vector designs often look too perfect to me. It is really fast and easy to use the circle tool and the pen tool to create something that is symmetrical and has perfectly smooth lines, but I think that’s boring. It is also fast and easy to use scissors and a piece of dark colored paper to cut out a shape, and get all kinds of imperfections: little wobbles of the scissors, curves that are more irregular and so on. It looks less computer generated to me and I like that.

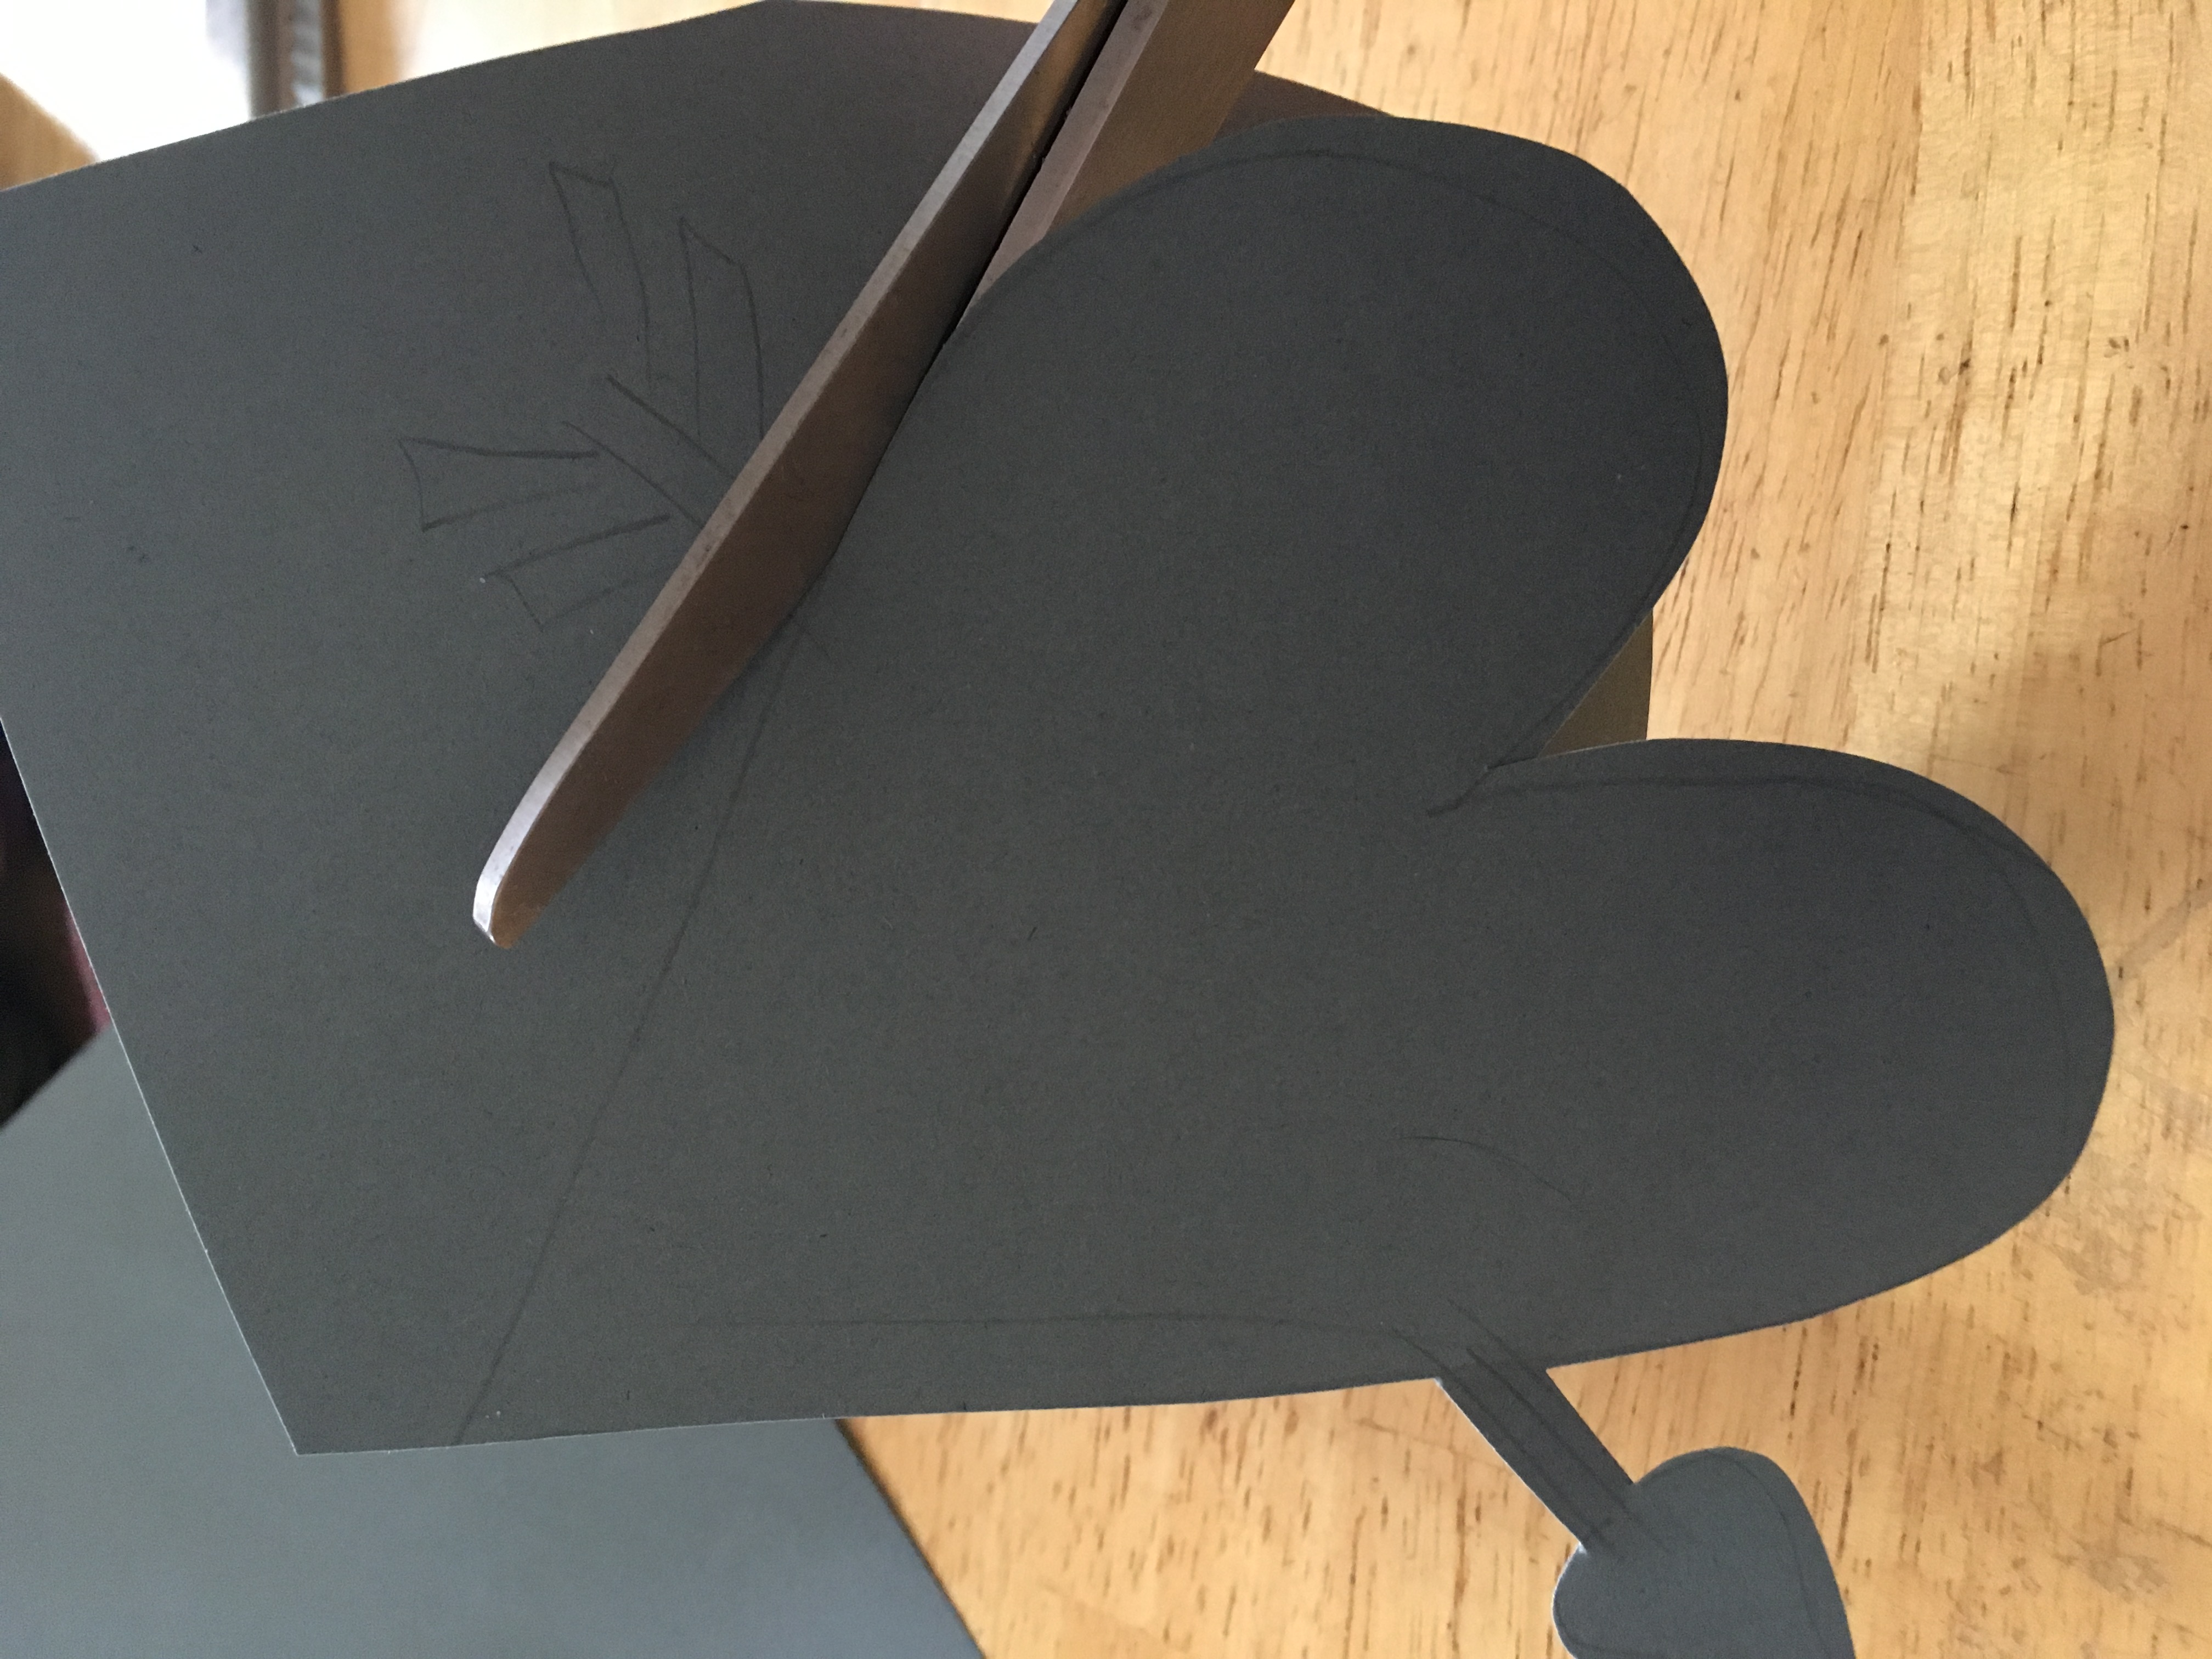
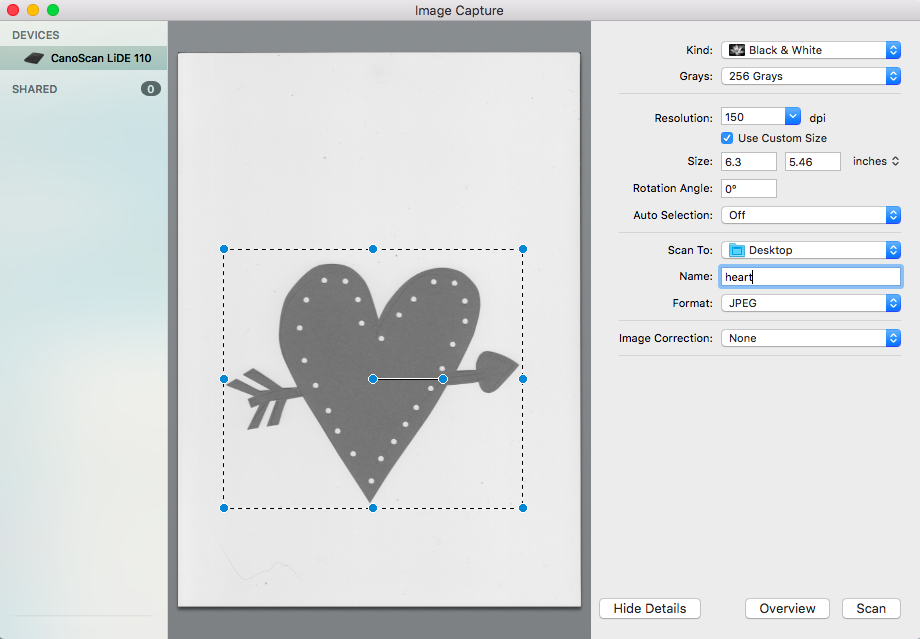
So I sketched a heart with an arrow design on a piece of black paper and cut it out. I used a paper punch to make the little dots. Then, I scanned it. I adjusted the scanner so it was scanning it black and white and I bumped up the contrast. The scanner DPI settings aren’t very important here, so I chose 150 dpi because that should be plenty of pixels to work with.

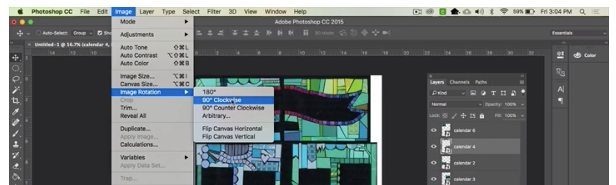
If you have Photoshop, you can use that do do this next step, but it is also really easy to do in PicMonkey and that’s what I will show you in this tutorial.
Use PicMonkey
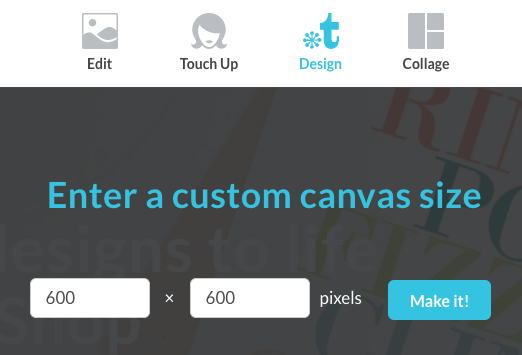
Go to picmonkey.com and choose Design (t icon) from the menu at the top. Then create a custom canvas. I am going to make mine 600×600 pixels. That’s a great size for a blog post or email and by making it square, it will look great in my Instagram feed.

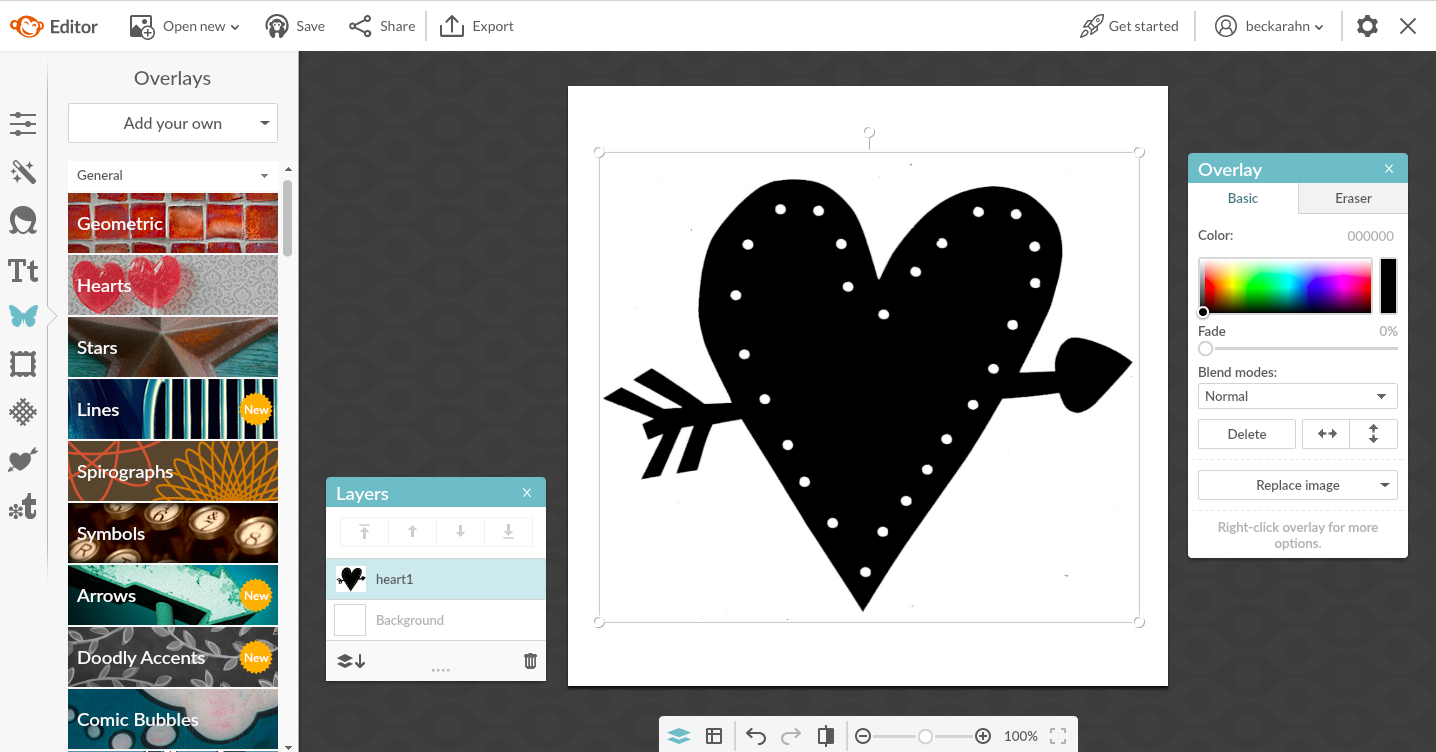
Go to the Overlays menu (butterfly icon at left) and choose Add your Own at the top of that column. Then find your scanned heart design.

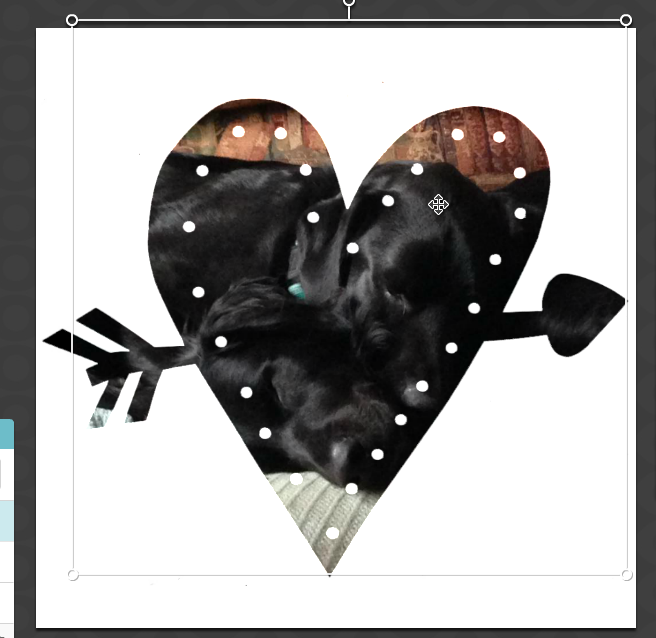
Next choose the photo or image that you want to “cut out” with this heart. I will use a picture of my dogs as my example. Choose Add Your Own in Overlays again and find that image.
To make it “cut out” you just need to select a different blend mode for this new overlay layer. Look in the Overlay pop up palette that should have popped up somewhere in your editor. (It’s on the right side in my screen shot) Under the Blend Mode dropdown, choose Add.

I can adjust the size of the overlay by using the bubble toggles at the corners or rotating with the handle at the top until I have the image and the heart cutout aligned the way I like it.
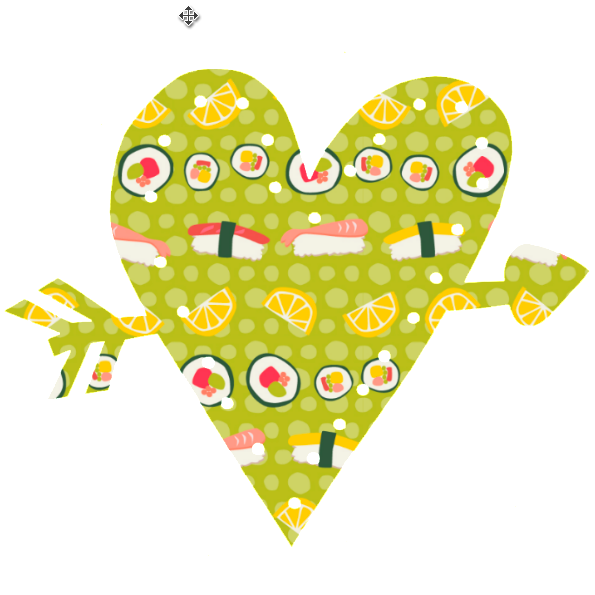
You can also use another repeating design instead of a photo; in fact any .jpg image will work. How about a sushi valentine? For this one, I just took a screen shot of this sushi stripe design that I created and used it to make an overlay.

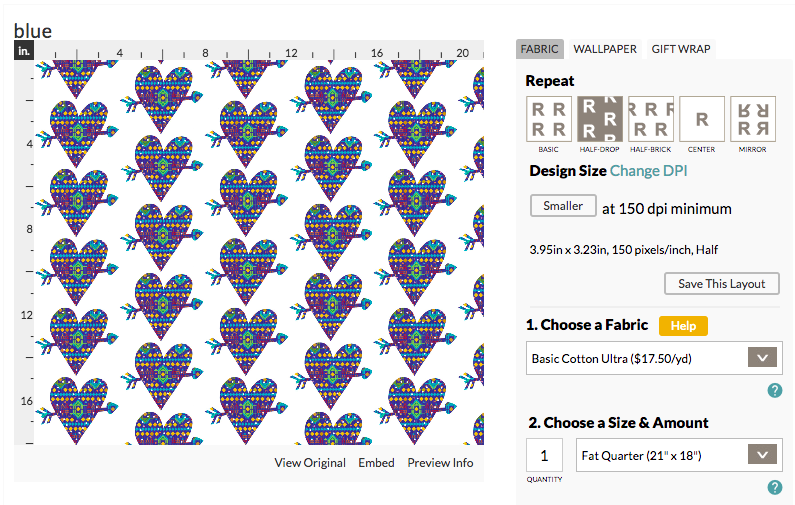
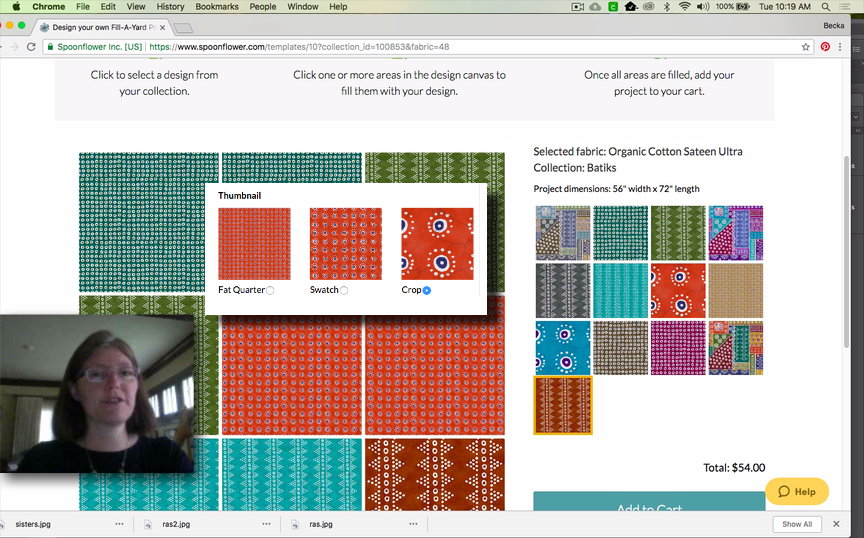
And here I took the same idea with a different design and then uploaded it to Spoonflower to make a repeating pattern for a fabric design. This one would be cute as wrapping paper!

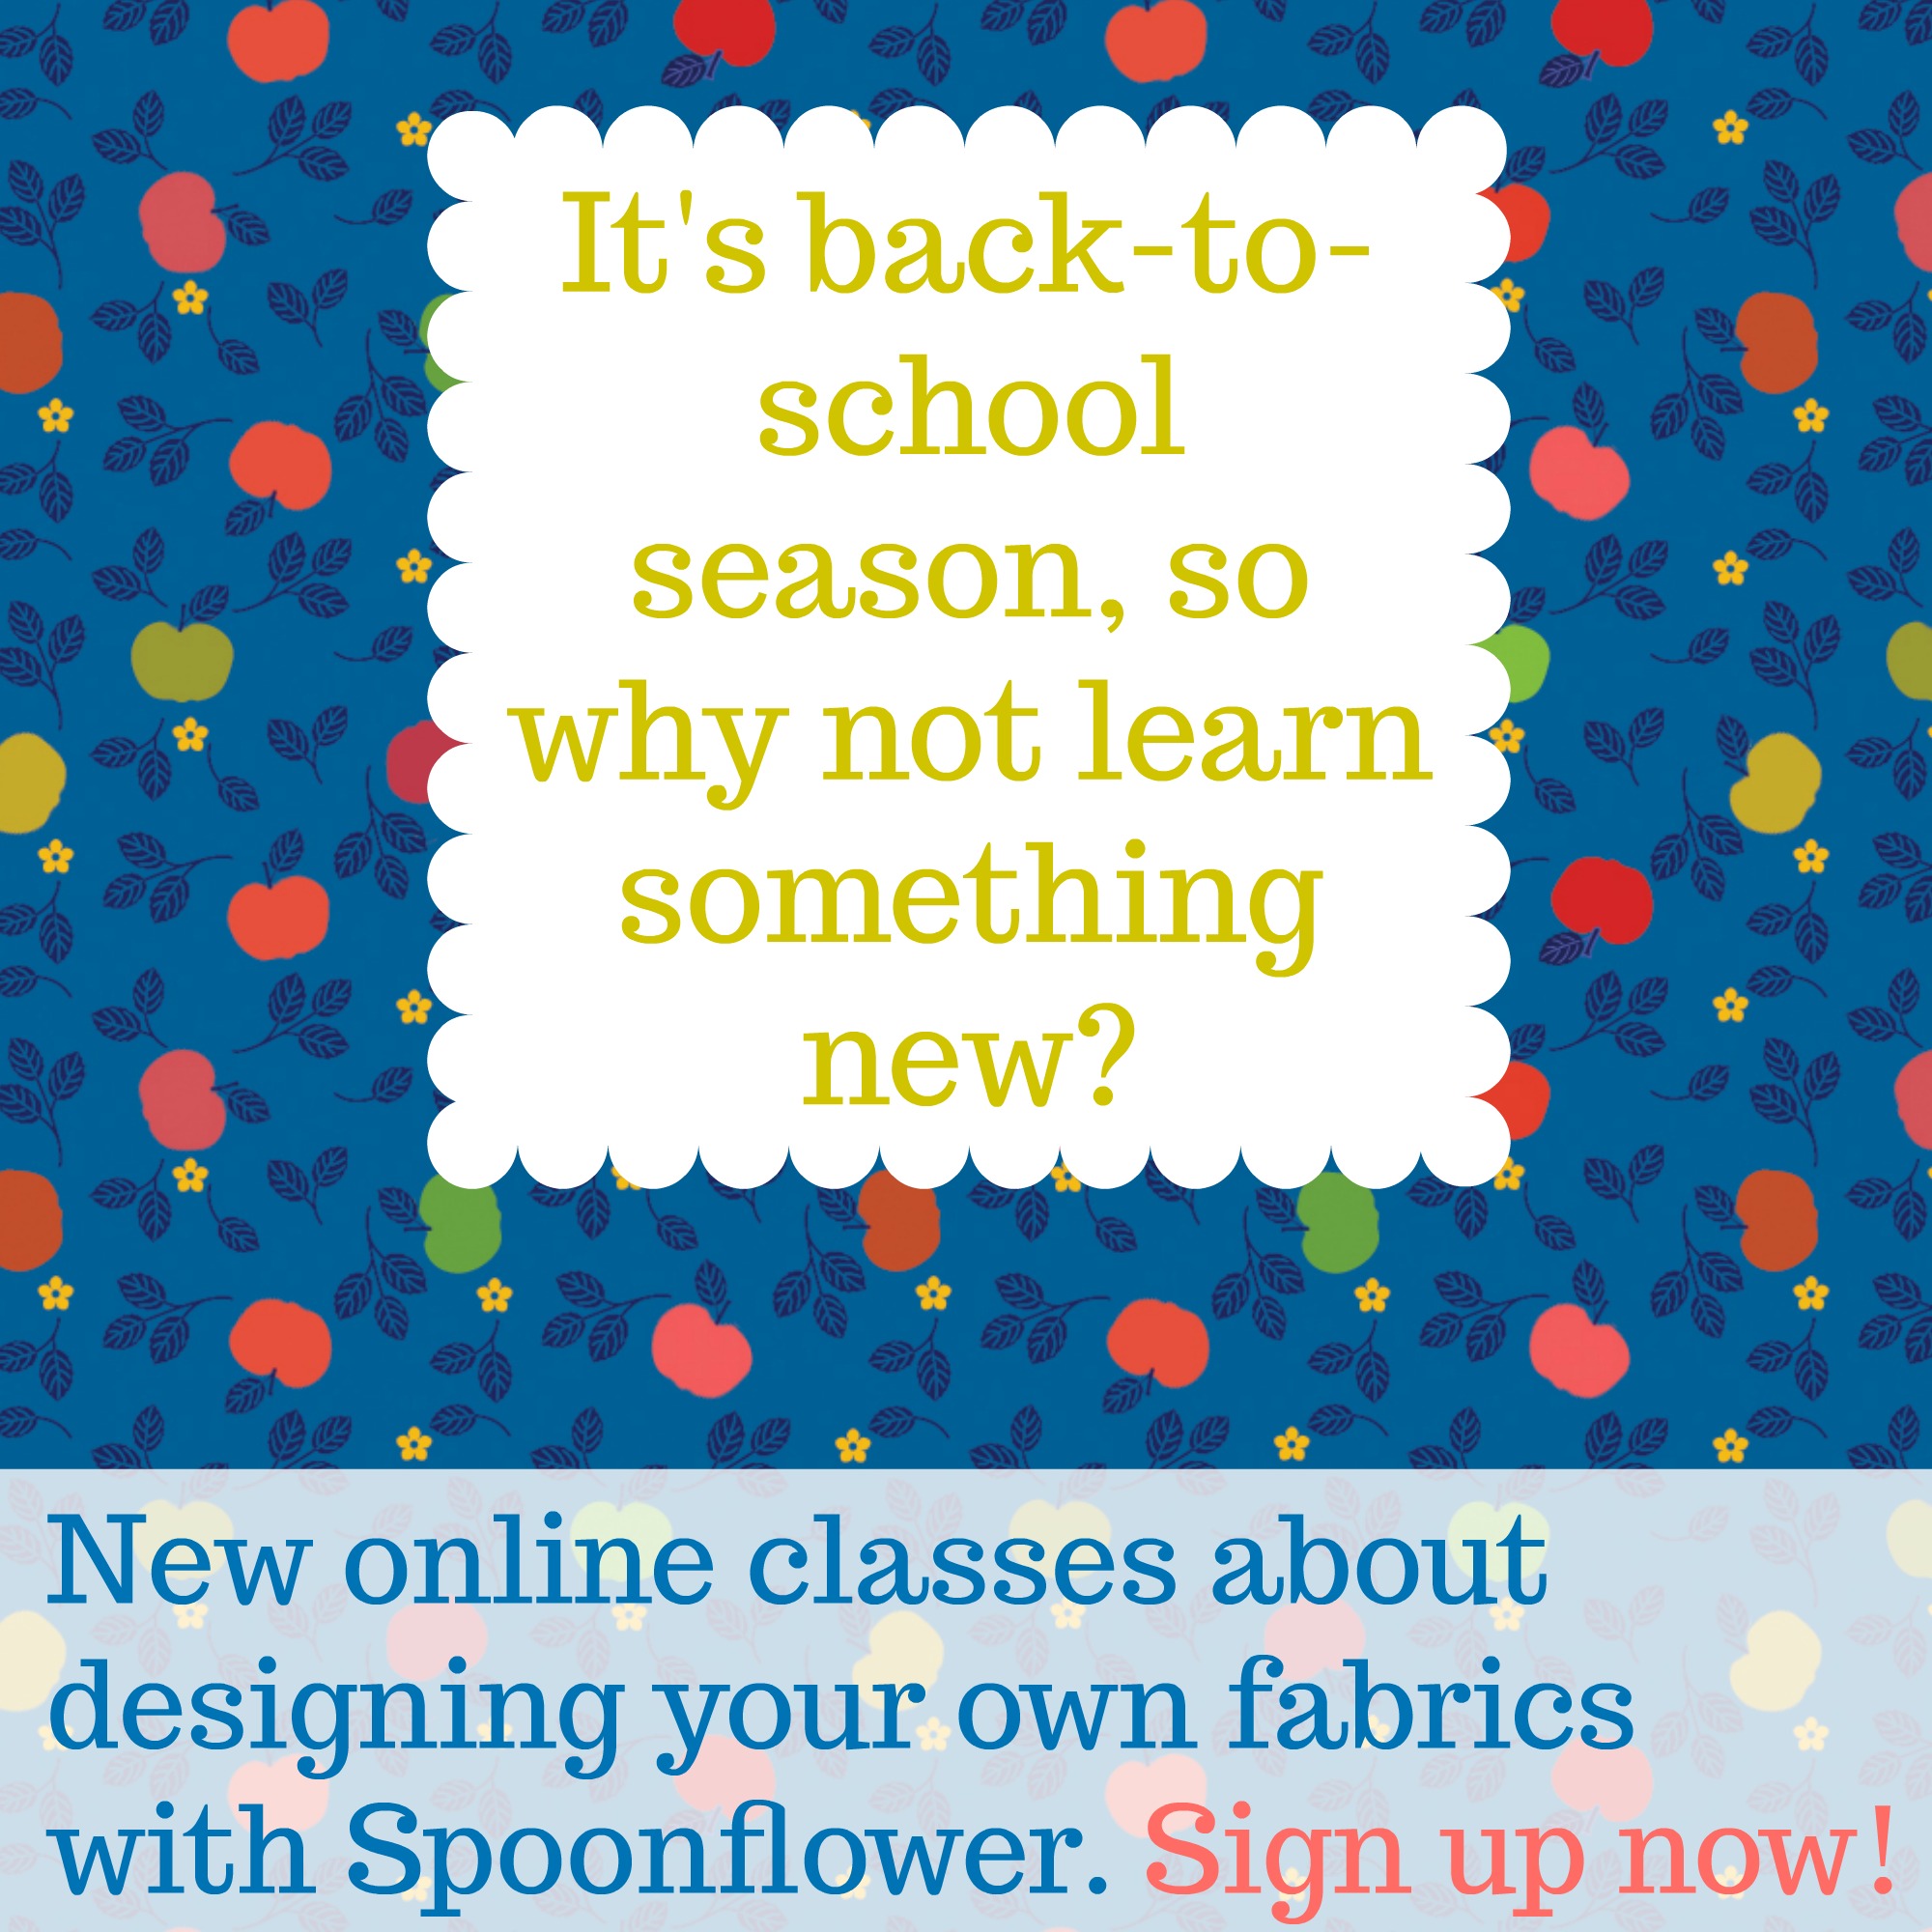
If you want to learn more techniques like this for designing your own patterns and fabrics, be sure to check out my online classes. There is even a free one to get you started and it builds on some of the ideas in this tutorial. Or check out my events calendar for in-person classes.


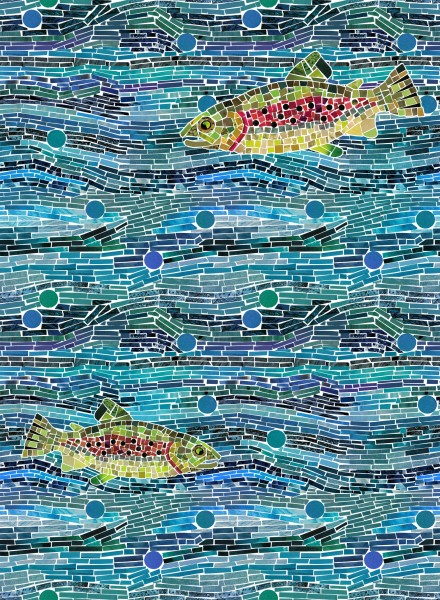
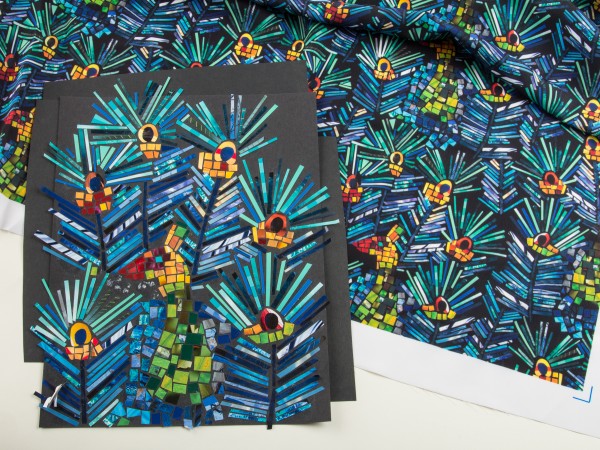
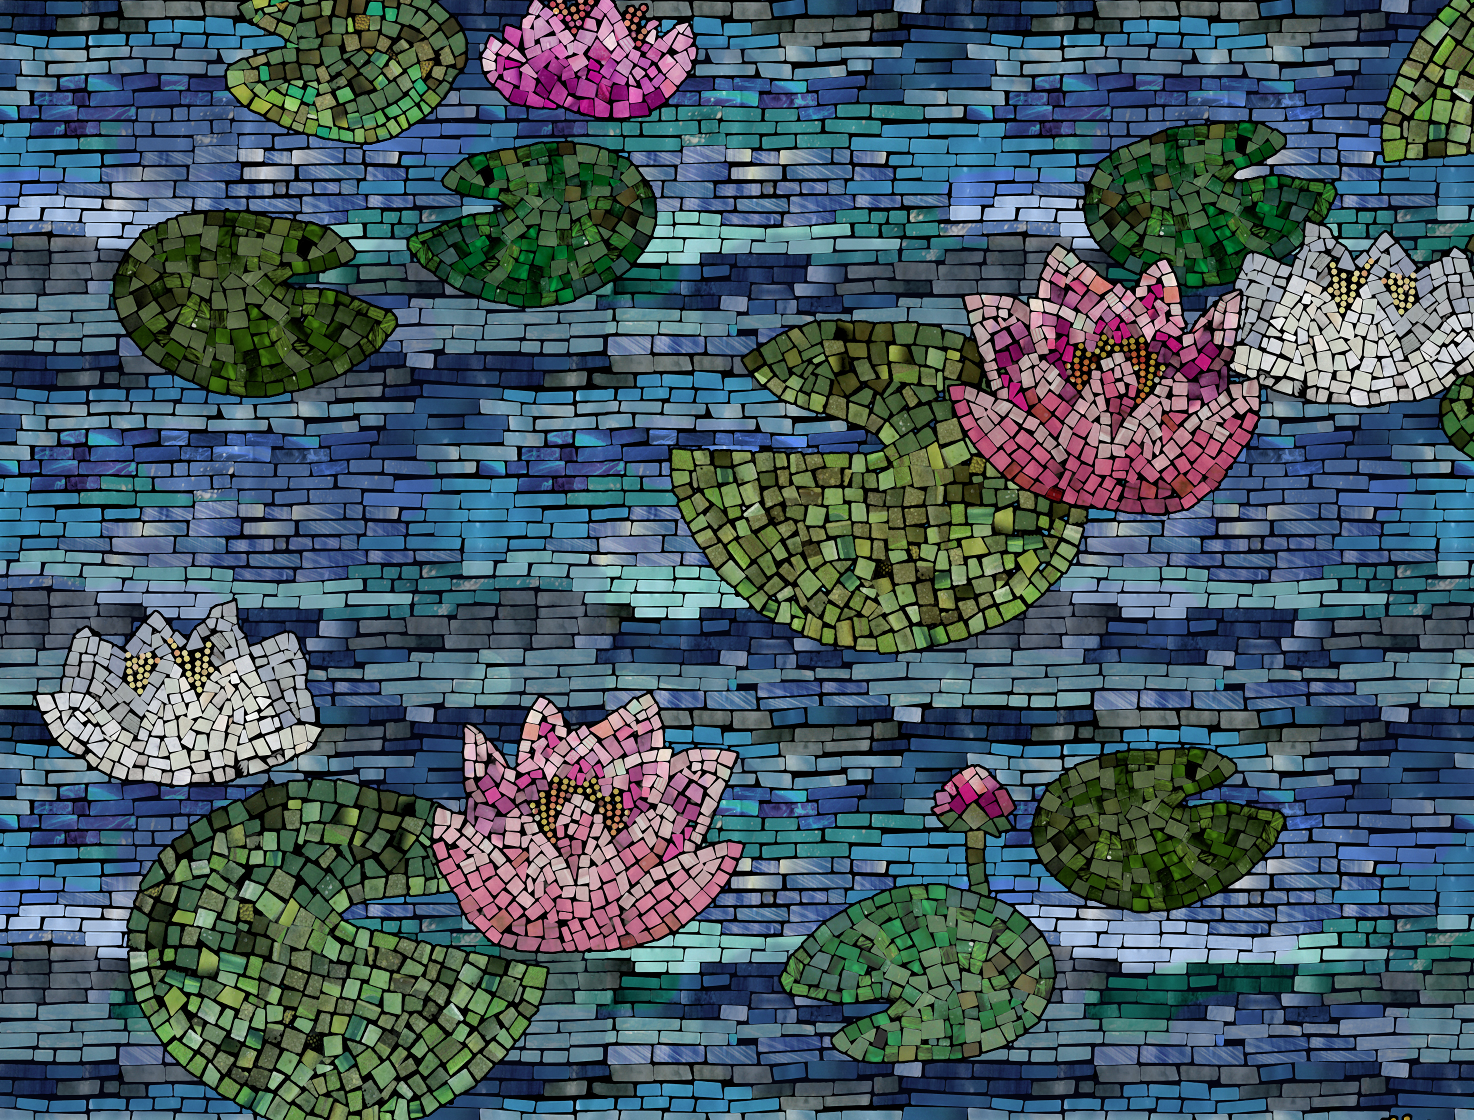
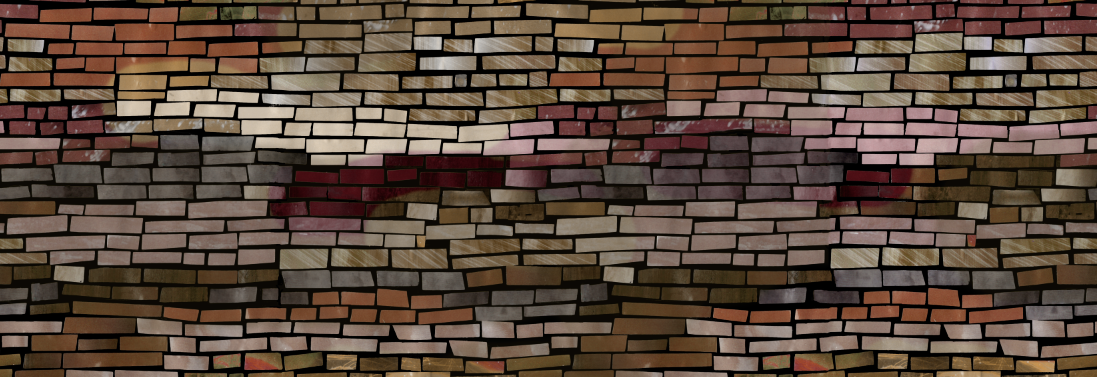 At my last fabric design class, I chatted with my students about how I make paper mosaic designs. I like to design fabrics using original art like paper collage or drawings or paintings. They were very curious to see the originals that my fabrics had started out as, so I thought it would be fun to make a video demo to show the process from paper to fabric.