

A teacher’s life: My week at Arrowmont School
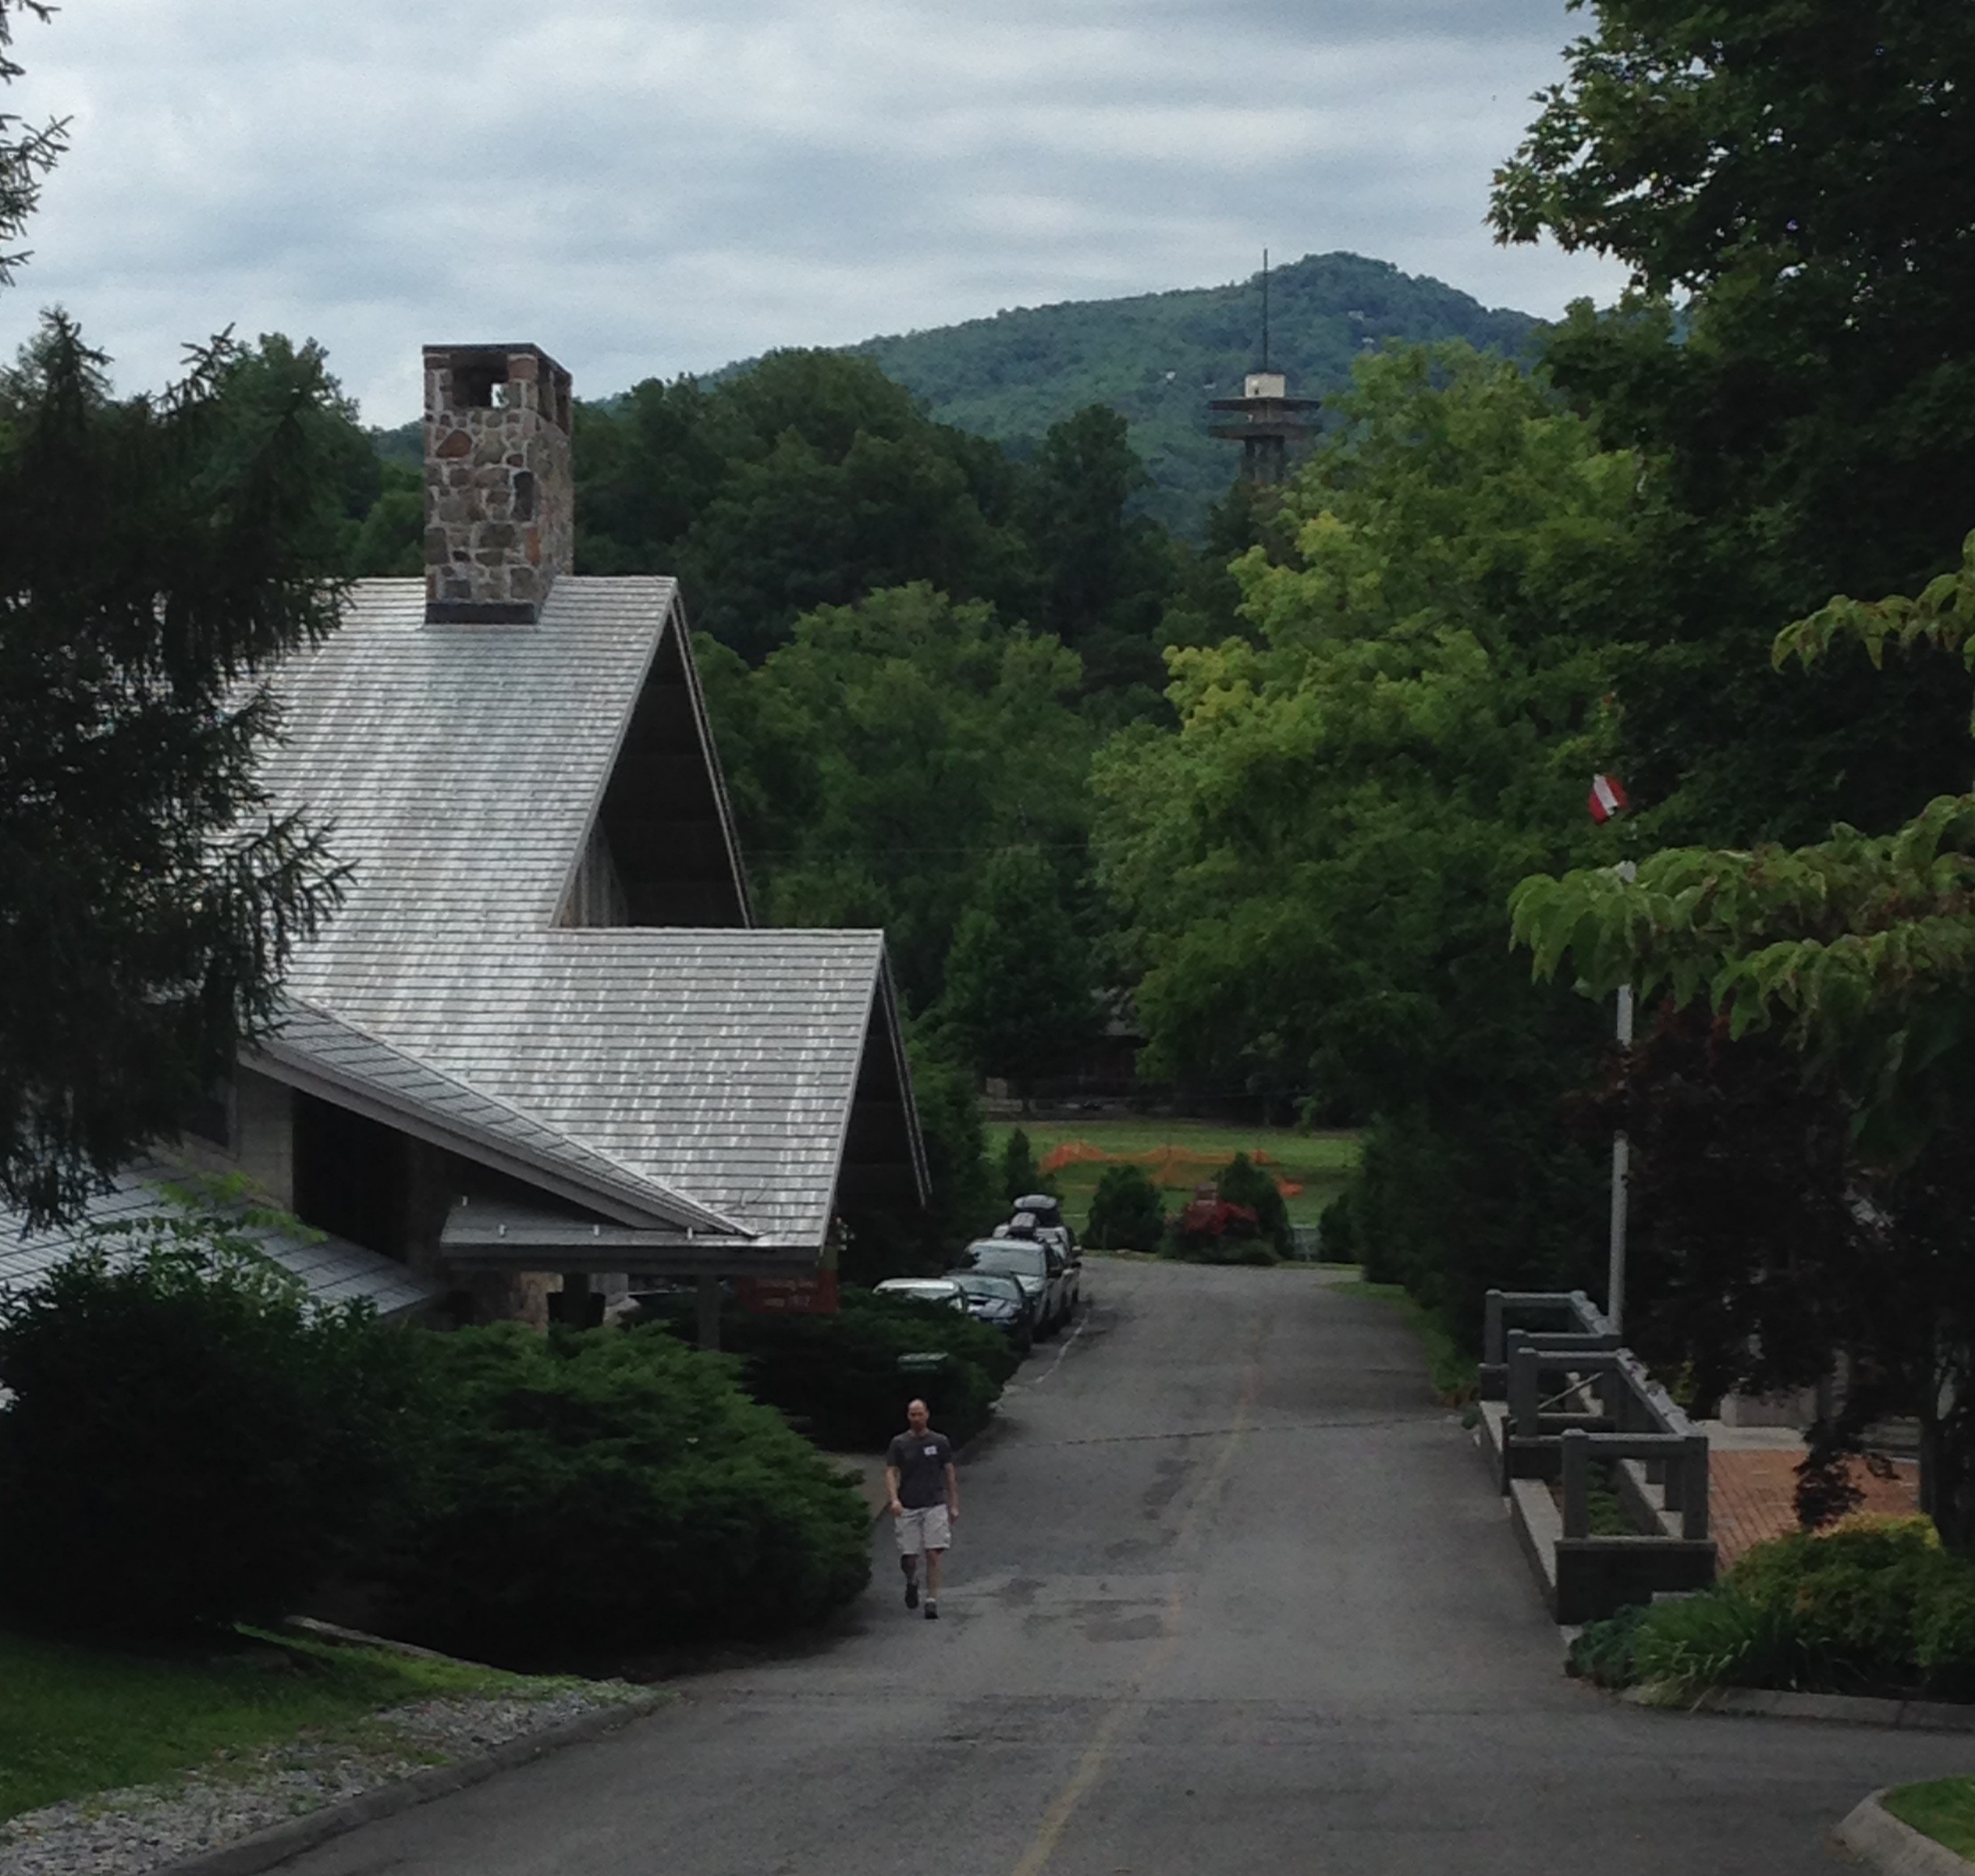 I just got back from teaching a week-long workshop at the Arrowmont School of Arts & Crafts in Gatlinburg TN. Arrowmont is like summer art camp for grownups in all the best and worst ways. Each class is an intensive week. Studios are open 7:30 am – 1:00 am nearly every day. Students and teachers stay in no-frills dorm-like rooms; meals are provided at the dining hall. There are evening slide talks and open studios. Above is a view of the main building as I am walking down from my cabin.
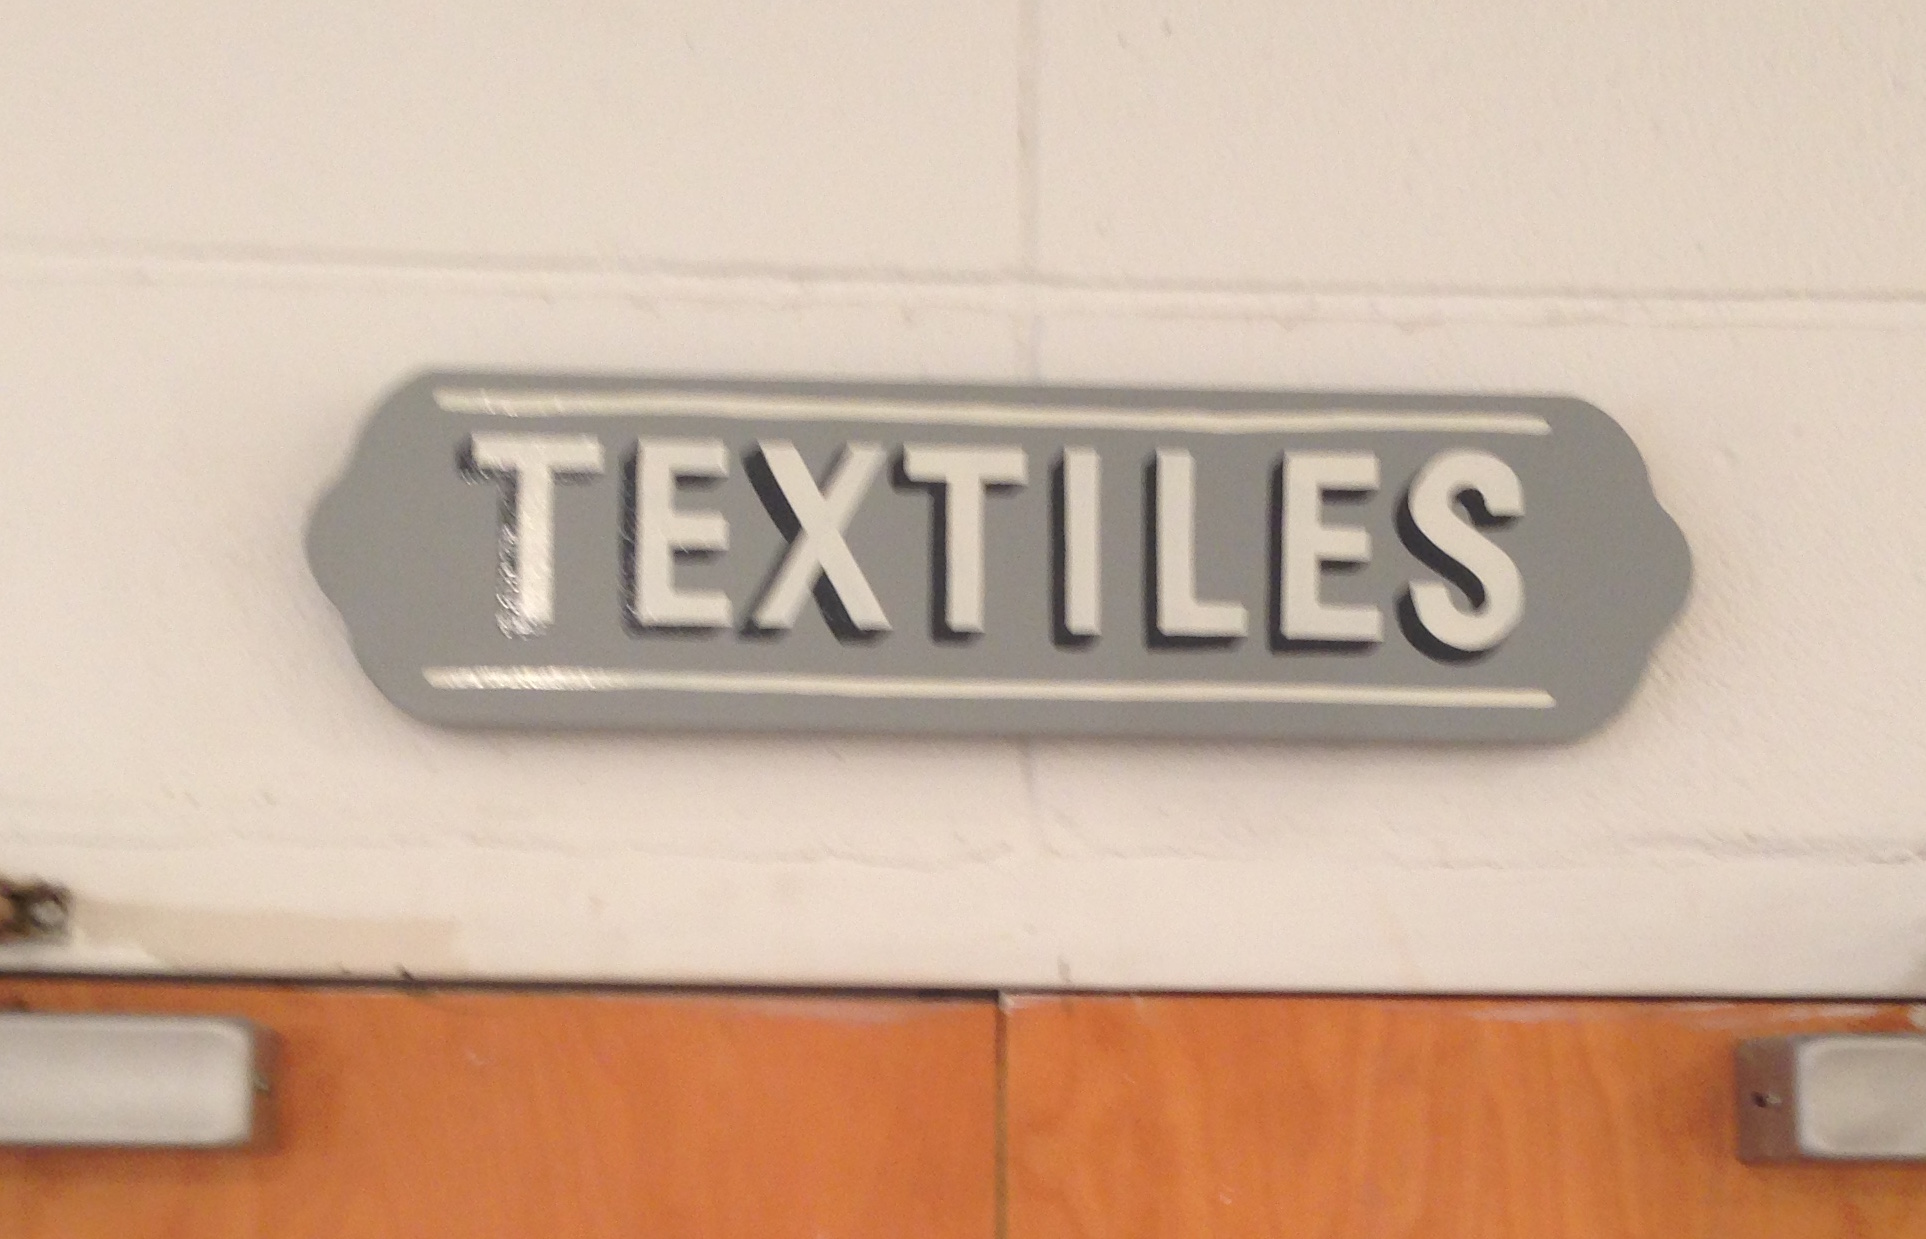
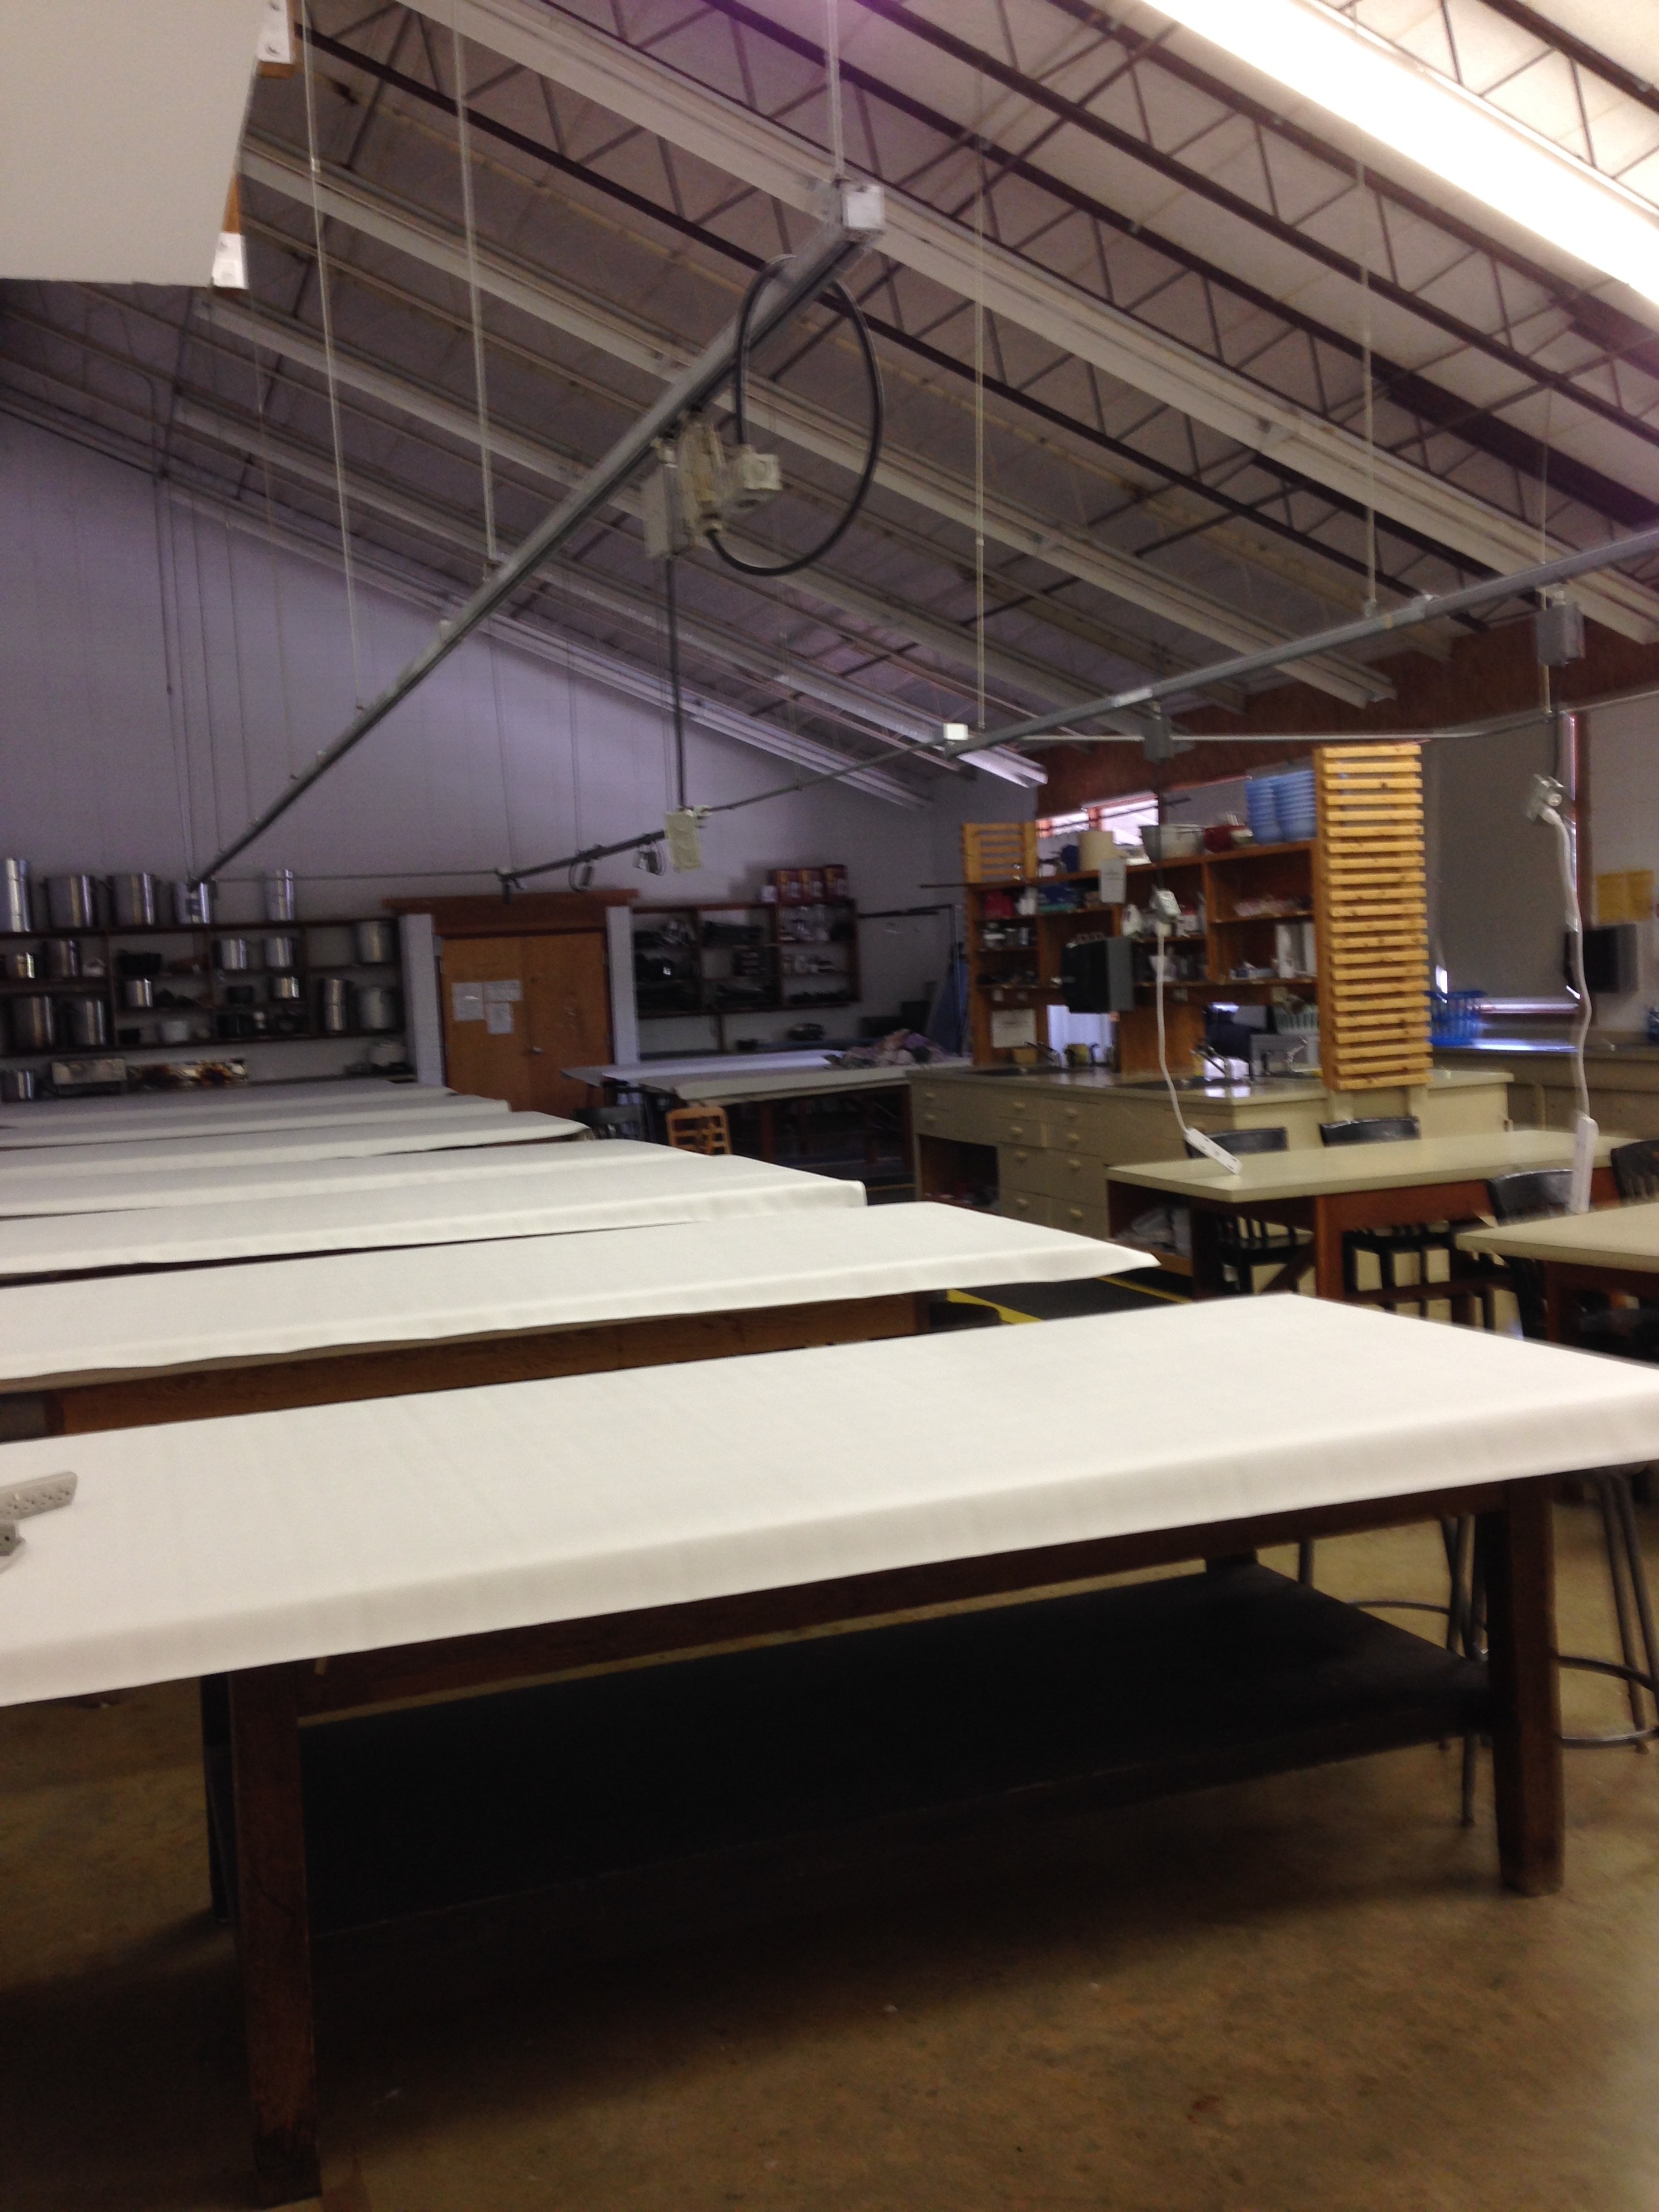 There was a little snafu with a late shuttle and some very bad communication when I first arrived, so my week started off a little rocky, but things smoothed out as the week went on. I was teaching in the textiles studio, which is set up like the most amazing dye lab you can imagine. Only we weren’t doing anything with dyes, because I was teaching a whole week about digital fabric design with Spoonflower. Having this lab full of computers and scanners is not exactly the norm for Arrowmont, but it worked out just fine. We got to try some things in class which I almost never have time to do, so it was fun for me to be able to teach the students some more complex techniques.
Class started right away on Sunday evening and continued through Friday afternoon. There were 9 classes running during the week I was there. I had 6 amazing students in class; class sizes ranged between 3-15 people. Running parallel to us were classes in woodworking, paper, ceramics, mold-making, wire sculpture and mixed media jewelry. We had 37 hours of class time and we packed it full. We talked about color, patterns, making things seamless, effective repeats, scale, texture…
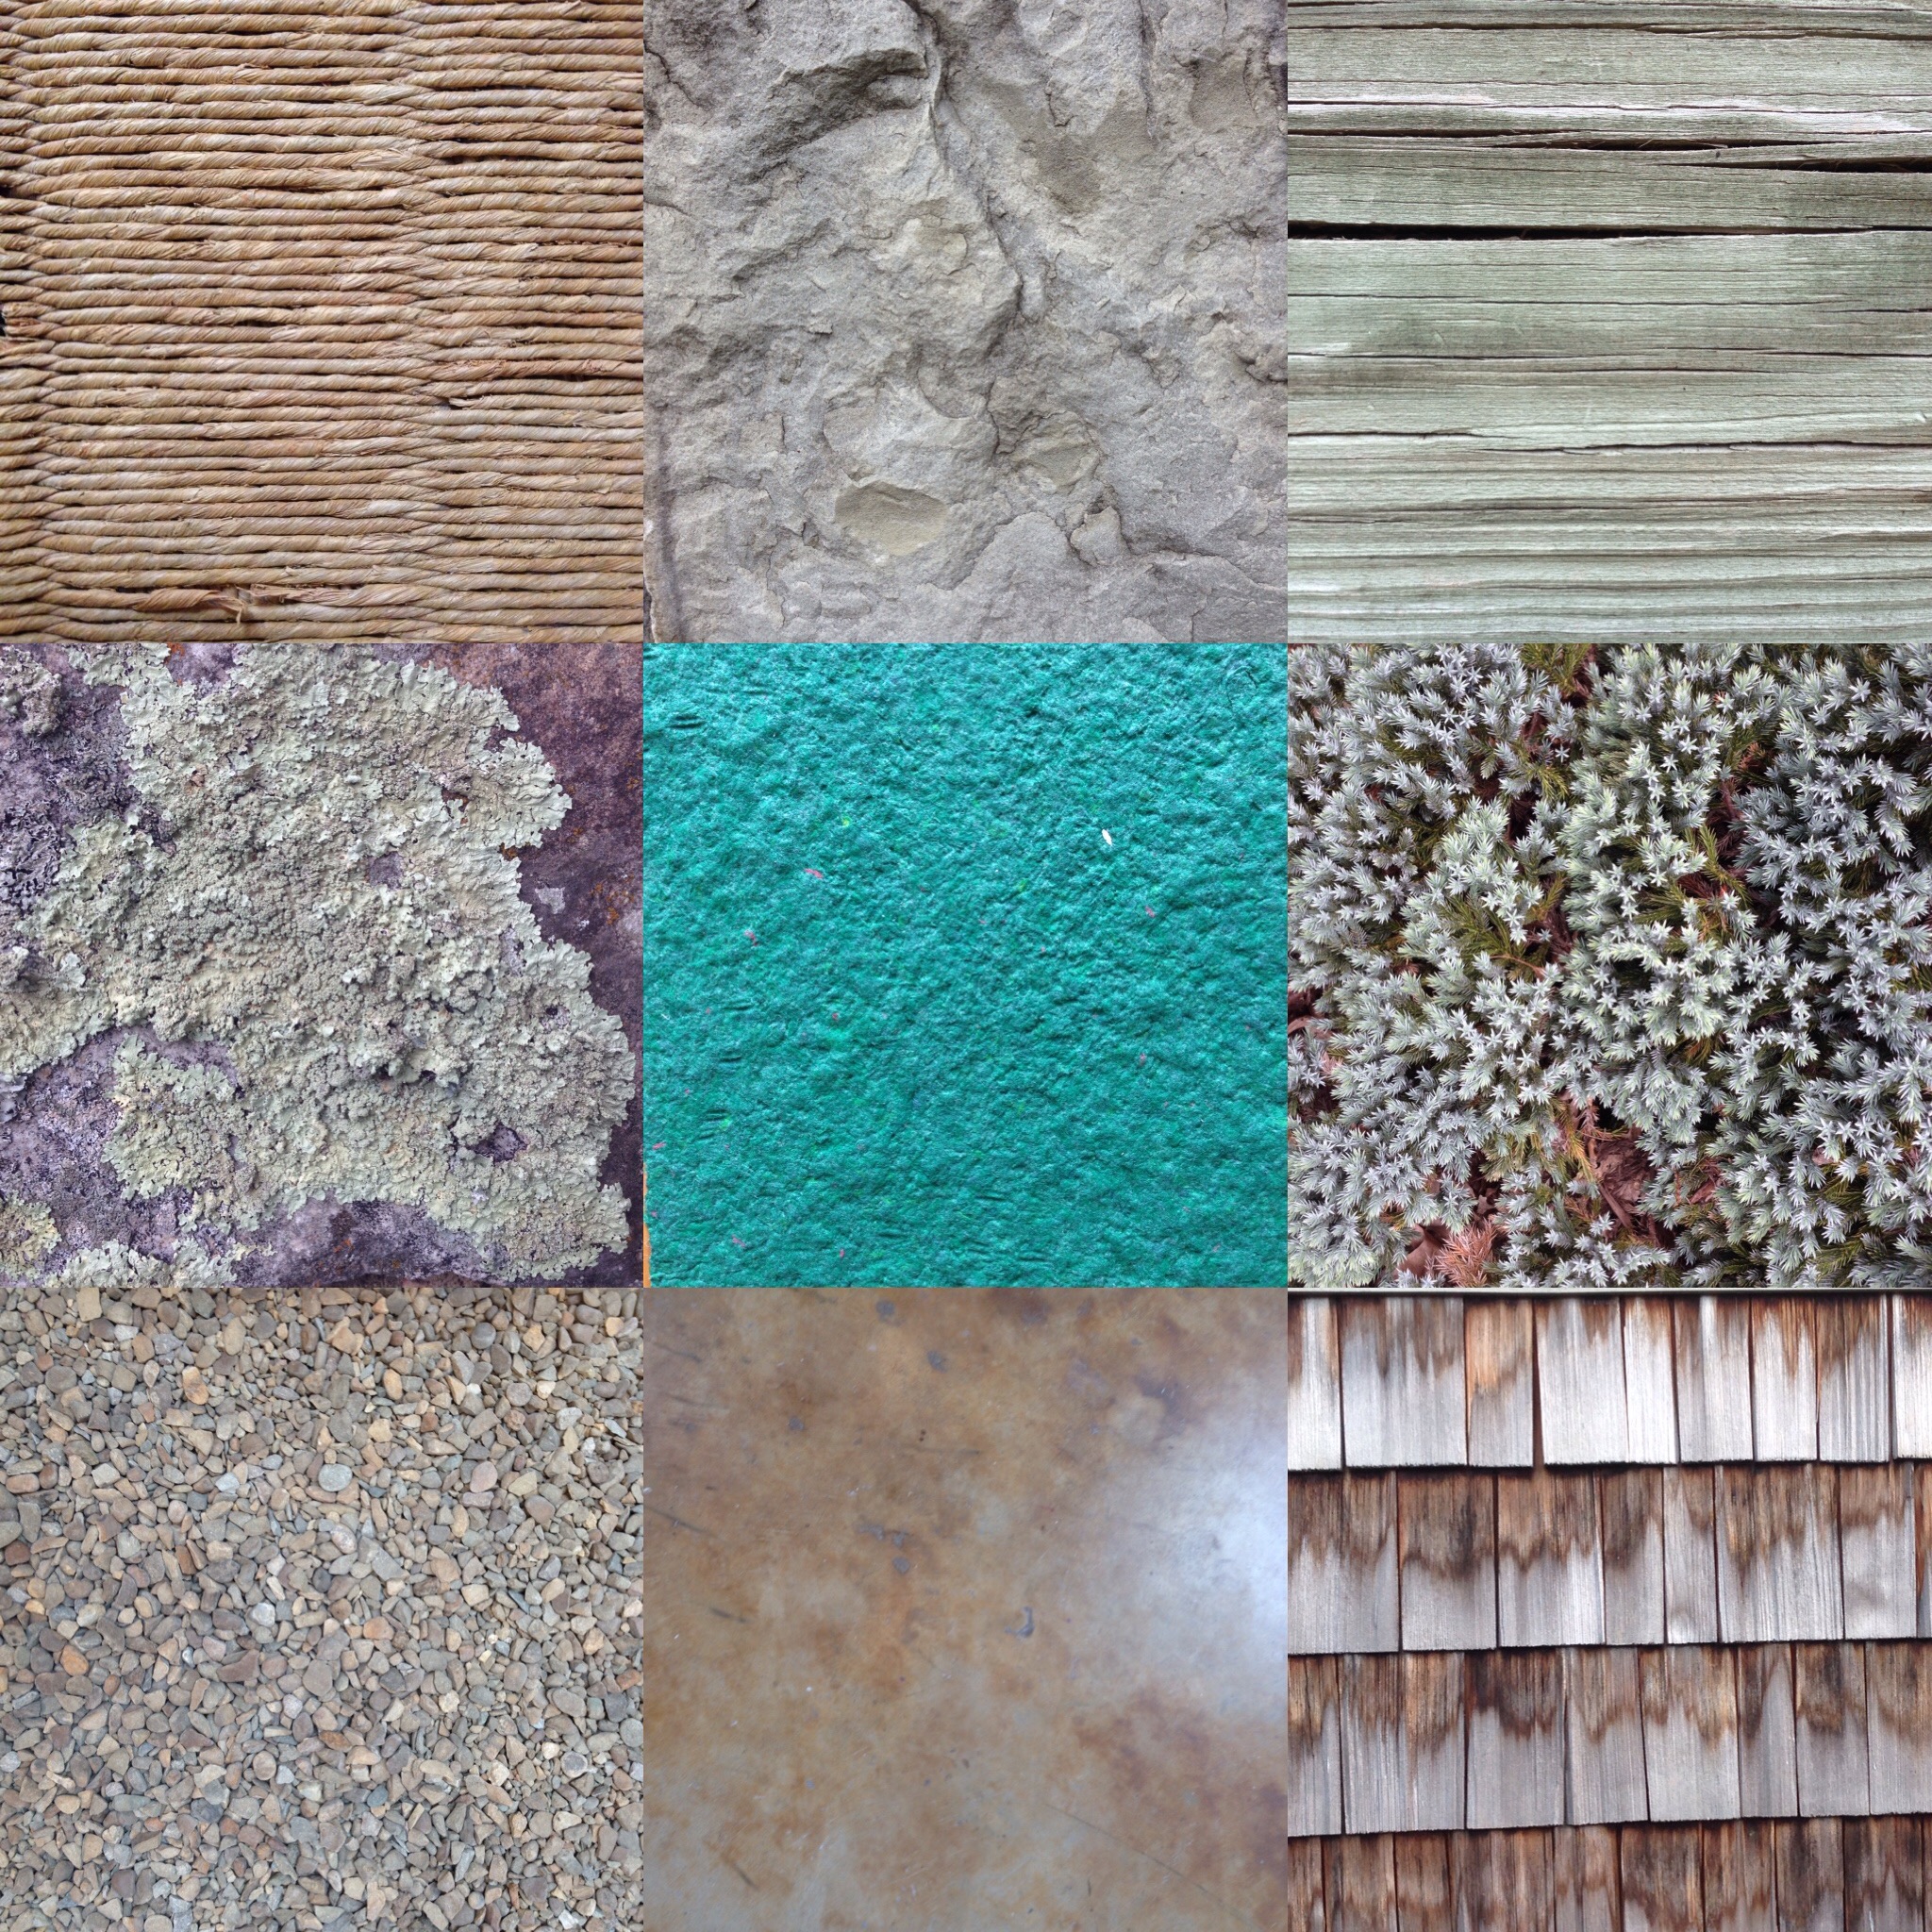
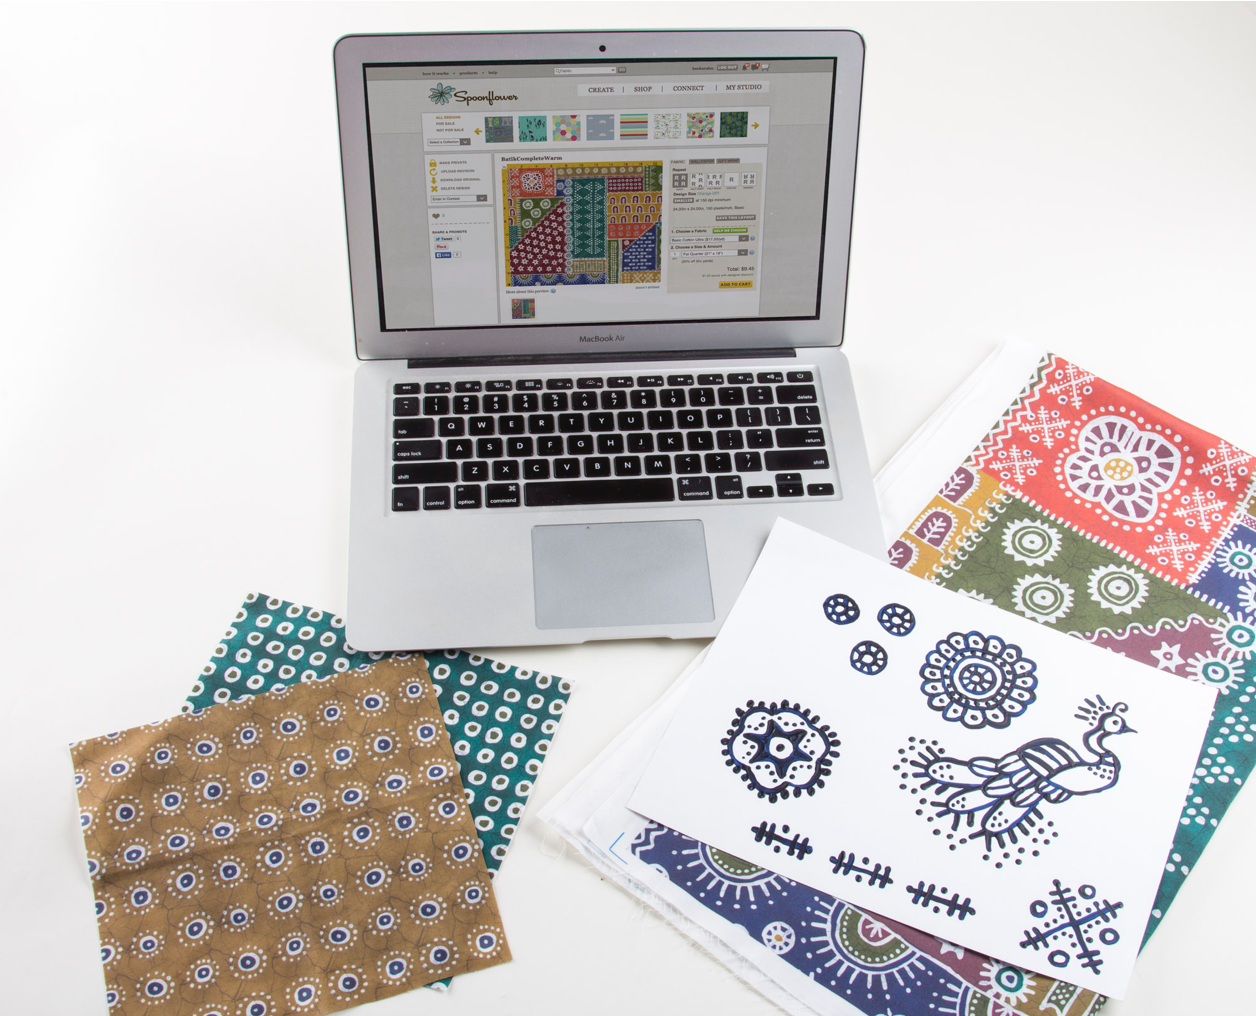
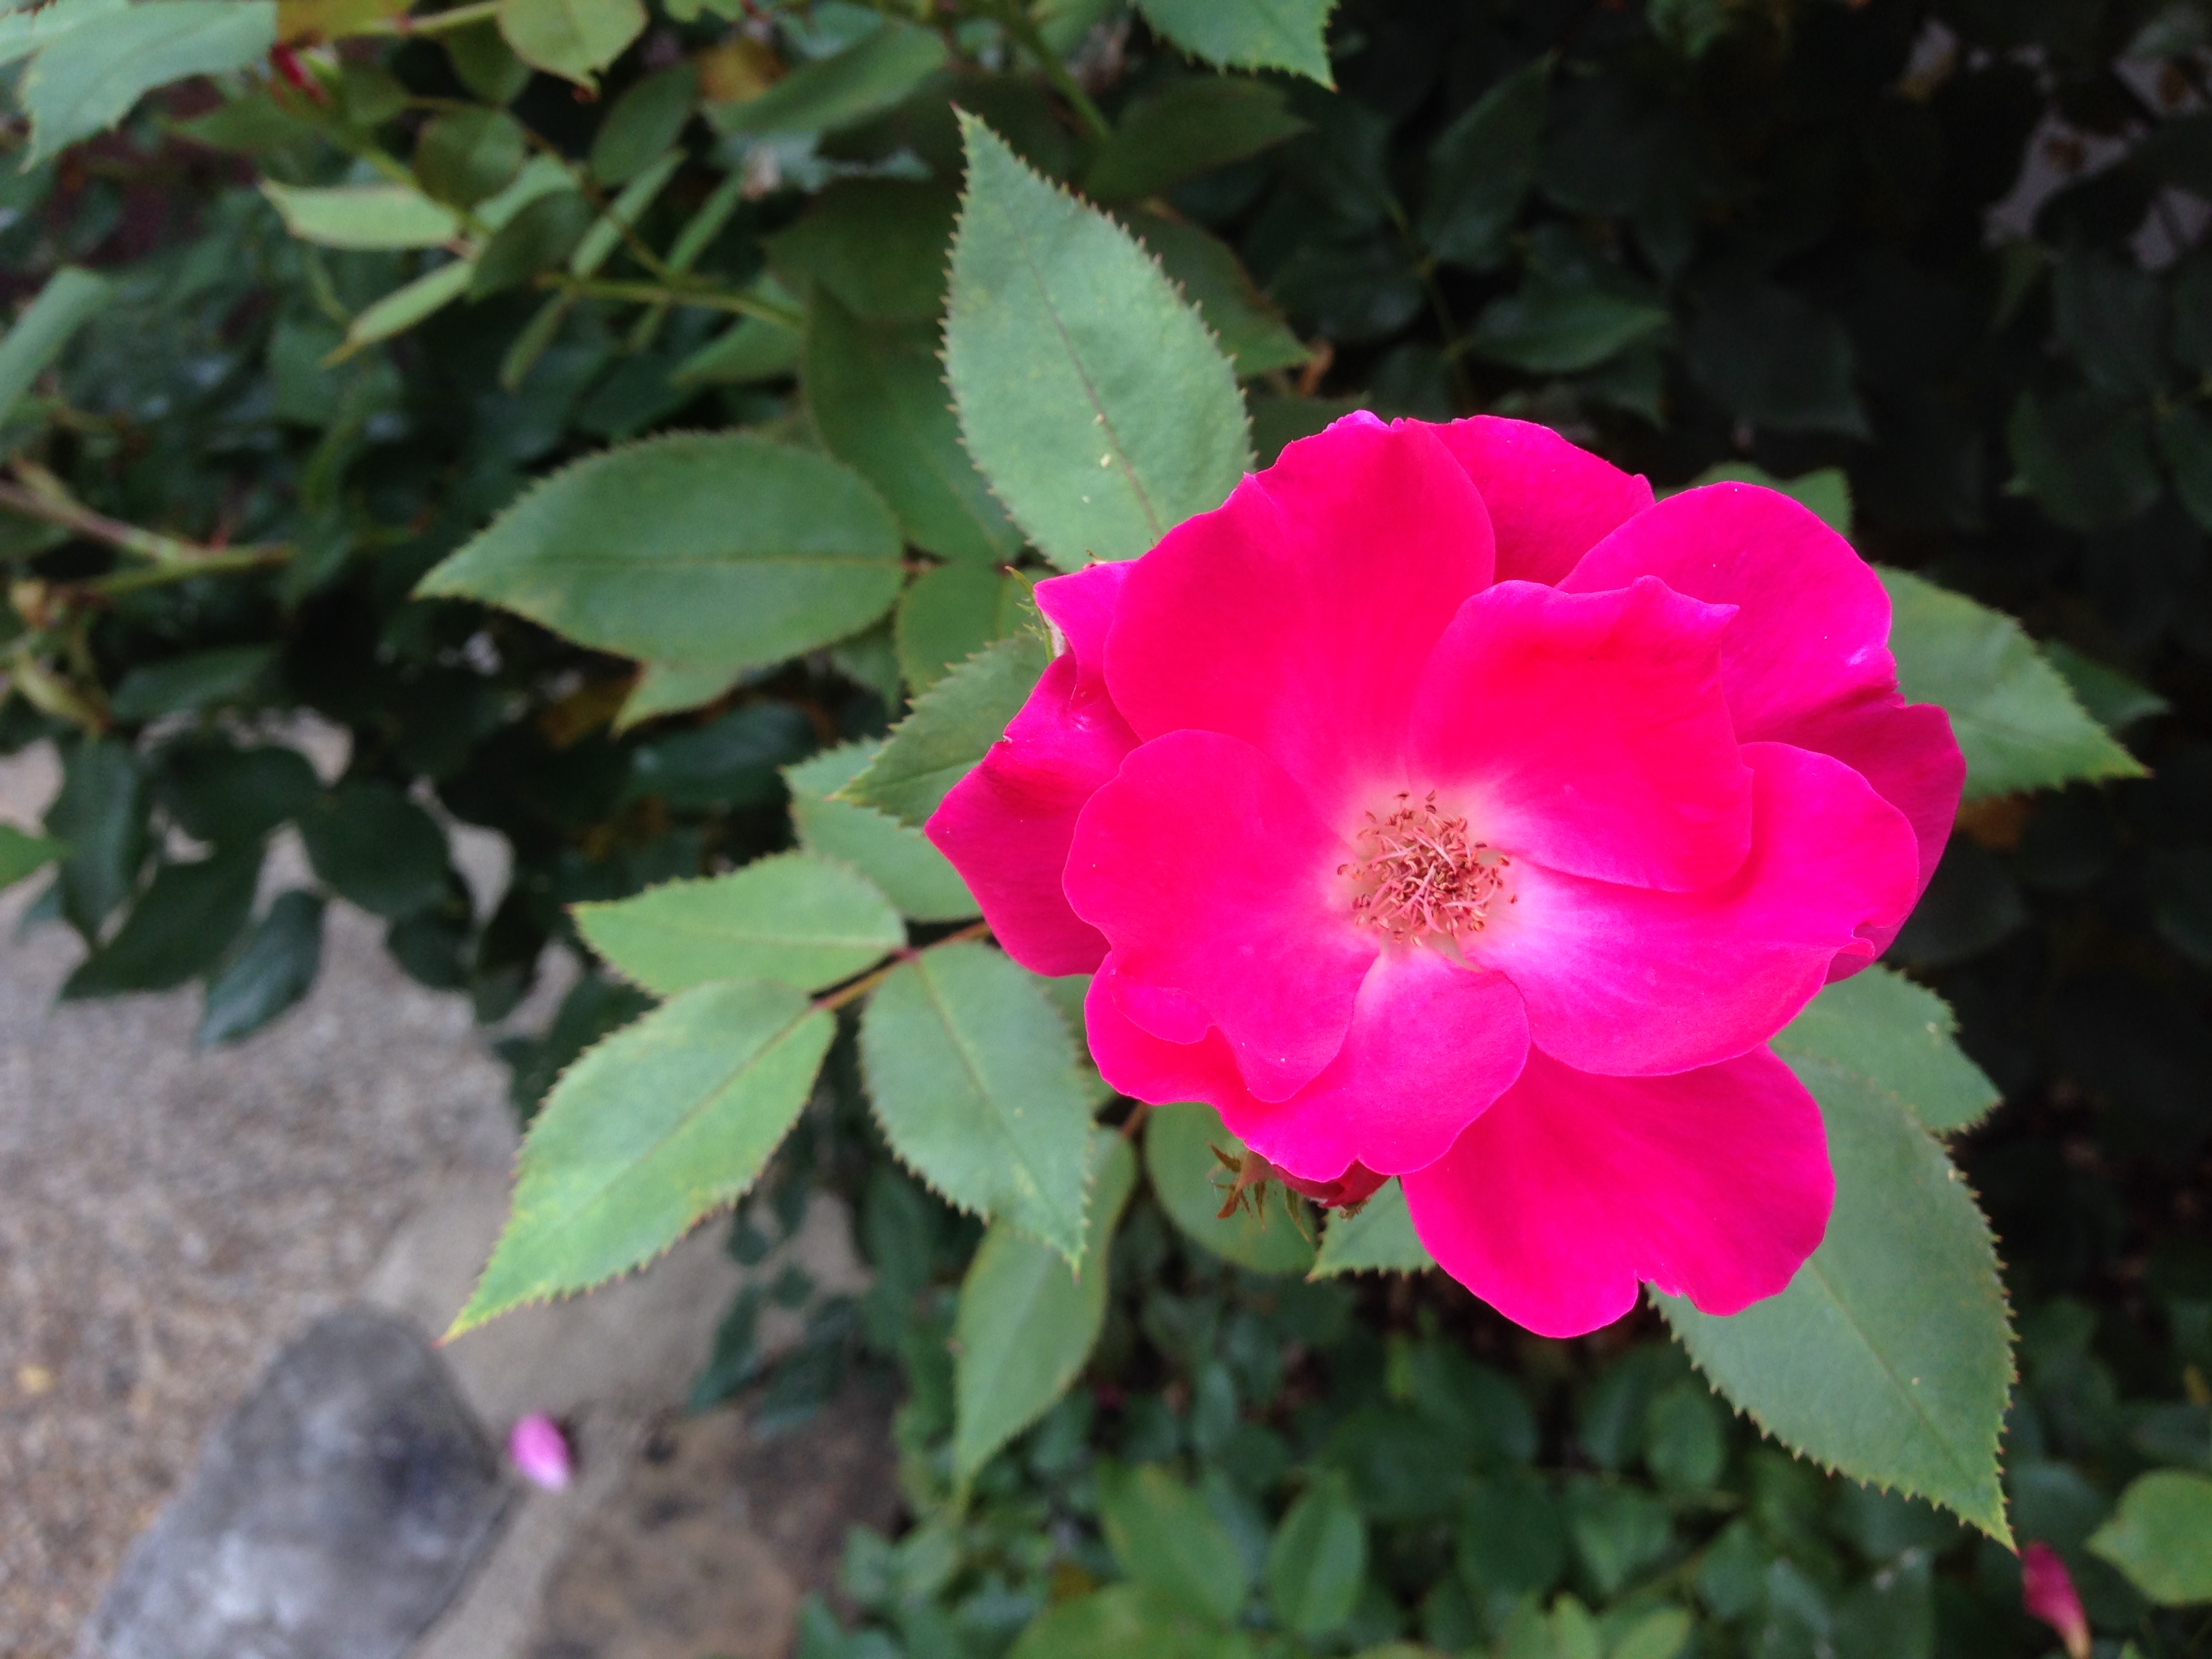
One afternoon we went for a photo walk around campus to collect photos of textures to use in our designs. We focused on work with Photoshop, but also explored a variety of other programs and tools that are really suited to fabric design. We made organic photographic patterns; we made geometric patterns from cut paper; we made faux batiks and digitally painted designs. Spoonflower worked with us to get fabrics shipped out lightning fast, so that we could create some designs on Monday and have the fabrics in our hands on Friday afternoon.
The gallery which was just outside of our classroom featured an exhibition of work by this year’s Arrowmont instructors. You can see my piece (my Wallflower dress) along the wall on the right. Arrowmont’s awesome gallery director came and filmed a little clip of me teaching to add to the interactive (QRcode) part of the gallery exhibition. I will post a little clip of that sometime soon.

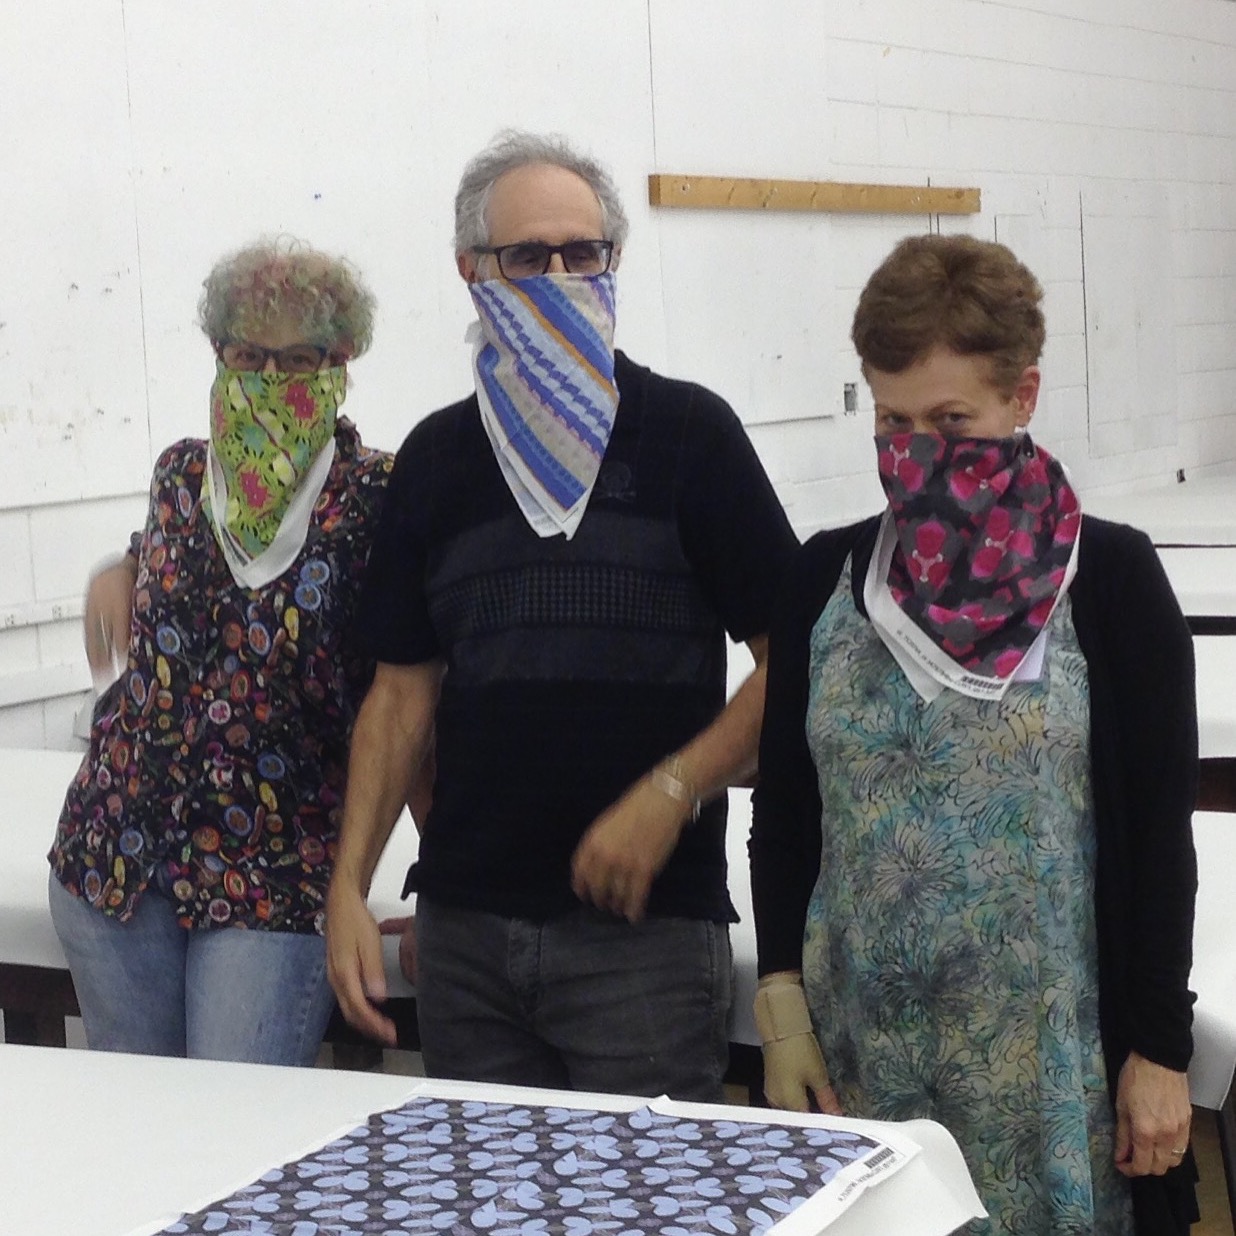
Our class worked really well together and I think everyone left totally fired up about designing some of their own fabrics. Below is a few of them goofing around with their freshly printed fat quarters on Friday afternoon. I was so proud of what they accomplished. And they blew me away with how much they learned. One student had me sit down on Friday with her and she talked through a step-by-step plan she had made for how to finish her “final project” design when she got home. She had come up with about 18 steps and knew exactly what to do at each step. SO proud!
If you have ever wondered what this kind of workshop experience is like: intense, exhausting, focused. Part of the appeal is that you can come and have hours to use specialized equipment and facilities. With a digital class though, I had to be a little more on the ball. There were no special tools or equipment we needed to use; we all brought our own laptops. So the special and intense part of this class was having the one-on-one help and hands-on practice with the tools, with me to look over and remind you to check the checkmark or unlock the layer when suddenly something seemed to stop working.
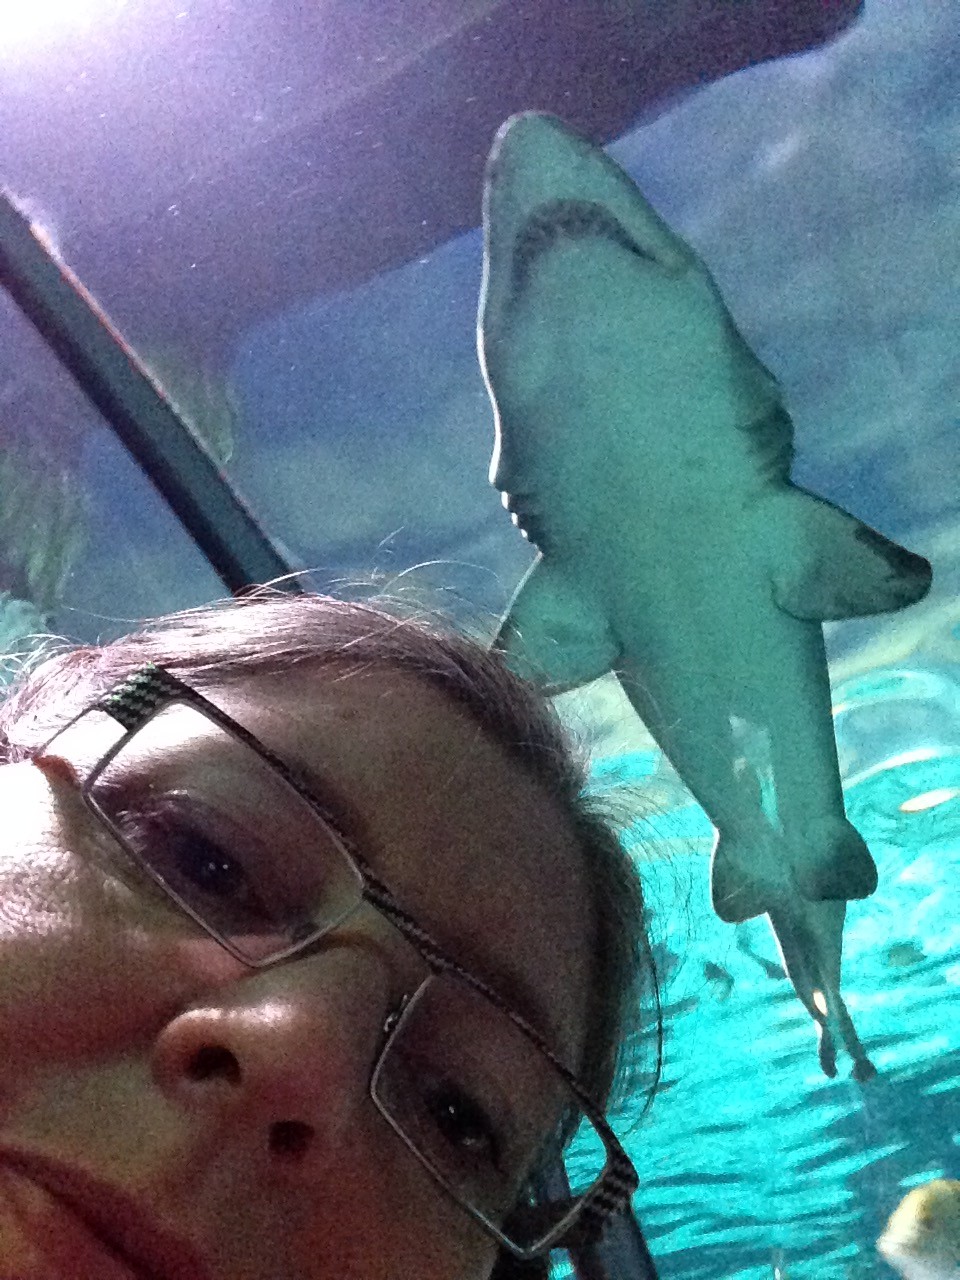
One of the funniest things about Arrowmont is that just a 5 minute walk away is the tourist trap town of Gatlinburg, which is full of t-shirt shops, ice cream, deep fried food and old time photos. (There’s also a Starbucks and a Walgreens, which I found the first night I was there.) Arrowmont feels like a magic bubble in the woods; they really are odd neighbors. There is a really nice aquarium in town, which I visited on Sunday morning since I didn’t have much classroom setup to do. I took a selfie with a shark.
In our discussion about colorways, my class and I decided if you were going to walk down the street and then design a Gatlinburg fabric it would need to include these colors:
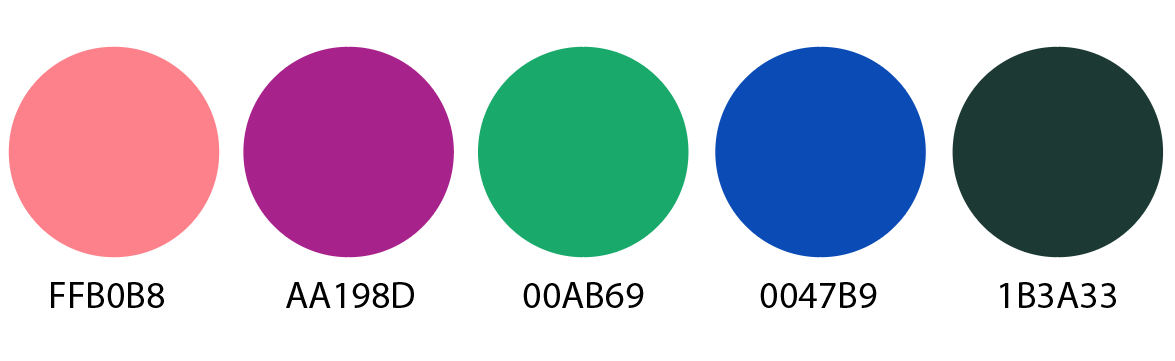
(And if you are designing fabric for anyone under the age of 8, throw in some neon green.) I met some fascinating teachers, I had fantastic students to work with and I had some great conversations with the work-study students that were busy all over campus. Thanks to Arrowmont for a one-of-a-kind experience.

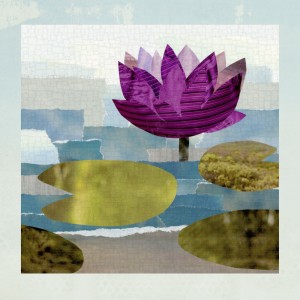 My theme for this class will be exploring the different paths you can take to design fabric. Everyone knows the feeling of staring at a blank page with an equally blank mind. Where do you start?
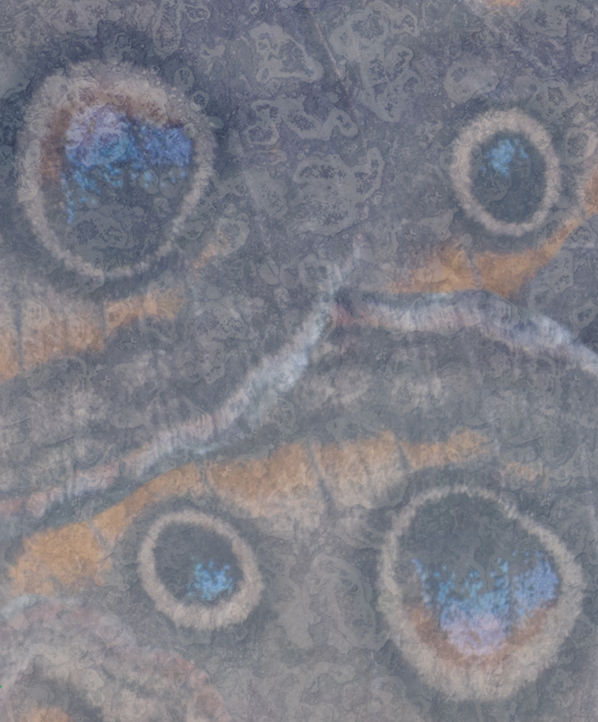