18 October, 2016

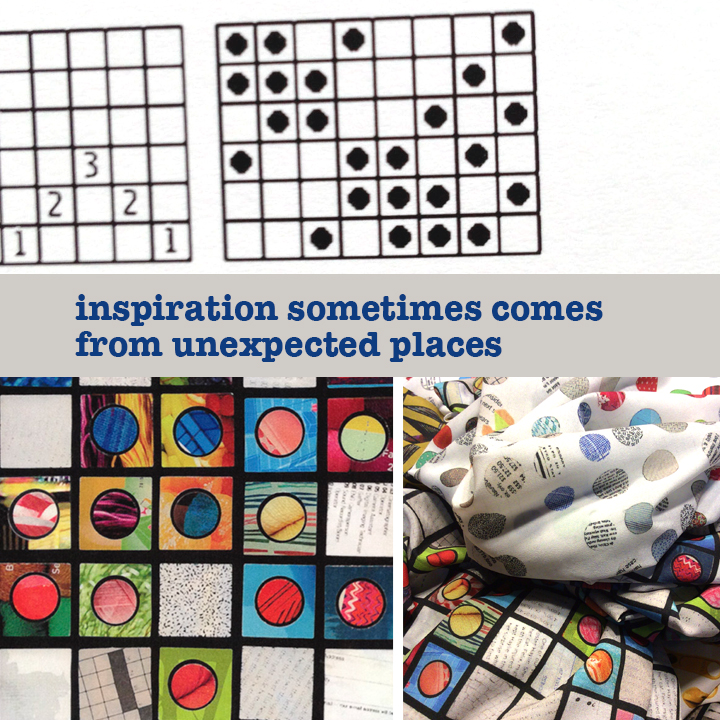
You are invited: Unexpected Art Workshops

2016-10-17T17:25:44-05:00An Artist's Life|Comments Off on You are invited: Unexpected Art Workshops

Print

Registration is now open. These workshops are FREE with museum admission.

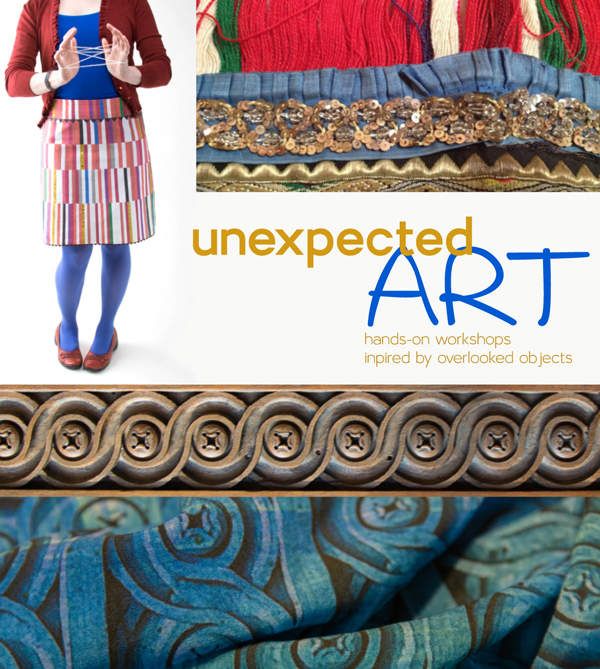
I was fortunate to get a MN State Arts Board grant this year and it’s time for the public projects part of that grant. I have partnered with The Bakken, The Museum of Russian Art and Hennepin History Museum to host 3 evenings of workshops making art inspired by each of their collections. You can read all about the background of this project on my Unexpected Art page. I want to invite all of you to please come to a workshop. A big part of this grant is having a public component and that means I need you to participate. Each museum will be doing something a little special the evening of the workshop: staying open later hours, pulling special things from their collections, and including all of the workshop fee in with regular museum admission. That means you get to visit an awesome museum, get to see something that few people get to see, take a mini workshop and take home a piece of art. It will be awesome!

You do need to pre-register because I have limited computer space. My grant also funded a mobile computer lab, which I will have set up for the workshops. You will be making art inspired by special pieces from the museum collections. I will help you transform your art into an awesome fabric design. You will get to keep a swatch of your fabric (mailed to you after it is printed) and I will include everyone’s swatches in an exhibition of art hosted at the Hennepin History museum in January 2017. You don’t need any experience with fabric design and I promise you will have fun.

Dates: Thursdays November 3, 17 and December 1

Register here at the Unexpected Art page. (Slots for the November 3 workshop are already going fast!)

28 September, 2016

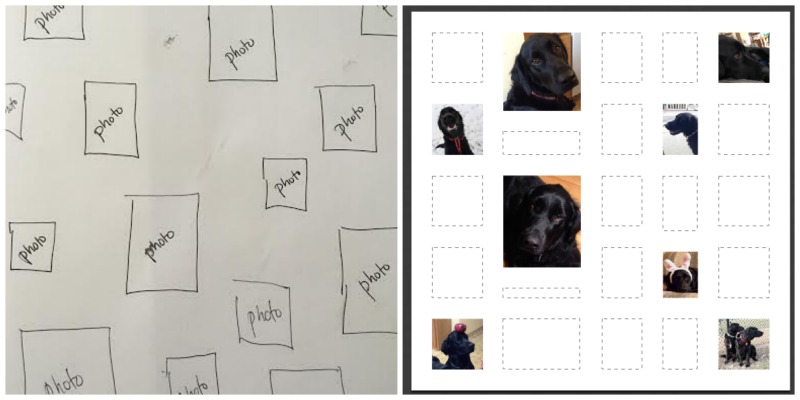
Photos on Fabric

2016-09-28T10:18:52-05:00, |Comments Off on Photos on Fabric

There are many ways of printing photos on fabric to add to your fiber art pieces, but how do you make sure it prints at the right size or color? This class will help you take the guesswork out of photos on fabric. We will talk about printing to exact sizes and editing color and contrast to get the best results. Want to put more than one photo on your piece of fabric? Learn different ways to do that too. Finally, we will talk about kinds of fabric, the washfastness and durability of many different printing options. Students are required to bring a laptop, or may reserve one with the instructor.

28 September, 2016

A Taste of Digital Fabric Design

2016-09-28T10:15:59-05:00, |Comments Off on A Taste of Digital Fabric Design

Have you ever dreamed of being a fabric designer? Online services like Spoonflower.com allow you to digitally print fabric with your own designs, from just a swatch to yards of fabric. Led by co-author of The Spoonflower Handbook, this seminar will give you the basics to get started designing your own fabrics, from how to deal with colors to resolution and file set up. See lots of samples and create a collaborative fabric design in class. No laptops needed, just paper and pencil for notes.

9 May, 2016

HGA Convergence: Designing & Printing your own Fabric

2016-05-09T23:04:30-05:00, |Comments Off on HGA Convergence: Designing & Printing your own Fabric

This session is presented as a part of the Handweavers Guild of America Convergence Conference.  You can buy a day pass to the conference or tickets to individual sessions. See website for details.

In this introduction to digital fabric design, learn the basics of designing and printing your own fabrics based on photos or original artwork. Understand the vocabulary of digital art: pixels, resolution, RGB. We will complete several designs in class and talk about layout, repeating patterns, creating coordinates, and more. Completing the experience, we will talk about the kinds of fabric available, wash-fastness, and the durability of several different printing options.

A laptop with WIFI access will be required. (iPads and tablets will not work).


9 September, 2015

Tutorial: Seamless Arrows Pattern, Part Four

2016-03-16T10:04:02-05:00Spoonflower & Fabric Design, Tutorials|Comments Off on Tutorial: Seamless Arrows Pattern, Part Four

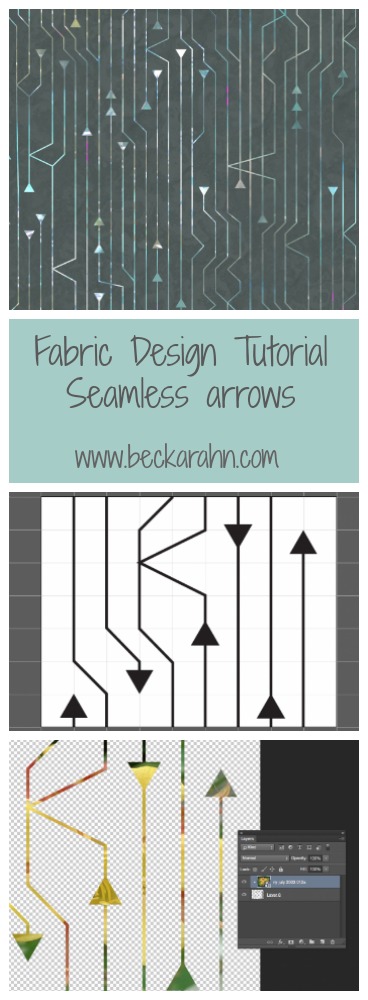
(This is part four of a tutorial for making a seamless arrow pattern.  Find Part One and Part Two and Part Three here.)

Proofing and touching up the pattern is the finishing step to create the seamless arrow design and I am going to do that with the Photoshop pattern tool.  The first thing I do is select the whole design (Edit -> Select All) and create a pattern tile by choosing Edit -> Define Pattern and click OK.
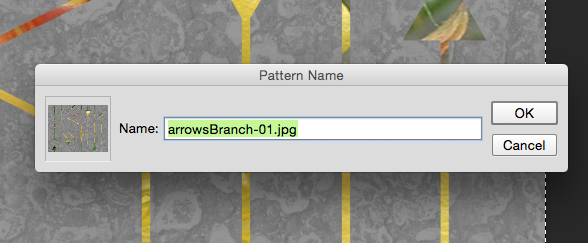
Screen Shot 2015-09-09 at 10.46.34 AMIt will look like nothing has happened.  That’s ok!  The tile that you selected has been saved in the patterns palette, which is kind of hidden.

To proof the design, I create a new blank file that is the size of a yard of fabric. That’s an arbitrary size – I just think it’s nice to look at a large number of repeats.
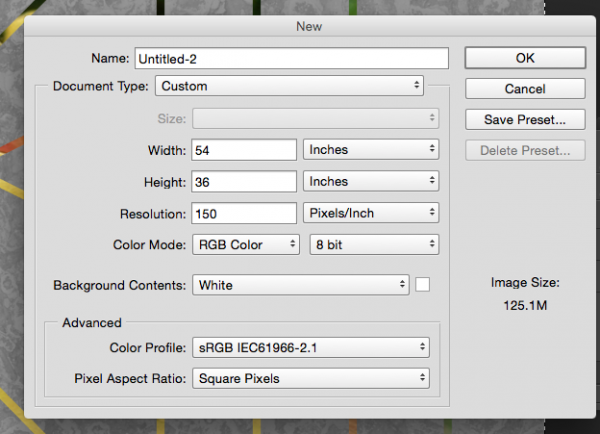
Screen Shot 2015-09-09 at 10.46.58 AM

Then I choose Edit -> Fill from the menu.  From the pop-up Fill menu, choose Pattern from the contents drop down menu.  Just below that in Options there is another drop down and in it, you should find that pattern you just saved.  (See what I mean about a little hidden.)
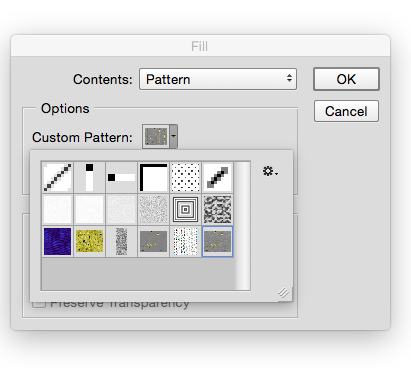
Screen Shot 2015-09-09 at 10.47.25 AM


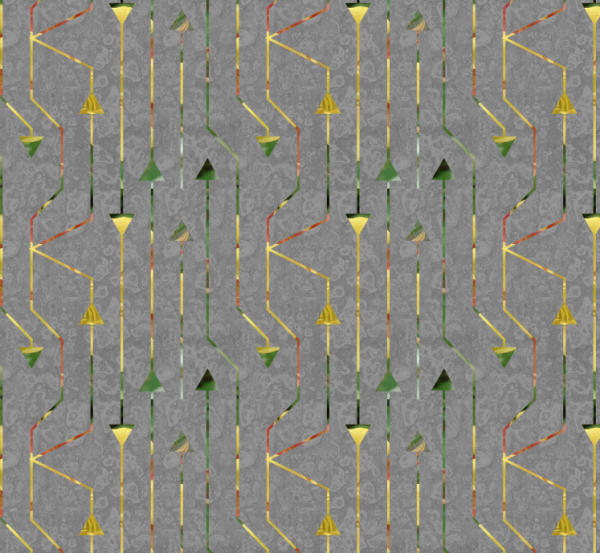
Now you can see what it looks like when the tile is repeating across a whole yard of fabric.  And right away a couple of things jump out at me.
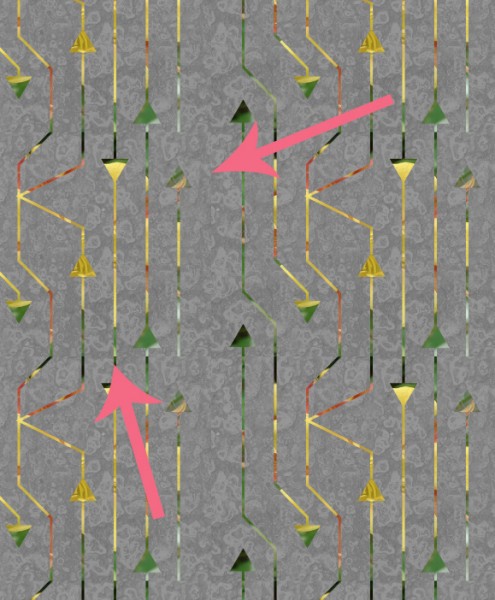
arrow

Oops.  I didn’t think about the edges and I have a blank space where there aren’t any arrows.  I can fix that by cropping out some of the blank space.  The other thing that jumps out is a seam where the color changes. The color change is kind of abrupt and it makes a dark line.  I can fix that pretty easily by going back a step to my original file.  I select the photo layer of that flower because that is where the color is coming from.  The easiest way for me to make that contrasting line to go away is to just use a paintbrush to just touch it up. I choose a green color from the bottom of the image and paint some at the top where that really deep green was, hiding that seam line and blending the two together.
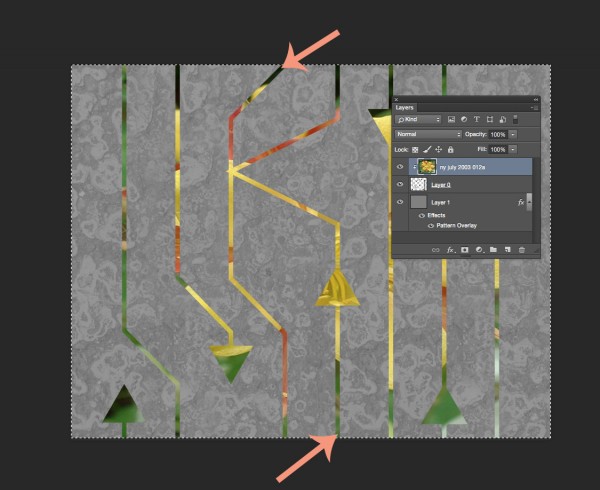
arrows2

After I do those two little edits…

Screen Shot 2015-09-09 at 11.23.29 AM


I have a pretty good finished design.  I save that tile and that is the repeat that I can upload to Spoonflower and print my fabric.  This is the version that I used for my grant project exhibition, which I will post photos of very soon.
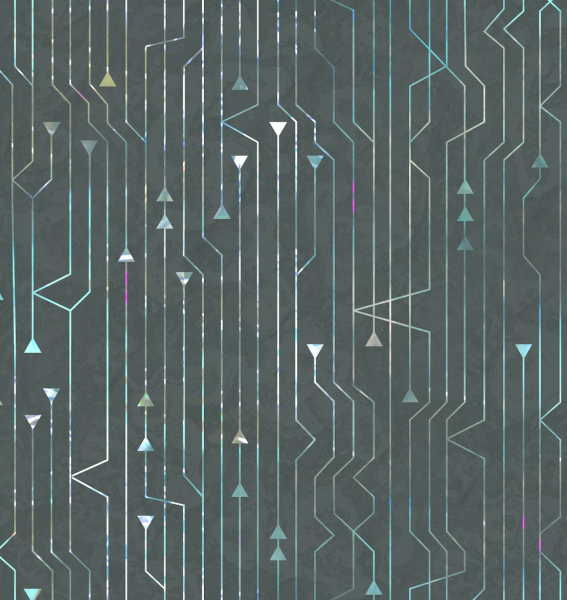
Screen Shot 2015-08-07 at 11.26.11 AM

More in this series: Part OnePart TwoPart ThreePart Four

arrowsPin


Go to Top