20 July, 2016

Fabric Design Tutorial: Photo Collage Bonus Mashup

2016-07-19T22:56:06-05:00Spoonflower & Fabric Design, Tutorials|Comments Off on Fabric Design Tutorial: Photo Collage Bonus Mashup

I posted a tutorial just a few days ago showing how to create a “scrapbook style” fabric design from a collection of photos. You can think of this post a variation on that theme. It’s a different way of using the same tutorial.

Screen Shot 2016-07-19 at 10.11.07 PM

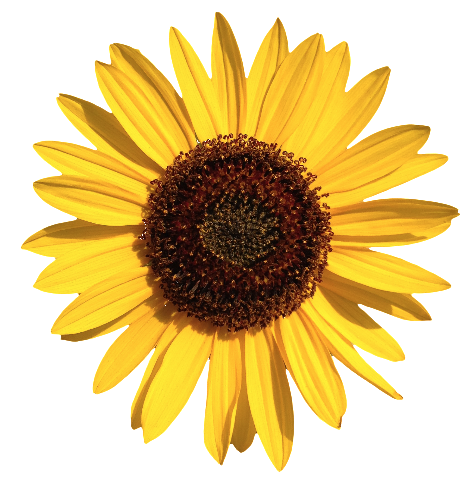
In my last artist newsletter, the free download I sent to subscribers was a photo of a sunflower on a transparent background. It went along with the Prospect Park utility boxes project that I did recently; in fact, you can see that sunflower in the cafe scene and on the bicycle headlight on one of the boxes.

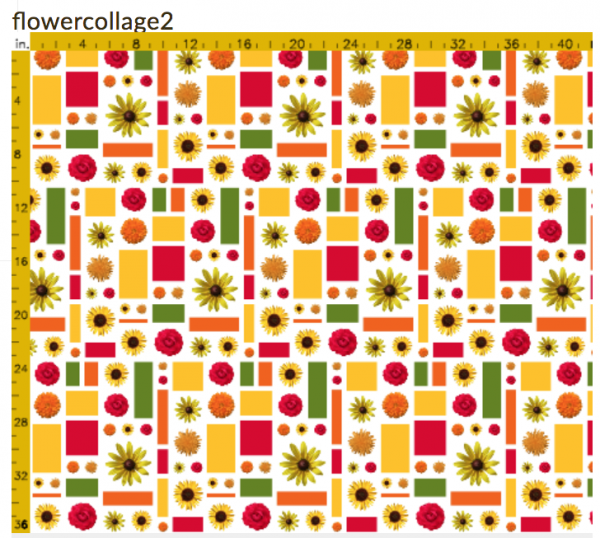
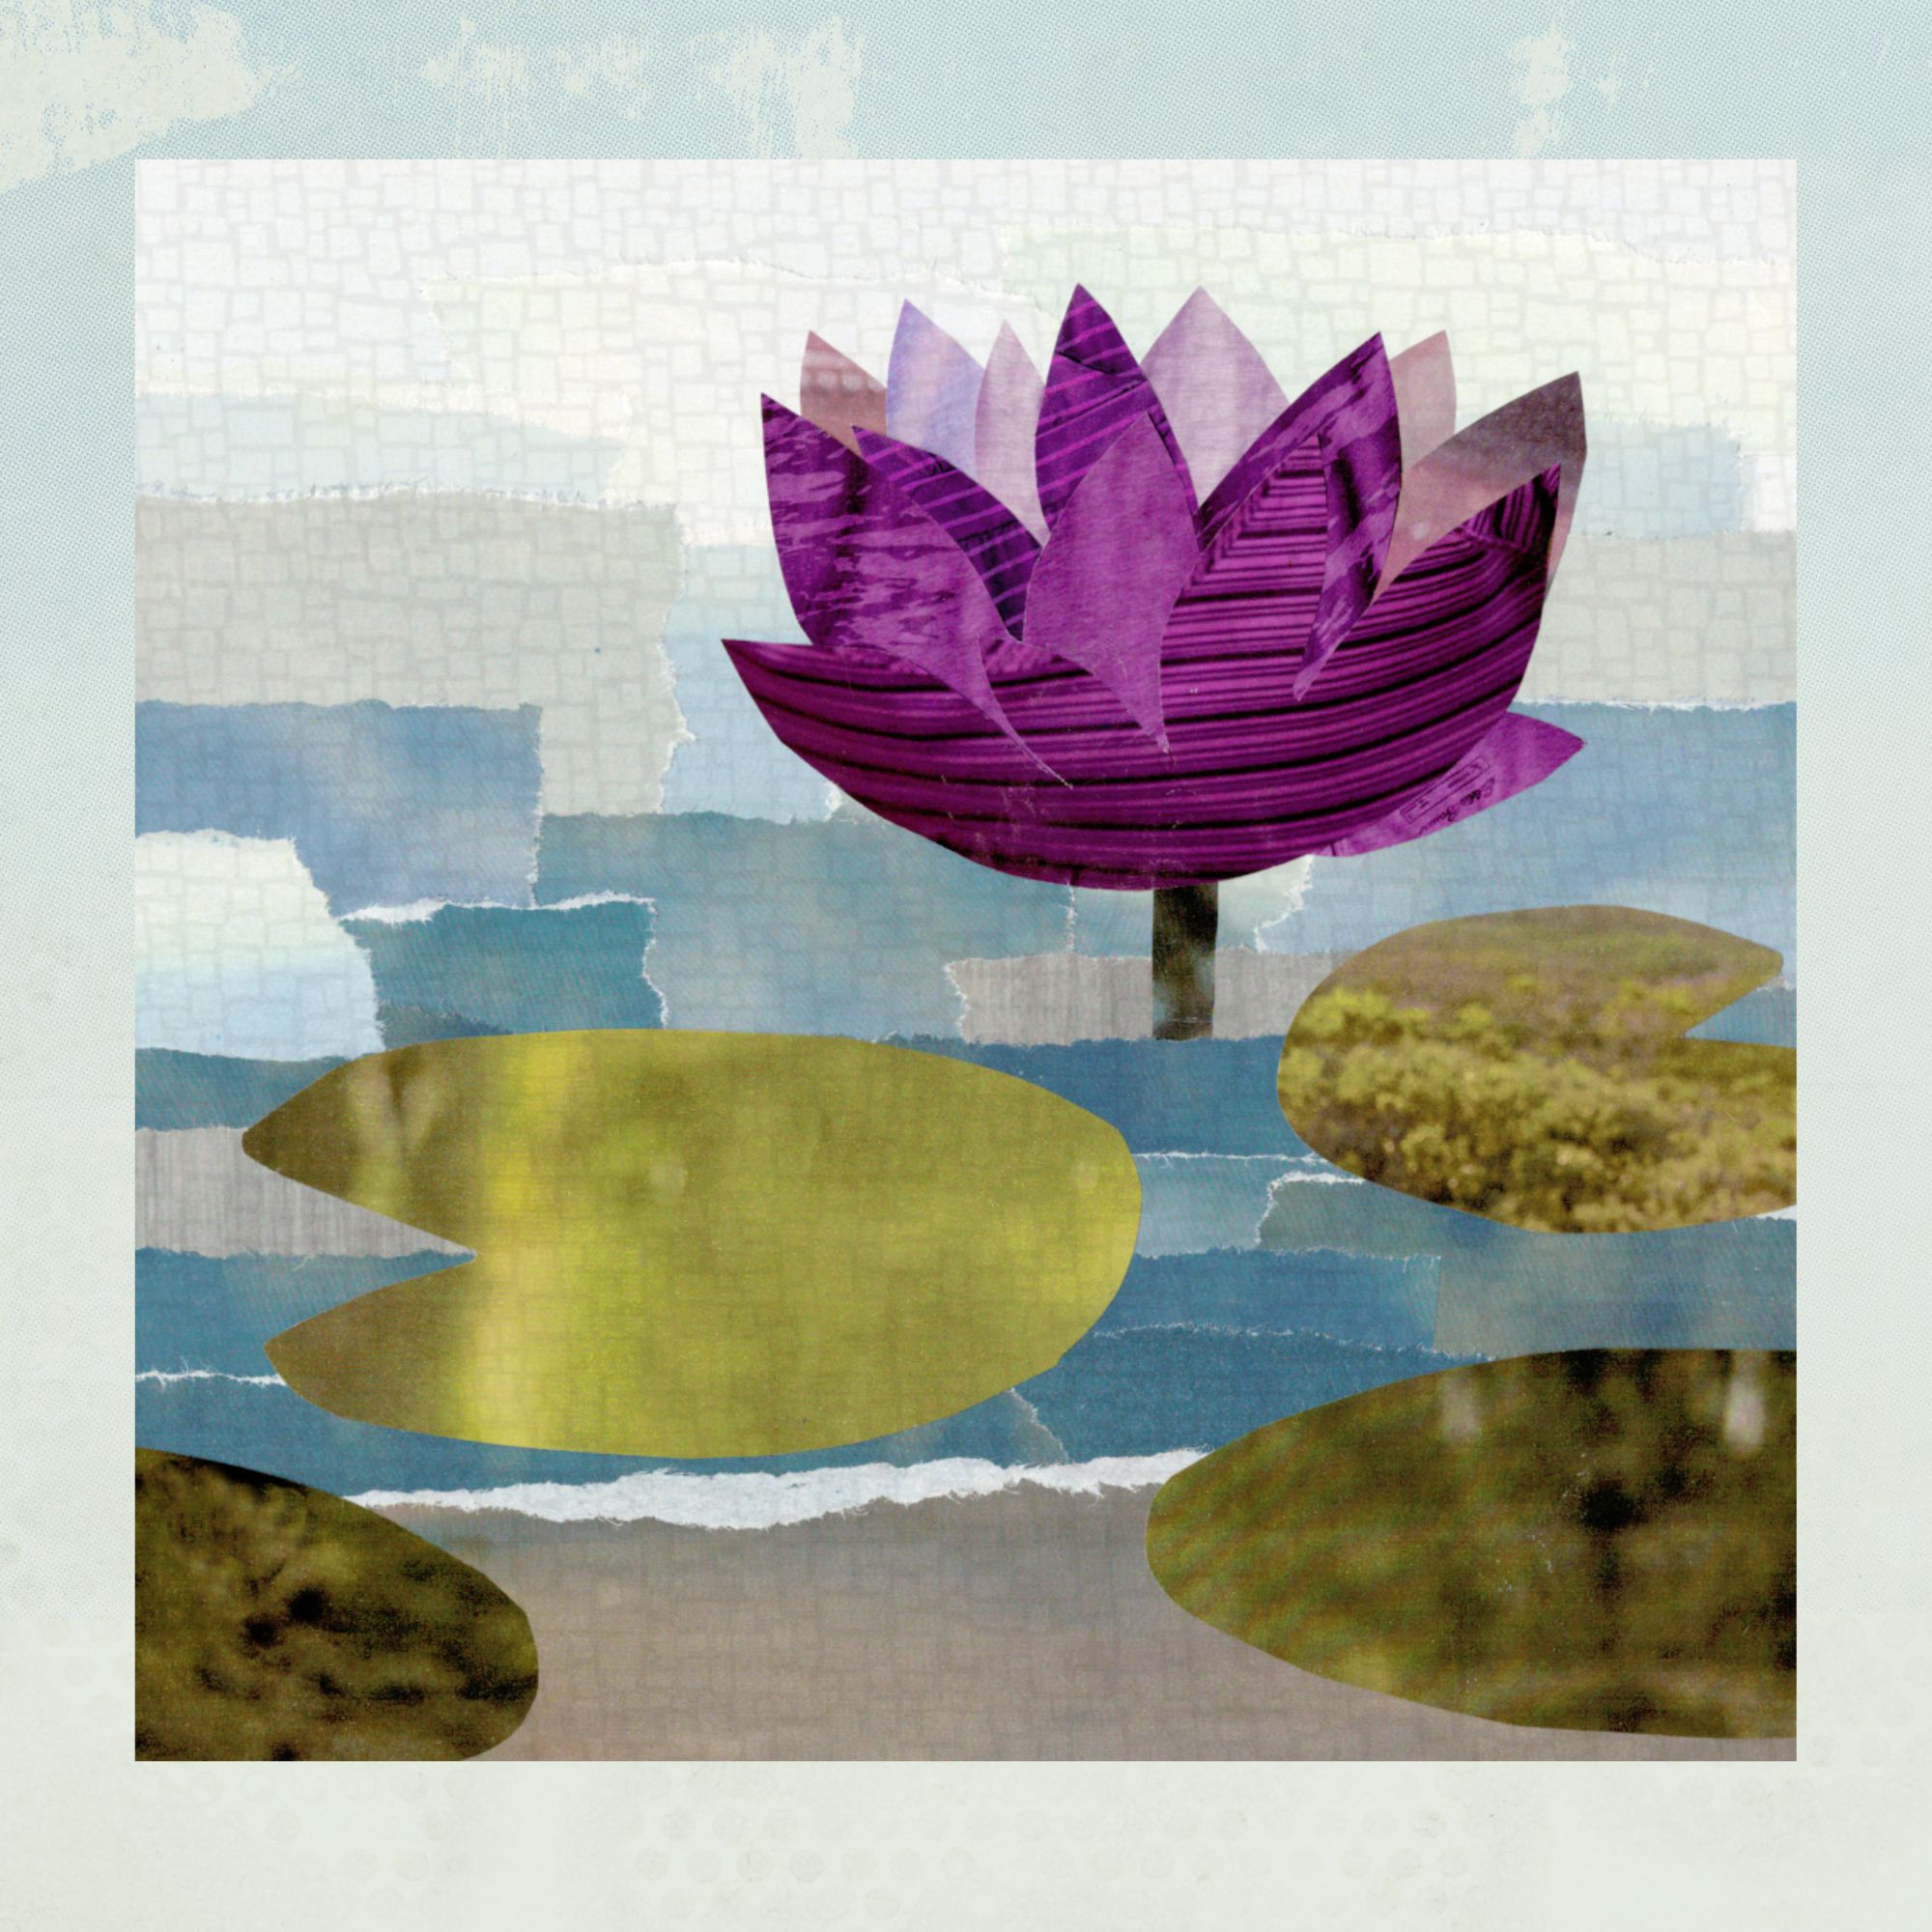
Maybe a fabric design with photos of your dogs or friends and family isn’t something you are interested in. What about flowers? This fabric design is a mashup; it uses that sunflower photo (and several other flowers) plus exactly the technique I described in the scrapbook style tutorial to make something totally new. I used the “color cell” option in the Background tool set (paint palette icon) to add the blocks of solid color to this design.

Screen Shot 2016-07-19 at 10.40.04 PM

What other variations on this theme can you come up with?

14 July, 2016

Fabric Design Tutorial: Create a “Mini Photo Scrapbook” Fabric Design

2016-07-19T09:53:53-05:00Everything Else, Spoonflower & Fabric Design, Tutorials|Comments Off on Fabric Design Tutorial: Create a “Mini Photo Scrapbook” Fabric Design

Screen Shot 2016-07-13 at 11.48.36 AMI am going to call this tutorial the first in what I hope will be a series of “Suggestion Box Tutorials“.

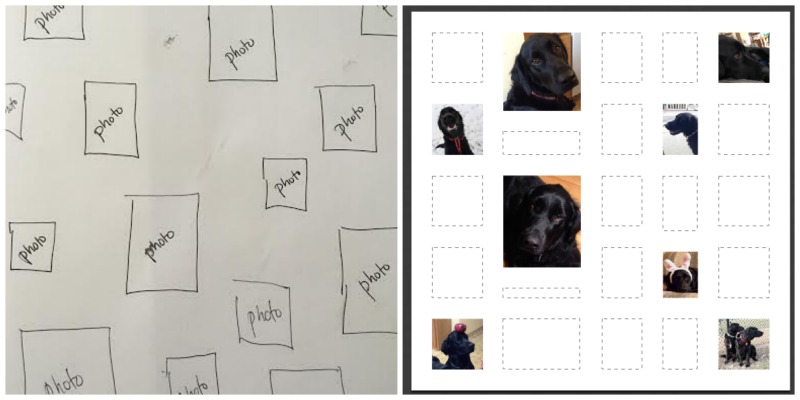
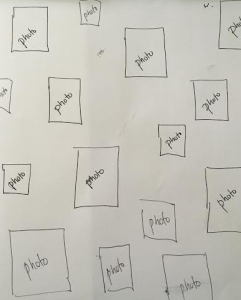
I got an email from a woman this morning asking for help designing a fabric to make a keepsake zipper bag. She and a collection of friends are meeting up this summer and she wanted a little something to give each of them to commemorate the occasion. She had a great idea for what she wanted the fabric to look like: a collection of photos and little graphics that were all significant to this group of friends. The photos should be scattered like postage stamps on a white background. She even sent me a sketch.

Her question was: did I know of anywhere there was a tutorial that could show her how to do this and how could she make sure that it was just the scale and size she wanted?

Could I think of anything? No. So, this seemed like the perfect tutorial for me to write.

What does your intention tell you about your design?

If you have had the chance to take a class from me, you know that one of my tips for creating really successful fabric designs is to design with intention. The intended use for your fabric can give you so many hints about how you need to set up your design files.

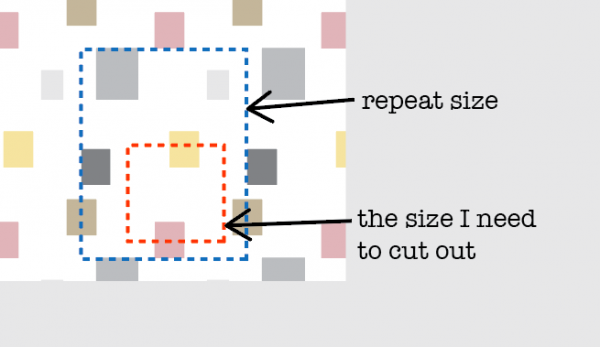
This fabric is intended to be a lining for a small zipper bag. So we know that will use pieces of fabric that are maybe 10-12″ square. If I create a repeating tile that is larger than 12″, I won’t see all of the photos that will be in the design because I will be just cutting out a piece. Maybe that’s ok. Or maybe you want to make sure that each bag has every photo visible. That’s a choice for you to make.

I also know that if my zipper bag is 10-12 inches, I probably need the photos to be pretty small in relation to that so that the scale makes sense. If the photos are each 6 inches, I will only be able to see a couple of them once I cut it out.
Screen Shot 2016-07-13 at 12.12.30 PM

Do the math.

So for this project, I am going to use that information to set up my design file (aka do the math). Why do I need to do that now? Can’t I just do the fun part (designing it) and worry about that math stuff later?

The number one thing I hear from new fabric designers is:

I uploaded my thing to Spoonflower and it was so awesome, but it was totally the wrong size! I thought it would be small but when I uploaded it, it was huge! I don’t know what happened. I was so surprised.

This is the step where you can make it turn out exactly the size you want it to be. It just involves a tiny bit of math.

  1. Decide what size you want your repeat to be. By “repeat” I mean the file that you will upload to Spoonflower. Spoonflower computers will repeat that file it to fill as much fabric as you want to print. Yes, you repeat your repeat. English is weird.
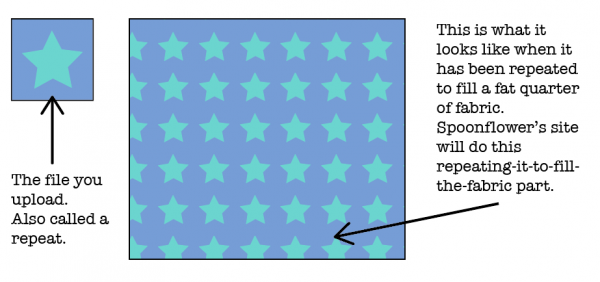
Screen Shot 2016-07-13 at 12.25.24 PM

I decided that for this zipper bag lining, I want my repeat to be 12″ because I want to be able to see the whole thing with all of the little photos when I cut out my lining piece. That’s my design choice. You make your choice.

2. The magic number is 150.

The only thing you need to remember about resolution for this project is 150. Resolution is the number of dots (or pixels) per inch that the file needs in order to print at the size you want. Dots per inch = DPI.

Spoonflower’s printers use a resolution of 150 DPI. That’s why 150 is our magic number. That means if you set your file to 150 DPI, you will get exactly what you expect to get. That’s a rule. 150 uploaded = 150 printed. In otherwords, if I make a file that is 12 inches at 150DPI, I will get a printed design that is 12 inches. No more, no less. So how do I set up the file?

3. Figure out how many pixels that is.

Resolution is the number of pixels per inch. Since we know how many inches we need (12″) and we know how many pixels per inch (150 DPI) we can figure out how many total pixels that is. And we need to know the total number of pixels because that’s the number our graphics program will ask for.

inches x resolution = pixels

12 inches x 150 pixels per inch = 1800 pixels

That means if I want a file that will print exactly 12 inches wide, I need to make a file in my graphics program that is 1800 pixels wide.

Remember that number. 1800 pixels. Write it down on a scrap of paper.

Create a new blank file.

For this design, I am going to use a program called PicMonkey because I think it is the ideal tool for this design. It’s going to make it easy. You can use any program you want to to make your designs, but PicMonkey has some built in tools that I know will work really well for this. That’s why I picked it. It’s a free online graphics software that works right in your web browser. You don’t need to download anything.

Go to PicMonkey.com. At the top of the screen you will see a menu bar.

Screen Shot 2016-07-13 at 12.44.02 PM

Click on the option on the right that says Collage.

Set up the Layout.

Screen Shot 2016-07-13 at 1.22.09 PMThe reason that PicMonkey is such a great tool for this project is because of this collage tool. Look at the left sidebar on your screen for the icon that looks like a grid. If you hover your mouse over it, it will say “Layouts”. Click the Layouts button.

Feel free to explore the options in this panel! These are all of the different ways that PicMonkey can layout a collage for you.

(There are some options that are marked with a crown – those are part of the upgraded “Royale” package that PicMonkey offers, which is an annual fee of $40/year. We will use a free layout option for this project but that $40 per year membership is totally worth it. Note: I don’t get anything from PicMonkey for telling you that; it’s just my personal opinion. I just love PicMonkey.)
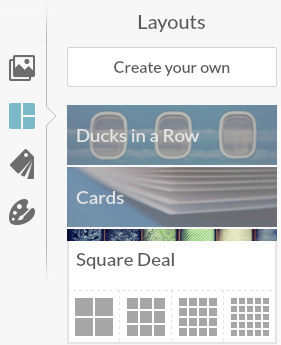
Screen Shot 2016-07-13 at 1.24.22 PMClick on the option called “Square Deal” out of that list and then pick the little icon at the very far right (a grid of 25 squares.)


Remember when I told you to write down “1800 pixels”. The very next thing you want to do is set this file to be 1800 pixels. Look at the bottom center of the screen and you will see where to type that in. I put in 1800 for both the width and the height, so I will have a 12 x 12 inch square as my file size. (See how easy that was!) Hint, if you click the Lock Icon after you do this, it will keep it at this size while you are doing the next steps and rearranging things.
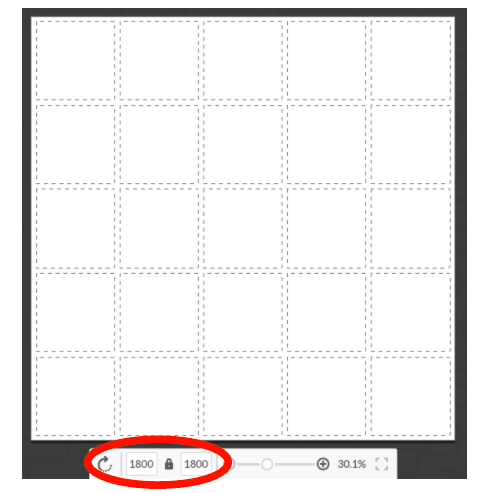
Screen Shot 2016-07-13 at 1.32.25 PM

Add your photos.

The dotted lines in this layout represent the places I can drop in my photos and graphics to make up this design. But first I need to load them into Picmonkey.

Screen Shot 2016-07-13 at 1.35.43 PMLook back again at the left sidebar. Choose the top icon that looks like a picture of mountains and is labeled “Images”. The very first thing in the panel of thumbnails will be a button (top left) that says “Open Photos”. Click that and it will pop up a window for you to find the files on your hard drive.Screen Shot 2016-07-13 at 1.36.58 PM
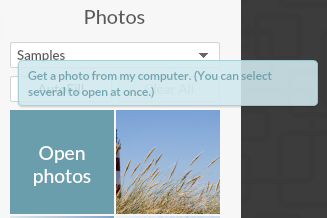
A hint: It’s super helpful if you collect everything you want to use for this design and put it all together in a folder on your Desktop (or somewhere else handy). Then you can select and upload them all at once instead of needing to hunt and peck all over your computer to find what you need. Load all of the photos you want to use right now. You can click that “Open Photos” button more than once to keep adding photos.
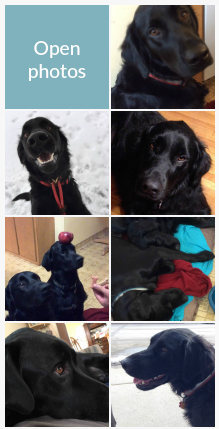
Screen Shot 2016-07-13 at 1.44.14 PMYou will see all of your photos pop up in the thumbnails along the left side of the screen. They don’t have to be photos. Anything in a .jpg format will work, like little graphics or screenshots. Just make sure you have permission to use them.

Now the photos are ready to use. I chose a bunch of photos of my dogs for this example.


Fill in the blanks.

You can now click and drag the photos from the left sidebar and drop them in the boxes in the template on the right. If I look back to the sketch my friend made, she has photos scattered all around the design, so I am not going to fill in every box in the template, but I will leave some spaces.
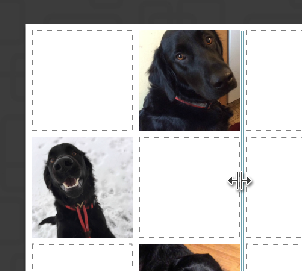
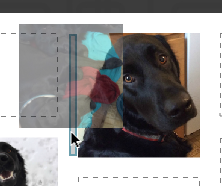
Screen Shot 2016-07-13 at 3.05.41 PMWant to vary the sizes of the boxes a little? You can click and drag to change the size and shape of the rows and columns. Hover with your mouse between a couple of boxes and you will see a double arrow pop up. You can drag with that double arrow to make the columns and rows bigger and smaller.

Screen Shot 2016-07-13 at 3.07.20 PM


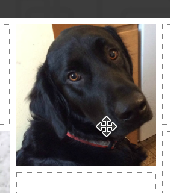
Recenter a photos? Hover over a picture and wait for your cursor to change to a 4-pointed arrow. Now you can move the photo around within the box (to recenter it).

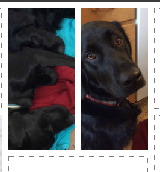
Want to add another photo and insert an extra box into the template? Grab a photo from the thumbnails, drag it over to where you want to add it and wait for a blue outlined box to pop up. When you drop the photo it will add a new box where that blue outline was. Now there are two photos in that space.

Screen Shot 2016-07-13 at 3.11.02 PMScreen Shot 2016-07-13 at 3.11.10 PM


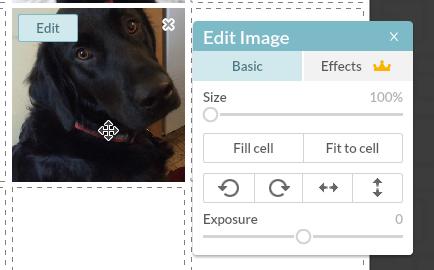
Zoom? Click any photo in the collage to see an Edit button (top left) or an “X” (top right). Click the “Edit” button and a menu will pop up that will let you zoom and rotate that photo you have selected. Click the “X” to remove the photo.
Screen Shot 2016-07-13 at 4.08.10 PM

How do you know if the photos you are using are going to work and not look pixellated? Pretty much it is what-you-see-is-what-you-get. I could help you do the math to check that you have enough pixels in each of these photos and so on, but honestly, if it looks blurry, or pixellated, or in any way yucky when you look at it in this step, it’s going to look that way when you print it. It’s pretty simple. Your best bet is: if it looks yucky, choose a different picture. You can’t fix blurry or pixellated.

(more…)

29 June, 2016

A teacher’s life: My week at Arrowmont School

2016-06-29T09:31:45-05:00An Artist's Life, Classes & Teaching, Gallery Exhibitions, Spoonflower & Fabric Design|Comments Off on A teacher’s life: My week at Arrowmont School

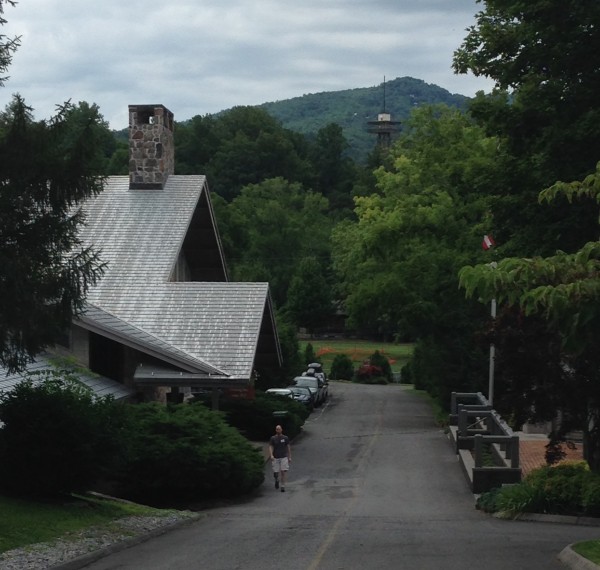
IMG_3597I just got back from teaching a week-long workshop at the Arrowmont School of Arts & Crafts in Gatlinburg TN. Arrowmont is like summer art camp for grownups in all the best and worst ways. Each class is an intensive week. Studios are open 7:30 am – 1:00 am nearly every day. Students and teachers stay in no-frills dorm-like rooms; meals are provided at the dining hall. There are evening slide talks and open studios. Above is a view of the main building as I am walking down from my cabin.

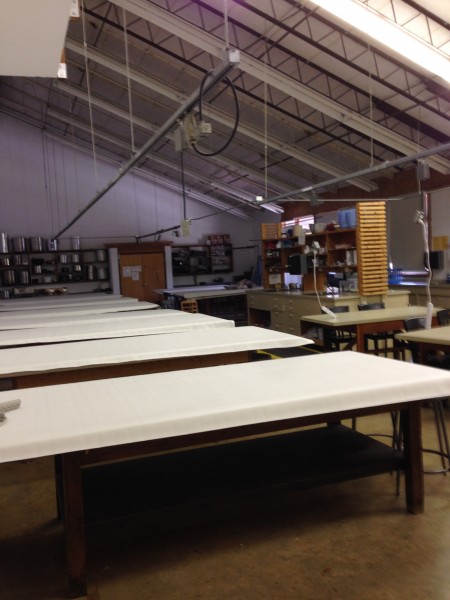
IMG_3530There was a little snafu with a late shuttle and some very bad communication when I first arrived, so my week started off a little rocky, but things smoothed out as the week went on. I was teaching in the textiles studio, which is set up like the most amazing dye lab you can imagine. Only we weren’t doing anything with dyes, because I was teaching a whole week about digital fabric design with Spoonflower. Having this lab full of computers and scanners is not exactly the norm for Arrowmont, but it worked out just fine. We got to try some things in class which I almost never have time to do, so it was fun for me to be able to teach the students some more complex techniques.

IMG_3622

Class started right away on Sunday evening and continued through Friday afternoon. There were 9 classes running during the week I was there. I had 6 amazing students in class; class sizes ranged between 3-15 people. Running parallel to us were classes in woodworking, paper, ceramics, mold-making, wire sculpture and mixed media jewelry. We had 37 hours of class time and we packed it full. We talked about color, patterns, making things seamless, effective repeats, scale, texture…

IMG_3651
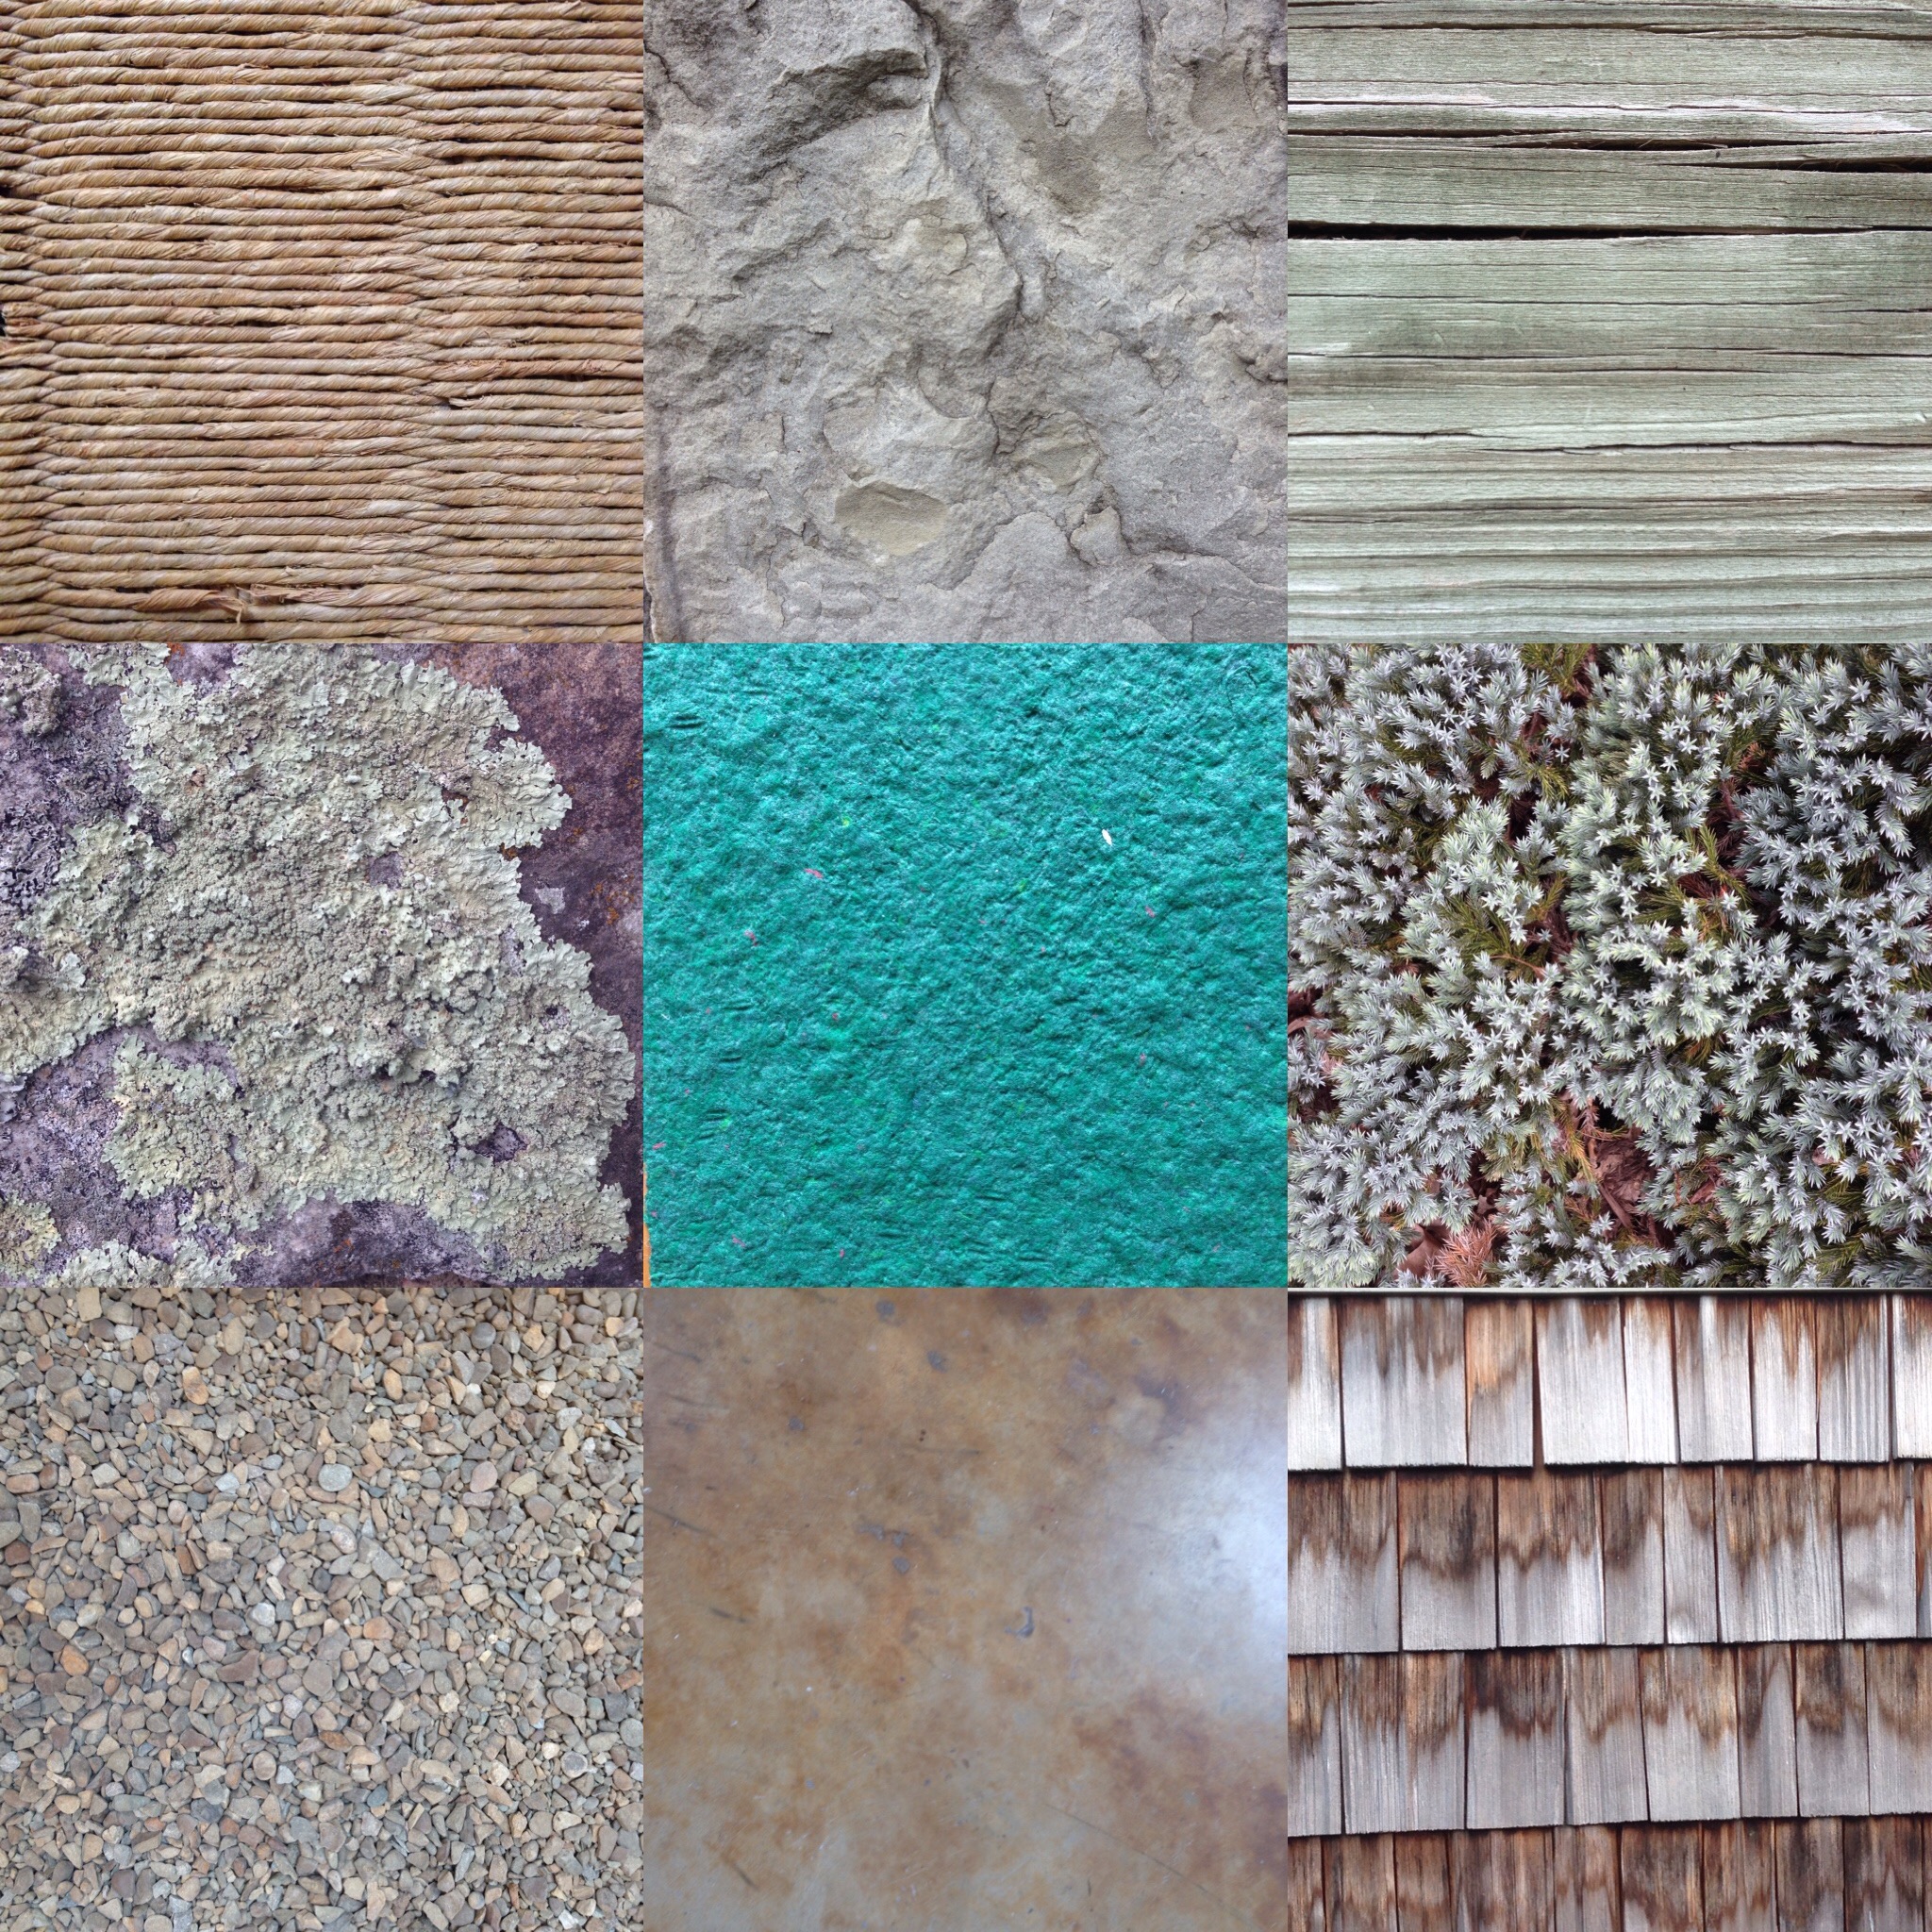
One afternoon we went for a photo walk around campus to collect photos of textures to use in our designs. We focused on work with Photoshop, but also explored a variety of other programs and tools that are really suited to fabric design. We made organic photographic patterns; we made geometric patterns from cut paper; we made faux batiks and digitally painted designs. Spoonflower worked with us to get fabrics shipped out lightning fast, so that we could create some designs on Monday and have the fabrics in our hands on Friday afternoon.

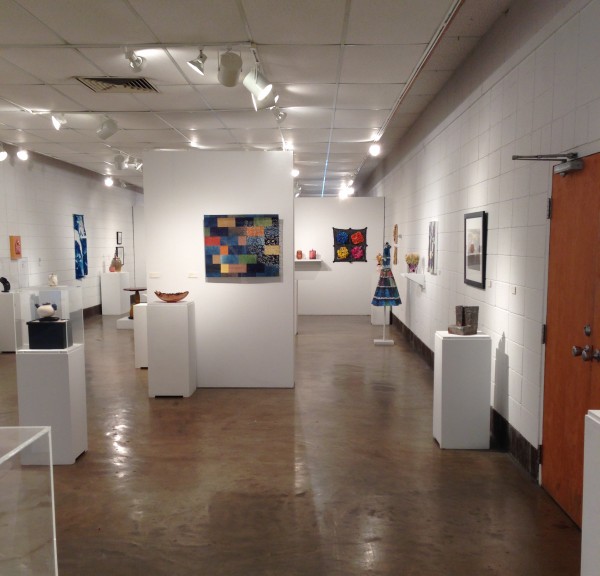
The gallery which was just outside of our classroom featured an exhibition of work by this year’s Arrowmont instructors. You can see my piece (my Wallflower dress) along the wall on the right. Arrowmont’s awesome gallery director came and filmed a little clip of me teaching to add to the interactive (QRcode) part of the gallery exhibition. I will post a little clip of that sometime soon.

IMG_3609

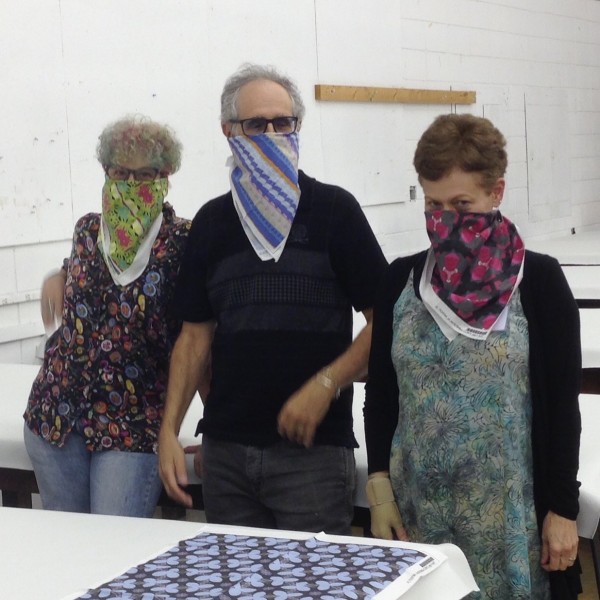
Our class worked really well together and I think everyone left totally fired up about designing some of their own fabrics. Below is a few of them goofing around with their freshly printed fat quarters on Friday afternoon. I was so proud of what they accomplished. And they blew me away with how much they learned. One student had me sit down on Friday with her and she talked through a step-by-step plan she had made for how to finish her “final project” design when she got home. She had come up with about 18 steps and knew exactly what to do at each step. SO proud!

IMG_3647

If you have ever wondered what this kind of workshop experience is like: intense, exhausting, focused. Part of the appeal is that you can come and have hours to use specialized equipment and facilities. With a digital class though, I had to be a little more on the ball. There were no special tools or equipment we needed to use; we all brought our own laptops. So the special and intense part of this class was having the one-on-one help and hands-on practice with the tools, with me to look over and remind you to check the checkmark or unlock the layer when suddenly something seemed to stop working.

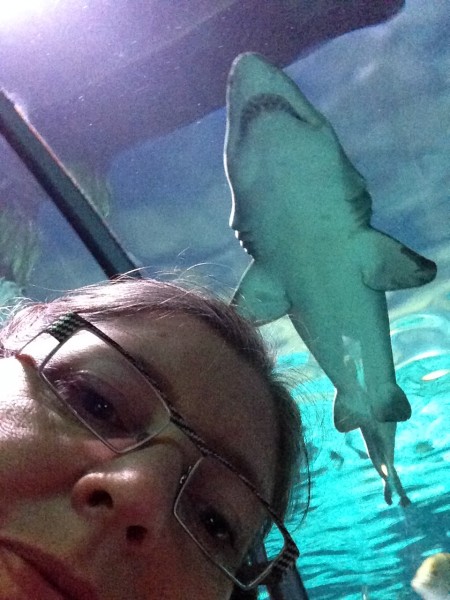
One of the funniest things about Arrowmont is that just a 5 minute walk away is the tourist trap town of Gatlinburg, which is full of t-shirt shops, ice cream, deep fried food and old time photos. (There’s also a Starbucks and a Walgreens, which I found the first night I was there.) Arrowmont feels like a magic bubble in the woods; they really are odd neighbors. There is a really nice aquarium in town, which I visited on Sunday morning since I didn’t have much classroom setup to do. I took a selfie with a shark.

IMG_3502

In our discussion about colorways, my class and I decided if you were going to walk down the street and then design a Gatlinburg fabric it would need to include these colors:

Screen Shot 2016-06-29 at 9.12.47 AM

(And if you are designing fabric for anyone under the age of 8, throw in some neon green.) I met some fascinating teachers, I had fantastic students to work with and I had some great conversations with the work-study students that were busy all over campus. Thanks to Arrowmont for a one-of-a-kind experience.

2 December, 2015

Photo Cheater Quilt: A tutorial in 6 parts

2015-12-02T09:01:43-06:00Spoonflower & Fabric Design, Tutorials|Comments Off on Photo Cheater Quilt: A tutorial in 6 parts

I put together a really fun digital fabric quilt project using a collection of rainbow-hued photographs.  The finished quilt gets lots of “oohs and aaaahs” when I bring it to class as a sample.  Spoonflower has just posted the whole tutorial to their blog and here is a round-up of the links.

How to Create a Photo Cheater Quilt

Cheater Quilt Lesson One: Developing your Theme & Curating Photos

Cheater Quilt Lesson Two: Assembling your Color Collages

Cheater Quilt Lesson Three: Creating your Canvas

Cheater Quilt Lesson Four: Placing the Blocks

Cheater Quilt Lesson Five: Materials & Finishing your Quilt

Share!

Please show us your finished quilts by sharing a photo using hashtag #SpoonChallenge on your favorite social media outlet! We would love to see them.  My friend Amy from PennyCandyHandmade took the idea and ran with it.  See her awesome Hawaii-themed quilt here.

22 October, 2015

Digital Fabric Design: Cheater Art Quilt

2015-10-22T17:51:46-05:00|Comments Off on Digital Fabric Design: Cheater Art Quilt

Another opportunity to go beyond The Spoonflower Handbook by creating an art quilt with digitally printed fabric. In the first class we will create a small art collage from textured and patterned paper; a hands-on way to add depth and complexity to your design with minimal computer skills needed. The second night we will scan to transform that art into a digital format and enlarge it to fit on a yard of fabric. Finish with some simple “photoshopping” to add details or adjust colors and get tips for creating coordinating prints to accompany your design. Your finished design can be printed to make a quilt or wall hanging, finishing/sewing to be completed on your own time. Materials fee $7, payable to the instructor. See supply list at registration for more details on technology and materials.

This class is 2 sessions: December 7 & 14

1 September, 2015

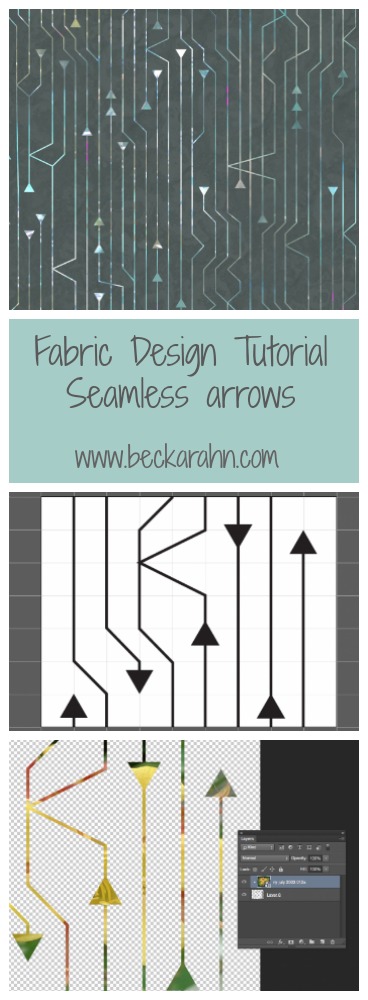
Tutorial: Seamless Arrow Repeat Part 3

2016-03-16T10:03:14-05:00Spoonflower & Fabric Design, Tutorials|Comments Off on Tutorial: Seamless Arrow Repeat Part 3

(This is part three of a tutorial for making a seamless arrow pattern.  Find Part One and Part Two here.)

For Part Three, I am going to move over and work with the design in Photoshop now.  Why?  I could easily add color in Illustrator, but the effect I want is to cut those arrowheads out of another photo, which will give it a very organic color wash instead of a solid color.

Open the file in Photoshop.

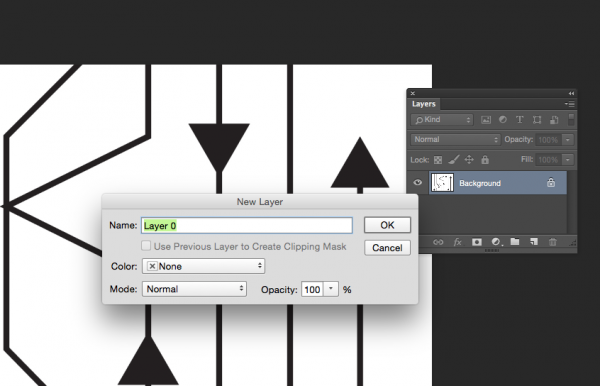
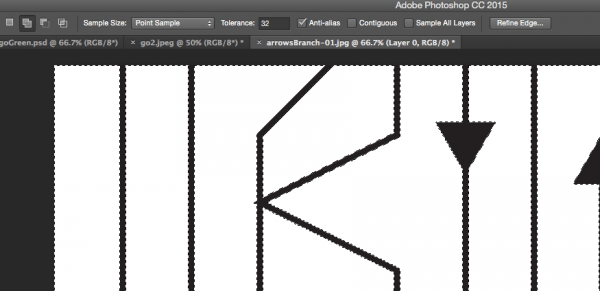
So first I open that file we just saved in Photoshop. I first double click the Layer marked Background to unlock it (making it Layer 0).  Then I use the Magic Wand tool and delete to remove the white background and just leave the pattern of black lines.  (Make sure the option marked contiguous at the top center is clicked off and you will select all of the white in the image and not just the parts touching where you click.)

Screen Shot 2015-08-27 at 10.11.41 AM

Screen Shot 2015-08-27 at 10.15.30 AM

That will leave a checkerboard pattern in the background.  That is Photoshop’s way of telling you that is now transparent.

Add the photo layer.

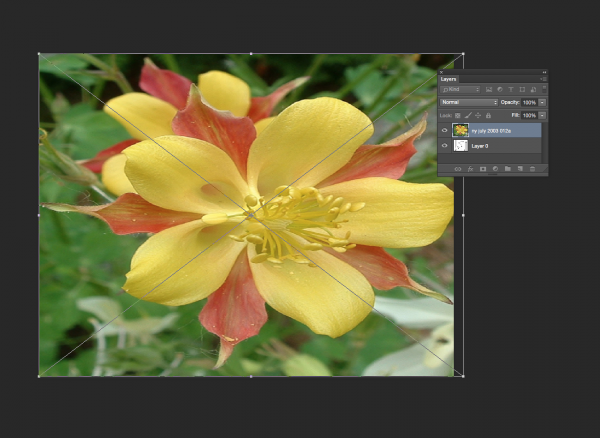
Next I will add something to create that colored layer.  For my grant project design, I used one of the layers from the photo created by my design partner, so that her print and mine would coordinate.  But really anything will work, as long as it has the colors you want.  So for this example, I used a photograph of a columbine.  Choose File -> Place Embedded and pick your image.  Size/resolution is not really important.  Once you have placed it, click and drag it to resize and fill the space.  Make sure the photo layer is on top and your arrows on the bottom.

You can add filters or adjust colors or edit this layer if you want to.  For example, I might blur it to make it look more watercolored and less photo sharp.  In my grant project design, I added a few pops of magenta with a paint brush to bring out that color in the coordinating fabric.

Screen Shot 2015-08-27 at 10.14.23 AM


Create a clipping mask.

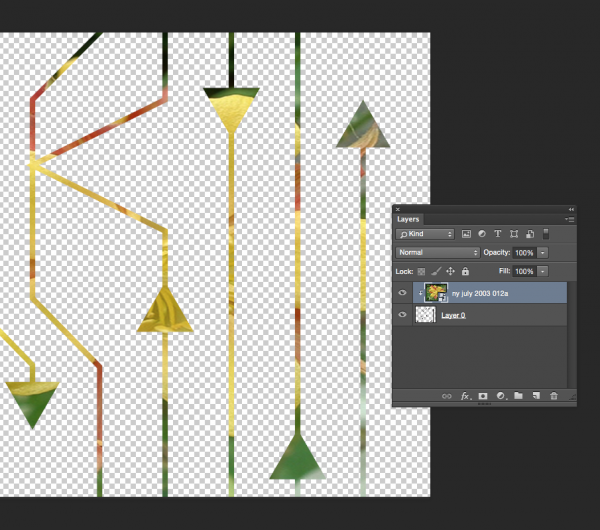
Select the Layer with your image and right-click it to bring up a pop up menu or choose Layer -> Create Clipping Mask from the top menu.  This will cut from the photo in the shape of the layer underneath.

Screen Shot 2015-08-28 at 11.54.48 AM


Add a background.

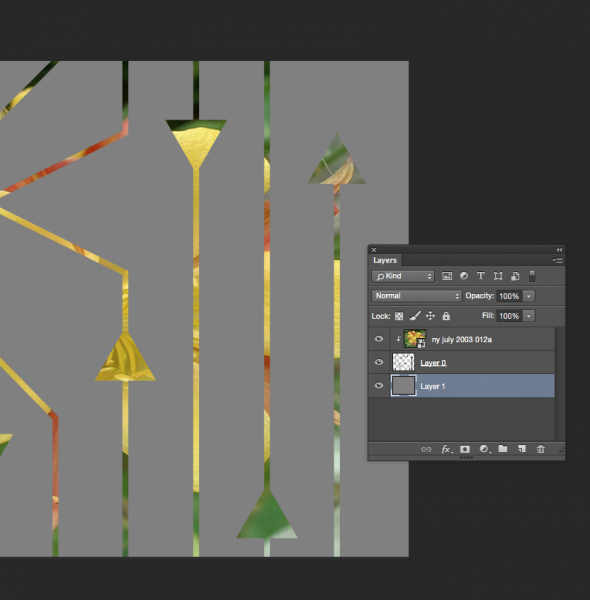
I will add a new layer to give the design a background color. You can click the new layer button in the palette (looks like a page with a bent corner) or choose Layer -> New from the menu.  I can choose Edit -> Fill from the menu to fill this layer with color and then drag it in the Layers palette to be on the bottom of the stack.

Screen Shot 2015-08-28 at 12.00.47 PM


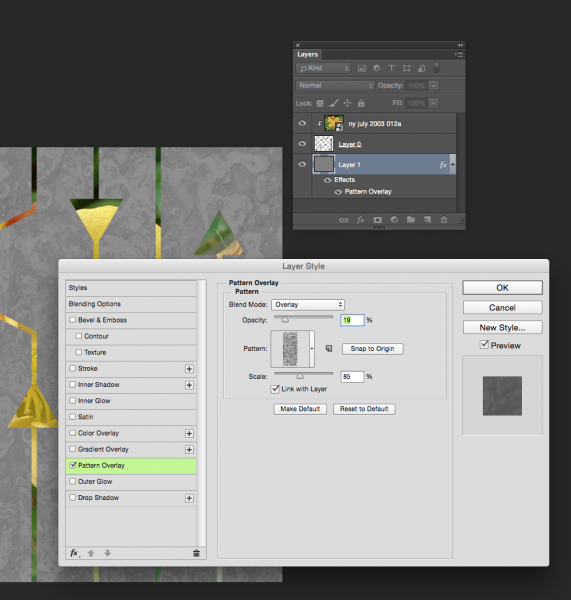
The last thing I did was to add a little texture to that flat grey layer.  When I double click the layer in the Layer Palette, I will get a menu of Layer Style options.  I chose an asphalt texture that I had saved previously and set it to be only 19% opaque.

Screen Shot 2015-08-27 at 10.20.08 AM


In Part Four, I will show you how to proof your design and touch up any little flaws in the repeat and then it is finished and ready to go.

More in this series: Part OnePart TwoPart ThreePart Four

arrowsPin

Go to Top