

Work in progress and origami design inspiration.
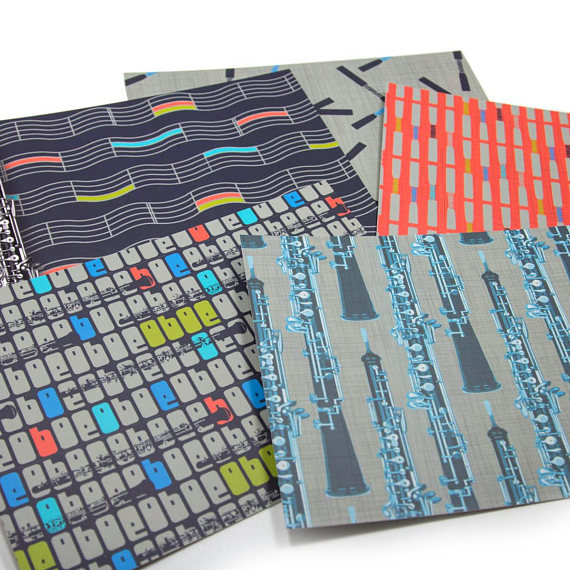
I talked a few posts back about goals for 2018 and one of those was to design more fabric. My goal was one new design a week and so far I am way ahead of schedule! First, I expanded my oboe fabrics line. It went from 1 print, which I originally designed in 2009 to 24 oboe and oboe-themed fabric prints available. I did six different designs in 4 different colorways. Because someone always asks the question when I use that term, a colorway means the group of colors that make up the designs. I use the same colors in all 6 fabrics so that the colorway all coordinates and you can mix and match. So my colorways are Tango (grey/red/pink/black), Duet (blue/green/purple), Salsa (orange, lime, turquoise, grey) and Blues (blue, grey, black). Those are all now printed, proofed, tweaked and available for sale in my Spoonflower shop.
And then I printed a slight variation on those same designs onto note cards so that I have sets of oboe postcards available now in my Etsy shop called Oboe d’Amore. It ends up that the repeating oboe instrument print is my favorite from the collection, although I am thinking about making a dress from the music staffs print with the wavy lines.
Then as another part of that “design more” goal, I have tackled the Spoonflower weekly design challenges. You can see my Spanish Tile, Greek art, and Kilim designs by clicking those links. Even though I loved my stegosaurus kilim design, it placed #328th, so I have a ways to go before I crack the top ten. I love the contests and I talk about them when I teach, but it isn’t something I ever made time to participate in. I am so glad I put that on my list for this year. I am really enjoying the challenge (and the deadline).
Something I have noticed about my Spoonflower Challenge entries is that I tend to design for the scale I would actually like the print to be printed at, but many contest entries seem to scale for what is going to look awesome in the fat quarter preview that is voted on, even though that would make somewhat exaggerated oversized prints on fabric. Maybe because I am such a fabric person/sewist that I am thinking always “what would this print be good for” and making my design with that scale in mind. So I am going to try a little experiment and for the next few entries, I am going to upload for the contest at a larger scale then I would normally design and then go back and revise them later to scale it down where I think the print belongs (or upload a second version).
This week the contest theme is “Origami” and I thought I would tell you a little about my design, because I love to talk about the process. You know if you have read my blog for any amount of time, that I love origami. I have used it in several exhibitions and I have several fabric designs that incorporate origami.
So for this challenge entry I thought I would start by using the butterflies that I folded for an installation this fall. They are super pretty and I had already photographed them.
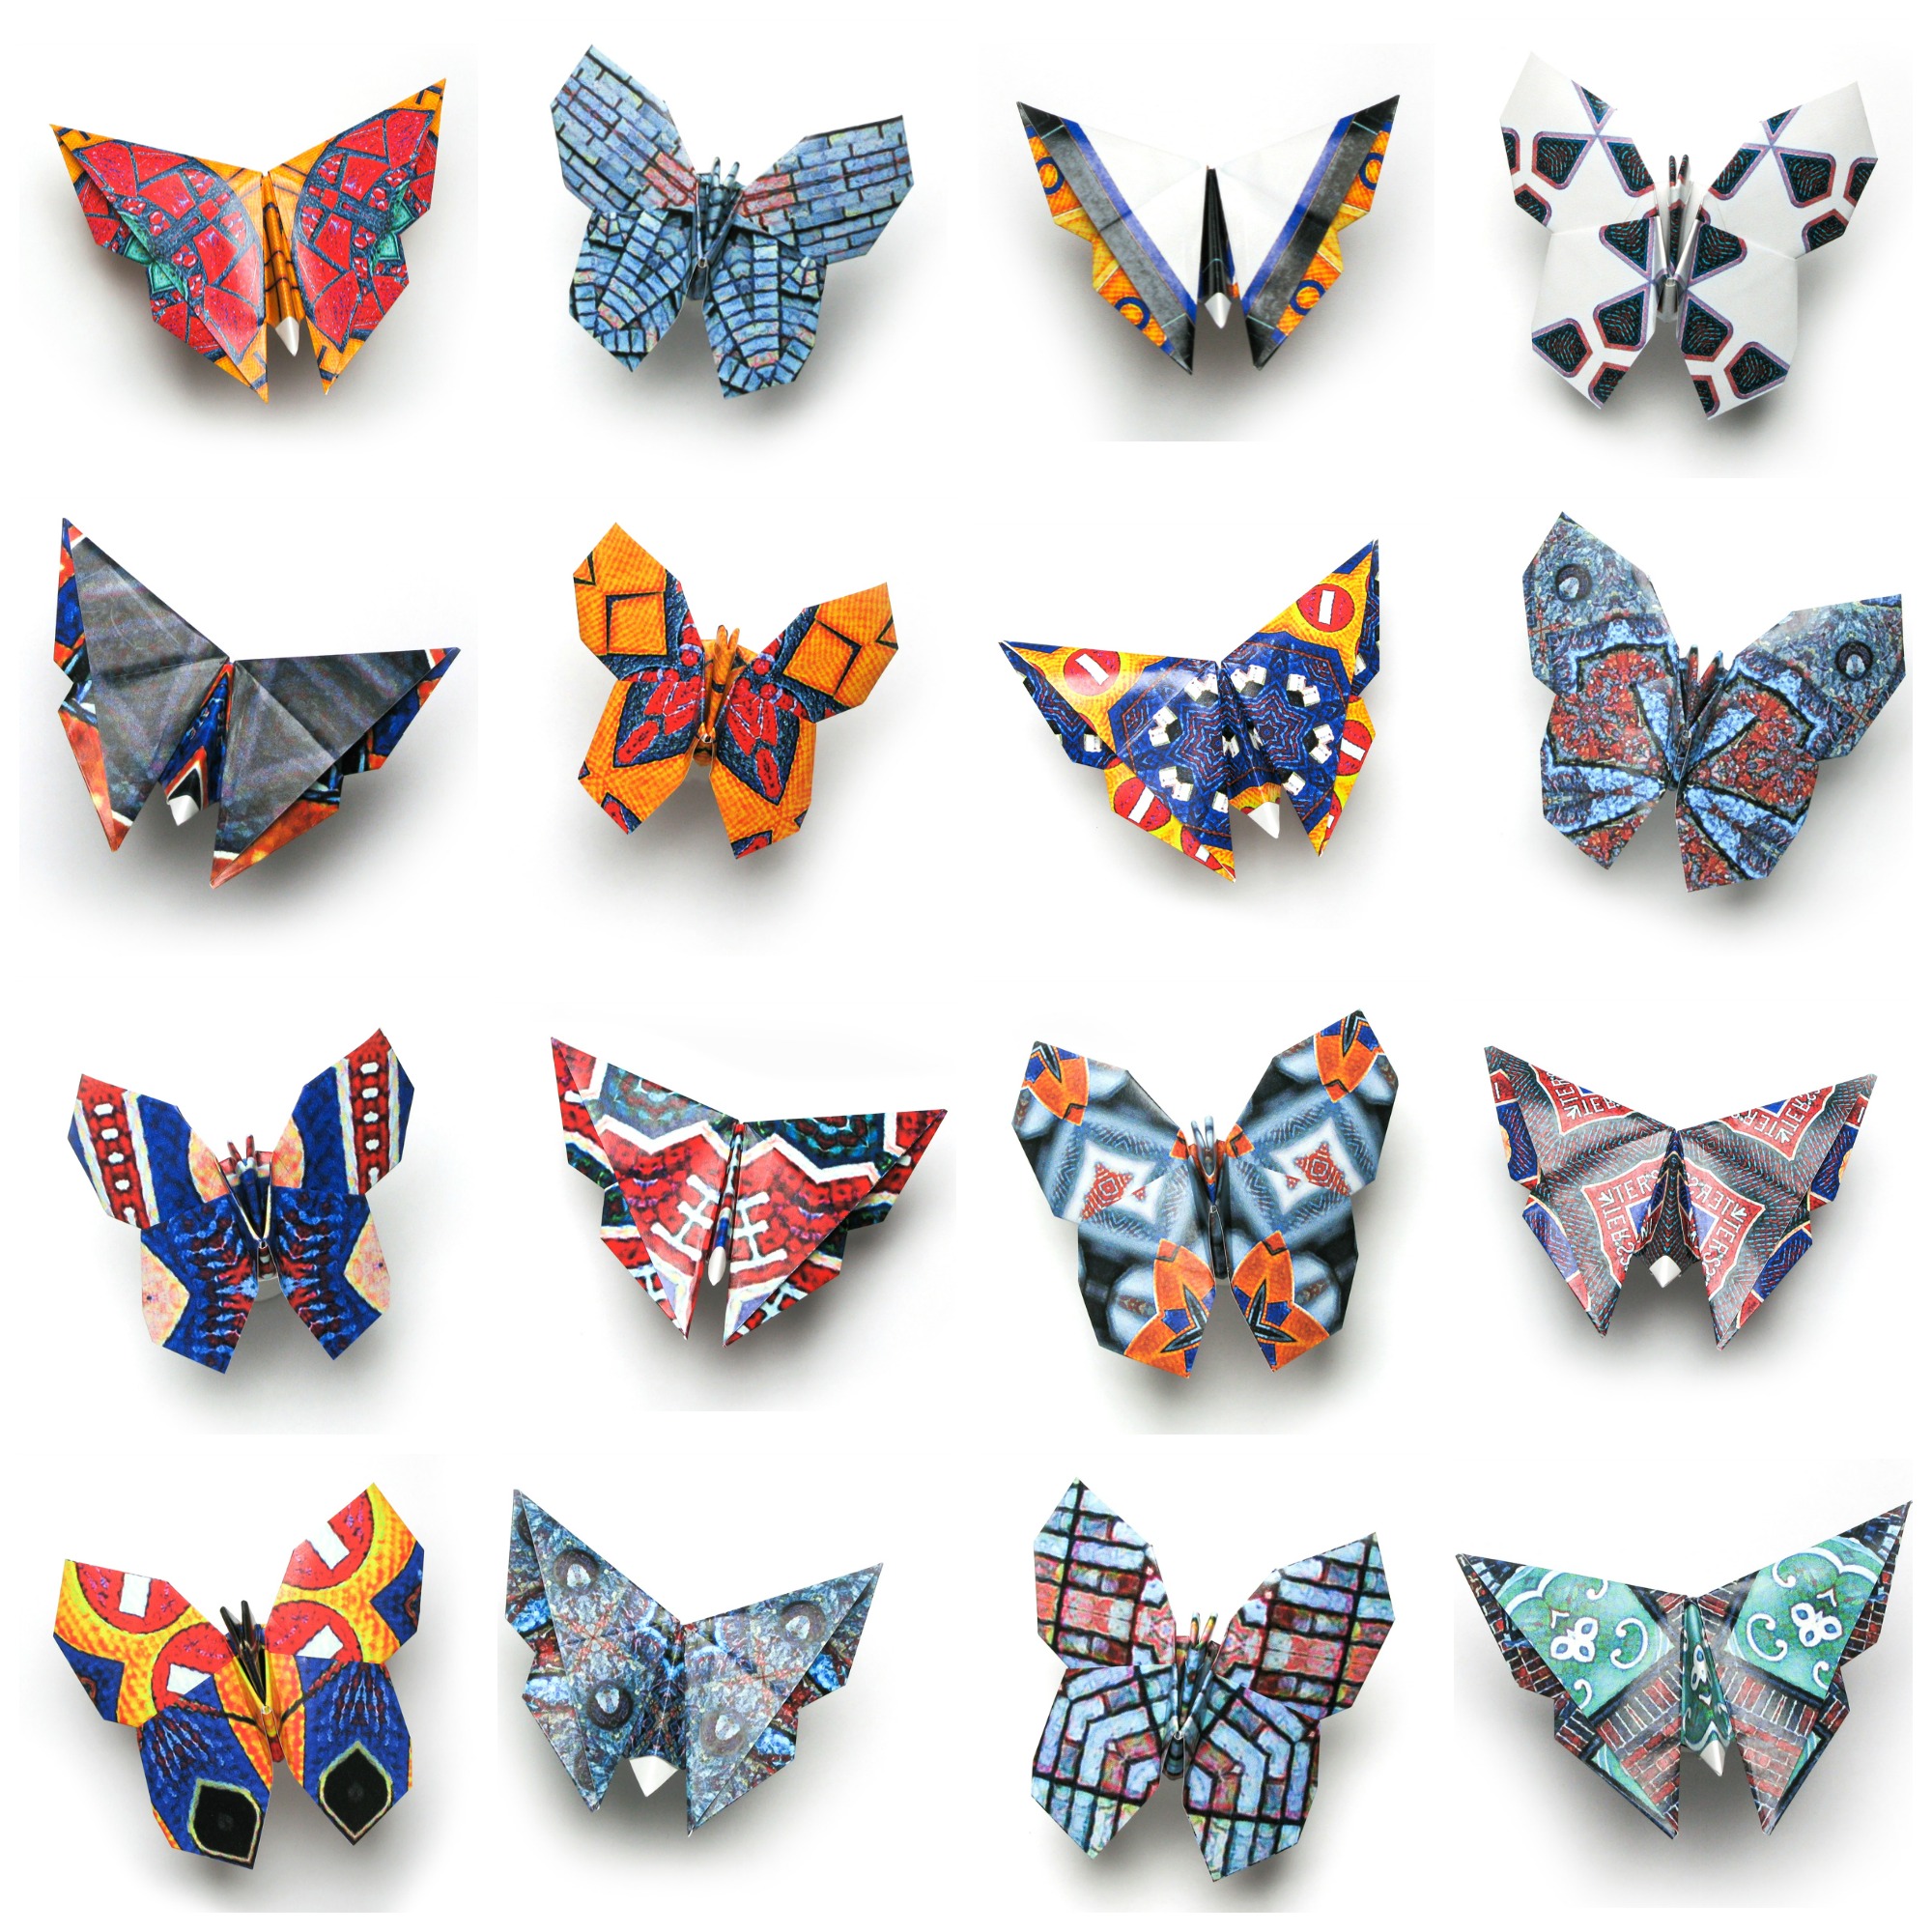
But as pretty as they are, I just couldn’t make them look like a cohesive design. I layered them with black and white patterns, dots, clouds. I overlaid them with another color to tie them all together that way. I spent several hours noodling around and just felt like nothing was really working. Bleh.
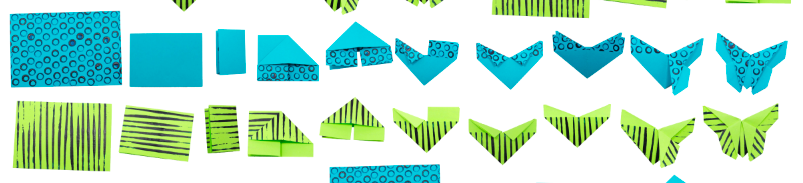
So, I bagged that idea and started something else. I posted a video about how to fold these butterflies, and I thought it might be interesting to photograph each step of that process and see if I could make a fabric design from that. I wanted to simplify the patterns on the paper, which I think was one of the problems with my previous idea, so I pulled out some construction paper and a little indigo colored craft paint, a pencil eraser and a popsicle stick.

Simple, bold patterns on one side, plain color on the other.
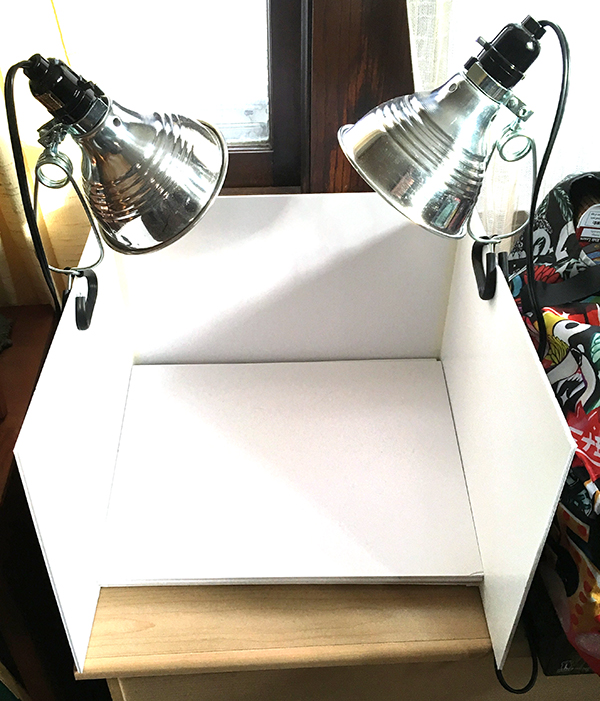
Then I set up my mini photo box and folded and took a photo at each step.
I thought it would be fun to line them up in order of steps, so that you could follow along and see the way it transforms. (Follow Along became the title of this design.)
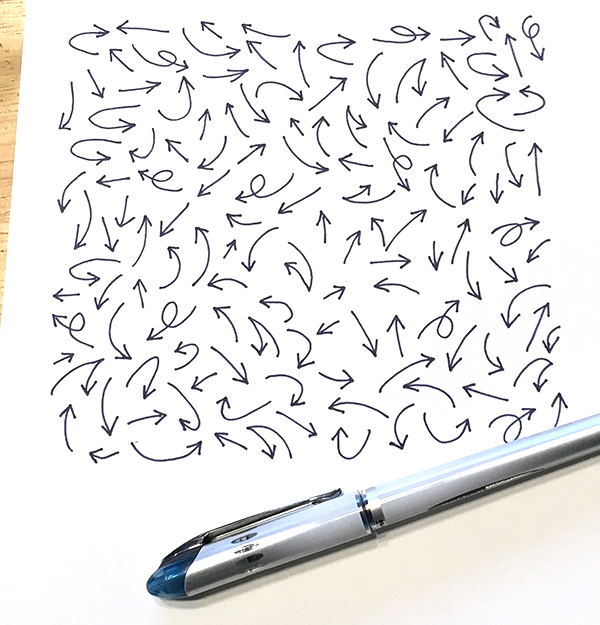
I felt like it needed one more thing to make it feel finished; some kind of texture in the background so it wasn’t just “things on a white piece of paper”. I love to add layers, so I drew a pattern of arrows. In origami diagrams there are often different kinds of arrows to help tell you what to do with a piece of paper. A zig-zag arrow says fold-and-unfold, a loopy arrow says flip-it-over and so on. So I drew origami-style arrows, scanned and made it into a repeating pattern for the background.
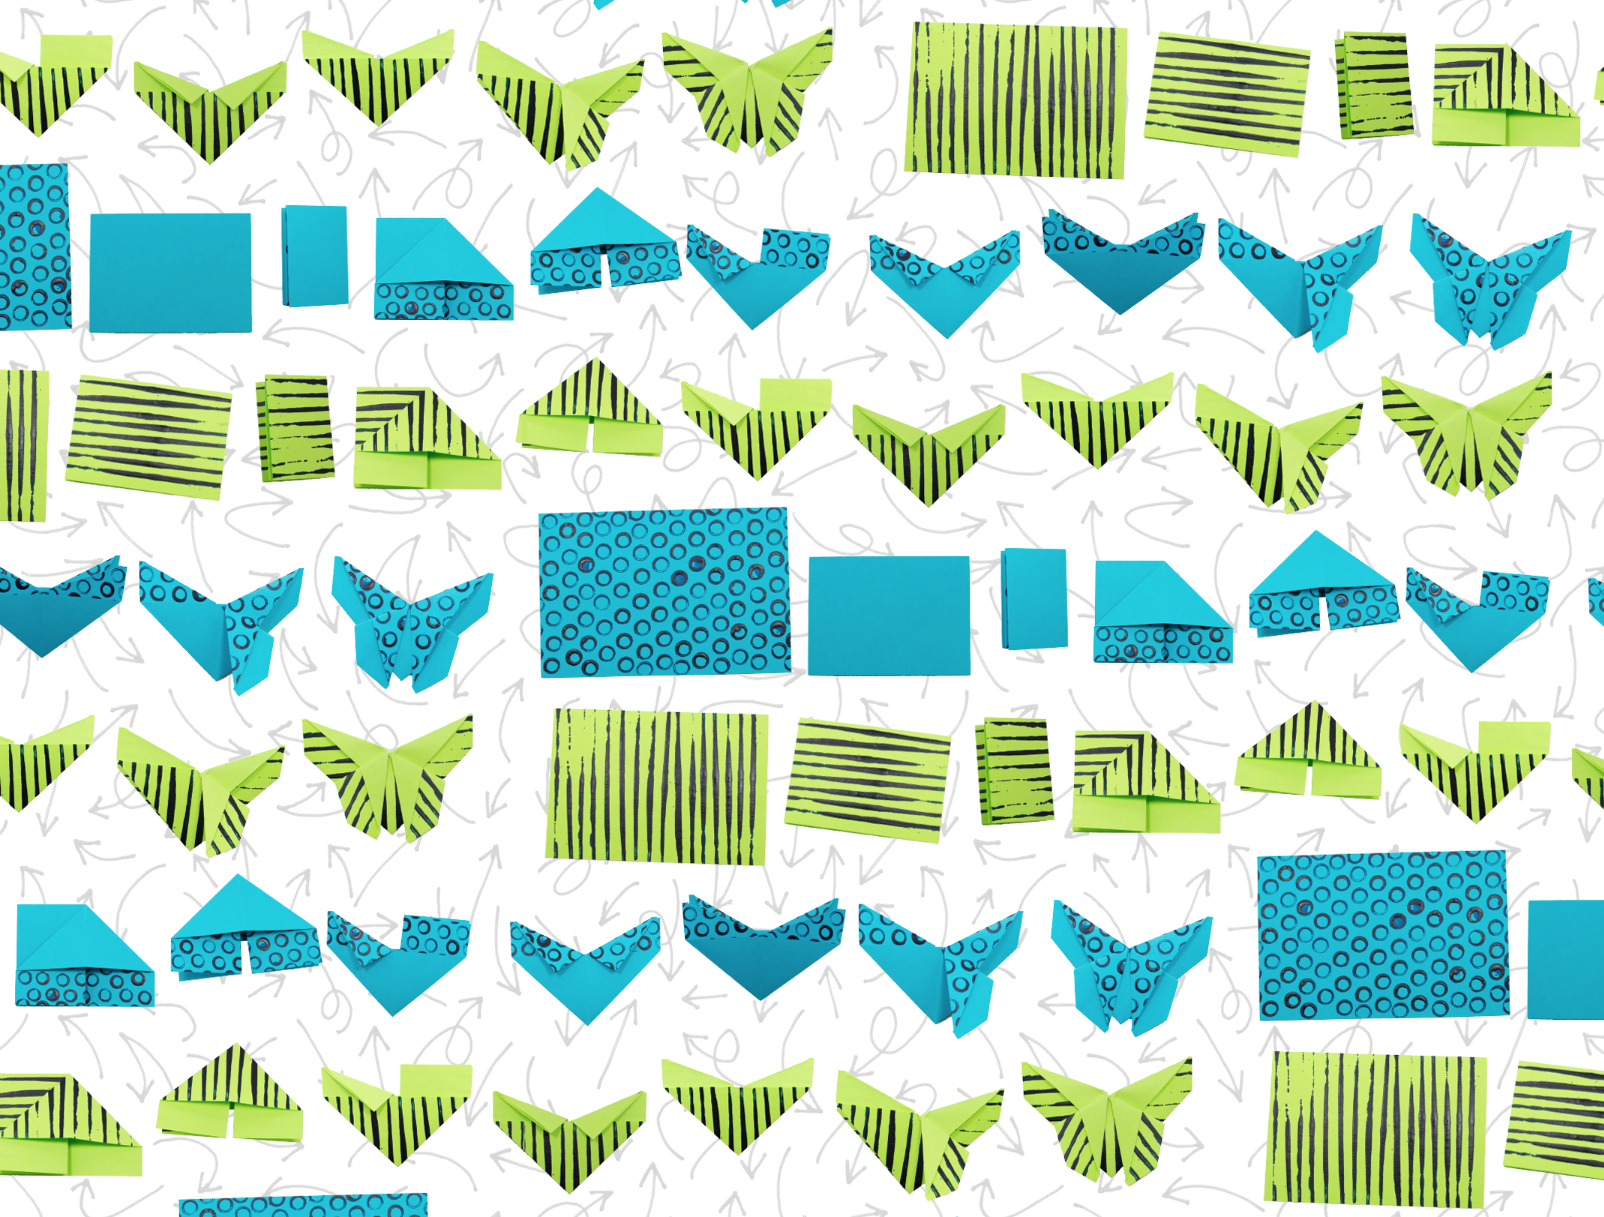
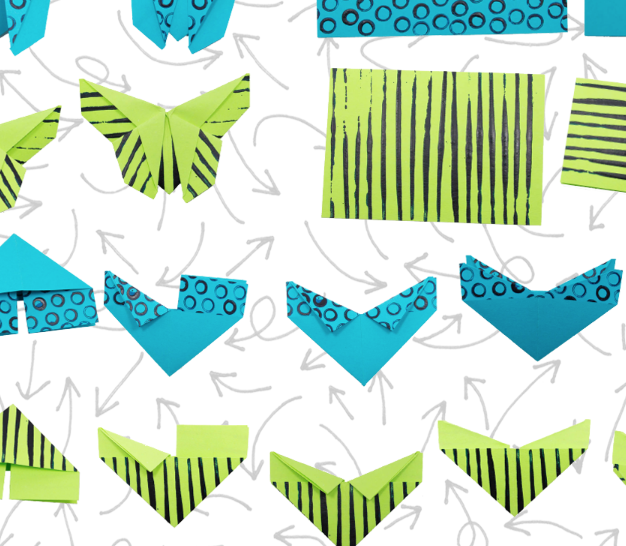
Here is the final finished design.
If you want to see all of the other origami designs (and if you’d like to vote for mine!) you can check out the Origami Challenge page. I think it is really inspiring to be able to see how hundreds of other artists choose to interpret the same themes. There is always something that makes me say “why didn’t I think of that?” and something that makes me say “I wouldn’t have made that choice.” and several new favorites. There’s a dog origami design in this batch that I particularly like.
The next challenge theme is “Significant Otters” and I can’t wait to show you that one!