4 October, 2018

Faking It.

2018-10-07T22:36:03-05:00An Artist's Life, Gallery Exhibitions, Out & About, Spoonflower & Fabric Design|4 Comments

I was invited to show three pieces in an exhibition called Fiber Art in the Digital Age at the WI Museum of Quilts and Fiber Arts. The theme of the show is fiber art that incorporates innovations of the “digital age”. I created three pieces that include digitally printed fabrics and laser cut wood and acrylic. This is the first in a series of posts talking about those pieces.

Faking It
Sometimes a comment about your work sticks with you for years. One of the first digitally printed fabric garments I made was a dress that I wore to an art gallery opening. Two visitors came up to me and struck up a conversation about the dress, asking if the fabric was made using batik. When I explained with excitement that it was actually digitally printed photographs of ice, they looked at me and said “Digitally printed? That’s cheating!”

I have discovered that the relationship between fiber art and computers is often misunderstood. There is an assumption that if you use a computer, that it does all of the work; you just press a key and Photoshop magically creates art. Because I used a computer to create part of my piece these commenters, and several others throughout the years, decided that it wasn’t real art.

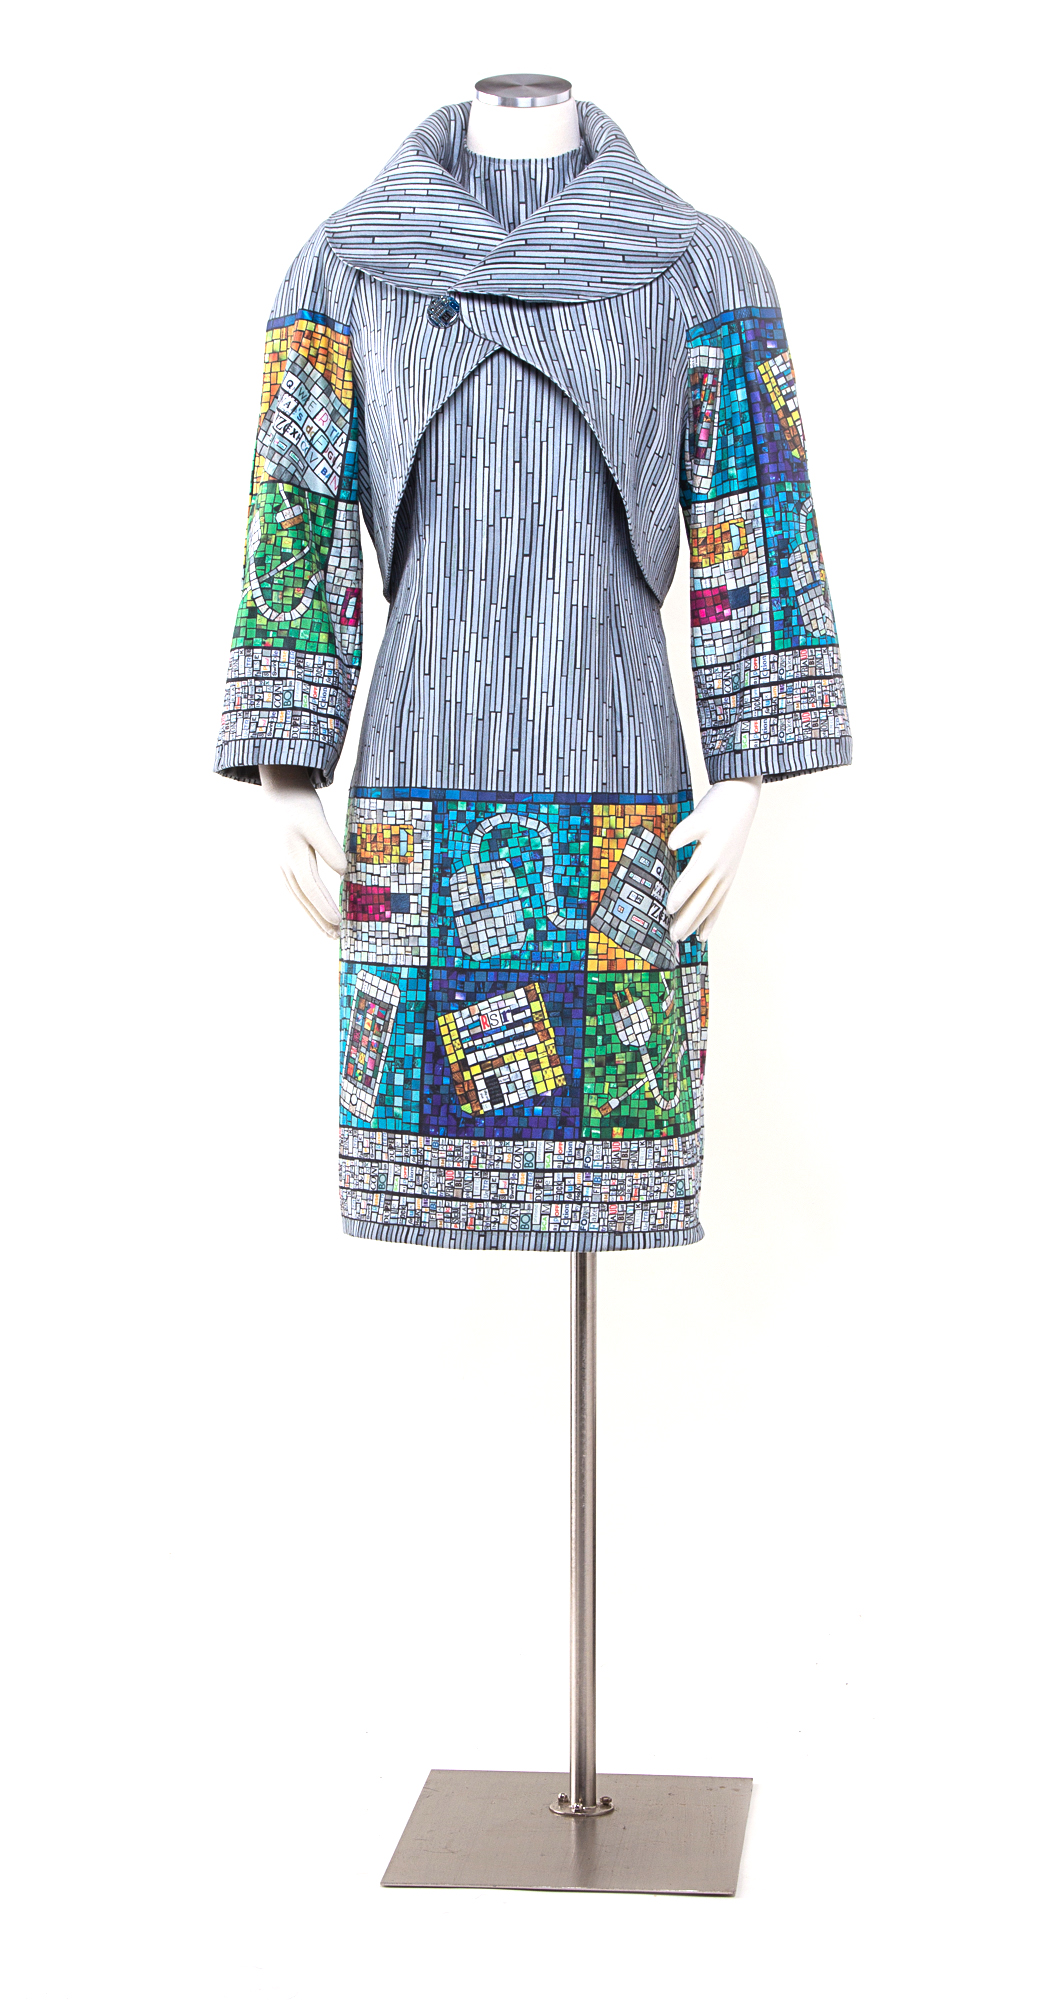
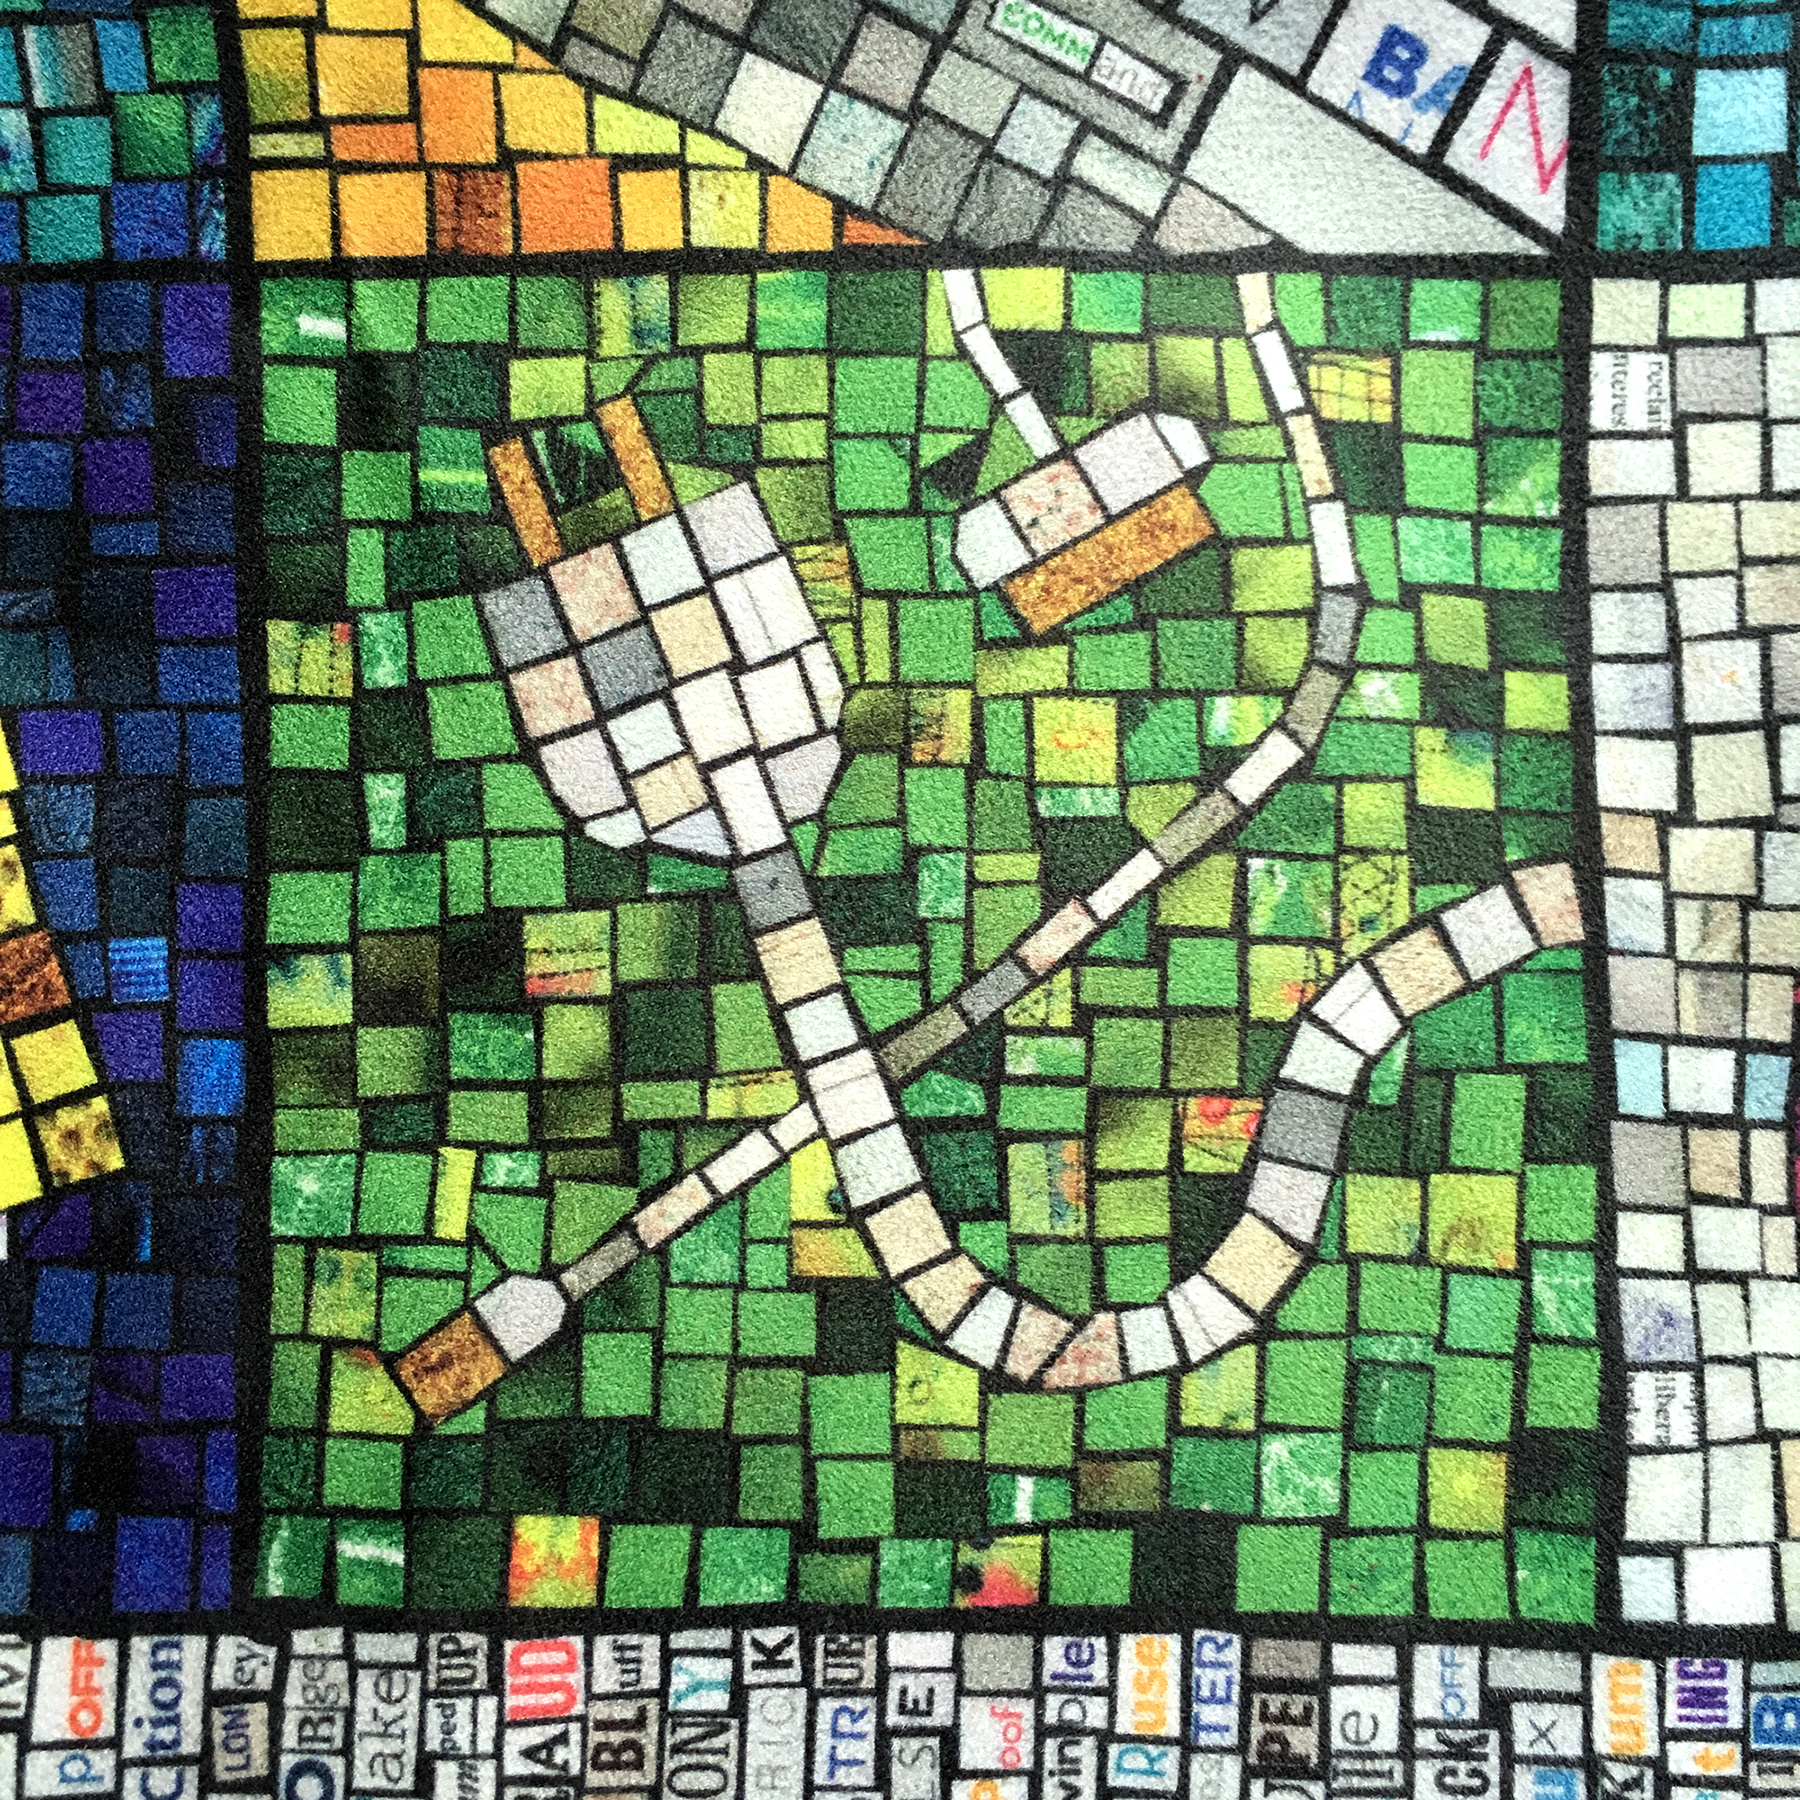
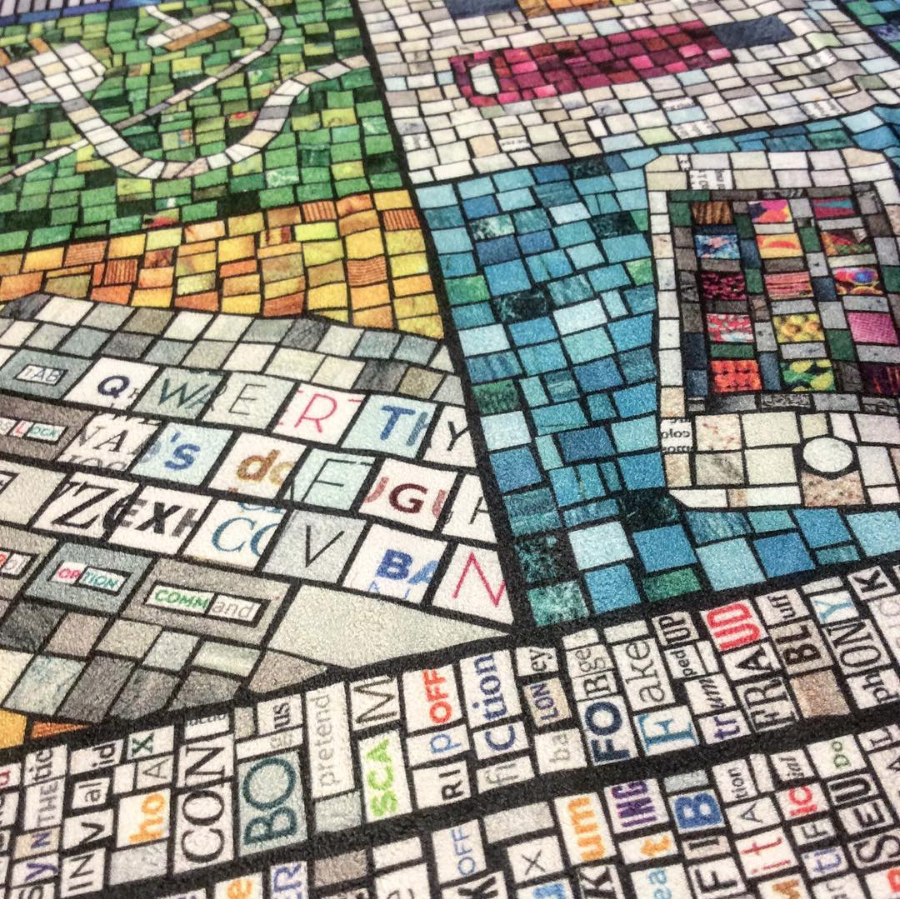
So, I decided to make Faking It a celebration of “fake” art made by computers. I started by creating imitation mosaics from recycled magazine paper with images of computers and technology: an iPhone, charging cables and even a vintage floppy disk signed with my initials. I surrounded the mosaic tiles with a border of ransom note style words that all are synonyms for fake: false, swindle, hoax, hokum, spoof, flim flam, bogus and so on. The background is made from tiny strips of paint chips in colors titled “pixel white” and “high speed access”. I scanned all of this paper art and the design was then printed on to polyester faux suede fabric. The button on the coat is a costume jewel made from a recycled circuit board embedded in resin. And finally, the dress and coat were made using a commercial knock-off pattern of a couture designer dress worn by Melania Trump at the 2018 presidential inauguration.

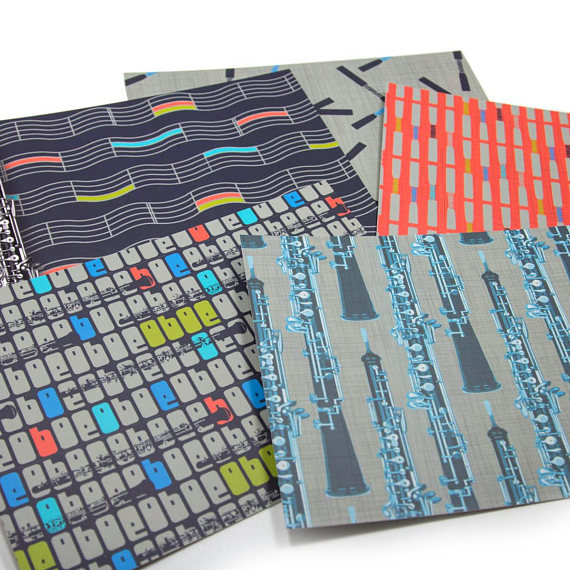
Digitally printed faux suede.


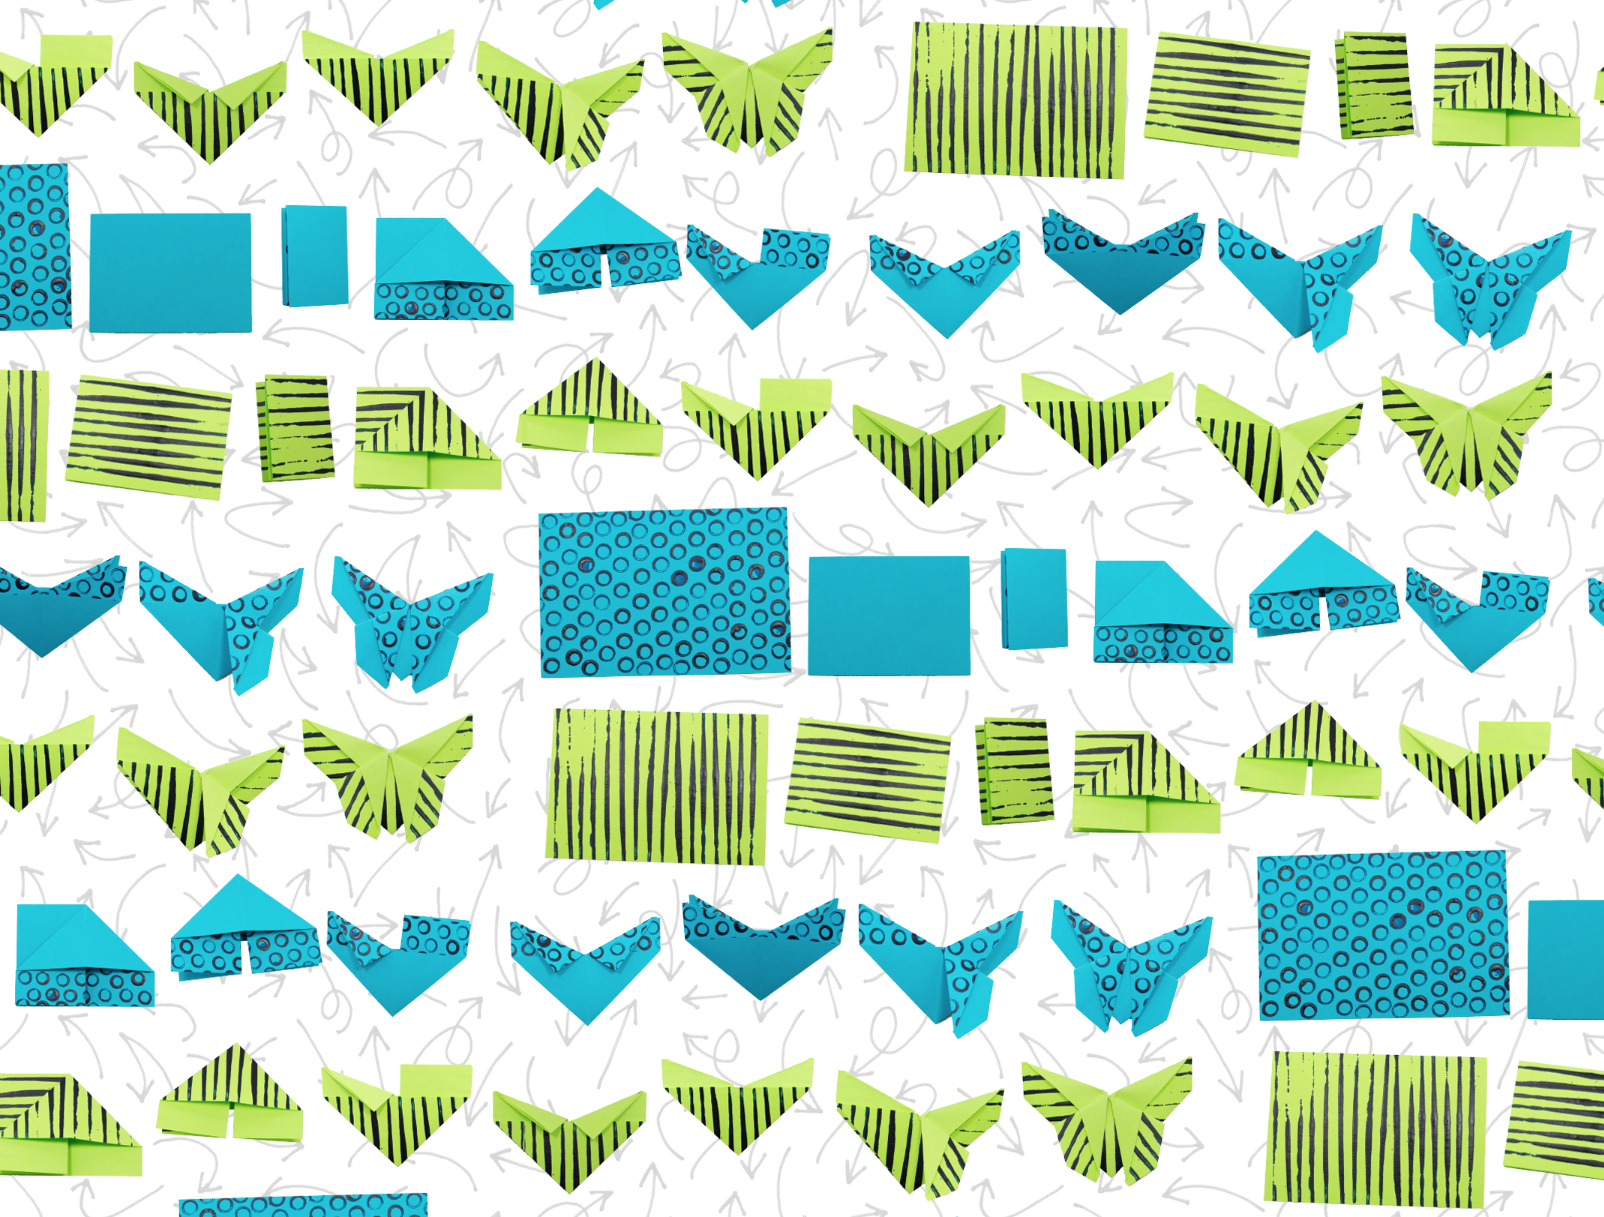
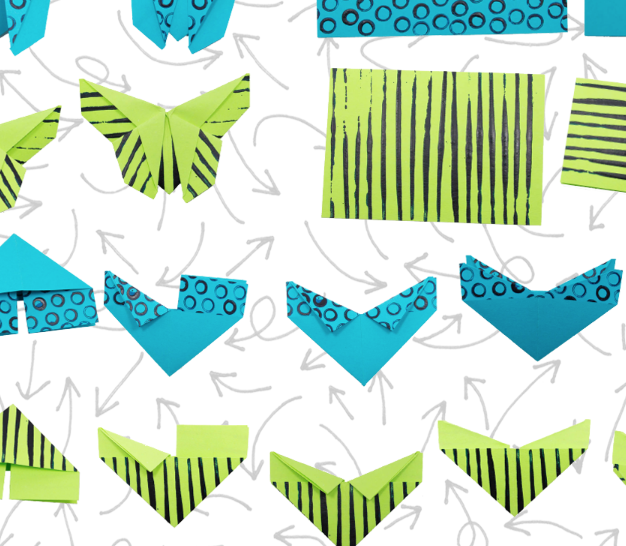
Here are some detail shots of the fabric design. Each one is made from pages of magazines and catalogues. You can see a video about how I made one of the mosaics for this piece in this post.

Many thanks to my friends and fans on Facebook who helped me come up with the “fake” word list that makes one of the borders on this print. I posted something asking for help thinking of alternate words for “fake” and they came up with awesome suggestions.

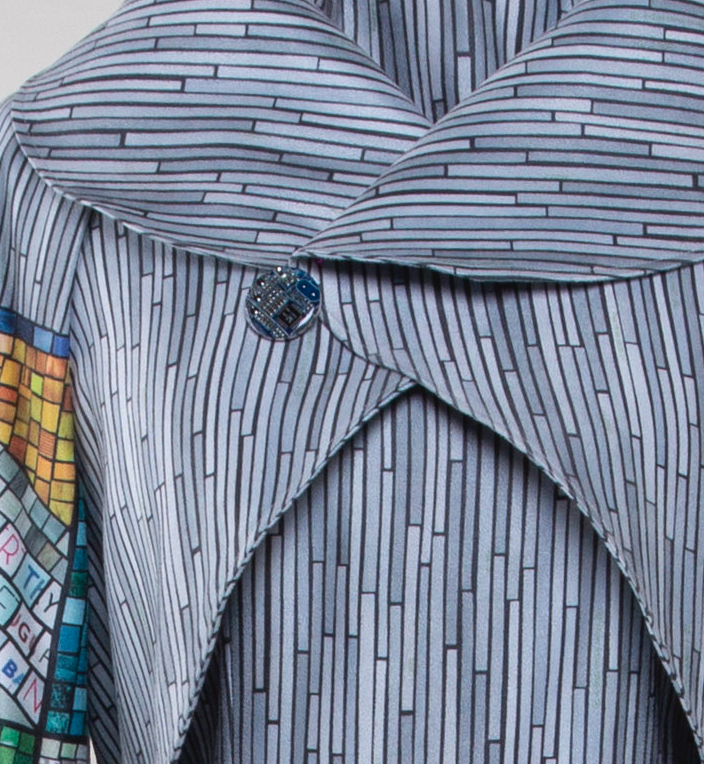
The button on the coat was made for me by Amanda at Circuit Breaker Labs. This isn’t a super sharp picture of it because I forgot to take detail shots before I shipped this piece off for the exhibition, but check out her Etsy shop to see how cool these are. (She made this one for me as a custom request, usually she offers them as pendants, earrings, keychains and more.) It was the perfect addition to this piece.

A little secret that you can’t tell by looking at this piece. There is actually an extra seam on the back of the jacket because I ran out of fabric. Spoonflower discontinued this faux suede just days after I ordered the fabric for this dress. When I realized that I needed a little more, I went back and they were sold out. Even though I knew it was going to be discontinued soon, I really wanted to use the faux suede in keeping with my fake theme, so this dress really is one of a kind and almost zero waste. I used every scrap I could.

I love this piece. I worked on it for months and I really enjoyed every bit of it. All three of the pieces I made for this exhibition have good stories – things I wanted to talk about, things I had been thinking about and conversations that I wanted to have with people. It felt really good to make pieces that weren’t just about pretty or fun or design challenges, but pieces that were talking about something.

Do you have a comment about your work that has stuck with you? Something that people often misunderstand about what you do? Have you ever been accused of “cheating”? Tell me your stories!

10 July, 2018

Video Tutorial: Fill-A-Yard Projects with Spoonflower

2020-04-21T21:17:12-05:00Spoonflower & Fabric Design, Tutorials, Videos|Comments Off on Video Tutorial: Fill-A-Yard Projects with Spoonflower

A quick video tutorial of how to use Spoonflower’s Fill-A-Yard feature. Thanks to a student from my online class for the question.

If you need a little more help working with collections, be sure to check out my online classes. I go through collections in the Spoonflower Step One class.

8 May, 2018

A weekend learning to design fabric with Spoonflower

2018-05-08T09:46:52-05:00Everything Else|Comments Off on A weekend learning to design fabric with Spoonflower

These fantastic ladies spent the weekend with me learning to design fabric with Spoonflower using Adobe Illustrator. I made them work hard. Illustrator is not intuitive and it isn’t easy, so I admire them so much for their great attitudes the whole weekend long. These are the designs they created the very first day, inspired by Ed Emberley drawing books. How many of you have heard of Ed Emberley? He was my favorite artist when I was a kid and I don’t think anyone in my class had heard of him. So it was very fun to make that introduction.

If you want to learn more about the fabric design classes I teach, check out my online classes and master class pages.

2 February, 2018

Work in progress and origami design inspiration.

2018-02-02T14:58:47-06:00Spoonflower & Fabric Design|Comments Off on Work in progress and origami design inspiration.

I talked a few posts back about goals for 2018 and one of those was to design more fabric. My goal was one new design a week and so far I am way ahead of schedule! First, I expanded my oboe fabrics line. It went from 1 print, which I originally designed in 2009 to 24 oboe and oboe-themed fabric prints available. I did six different designs in 4 different colorways. Because someone always asks the question when I use that term, a colorway means the group of colors that make up the designs. I use the same colors in all 6 fabrics so that the colorway all coordinates and you can mix and match. So my colorways are Tango (grey/red/pink/black), Duet (blue/green/purple), Salsa (orange, lime, turquoise, grey) and Blues (blue, grey, black). Those are all now printed, proofed, tweaked and available for sale in my Spoonflower shop.

And then I printed a slight variation on those same designs onto note cards so that I have sets of oboe postcards available now in my Etsy shop called Oboe d’Amore. It ends up that the repeating oboe instrument print is my favorite from the collection, although I am thinking about making a dress from the music staffs print with the wavy lines.

Then as another part of that “design more” goal, I have tackled the Spoonflower weekly design challenges. You can see my Spanish Tile, Greek art, and Kilim designs by clicking those links. Even though I loved my stegosaurus kilim design, it placed #328th, so I have a ways to go before I crack the top ten. I love the contests and I talk about them when I teach, but it isn’t something I ever made time to participate in. I am so glad I put that on my list for this year. I am really enjoying the challenge (and the deadline).

Something I have noticed about my Spoonflower Challenge entries is that I tend to design for the scale I would actually like the print to be printed at, but many contest entries seem to scale for what is going to look awesome in the fat quarter preview that is voted on, even though that would make somewhat exaggerated oversized prints on fabric. Maybe because I am such a fabric person/sewist that I am thinking always “what would this print be good for” and making my design with that scale in mind. So I am going to try a little experiment and for the next few entries, I am going to upload for the contest at a larger scale then I would normally design and then go back and revise them later to scale it down where I think the print belongs (or upload a second version).

This week the contest theme is “Origami” and I thought I would tell you a little about my design, because I love to talk about the process. You know if you have read my blog for any amount of time, that I love origami. I have used it in several exhibitions and I have several fabric designs that incorporate origami.

So for this challenge entry I thought I would start by using the butterflies that I folded for an installation this fall. They are super pretty and I had already photographed them.

But as pretty as they are, I just couldn’t make them look like a cohesive design. I layered them with black and white patterns, dots, clouds. I overlaid them with another color to tie them all together that way. I spent several hours noodling around and just felt like nothing was really working. Bleh.

So, I bagged that idea and started something else. I posted a video about how to fold these butterflies, and I thought it might be interesting to photograph each step of that process and see if I could make a fabric design from that. I wanted to simplify the patterns on the paper, which I think was one of the problems with my previous idea, so I pulled out some construction paper and a little indigo colored craft paint, a pencil eraser and a popsicle stick.

Simple, bold patterns on one side, plain color on the other.

Then I set up my mini photo box and folded and took a photo at each step.

I thought it would be fun to line them up in order of steps, so that you could follow along and see the way it transforms. (Follow Along became the title of this design.)

I felt like it needed one more thing to make it feel finished; some kind of texture in the background so it wasn’t just “things on a white piece of paper”. I love to add layers, so I drew a pattern of arrows. In origami diagrams there are often different kinds of arrows to help tell you what to do with a piece of paper. A zig-zag arrow says fold-and-unfold, a loopy arrow says flip-it-over and so on. So I drew origami-style arrows, scanned and made it into a repeating pattern for the background.

Here is the final finished design.

If you want to see all of the other origami designs (and if you’d like to vote for mine!) you can check out the Origami Challenge page. I think it is really inspiring to be able to see how hundreds of other artists choose to interpret the same themes. There is always something that makes me say “why didn’t I think of that?” and something that makes me say “I wouldn’t have made that choice.” and several new favorites. There’s a dog origami design in this batch that I particularly like.

The next challenge theme is “Significant Otters” and I can’t wait to show you that one!

Go to Top