 In June, I will be spending a week at Arrowmont School of Arts & Crafts in Gatlinburg TN. I haven’t ever been to Arrowmont, but I have heard all kinds of amazing things about the experience there, so I am excited to have been invited.
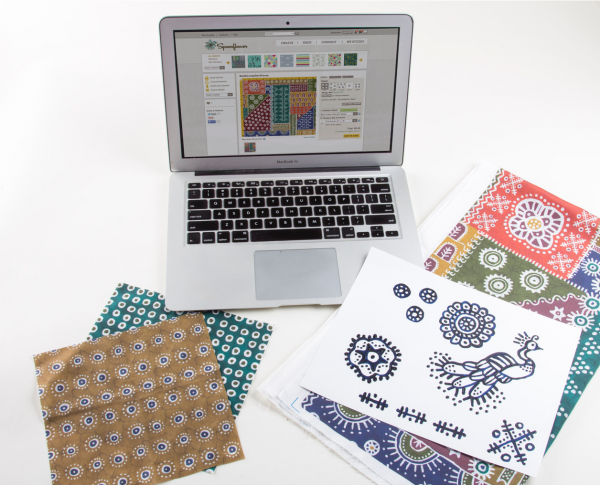
Our class at Arrowmont will be intense. We have 37 hours to explore all kinds of techniques for designing your own fabric. For the class in April at Spoonflower, we are going to focus on Adobe Illustrator, but for this one at Arrowmont, it is all about Photoshop and layers and texture. I have had several potential students email with questions about the class (which is awesome) and so I thought I should talk a little more about what we will be doing, since the description in the Arrowmont catalog is necessarily brief.
 My theme for this class will be exploring the different paths you can take to design fabric. Everyone knows the feeling of staring at a blank page with an equally blank mind. Where do you start?
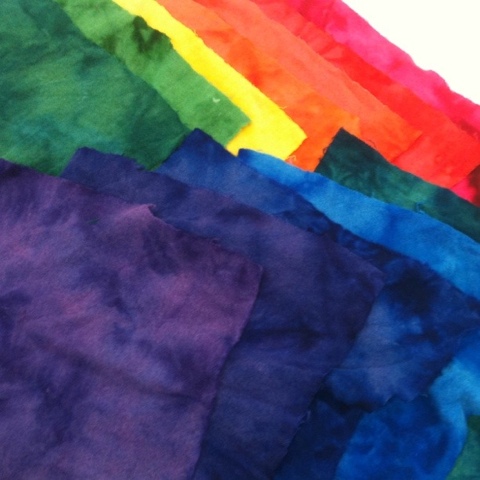
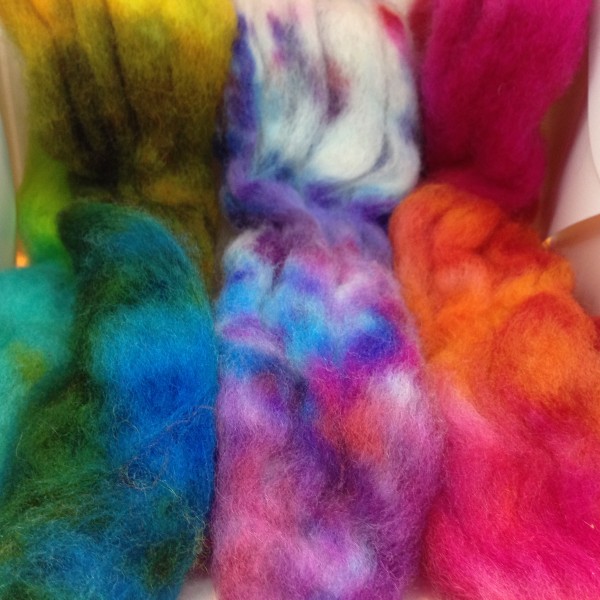
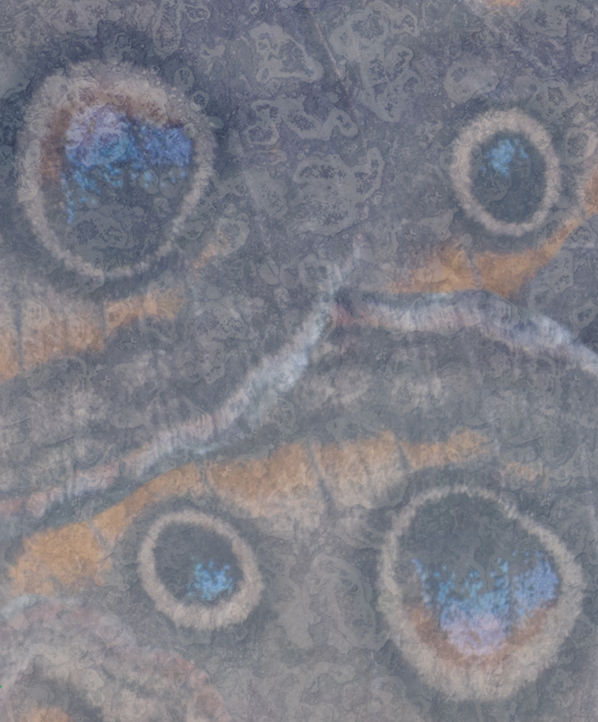
We are going to start this class by building a common vocabulary. We will talk about pixels and resolution and color. We will learn about different design tools that are common to Photoshop and other graphics programs (select, layer, opacity, offsets). Then we will start building a toolbox of techniques. Each day in this class we will take a different path to start a fabric design. One day we will work with scanned found objects; one day we will start with photos; one day we will doodle with paint. We will learn ways to layer and manipulate textures borrowed from other objects.
Are you ready for this class? You don’t need to know anything about Photoshop or designing fabric. It is helpful if you are comfortable working with computers and you have maybe explored Photoshop (or other graphics programs) a little on your own. You should be able to pull a photo off of your camera, save it and find it again. You should be able to connect to wifi and navigate webpages. You should be brave enough to try things and not worry that you are going to “break something”.
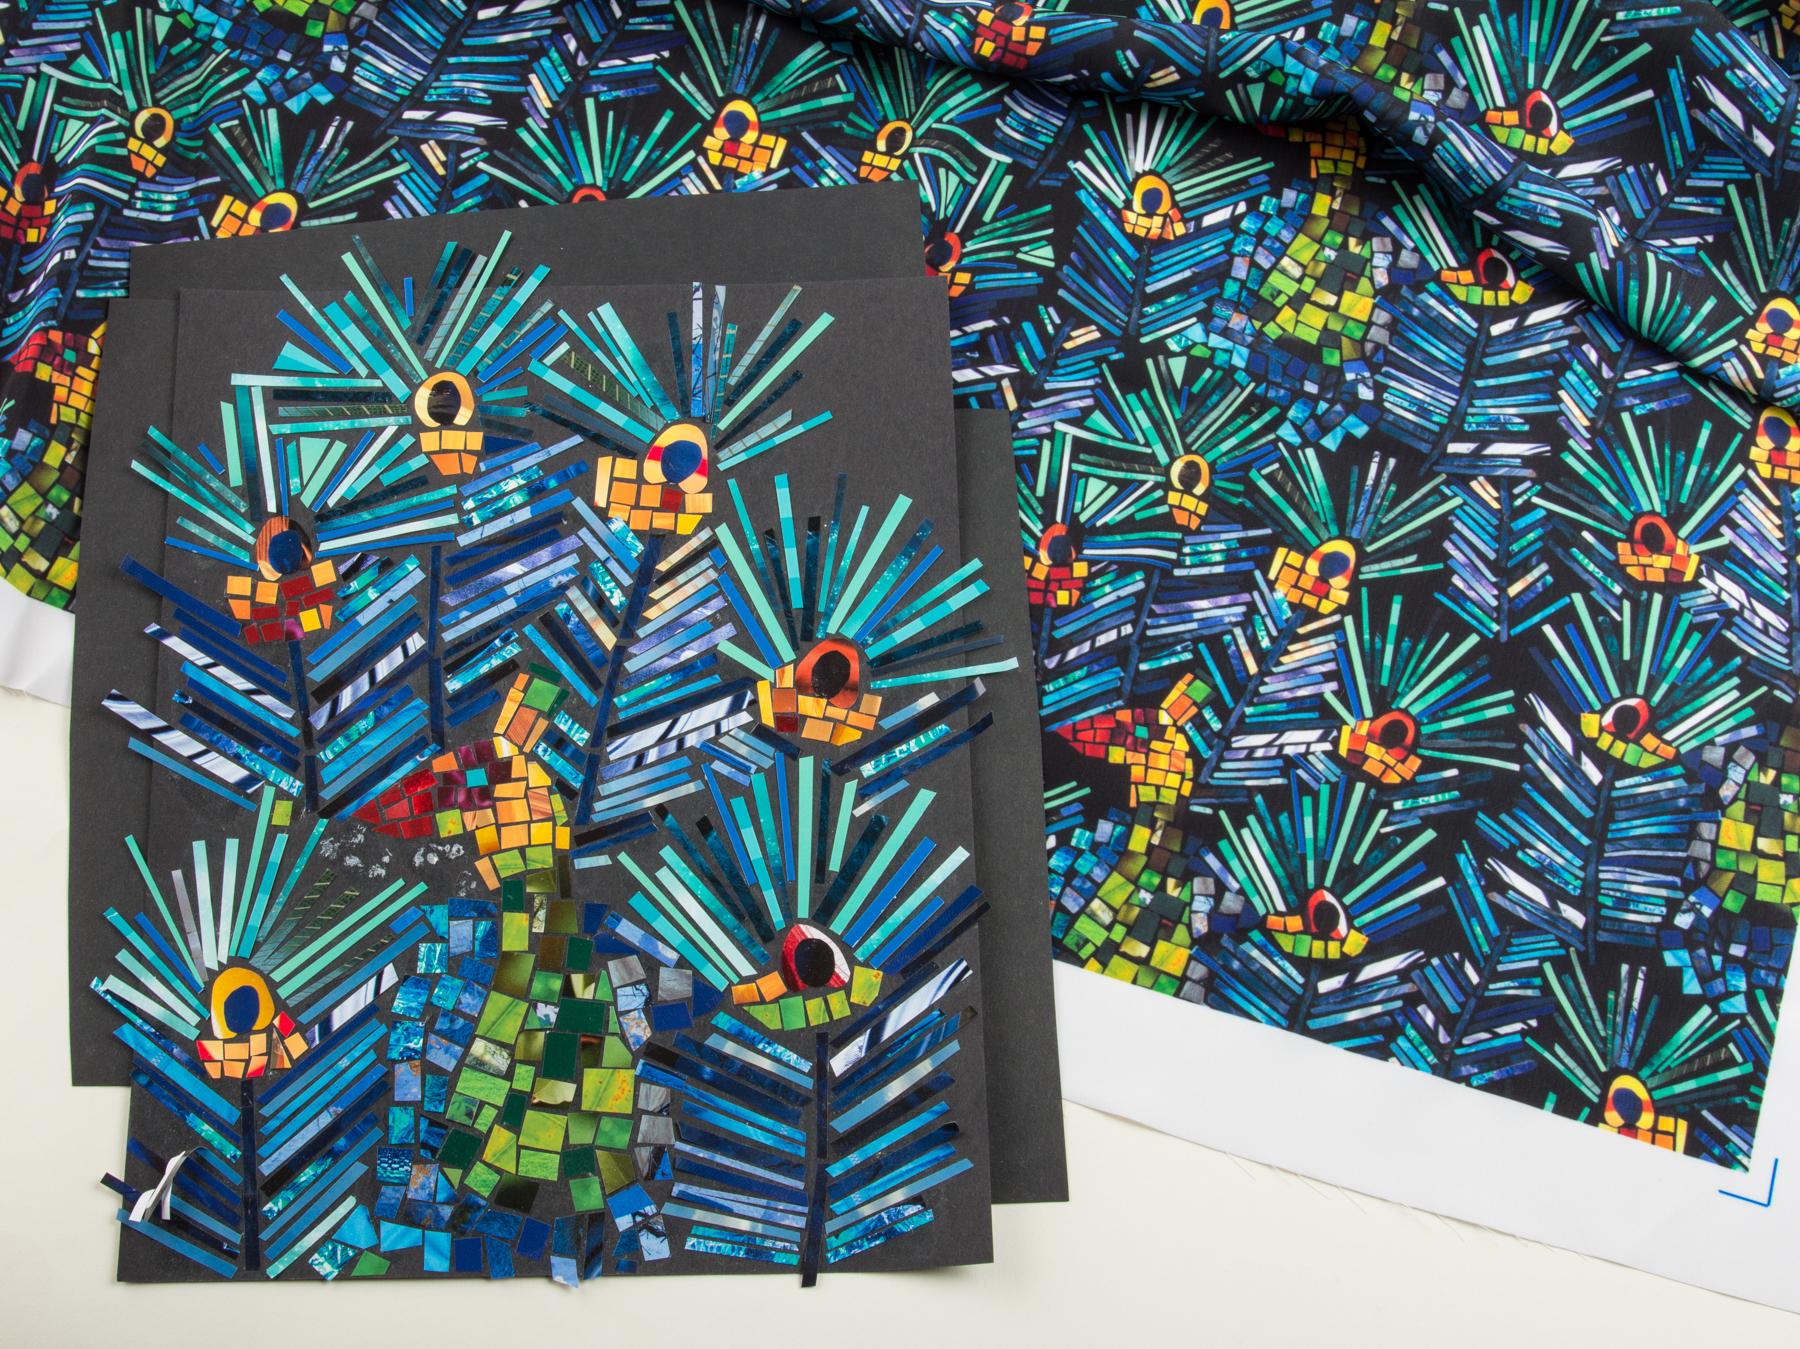
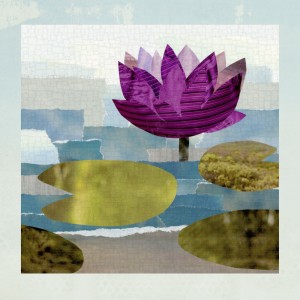
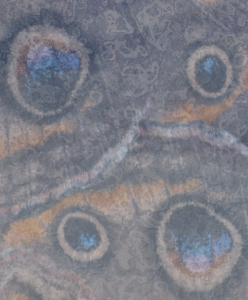
 We will be creating a faux batik, similar to this tutorial I put together. Why faux batik? Because it is a fantastic way of practicing a set of design techniques you can use for many other things: scanning your original artwork and manipulating the colors, digitally coloring a design, layering with a photographic textures. It’s a great model that will teach you many skills that you will be able to use for future designs.
We will all go crosseyed if we have to spend 7 hours a day looking at computer screens, so I have a lot of design ideas and exercises that we will do offline as well to help break things up. These will be things like learning how to make seamlessly repeating designs or creating balance in a repeating pattern. We will take a photo walk looking for textures.
You will also have time in class to explore something independently. I want you to be able to work on your own, but with the ability to ask questions and screw things up with help right there. So we will set aside time for me to work with each student one-on-one to explore your own design goal.
These are some of my goals for class. I hope that by the end of class, students will have learned:
- digital vocabulary for fabric design (pixels, resolution, repeats, seamless, layers, colorway etc)
- scanning and manipulating your own artwork and found objects
- creating a design using original art (painted paper) and layers
- creating a colorway from a photograph
- using photographs in fabric designs
- basic Photoshop skills and tools
- other tools for digital design: RepperPatterns, Adobe Color
- independent projects with instructor guidance
- tour of Spoonflower site and tools, show and tell of printed fabrics, examples
You can see all of the details at Arrowmont’s website. If you want to know more about any part of class, feel free to email me!