
Upcoming Classes & Events
Studio Journal
Pattern Review: Style Arc Barry Pants & iTokri Fabric
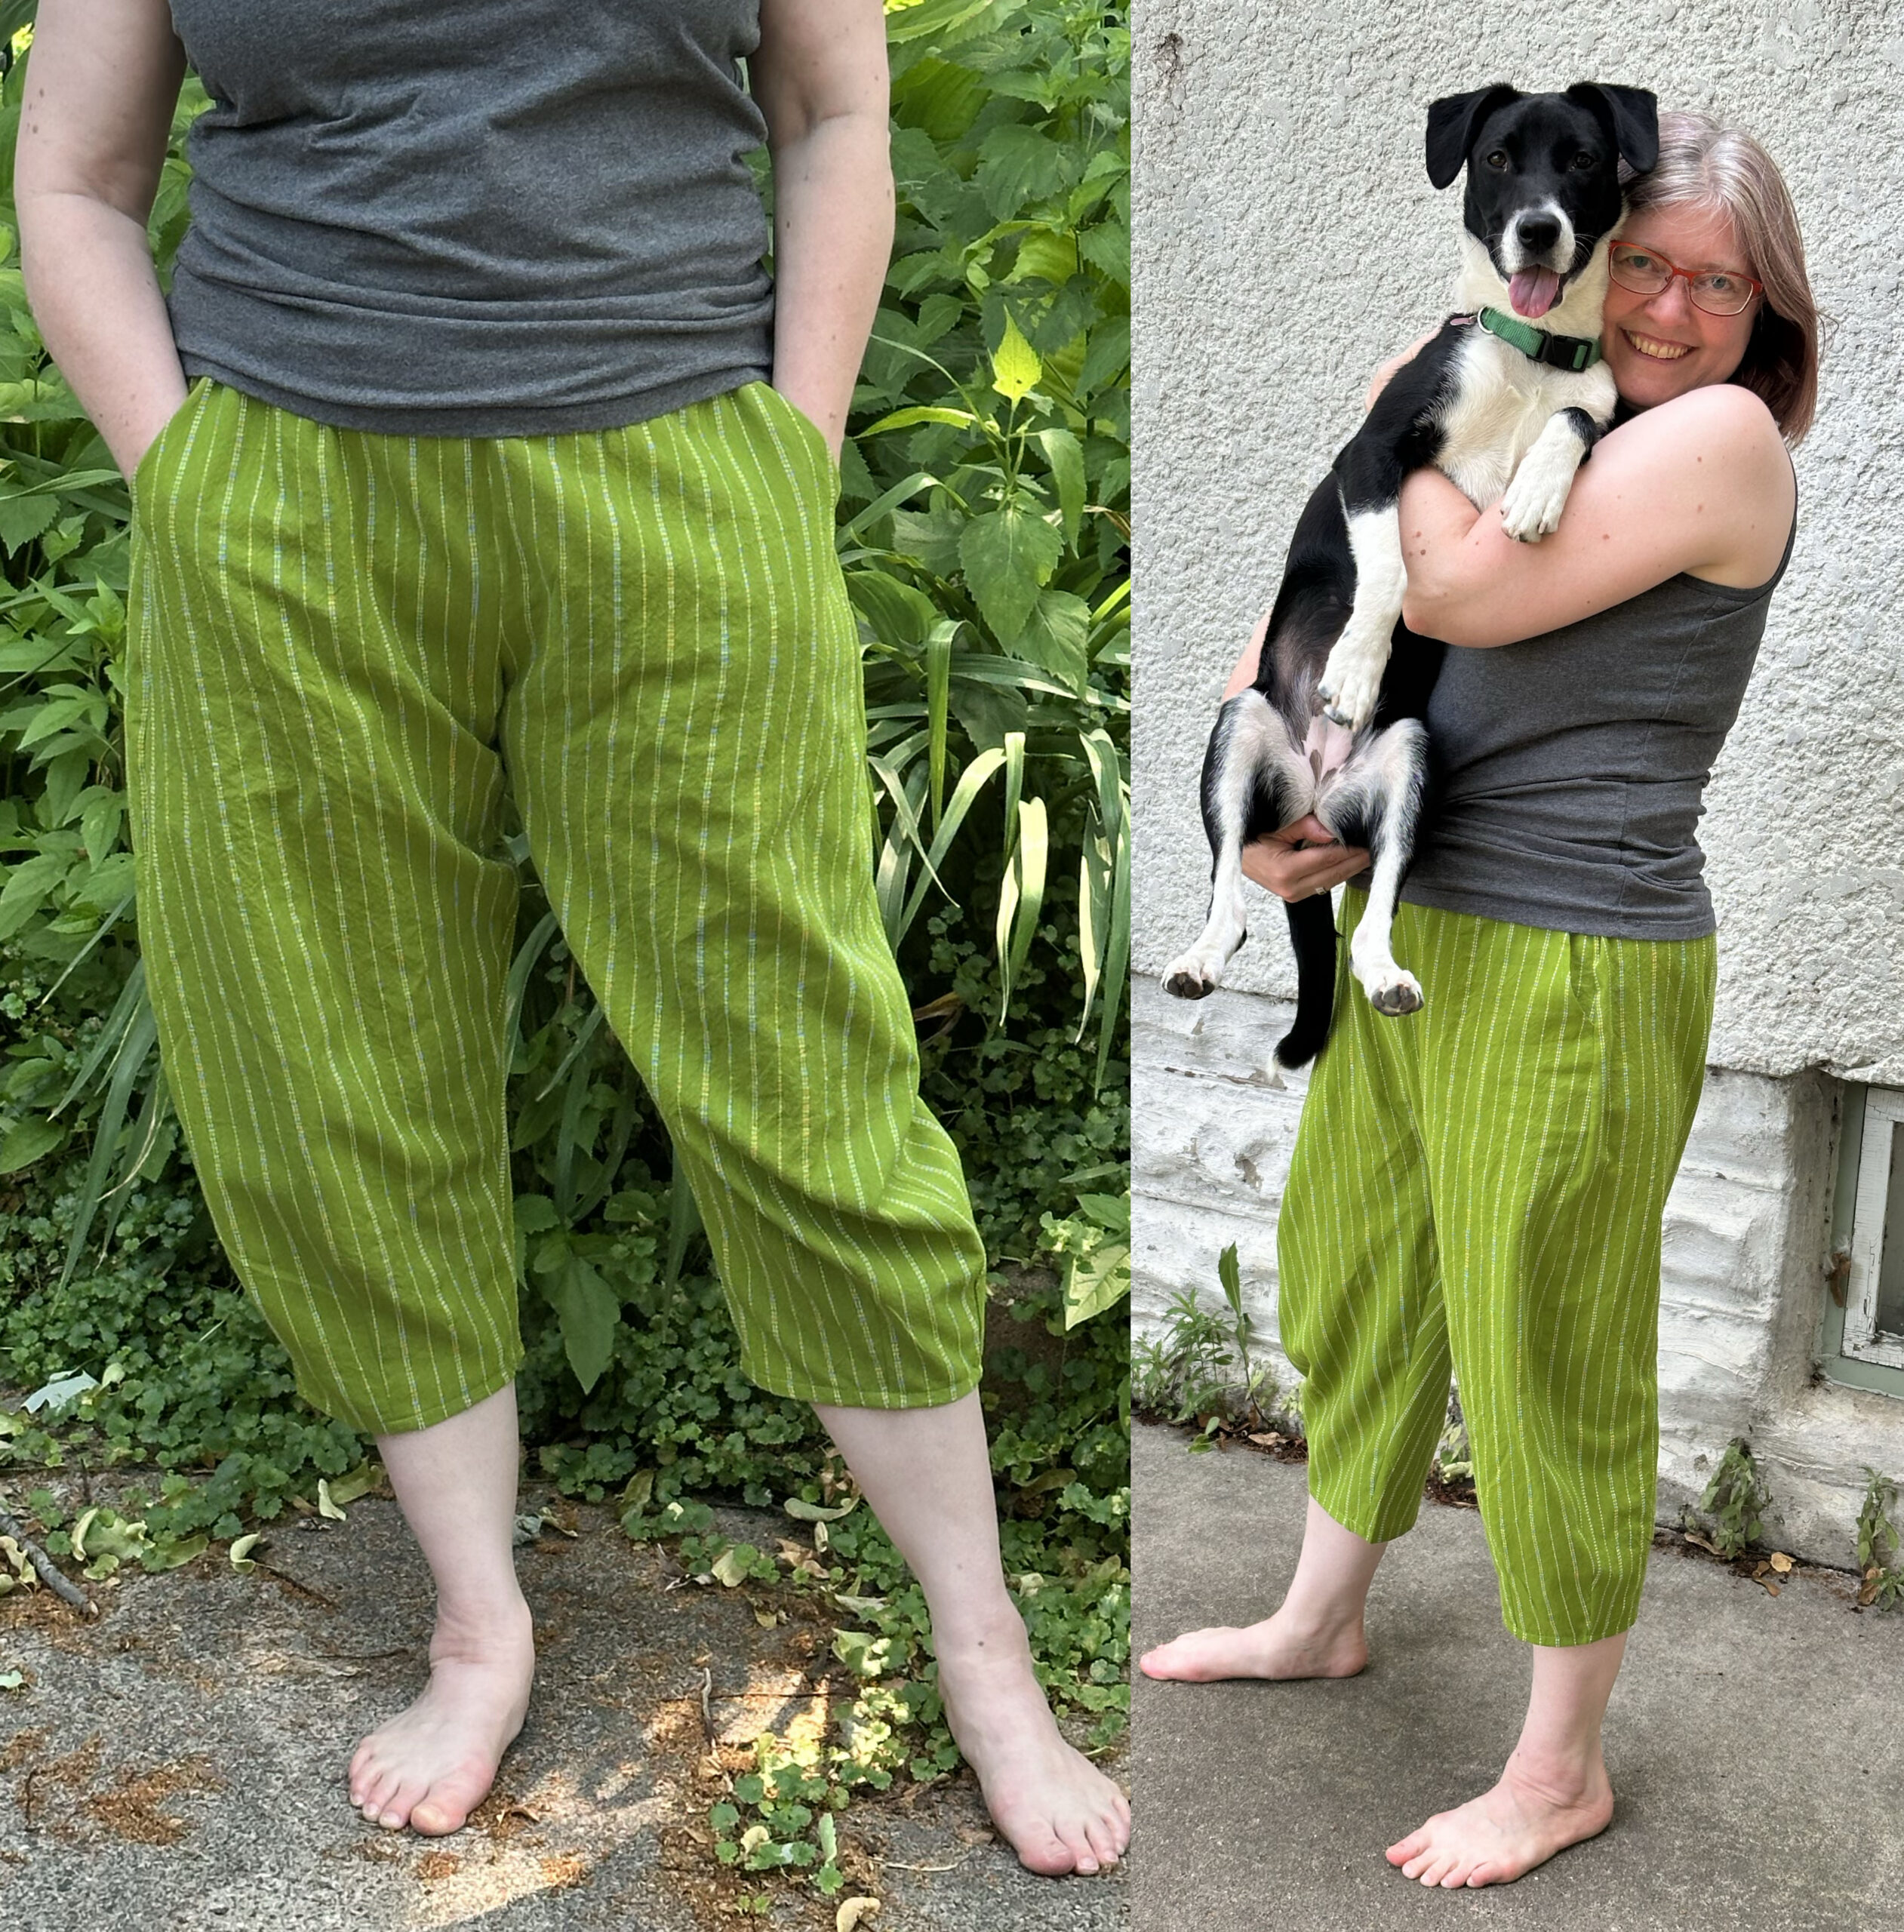
This post is going to be a double review! Today it’s 90+ degrees outside and I finished these pants and I might wear them all week. These are the Barry Woven Pants from Style Arc with a little modification and they are made from some beautiful cotton jacquard fabric from iTokri.
Barry Woven Pants
I made another pair of these in a rose colored linen but I decided those needed a few tweaks before I was really going to wear them, so this is the second attempt at this pattern. The major modification I made was to take out 5 inches from the length. They are drafted to be a slightly above the ankle length on someone 5’6″. I am only 5’4″ and when I made the first pair following the pattern exactly, they just look a little out of proportion on me. I should have shortened them, but I didn’t think to look at the height the pattern was drafted for until after I finished.
So for this one, I took 5 inches out at the lengthen/shorten line printed on the pattern. Easy! I like a capri length pant better than ankle length anyway, so these are really more my style. I wear about a size 10; I made the 16 in this pattern and I think that’s about right.
I also removed the faux fly and reduced the “ruffle” at the top by about 1/2 inch. The faux fly just seemed like a silly detail so I cut the center front seam straight and just removed that section. I like the paper bag waist detail but the ruffle on the first pair just felt too bulky (and no one wants bulk around the middle) so I just took an inch out of the waistband depth.
Things I love:
- they went together so fast.
- the pockets are nice and deep and stitched into both the side seam and the waistband so they aren’t flopping around.
- the dart in the bottom of the leg gives them a slight balloon shape, which I like. It might be too comical from a stiffer fabric, but it works in this one. The extra room around the knee (since I shortened them) makes these feel really practical and movable.
- Style Arc lets you purchase a pattern in a single size at a slight discount and when you download the PDF it includes the sizes one up and one down from what you chose (14/16/18) which is great if you need to grade between sizes or tweak the fit.
Things I didn’t love:
When I read the pattern reviews, several people mentioned that the instructions for attaching the waistband were dumb. I have to agree. I did it differently on this pair and I will tweak it a little more on the next pair. I didn’t change much about the waistband itself, I just stitched it in a different way.
iTokri fabric
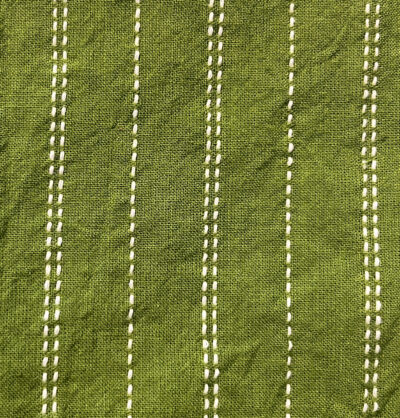 I got really frustrated recently about being able to find clothing that wasn’t 100% polyester. I just don’t like to wear it and I won’t buy it anymore. So I took a chance and ordered some fabric from a place called iTokri in India. This piece was from my second fabric order and this green jacquard was just $5/meter. It is my absolutely favorite shade of green and it has a woven in stripe of creamy white.
Ordering from iTokri isn’t like working with an American company. There are tariffs and the receipt is shown in rupees so there is some currency conversion and you don’t know exactly what the total is going to be. But they ship things super fast, they are packed carefully, they have great communication, and I have been really happy with both of the orders I have placed. The tariff amount turned out to be $17 from the shipping company and about $9 in tariffs on a $150 order.
Their website says to hand wash the fabrics, but I am not going to handwash pants, so I threw it in the washer and dryer and took my chances. It washed up great; no regrets. I have another piece of cotton jacquard in a kind of olive/brown with a charcoal stripe that I will make into another pair just like this.
The Day After the Art Show
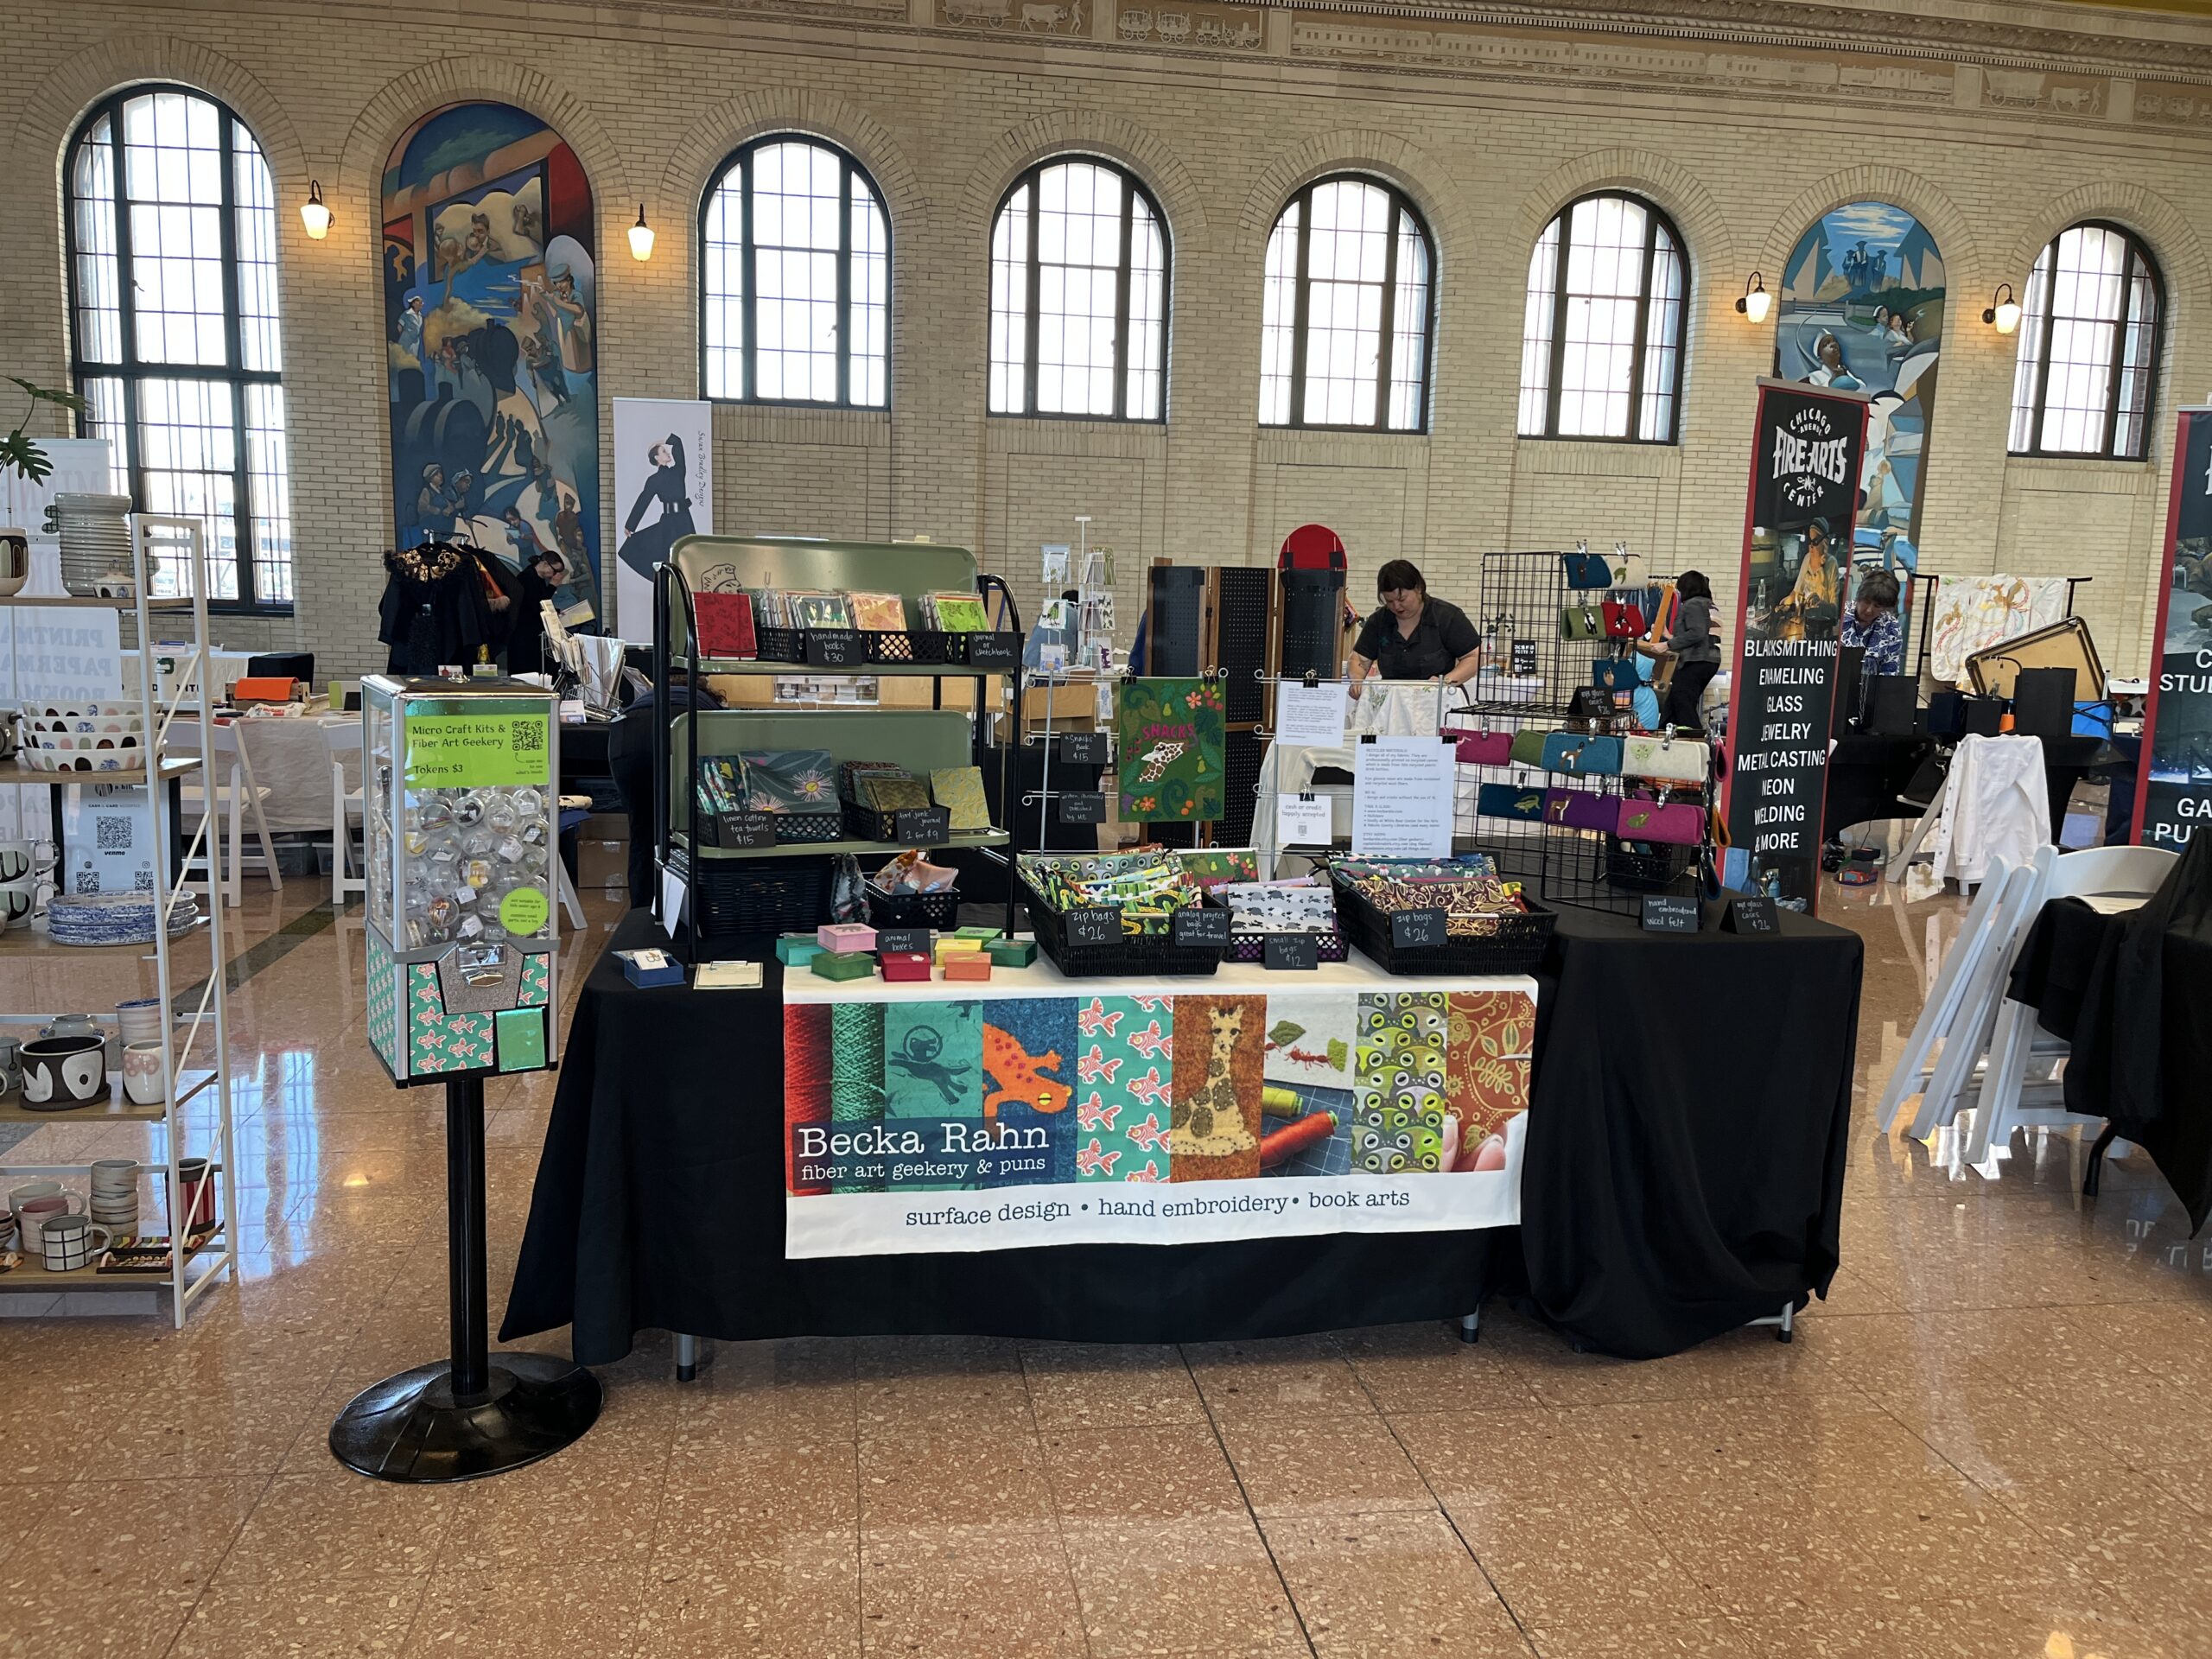
I’ve seen dozens of posts with people talking about how to get ready for an art fair: what to bring, how to set up, how much inventory. But I don’t think I’ve ever seen a post about the aftermath and that’s what I was doing today. So I thought I would talk about it.
First is the tear down. That actually happened yesterday right after the show. When I set up I have everything super organized and put in specific places. But I will be honest, by the time it comes to tear down, I have accumulated things that don’t have a home anymore. Sometimes it’s things I’ve bought. Sometimes, its things that people abandoned at my booth, like other people’s business cards or event make-and-takes, that I don’t want to throw away in case someone comes back for it. And I am tired and I just want to go home. So tear down means I will have a little chaos to deal with the next day. There is a whole jenga system about loading up the rolling cart with bungee cords and fitting it all into my car that only I know. (The results of having helpers for tear down have been comical and not as helpful as one might think.)
 We have a new system at our house for loading and unloading the car for shows: Olive goes for a walk. It is very difficult to load and unload bulky boxes of things with a puppy underfoot, so instead of my husband helping me unload everything, I unload the car and he takes the dog to the park.
Once the car is unloaded, I tune out until the next morning. Spending the weekend doing a show is exhausting. It’s hard on your body: standing on concrete floors and carrying all the things all the places, not getting to eat more than snacks because it’s what you have time for. It’s mentally exhausting to be “ON” for 12 hour days: chit chatting, smiling, answering questions, being aware of your surroundings and what customers are doing, looking engaged. It’s loud. (This last show I did was especially loud). By the time everything is unloaded into the house, I need to check out in every way possible. That usually includes a very long, very hot shower for me and then watching dumb instagram videos for a while. There are people who like to go out and have dinner and all of that after a show day and I am not one of those people.
Clean Up
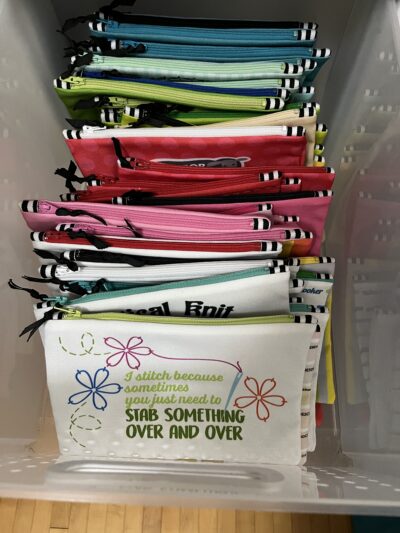
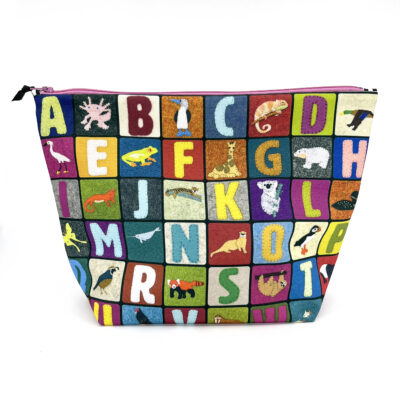
Monday morning is putting everything back to rights. First, I put away all of the drawers. I store and transport about 90% of my stuff in stacking drawer units, organized by item and then by color. So all of my small zipper bags are together and I put them roughly in rainbow order. This is the same inventory that I sell in my Etsy shop and I remember things by color so that makes it the fastest for me to pull things for orders later. So the first step is reordering everything in the drawers and fishing out all of the extra stuff. This time the extras were a print and a pair of earrings I bought and a couple of totebags that were a giveaway at the event.
Inventory
Next I do inventory. I sit on the floor with my laptop and check everything against my Etsy shop inventory. I don’t have my shop and my Square linked. (Although you can do this, I find the cons outweigh the pros of doing that.) If a show is slowish, I will manually remove things from my Etsy shop as they sell if it’s something one-of-a-kind. I used to put my Etsy shops on vacation mode on show weekends and I just decided that also had more negatives than positives and if someone ordered something in the 12 hours between when I sold it at a show and I removed it from my Etsy shop that I would just deal with the consequences. (It’s not yet been an issue.) I also check inventory because things get shoplifted or misentered into the checkout. It is much less common in the last few years than it used to be for me, but I always find things that don’t quite match.
Shop Updates
 As I inventory I pull things that are new. For most shows I have new items that I bring with me. Anything that doesn’t sell at the show gets listed in my Etsy shops. I don’t bother to photograph them all before the show because I don’t need photos of things that are already sold.
Today it was about 5 new bag designs, a bunch of animal eyeglass cases and two new books. (I sold a lot of handmade books at this show which was a delightful surprise for me.)
So next I take photos of all the new things and update or create new Etsy listings. This isn’t something that I need to do right away, but I have found that people sometimes look at everything at an in-person show and then pop in and look at my Etsy shop later in the week or follow me on Instagram. I like to be able to post the new things in case they were kicking themselves for not getting it at the show.
Housekeeping
Next I do admin tasks. Often I have an note with someone who I promised to email something to. Sometimes it’s a follow up to a custom order like “Will you make me an eye glass case with a narwhal?”
- I add anyone who signed up on my “add me to your newsletter” list.
- I usually post a thank you to everyone to came to see me at the show. (I haven’t done that one yet today, but it’s on my list. If I saw you this weekend – THANK YOU!)
- I initiate a deposit from my Square and Venmo accounts, because the money will just sit there if I don’t transfer it to my business account.
- I pull the large bills out of my cash bag, so I don’t accidentally take them to another thing.
- I wash my tablecloths.
- I reorder things I might be out of like shopping bags or tissue paper.
- Mending. I noticed one of my display pieces has a little rust on it so I will sand/WD40 before I forget about it completely.
- I clean my studio table because last minute prep always leaves a huge mess of updated signs and odds and ends.
Evaluation
After all of that, the show finally feels like it’s put away for me. In a couple of days, I expect I will see an evaluation or request for comments from the show organizers. I usually spend a little time evaluating as well on my own metrics.
- I look at new followers on social media (this weekend resulted in +2 and one was my booth next-door-neighbor).
- I look at items sold one year vs another. This weekend was a new show for me, so I didn’t have any past records to check out.
- I look at booth fee vs sales.
- I think about traffic. Who was in the room? How busy was it? Were they a good fit for my stuff?
- I look at “did this result in any new opportunities for me?” like new shows another artist told me about or someone interested in having me teach a class.
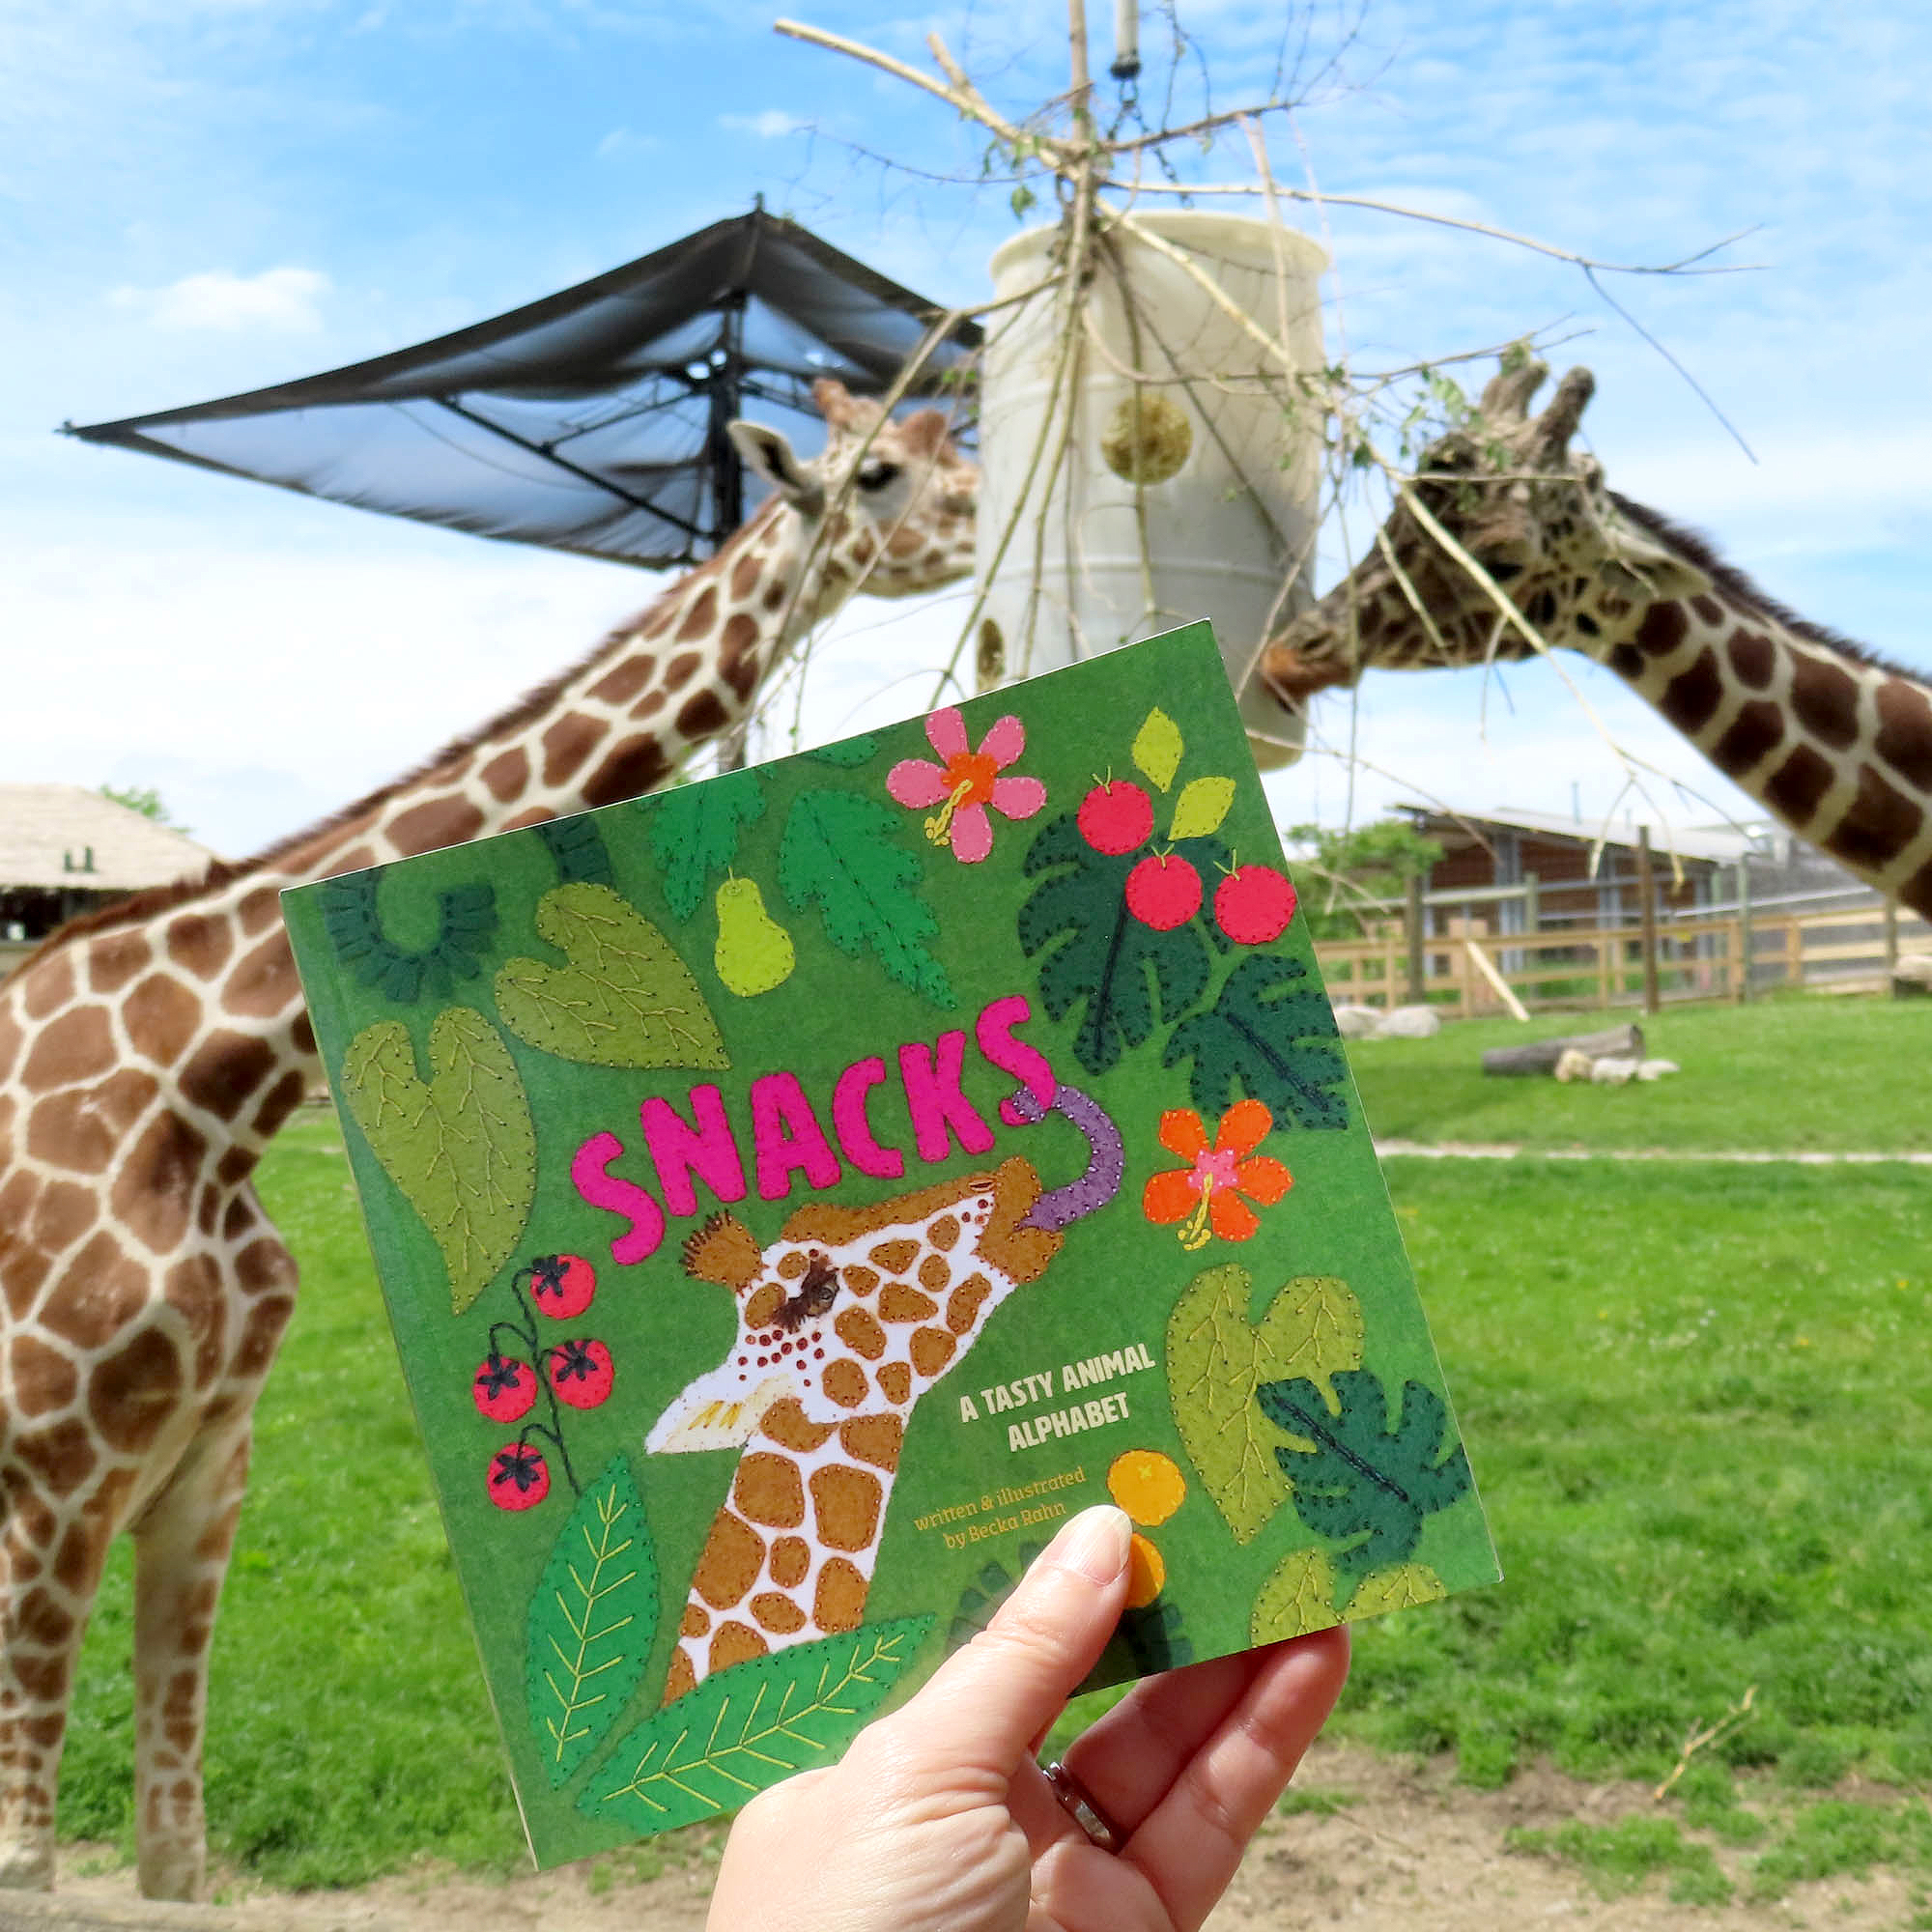
This weekend’s show was really middle of the road for me; not the best and not the worst. It definitely didn’t meet my expectations in some ways and was a delightful surprise in others. I met and connected with some new artists which I think was really great. I had some great conversations with people that knew me from other places (like students in classes) which I always love. I got to autograph a Snacks book for a friend’s kids. I felt like this audience was a great match for what I was selling, but they just didn’t get enough people in the door. It was under-attended, which was a shame because I felt like it was a really great vibe and fusion of artists/art centers/demos and make-and-takes/snacks/activities. It was more than just shopping.
Napping
I’m only half kidding about this last point, because I do always feel like I need a nap the day after a show. It’s a let down in a lot of ways from that flurry of activity and I LOVE talking to people about my work. The next day alway feels pretty sleepy in comparison. These days I usually do at least some of the admin tasks with a puppy in my lap because she missed me. Tomorrow I’ll get back in my regular routine of what needs to get done and what’s next on the agenda.
Fabric Review: Spoonflower’s Seersucker
I am just going to come right out and say it: I think this might be my favorite Spoonflower fabric for clothing. I had ordered several pieces of seersucker after they introduced it about 2 years ago and even wrote an intro post when I first ordered a swatch but this is the first real project I’ve made from it.
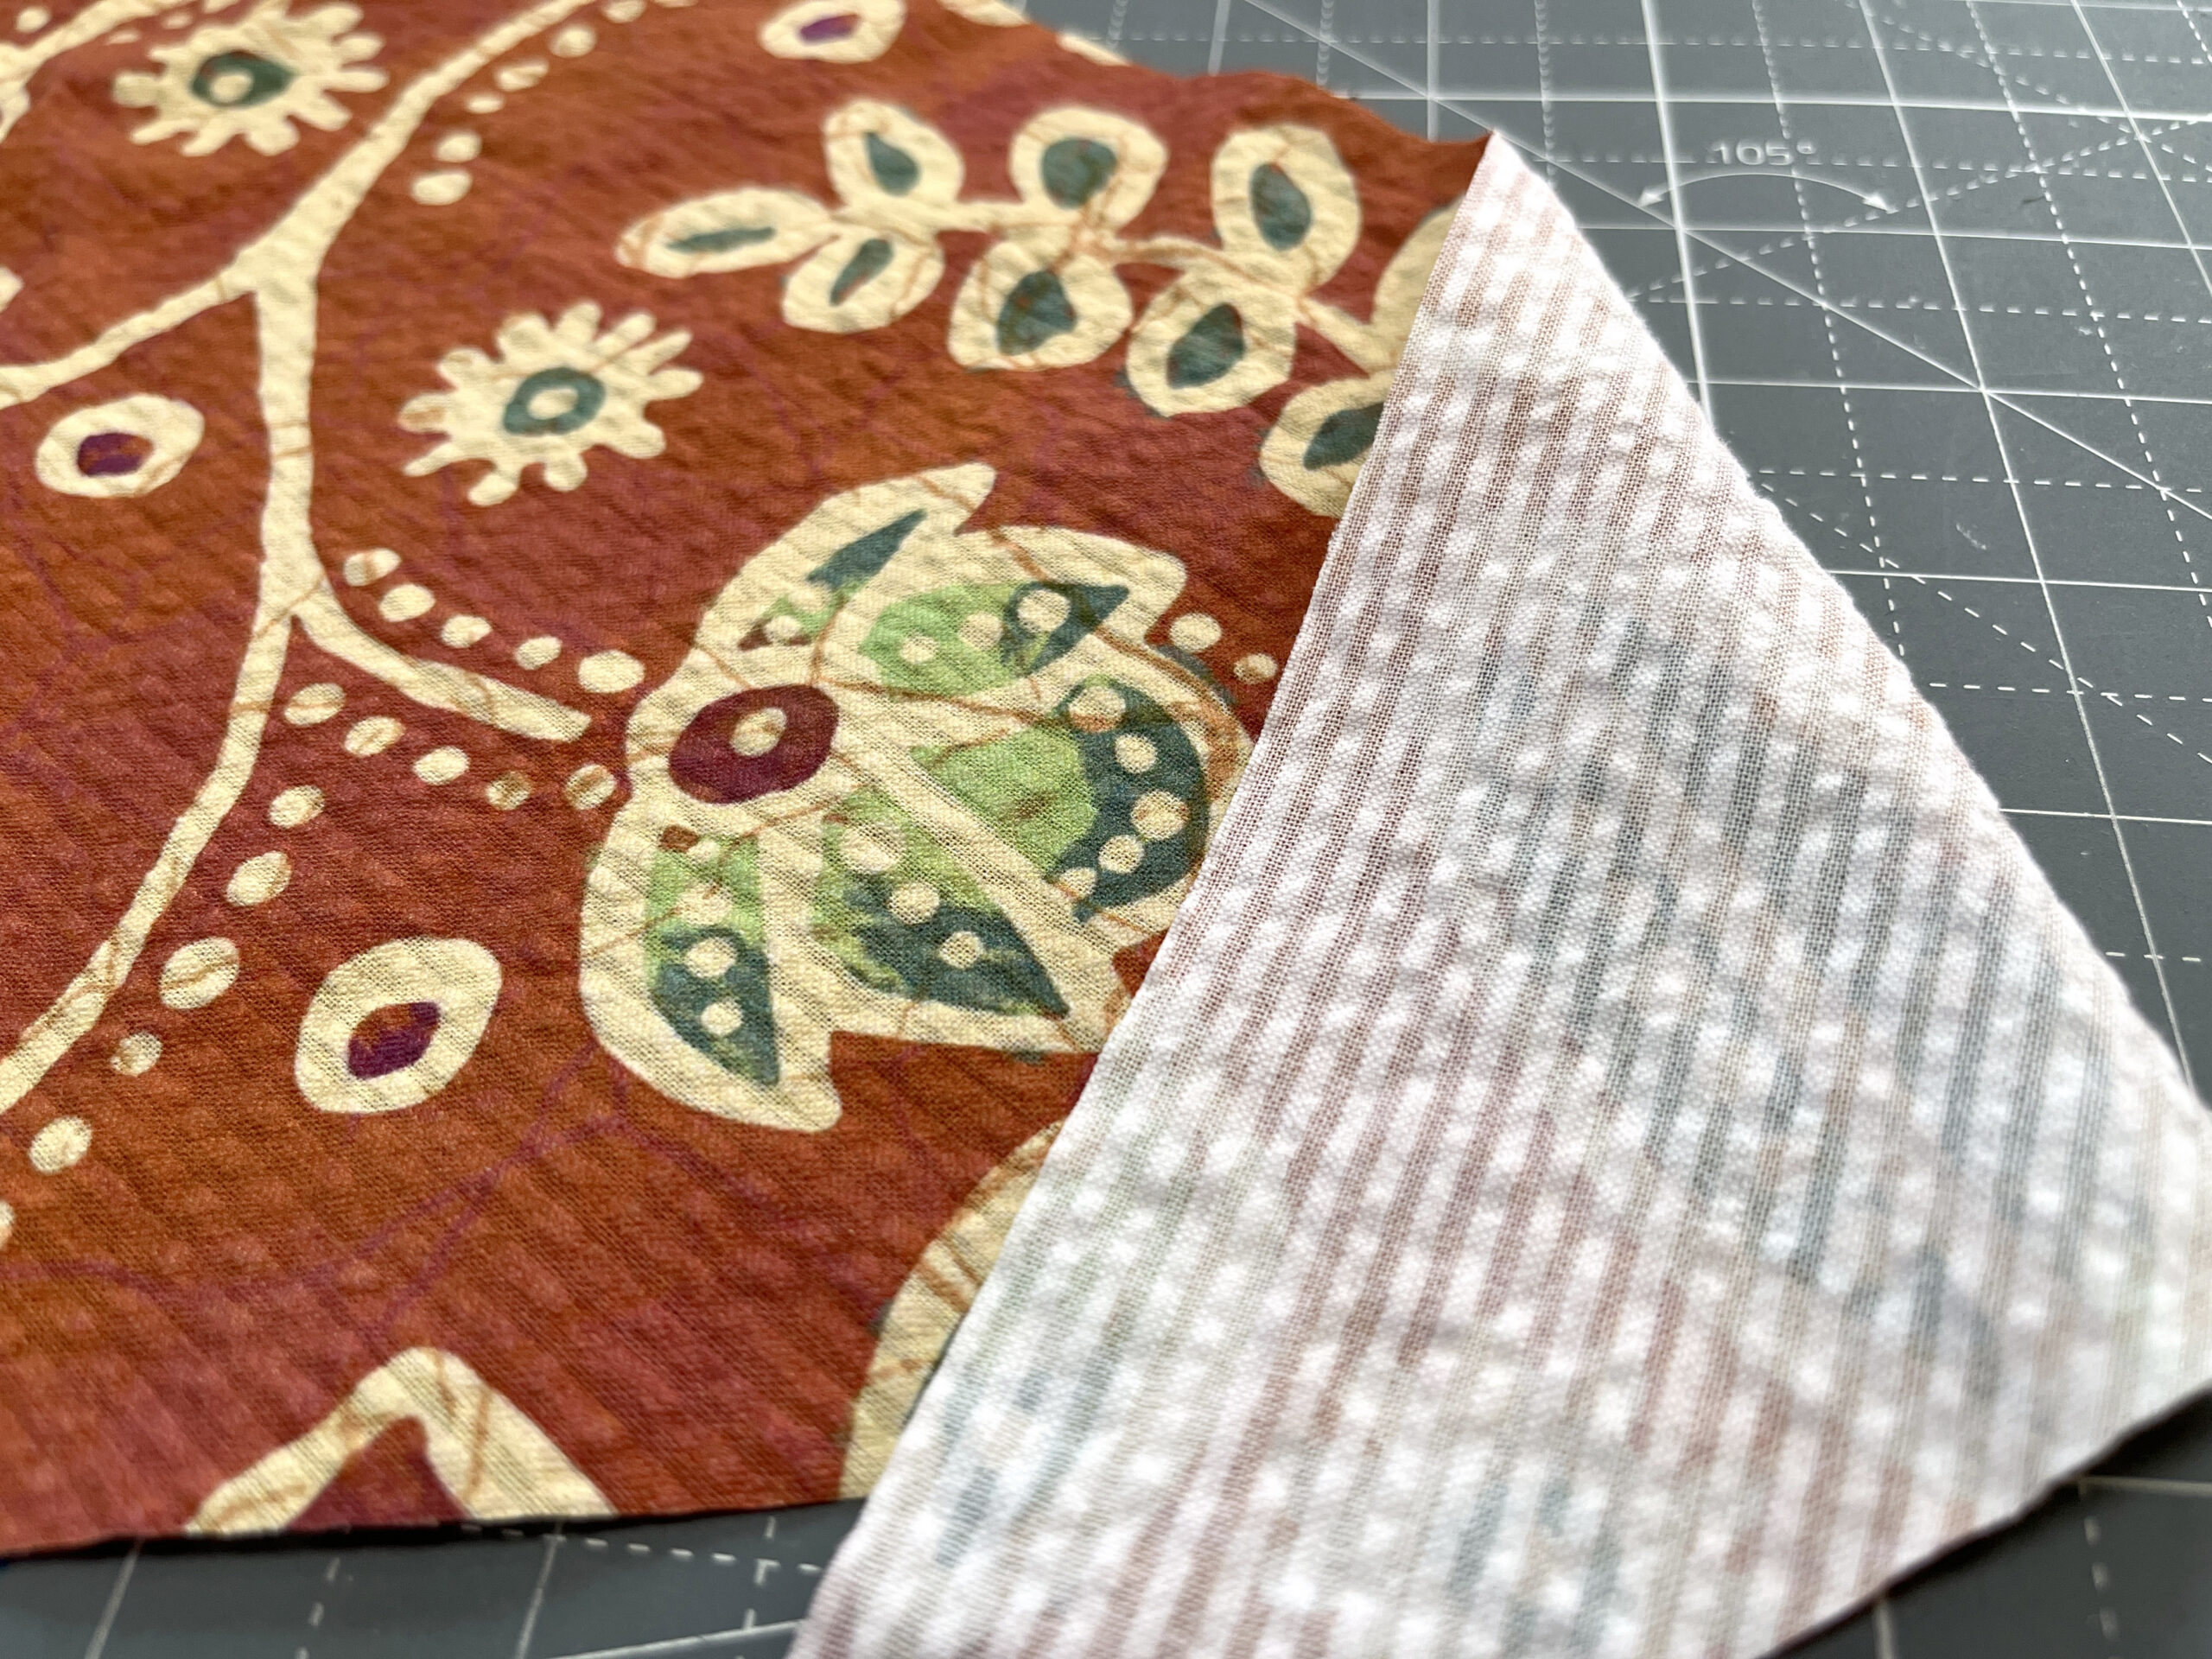
The print quality is crisp and vibrant. I think the one caveat about this as a fabric is that the design you choose has to lend itself to being layered with that narrow stripe texture of a seersucker. I don’t think a strong geometric print might look as nice with the texture lines fighting with the design lines. But this batik style floral is perfect. (This is one of my designs called Nutmeg.) The fabric washed up beautifully with very few wrinkles and little fraying at the cut edges. It pressed well when I was sewing it. It’s not a super drapey or flowy fabric because that texture gives it a little body, so that’s something to keep in mind when choosing a design to make. Why is it my favorite? Seersucker is really designed to be a clothing fabric so I think it looks more sophisticated than something sewn with quilting cotton. I’ve talked before how I don’t love how the cotton lawn and poplin fabric wrinkle easily and feel too crisp for the kinds of shapes I like to sew. This was a great fabric to match up with this pattern.
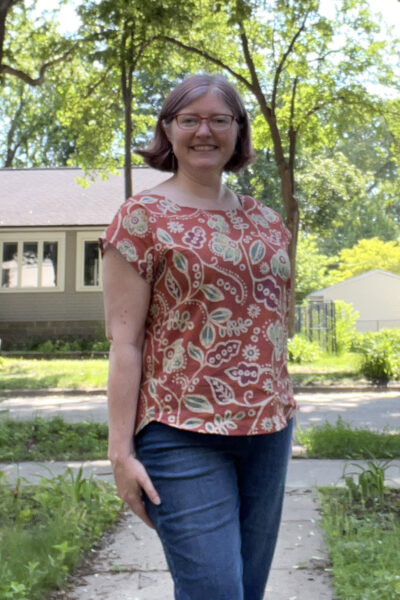 I made a top from a pattern called the Bondi Top from Sew to Grow. I love this pattern because it has only three pieces, which is great to show off a fabric print since you aren’t chopping it up into a bunch of smaller pieces. (I usually wear a size 8-10 and I made the size 12 in this pattern with no alterations.) I love the curved hem on this one which I think makes the shape look a little more put together than a plain t-shirt. The curved hem takes some patience to sew, but I used a bias binding technique I saw in this instagram reel for this one and it turned out perfectly. The back has a yoke piece at the top which you can do in a contrasting fabric. I’ve made several from this same pattern, so also played around with cutting that piece on the bias with stripes, adding some ribbon and hand embroidery to make that piece have a little extra detail. Because this fabric is a little extra wide (52″) I have enough scraps that I am going to also make a Bucket Hat from Betz White from the leftovers.

Kindness is a shade of purple.
As I was driving back from getting a haircut today, I was thinking about writing this post. It’s not really about art which is what I usually talk about here in the studio journal, but in a way it is about color and I think that makes it relevant.
My hair started going white when I was about 30. My dad has beautiful curly white hair and has for decades. (He looks like Santa Claus; I am not even kidding.) It was inevitable that mine would end up white and when I was about 40 I started to kind of hate it. Not because it was white but because it was just boring. I absolutely admire people who embrace the grey and let theirs go beautifully silver, but that just didn’t feel like me. I felt blah.
I am an artist. I love color. I almost never wear black or white, but my glasses are bright orange or turquoise depending on the day. I do not own any beige furniture. My hair has always been a mediumish boring shade of brown. (My mom’s a redhead and I am still mad the genes didn’t go my way on that one.) And in my 40s my hair was then a mediumish brown grey blah. So I asked my hairdresser to color it. She’s been doing my hair for about 18 years and I love her to pieces. So I just let her do some magic. Don’t get rid of the grey just make it more interesting.


I’m sure some of you are thinking, ok Becka so you dyed your hair. What’s the big deal? I’ve never done anything to drastically change my hair before. As a kid I had long Little House on the Prairie braids. When I was in highschool I cut a blunt bob. (That’s my senior picture on the right.) The fashion was long spiral perms and huge curled bangs, so I was not on trend even a little bit. It’s thick and straight. I never colored it, permed it, or even cut it in anything remotely interesting. Adding color was a big deal to me and I second guessed myself a little bit. Would it feel too fake and would I hate it? Nope. Loved it.
It would be a very boring story if it ended there. About a year ago, I sat down for a haircut and my hairdresser says “I have a brand new color and I don’t really know how your hair will react to it and I am curious to try it. What do you think?” I am pretty easy going about things like this generally and she knows it so I said, “Sure! Let’s experiment.”
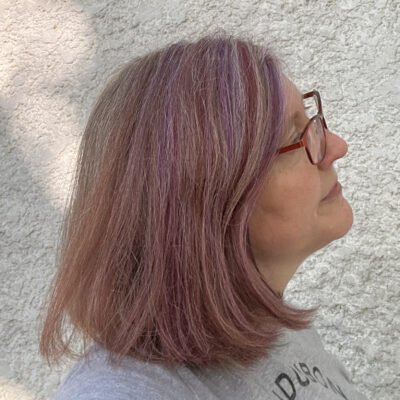
Friends, my hair was purple. Not burgundy or maroon or reddish. Streaks the color of grape candy.
When I first saw it in the mirror I was like OMG I love it. And then I immediately started to doubt myself. Was I a purple hair kind of girl? Did it look silly on someone who was 50? I felt self conscious and within half a minute I had kind of settled on “It will grow out”. I talked myself out of it.
 I LOVE wild colored hair on other people. Love it. It’s art and it’s fun and it’s powerful. Know that if I’ve seen your neon green or pink stripes, I have thought you are a rock star. And that’s kind of the point of my post. I hardly ever tell someone, “wow I like your hair” but I should do it more.
So the next week, I had purple streaked hair and a bunch of classes to teach in person and I was still feeling a little unsure of the whole look. But then some random people out in the world made a couple of simple comments. One student picking out threads said “ooh I love this color. It matches your purple hair”. And someone else said, “Your hair is so cool. I love how the color is so subtle but still fun.”
And those were really just a tiny something said in a moment to a stranger, but they changed my whole attitude. It was like by hearing them say “I love the color” then I could say “I do too.” Now I love the purple. I look forward to haircut day when we “re-purple”. The streaks fade and kind of blend in over a month or two so if you see me out in the world, they won’t always be as vibrant. But I know they are there.
I didn’t pick purple. Purple is not even close to my favorite color. But something about purple and kind strangers was exactly what I needed. And that’s why I’m writing this post. Because you never know when saying something as simple as “I love your hair” is exactly the thing that someone needs to hear.

Hi, I’m Becka.
I’m all about sharing what I know and giving a real look at the creative life—both the art and the business side of being an artist.
I teach online and in-person classes covering embroidery, handcrafts, fabric design, creative technology, and practical artist business skills to help makers grow with confidence. I’m also the co-author of The Spoonflower Handbook and a Skillshare instructor.
When I’m not teaching, you’ll find me creating books, exploring paper art, and diving deep into all things fiber art (with a healthy dose of creative geekery).
Shop my art

Get my new book
Featured Video Class
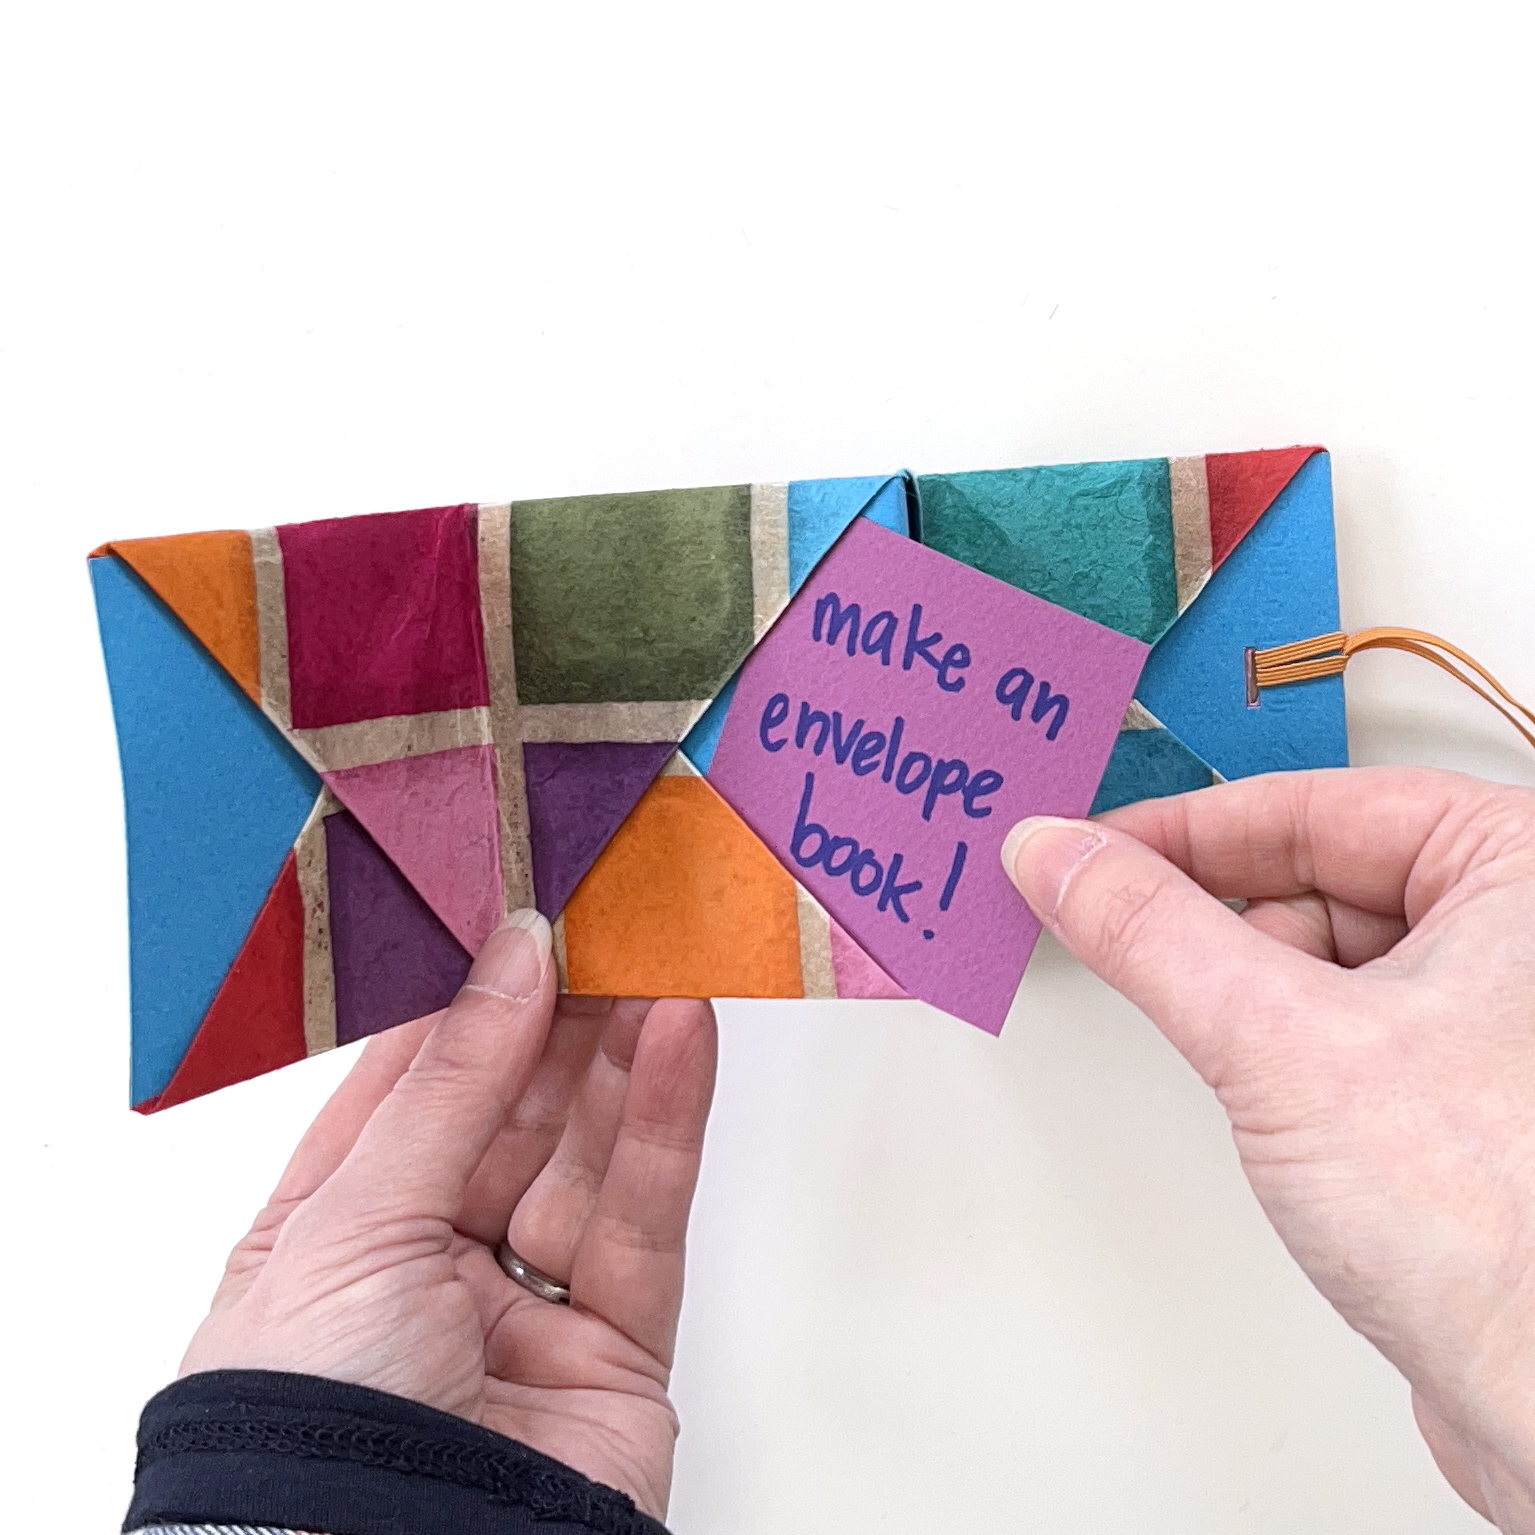
Envelope Book
Latest Art


Densie says:
Heather Willhite says:
beckarahn says: