Upcoming Classes & Events
Blog
A Day in the Life of an Artist: Thursday
Want to listen instead of reading?
Thursday.
Today was another round of tea, dog games and answering emails. This morning was a bit of a computer day. I spent a while taking the class outline I made yesterday and fluffing it out into lessons with bullet points. I’ve got it broken up now into the lessons and the main goals for each one and lots of notes for things I want to mention. I don’t ever script out my lessons, but I always work from bullet points. I’ve learned I don’t teach well from a [read more…]
A Day in the Life of an Artist: Wednesday
Want to listen instead of reading?
Wednesday.
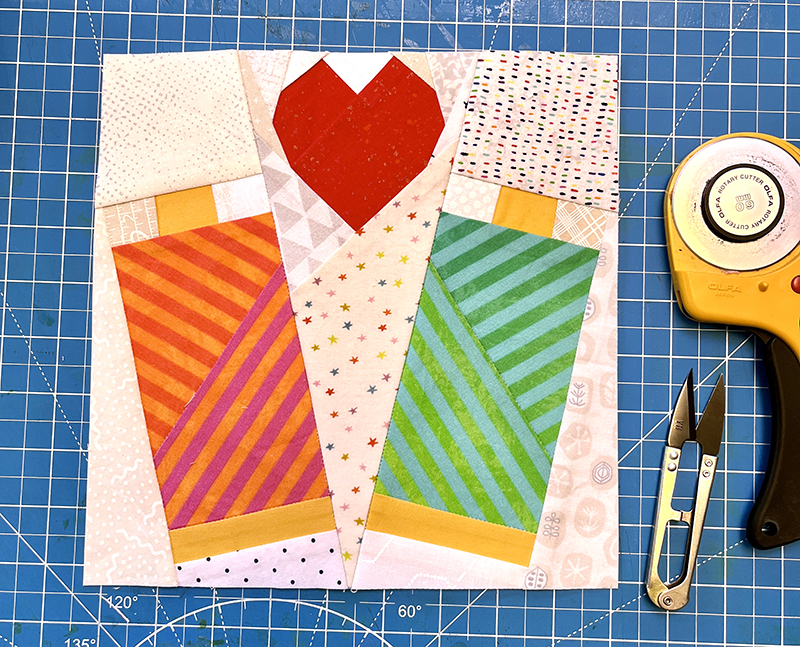
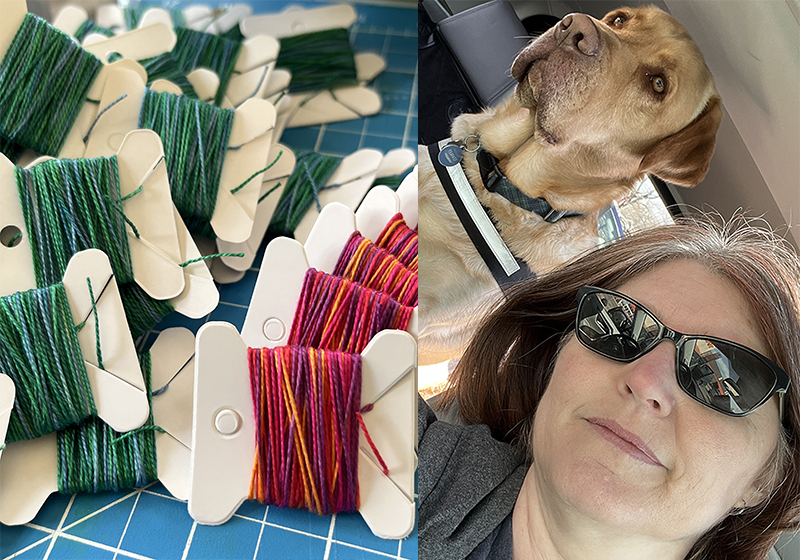
Today also started with tea and puppy snuggles. Then I ran a few errands to the post office and Michaels. I signed up to participate in a quilt block swap and I mailed off my pieces this morning. I signed up because I wanted a reason to sew something just for fun and not for work. But it turned out to land right in a couple of busy weeks and it stressed me out a little bit. So I am really glad they are done and out [read more…]
A Day in the Life of an Artist: Tuesday
Want to listen instead of reading?
In March there is a month-long Instagram event called “March Meet the Maker”, started by Joanne Hawker. Each day there is a prompt like “brand” or “product story” or “tasks” and you post something about your small creative business that fits that prompt and tell your story. I have participated for a number of years, but this year I just couldn’t get very excited about it. Maybe the prompts were just too much the same as things I feel like I’ve said before. Maybe it was a little [read more…]
A Mini Tutorial: Spoonflower’s New Proofing Tool
Spoonflower recently introduced a new proofing tool that works right in your Design Library. I think it’s great! I made a mini tutorial video to show you how it works.
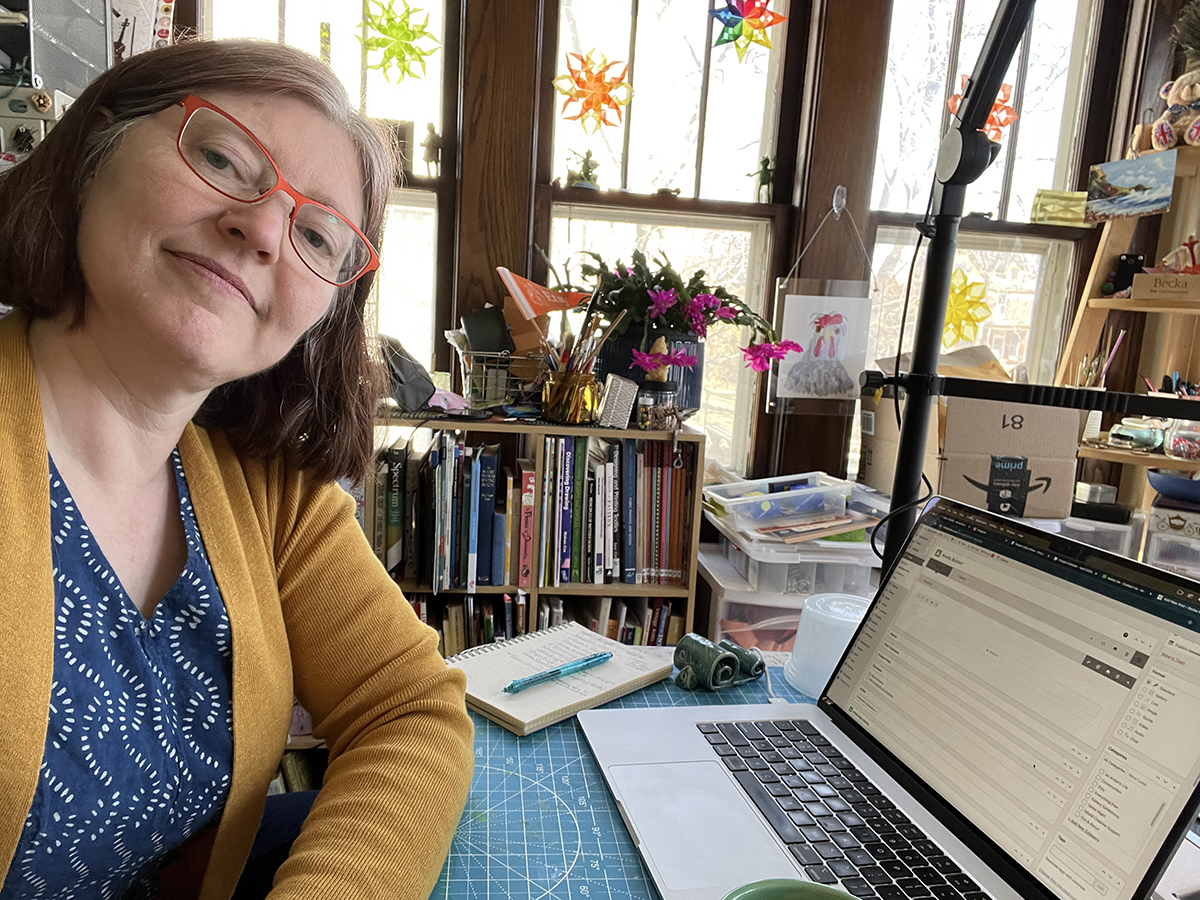
Hi, I’m Becka.

Talking about fabric design, Spoonflower, teaching, and the life and business of being an artist.
Teaching online and in person classes in embroidery, handcrafts, technology, fabric design and artist business skills.
Making wearable art and fiber art geekery.


Shop my art
Featured Video Class
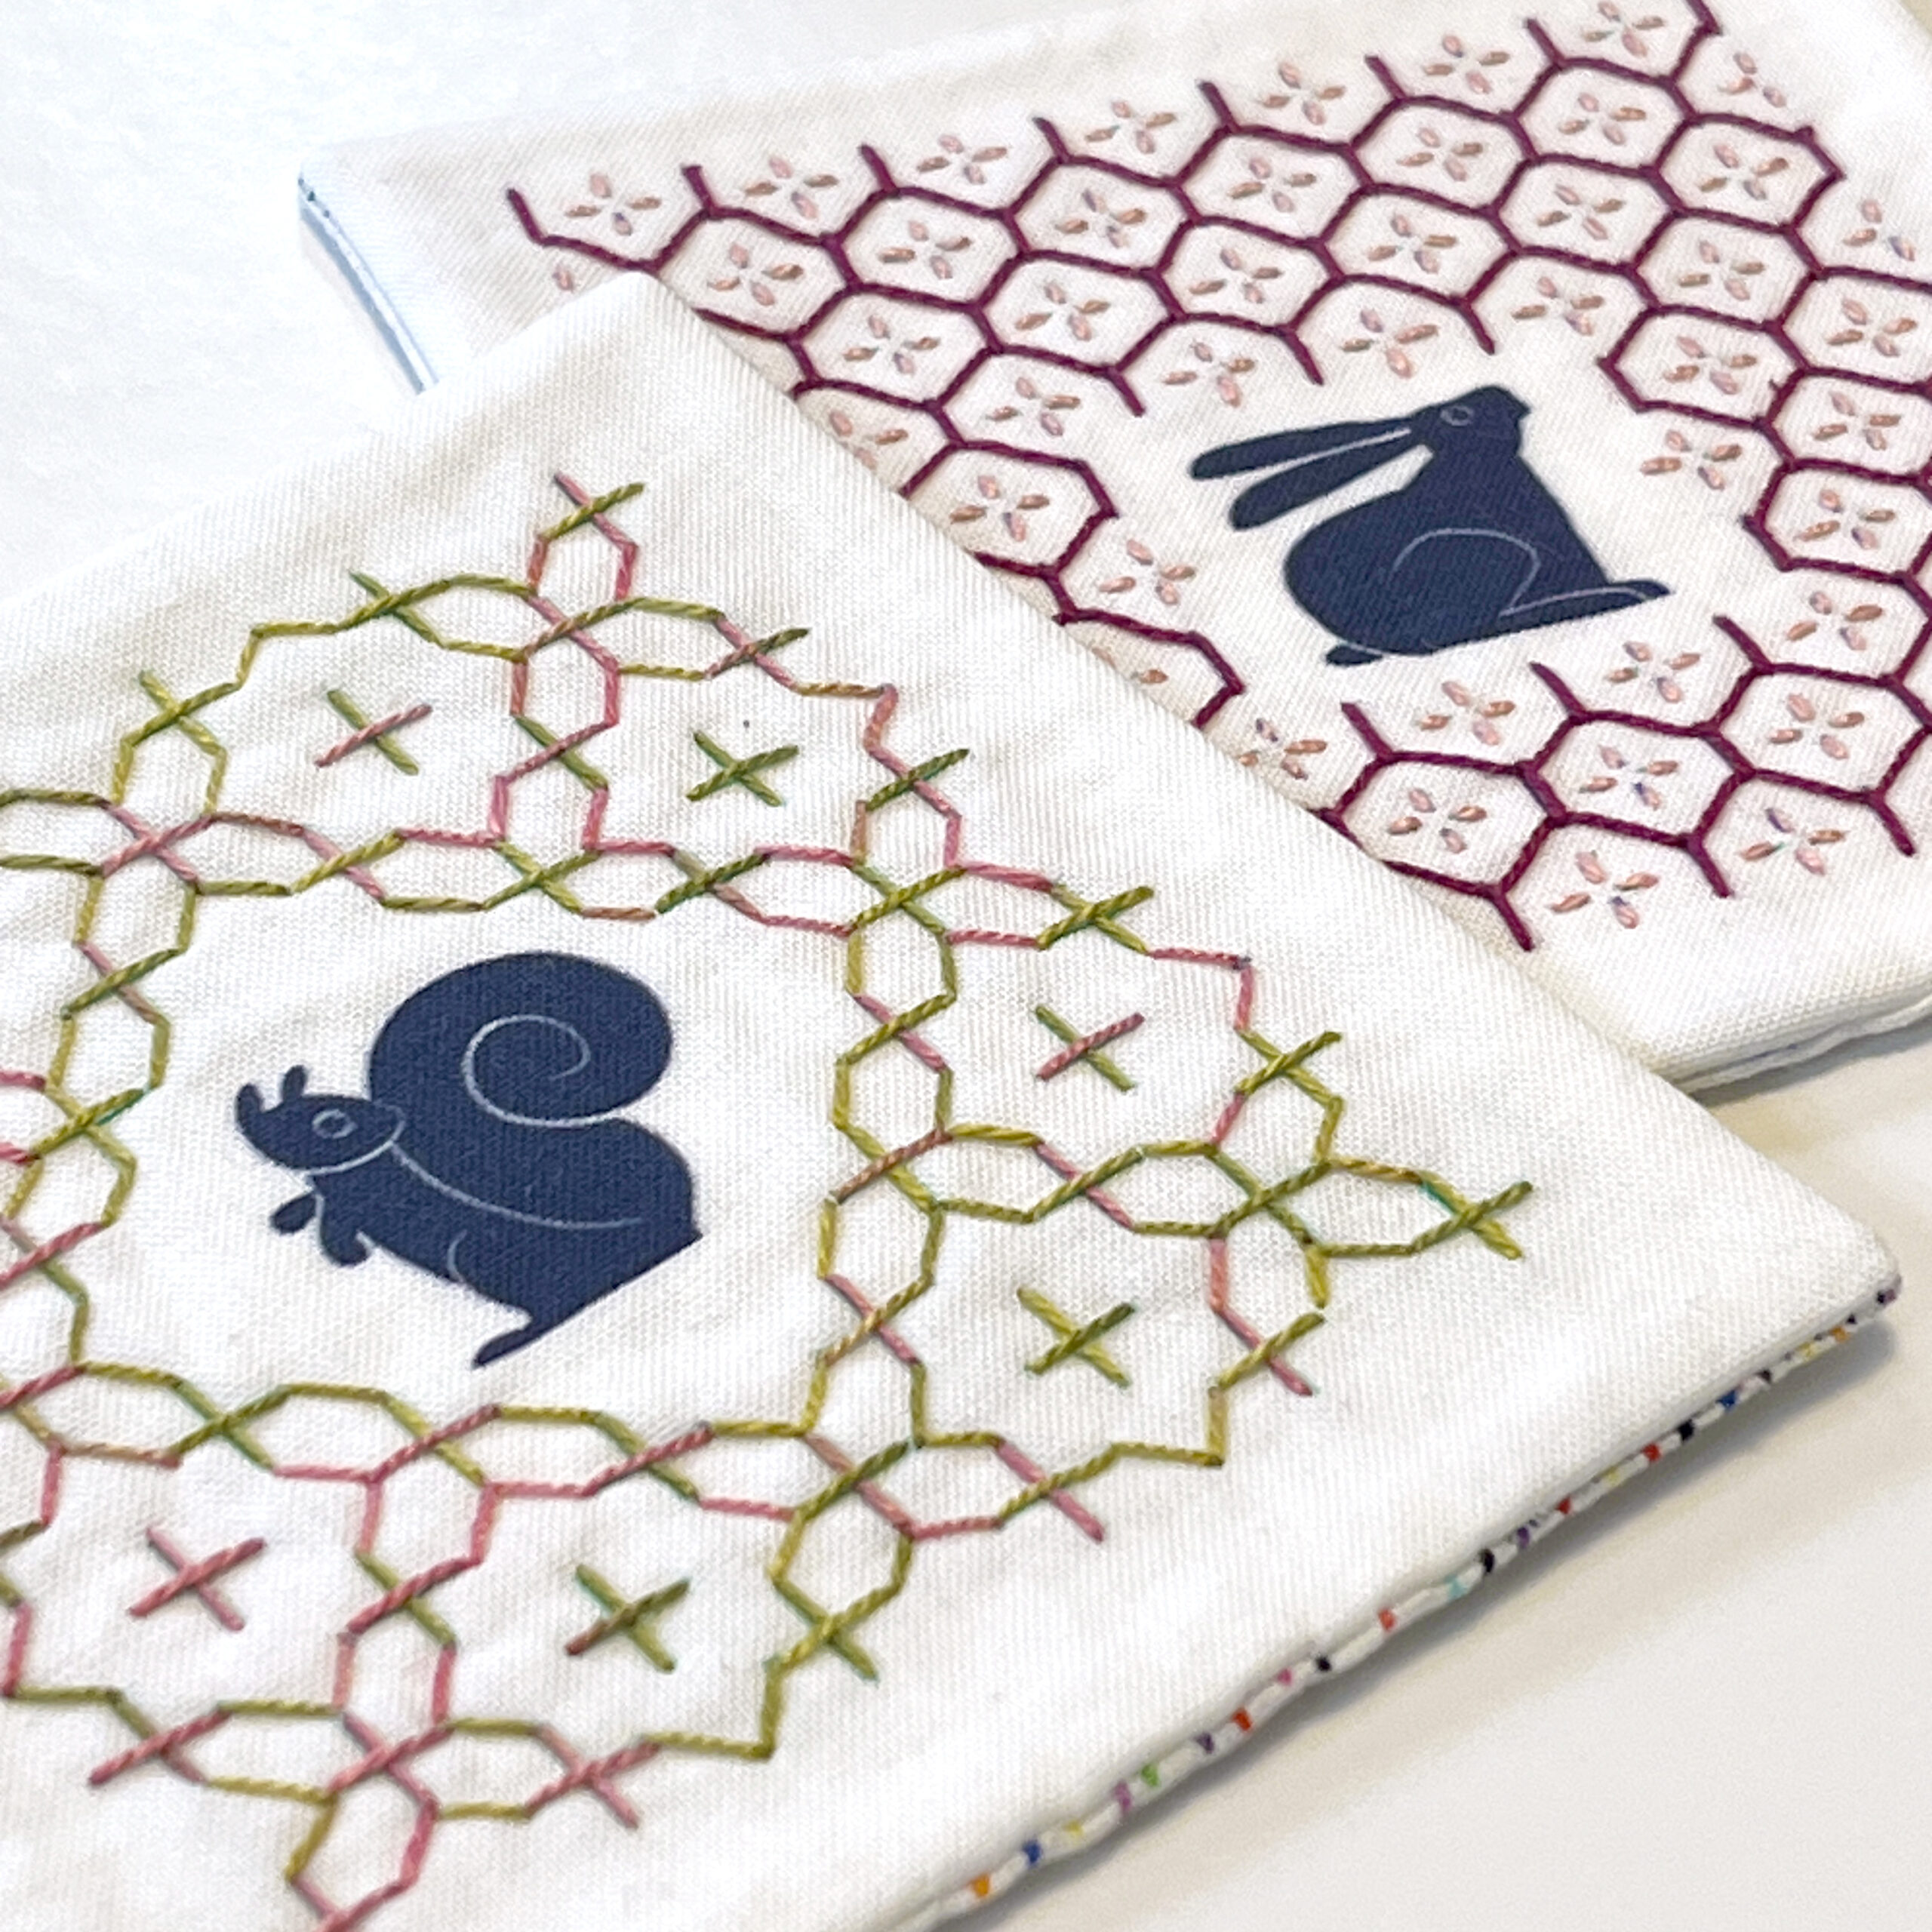
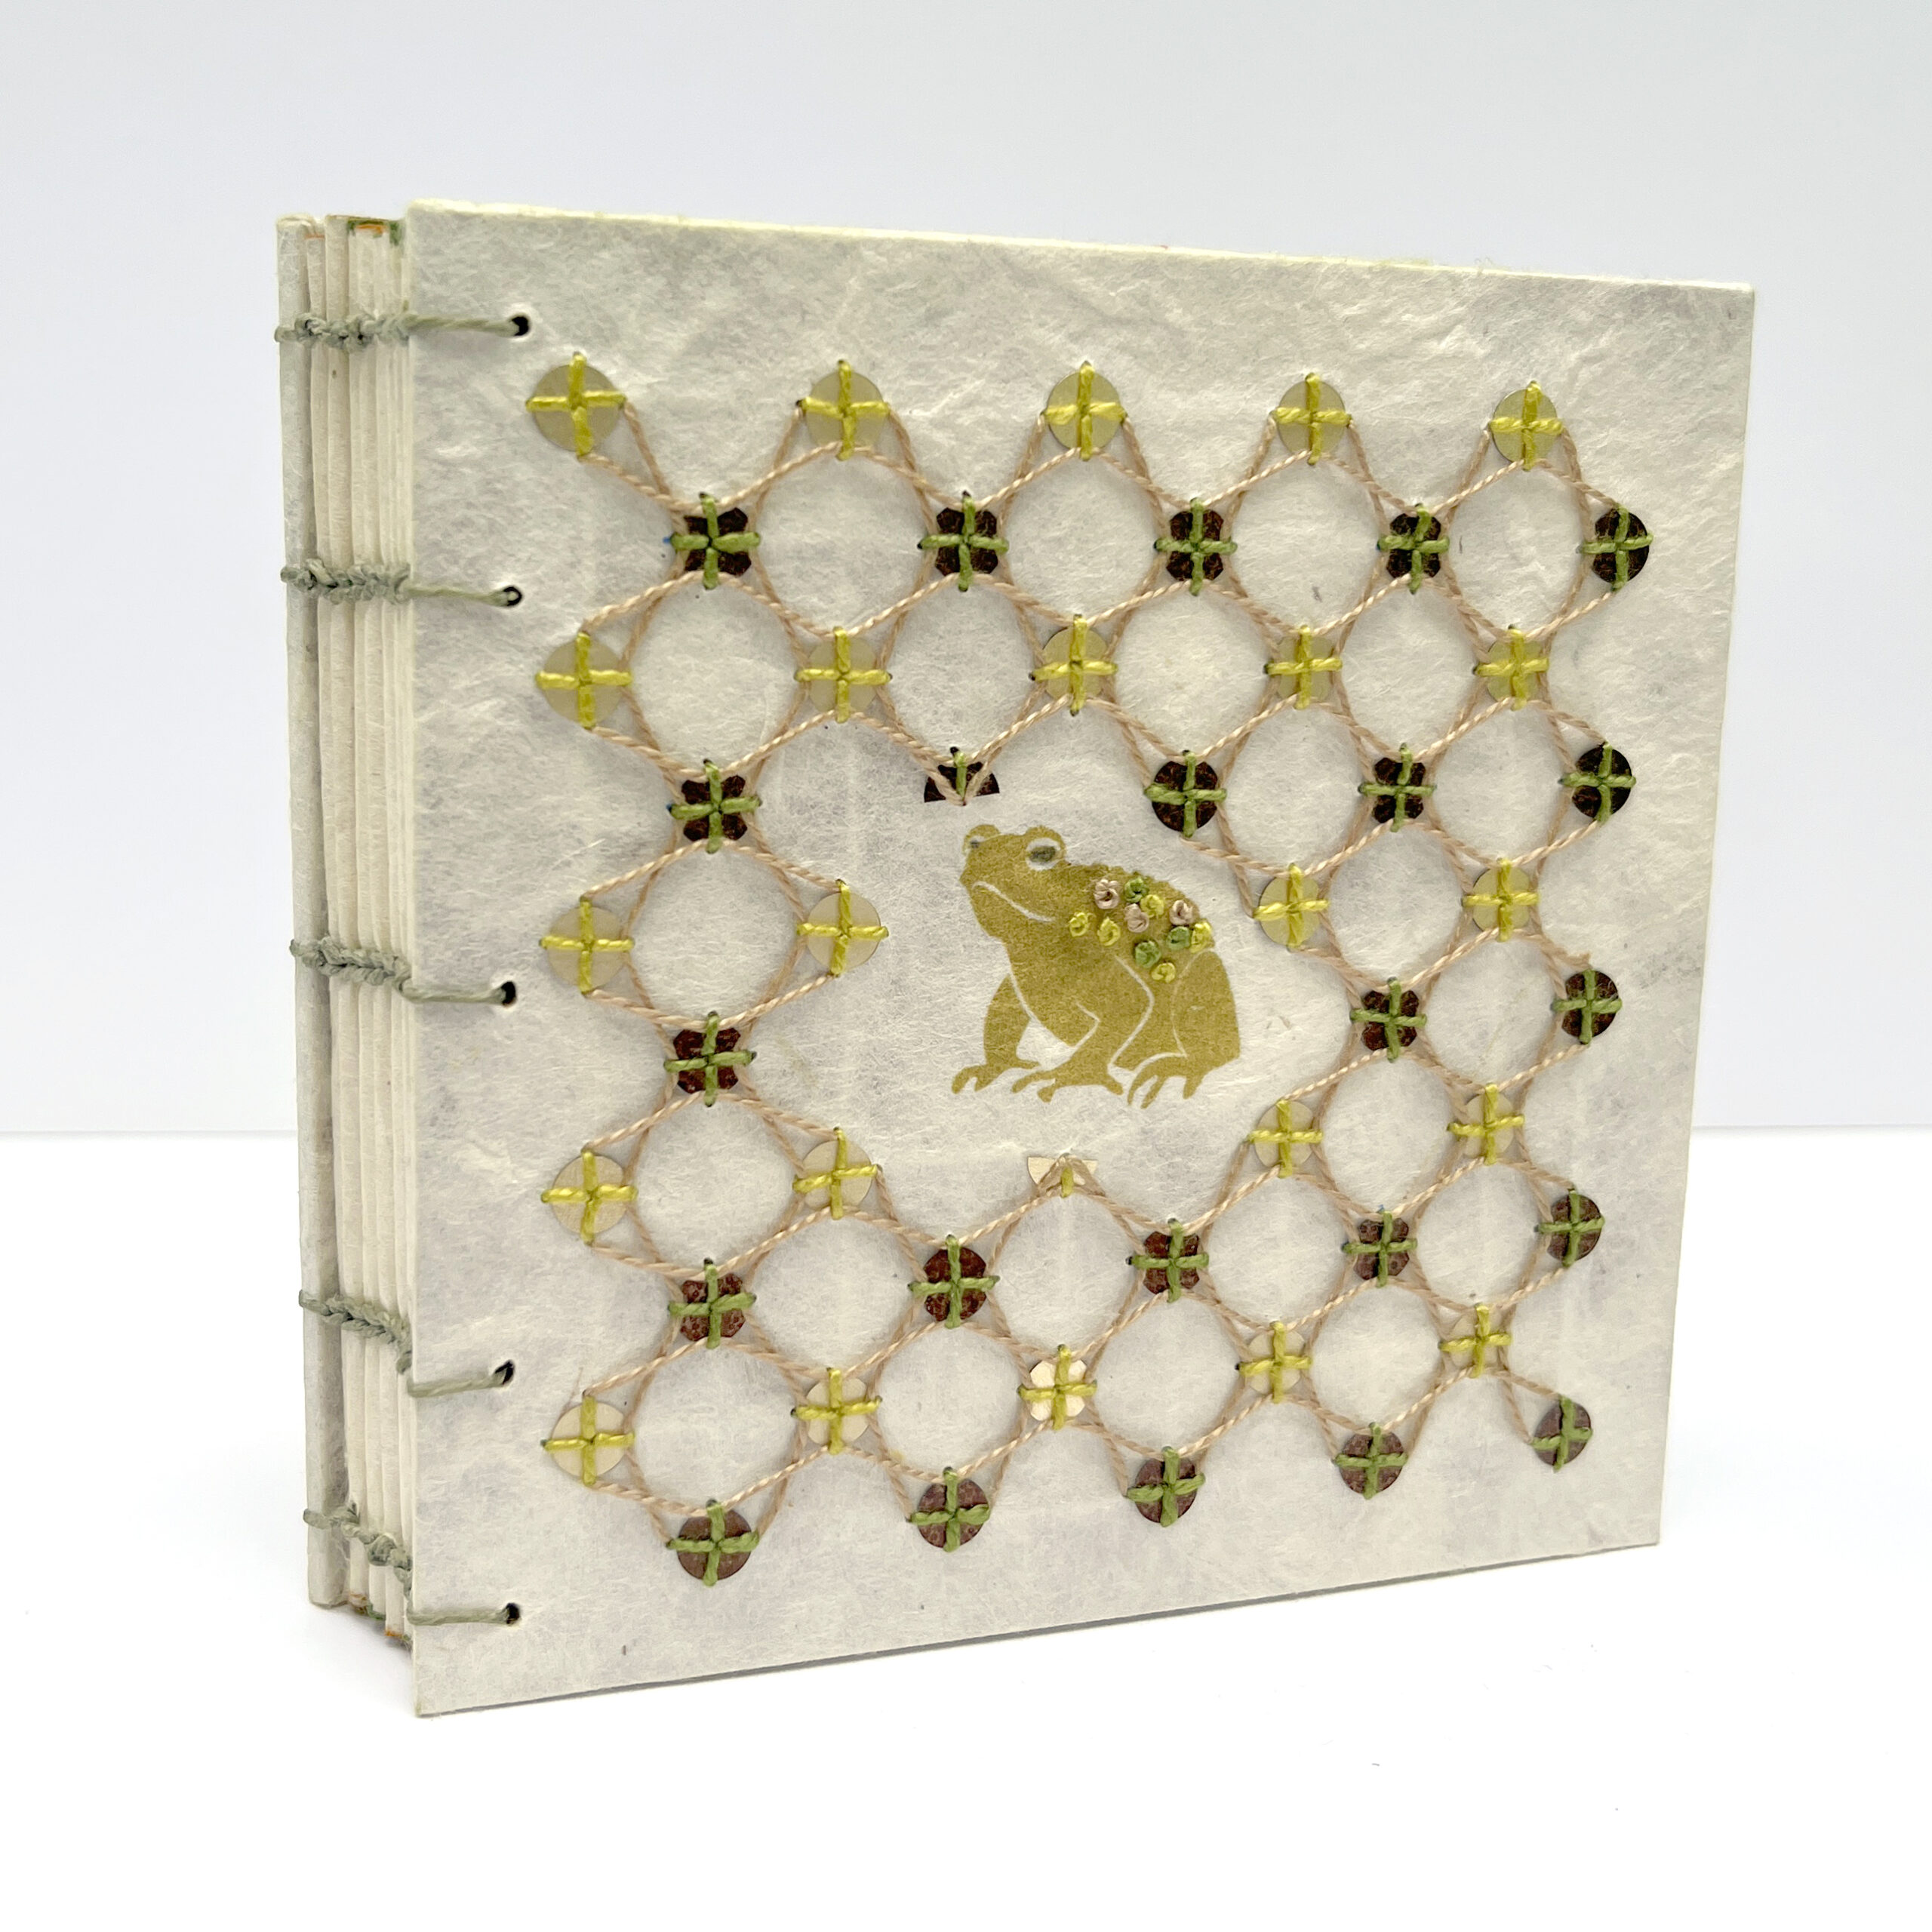
Sashiko Inspired Squares
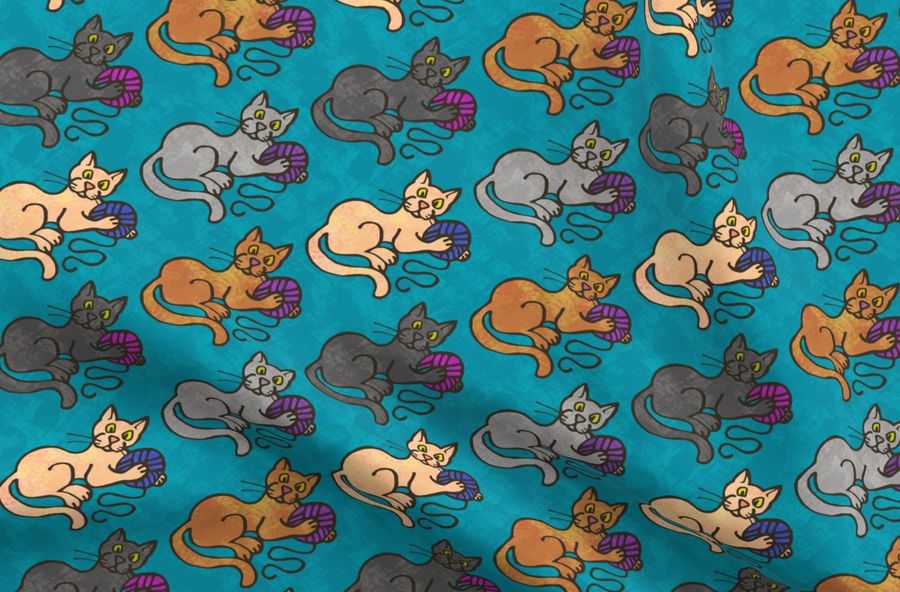
Latest Art