What you will need: scraps of fabric about 4 inches square (almost anything will work), scrap of batting , pencil, buttons, sewing needle, thread, sewing machine, iron, blank cards, scraps of colored card stock, double-stick tape or glue stick.
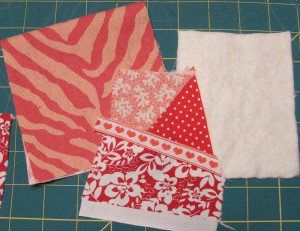
Start with your fabric (a piece for the front and a piece for the back) and batting. I have a plain tiger print (left) and I made a quick little piece of crazy patchwork by pulling some scraps out of my bin and stitching them together (middle) and a piece of cotton quilt batting (right). Felt or a scrap of polar fleece would work fine for batting too. (The photo doesn’t show the backing pieces.)
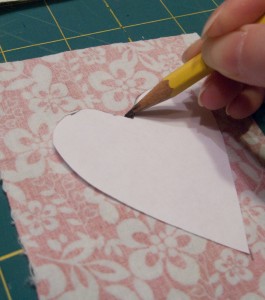
Draw and cut out a heart from scrap paper to make yourself a pattern. If you like slightly lop-sided hearts like I do, get your favorite kid or husband to draw it for you. Size depends on how big the card is that you are making. My hearts are about 3 inches tall. Put the pattern on the wrong side of your back fabric piece and trace with a pencil.
Stack up your fabric pieces in this order from top to bottom:
- Back fabric (wrong side/traced side up)
- Front fabric (right side/pretty side up)
- Batting
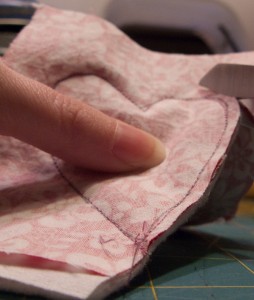
Stitch all the way around the heart, following your pencil line. (I hear you. Somebody said, “But you need to leave an opening to turn it right side out.” Nope. Just trust me, we get to that next.)
Trim away the extra fabric, leaving about a 1/8 inch seam allowance. Clip the dip at the top of the heart and trim off a little at the tip, to help it turn a little neater. You can clip the curves too if you want to.
Now, how to turn it right side out?
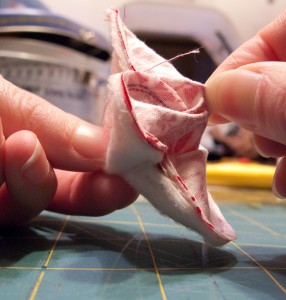
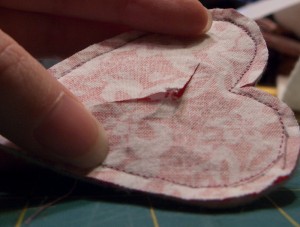
Pinch the layers with your fingertips and pull them apart so that you have just the center of the backing fabric. With a sharp pair of little scissors or a seam ripper, make a little slash through just that backing fabric. Don’t go all the way to the stitching line but keep it in the center.
Why not leave an opening in the stitching? I like how this way you get a really nice smooth stitched edge all the way around (no hand sewing), plus this backing part of your heart will be stitched to the card, so it doesn’t show.
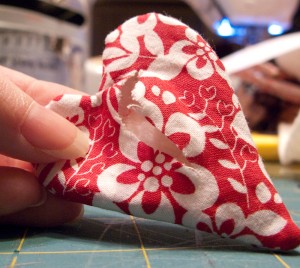
Use the slash you made to turn the heart right side out. With a chopstick, gently smooth it out then bring your heart over to the ironing board and give it a good dose of steam. (We’re looking at the back in this photo.)
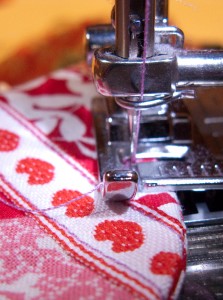
Now, quilt it! Stitch about 1/4 inch from the edge all the way around the heart. Do a second border of stitching or some doodles in the center of you like. I like to press it again after this step.
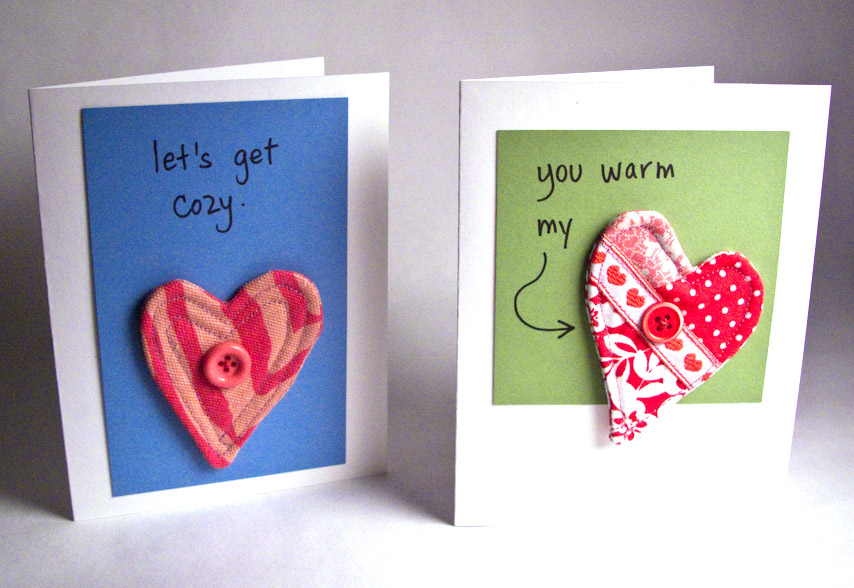
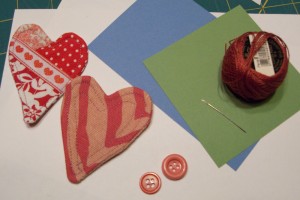
Now it’s time to assemble the cards. Choose a quilted heart, a button and a scrap of card stock. I used some recycled card stock from a holiday project. Using embroidery thread, stitch through the heart and button to attach them to the card stock scrap. I like to make mine off-centered. Tie a knot on the back to hold everything in place.
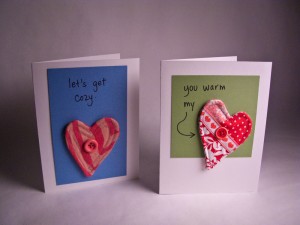
There are two quilted hearts stitched to their card stock scraps. Now to finish them up. Use double-stick tape or glue to attach your quilted heart/colored card to a plain card. Write a message if you want to or leave it blank.
Happy sewing!




Very cool! I am going to have to try this!
After making your laptop sleeve, I had to look you up…and now I’ve got an idea for making my husband a Valentine!!
Check out my sleeve: http://sewbeans.blogspot.com/2010/01/dog-gone-good-sleeve.html
…too bad I didn’t come here earlier for the dress-up clothes!
These are so cute. I think these would make great cards to give to great-grandparents from the kids.
Your creation is so cute! I especially like the idea of using a button to attach the card. You’ve got me thinking about how I can use this technique for other projects. Thanks!
I think they would be cute as Easter cards too. Make a bunny shaped quilted piece and use a button for his nose to attach it.
Very nice! I just used your tute to make my hubby a last minute card. Thanks!