

Last week I spent a day at the MN State Fair demonstrating mending. Well, it started as demonstrating mending, but watching someone stitch a hem is about as much fun as watching paint dry. ReUseMN, the organization that was sponsoring the demos is all about reuse and repair and each day they had a different group showing how to fix up something. I had brought a bunch of little projects with me, but I needed something that would draw people over. So I started “mending” a t-shirt with reverse appliqué.
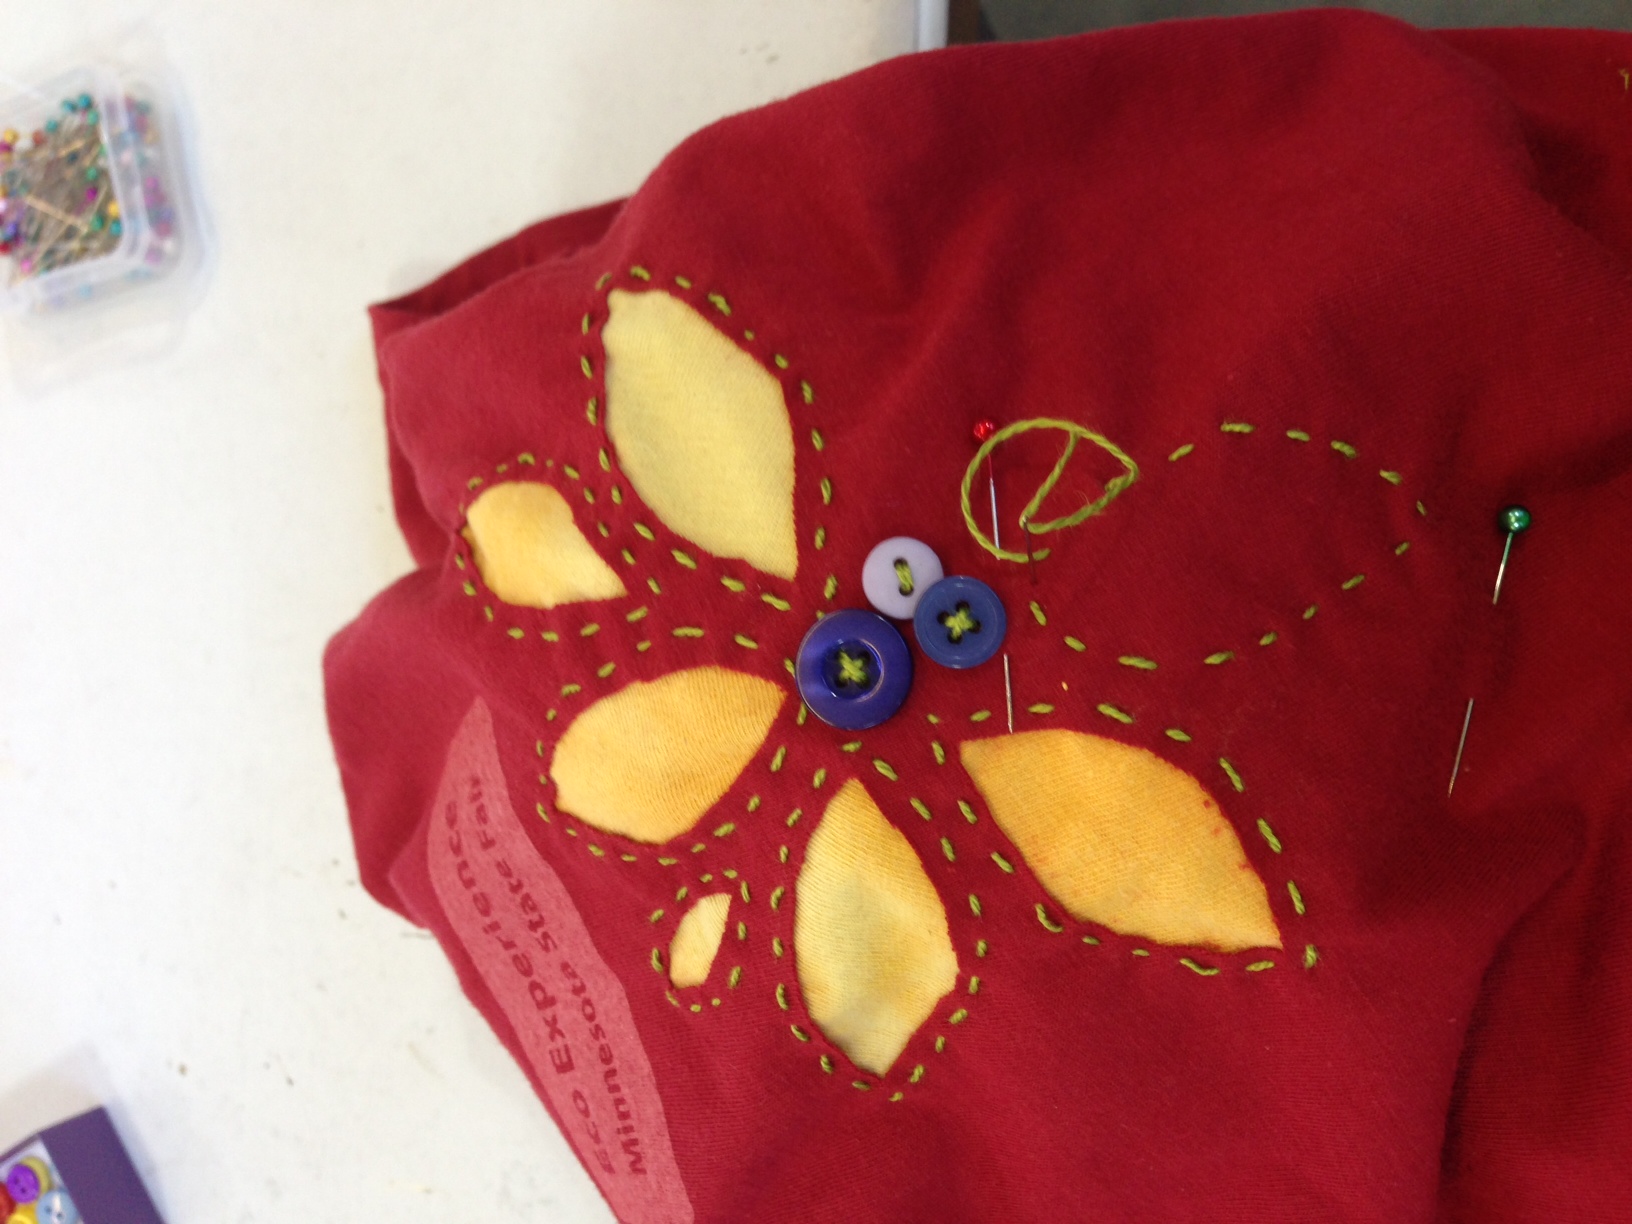
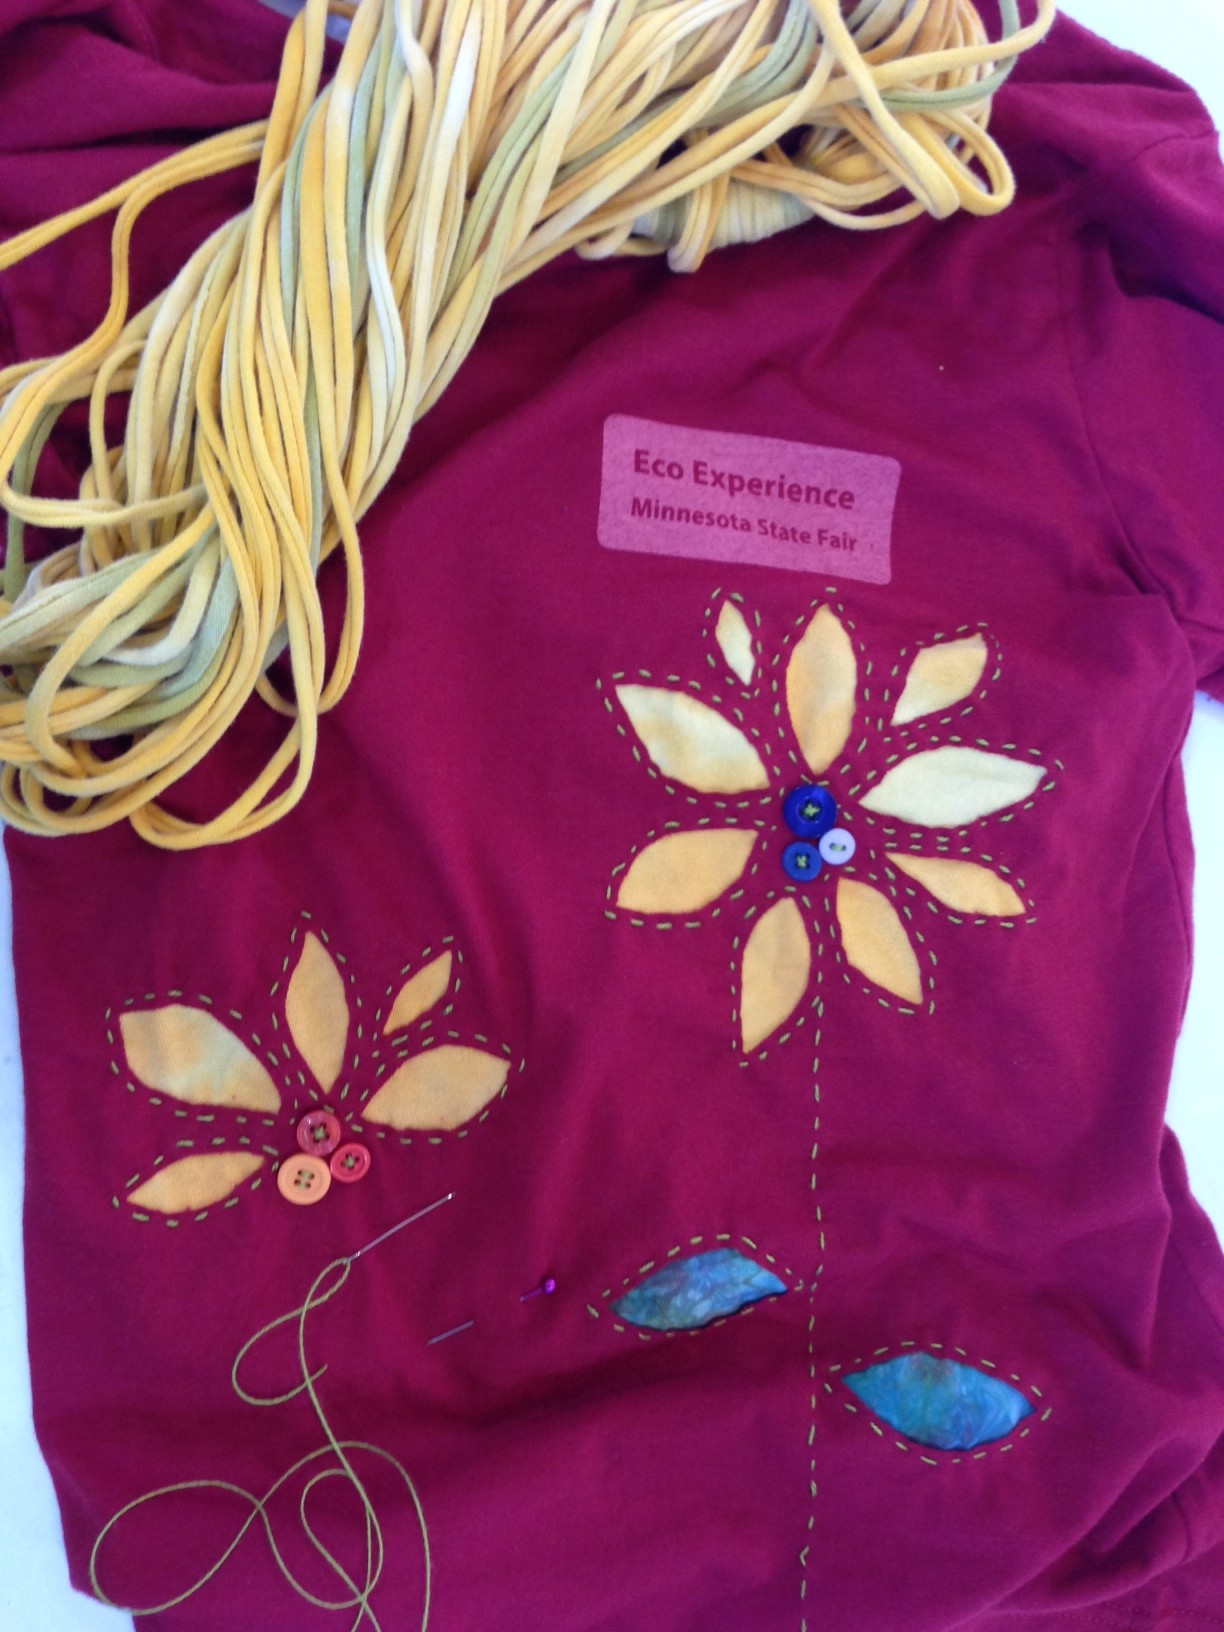
Appliqué means that you take a little piece of fabric and stitch it on top of another piece of fabric, like a patch. It’s a good way to fix a hole. Reverse appliqué means that you take little piece of fabric and stitch it behind another piece of fabric. When you trim away that top layer, you can make really cool designs and you can get rid of a hole or a bleach stain. You can see one flower petal in progress on the t-shirt above. The yellow fabric is another t-shirt that I brought along. I put a piece of yellow behind the red, stitched each petal and then cut away the red t-shirt. I worked on this shirt all day, making 4 sunflowers with leaves and a butterfly. (I turned the rest of the yellow t-shirt into some t-shirt yarn and made an infinity scarf. That’s a fun project for another post.)
If you love the look, be sure to check out Natalie Chanin’s work. She has made reverse appliqué (especially with knits) pretty famous. Molas, a South American art form, are also made using reverse appliqué. The Hood Museum of Art has a great article about making molas that you can download here.
Frequently asked questions while I was working and chatting with people at the fair:
Won’t that just shred itself where you cut it? You can’t wash it?
I am always surprised when I get this question. Why would I make clothing that I couldn’t wash? For the most part, knits don’t fray or come undone when you cut them. Especially t-shirt knit. The edges will curl up a little bit especially on an edge that gets stretched a lot, but it’s going to hold up just fine.
You have to sew it by machine if you really wanted to wear that, right?
I guess there is a perception that if you make it by machine that it is somehow stronger and better. (If you didn’t check out Natalie Chanin before, let me just say that every stitch of her garments are hand sewn and meant to be worn.) As long as I use good sturdy thread (perle cotton for this) and make sure I secure my ends, hand sewing can be stronger than sewing by machine. This kind of stitching is also decorative because I chose to make the stitches somewhat large and in a contrasting color, but those pieces are going to stay together.
Cut then stitch?
Many people assumed that I had cut out the holes first and then stitched something behind. It’s a lot easier to actually stitch first and cut after because everything stays nice and flat and the holes don’t stretch out of shape. I did these shapes free-hand, but you could easily draw some light pencil lines as a guide for stitching. I pinned the two layers of fabric together and used the pins to help me see where the edge of my yellow fabric was so I didn’t accidentally stitch off the edge.
So inspiring. Reminds me to go salvage some stuff and back with handwovens. Chiaki O’Brien did this with Saori weaving. I just never got around to it. They are just t-shirts and samples, for heaven’s sake! Watch out- next year’s mindless State Fair demo may become a cute accent.