3 February, 2017

Three Minute Tutorial: Clipping Mask in Illustrator

2017-02-03T15:12:28-06:00Spoonflower & Fabric Design, Tutorials|Comments Off on Three Minute Tutorial: Clipping Mask in Illustrator

In my previous post, I talked about cutting out the armadillo armor shape from a paint texture and I wanted to dig in a little bit to how that actually works because it is a really neat technique. It uses a tool called Clipping Mask. I am going to show it to you in Illustrator, but you can do it in Photoshop too.

Screen Shot 2017-02-03 at 2.28.49 PM
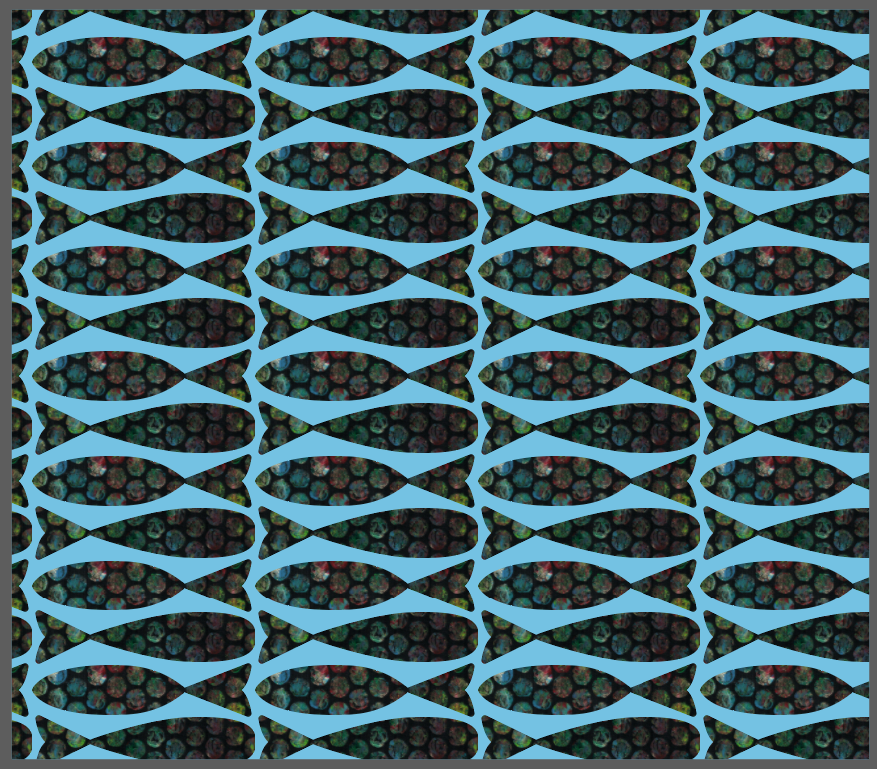
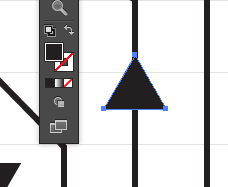
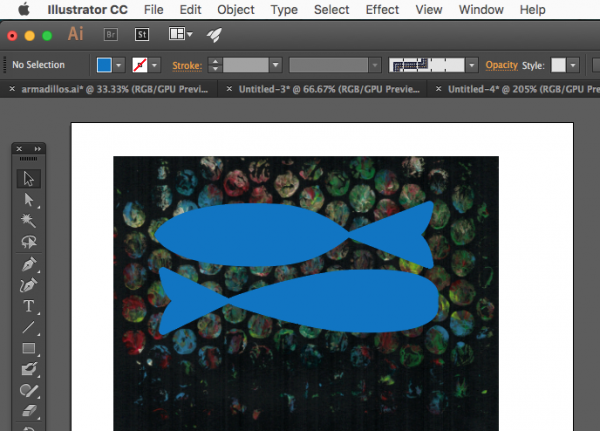
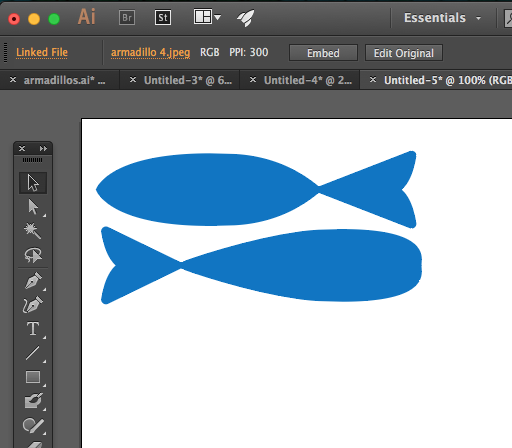
Start with the shape you want to cut out. For the armadillos it was a cloud shape that was their armor. For this example, I drew two simple fishy shapes.

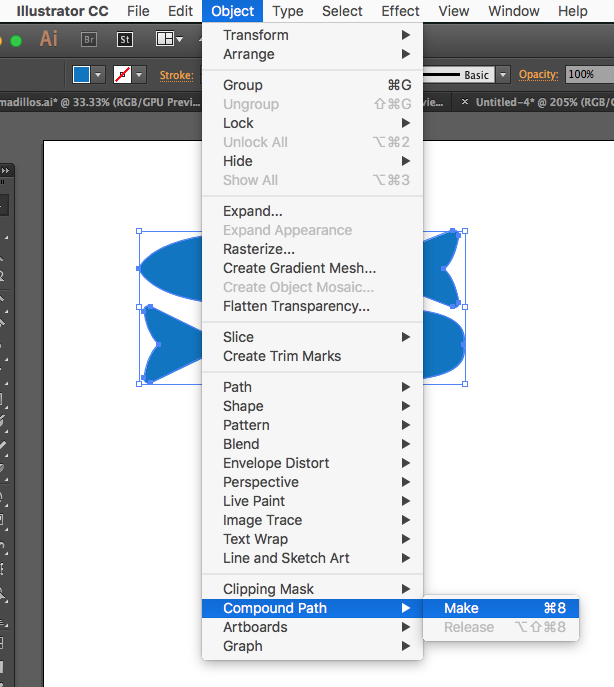
If you have more than one shape, like these two fish, you need to create a “compound shape” from them so you can cut them all out at once. Choose the black arrow Select tool and shift-click to select both shapes. Then go to Object -> Compound Path -> Make.

Screen Shot 2017-02-03 at 2.31.42 PM

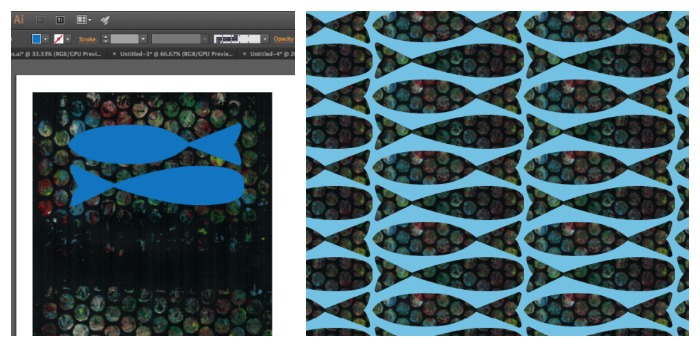
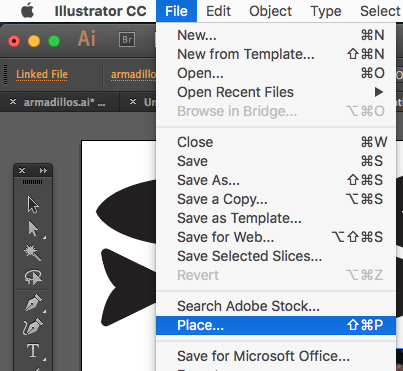
Next you need to add the texture you want to cut things out of. We do that by Placing it in the file. Go to Edit -> Place and select the texture you want. Any .jpg will work. Choose a photo or a scan that you have. I placed the bubble wrap texture that I scanned because I think it also looks a little like fish scales. Once you have placed it, it will show up as another object on your canvas. You might need to resize it; you can do that by clicking the toggles on the corners and dragging it bigger or smaller.

Screen Shot 2017-02-03 at 2.28.19 PM

We need the texture object to be behind the fish, so select the texture and choose Object -> Arrange -> Send to Back. Now move the texture and the fish around so that the fish are covering up the part of the design you want to cut out.Screen Shot 2017-02-03 at 2.48.10 PM

Screen Shot 2017-02-03 at 2.31.55 PM

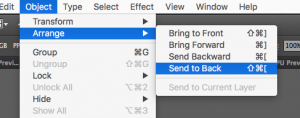
The last step is creating the Clipping Mask. Select all of the objects (fish and texture) and then choose Object -> Clipping Mask -> Make. (You can also right-click once you have them selected and a menu will pop up right where you clicked. Choose Clipping Mask.)

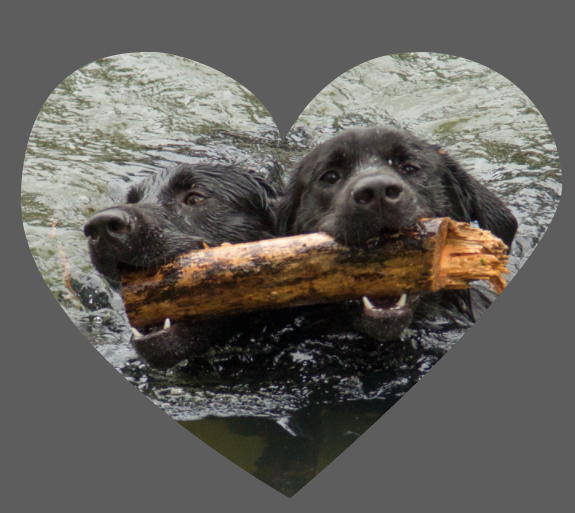
Now you have fish cut out of bubble wrap texture. You can do the same things to cut words out of a photo or make a valentine heart from your dogs’ faces.

Screen Shot 2017-02-03 at 2.35.03 PM

Screen Shot 2017-02-03 at 3.02.02 PM

28 August, 2015

Tutorial: Seamless Arrows Print – Part One

2016-03-16T10:01:48-05:00Spoonflower & Fabric Design, Tutorials|2 Comments

It’s a busy week for me with The Spoonflower Handbook coming out on Tuesday and the opening reception for my grant project on Thursday, so I thought I would combine the two and give you something fun:  a fabric design tutorial based on one of the prints from my grant project.

The third project for my grant was a dress also created in duet with another artist.  For that design, she created a layered photo image and sent it to me.  I created a coordinating print and the two were combined in the final piece.  The photo she created had lots of organic shapes, transparent layers and abstract imagery, so I decided to create some contrast by making a print that was the opposite of that: geometric & somewhat representational.

Screen Shot 2015-08-07 at 11.26.11 AM

The inspiration for this design is actually a software engineering tool that helps designers collaborate by tracking the different versions of the code and where things merge and branch off.  I saw this graphic representation of that over my husband’s shoulder while he was working and I loved both the look and the metaphor.

Screen Shot 2015-08-27 at 10.45.42 AM

I decided to make arrowheads instead of dots and to use a layer from the photo to choose the colors in my design (which I will show you more about later.)

Creating the Arrowhead Design

Open a new file in Adobe Illustrator.

For this tutorial I did just a small repeat so it was easy for you to follow along.  (My finished design was about 18 inches square.)

I turned on two options in Illustrator that really make this design easy to do: Show Grid and Snap to Grid.  You can find both of those in the View menu.  You can adjust the spacing of your grid lines under Illustrator -> Preferences -> Guides & Grid.

Screen Shot 2015-08-27 at 10.52.02 AM


Screen Shot 2015-08-27 at 10.53.39 AM


Draw with the Pen Tool & adjust lines.

I drew all of the lines in the design using the Pen Tool.  (If you need help, there’s a great tutorial here for drawing straight lines with the Pen Tool.)  The grid will help you see where to place lines and the Snap to Grid option will make them stick to the intersections of the grid – making it really easy to make straight lines that are very precisely spaced based on your grid spacing.

Once I had a line in place, I selected it and went to the Stroke Palette to adjust the look of the line.  I made the line weight heavier at 6 pt and added an arrowhead at the end by choosing one from the dropdown.

Screen Shot 2015-08-27 at 9.59.28 AM

Add extra arrowheads with the Polygon Tool.

I did all of my drawing in black and white because I am going to add the color in a later step. Once I had all of the lines in place, I wanted to add some extra arrowheads, not just at the end of the lines.  To do that, I used the Polygon Tool (which is one of the options under the Rectangle Tool).  I chose a 3 sided shape with a .5 inch radius, which matched the arrowheads pretty perfectly.  I adjusted the fill to be black and the outline transparent.

ss2

Screen Shot 2015-08-27 at 10.04.02 AM

Adjust the fill and outline in the bottom of the tools palette. It’s the two overlapping squares.

Screen Shot 2015-08-27 at 10.05.26 AM


In part two of this tutorial, I will talk about how to make sure that this design is seamless and check for a balanced repeat.

More in this series: Part OnePart TwoPart ThreePart Four

arrowsPin

Go to Top