

A few posts back, you probably saw our annual Halloween photo. My husband and I started doing photos about 15 years ago. We felt like it was dumb to send out photos in Christmas cards, so one year we sent out a Halloween costume photo instead. It was so much fun that it became an annual thing.
We come up with the top secret theme around late summer and figure out how to stage the photo in October sometime. They are nearly always taken in our basement photo studio with much creative reuse of furniture, sawhorses and velvet drapes. I always say that they are about 80% costume and 20% Photoshop.
This year our storyline was Newt Scamander (author of Fantastic Beasts and Where to Find Them, of the Harry Potter universe) interviewing a “fantastic beast” for his book. We hadn’t done a Harry Potter theme yet and it was fun to pick a less “main story” character. Newt has his own movie (which I like a lot) but I know that was not nearly as main stream as the HP series.
We thought about pixies or bowtruckles, but I decided that I wanted to be a mermaid. I didn’t want to make a mermaid tail that fit me, however. I thought about it and just decided that it would be 100% too much work. So we talked about it and decided that we would try to make the tail part of my costume as a miniature.
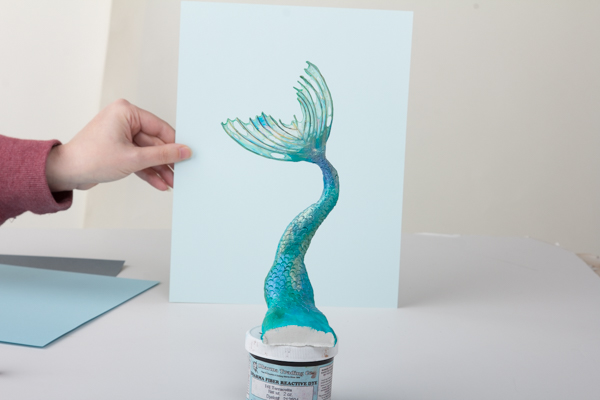
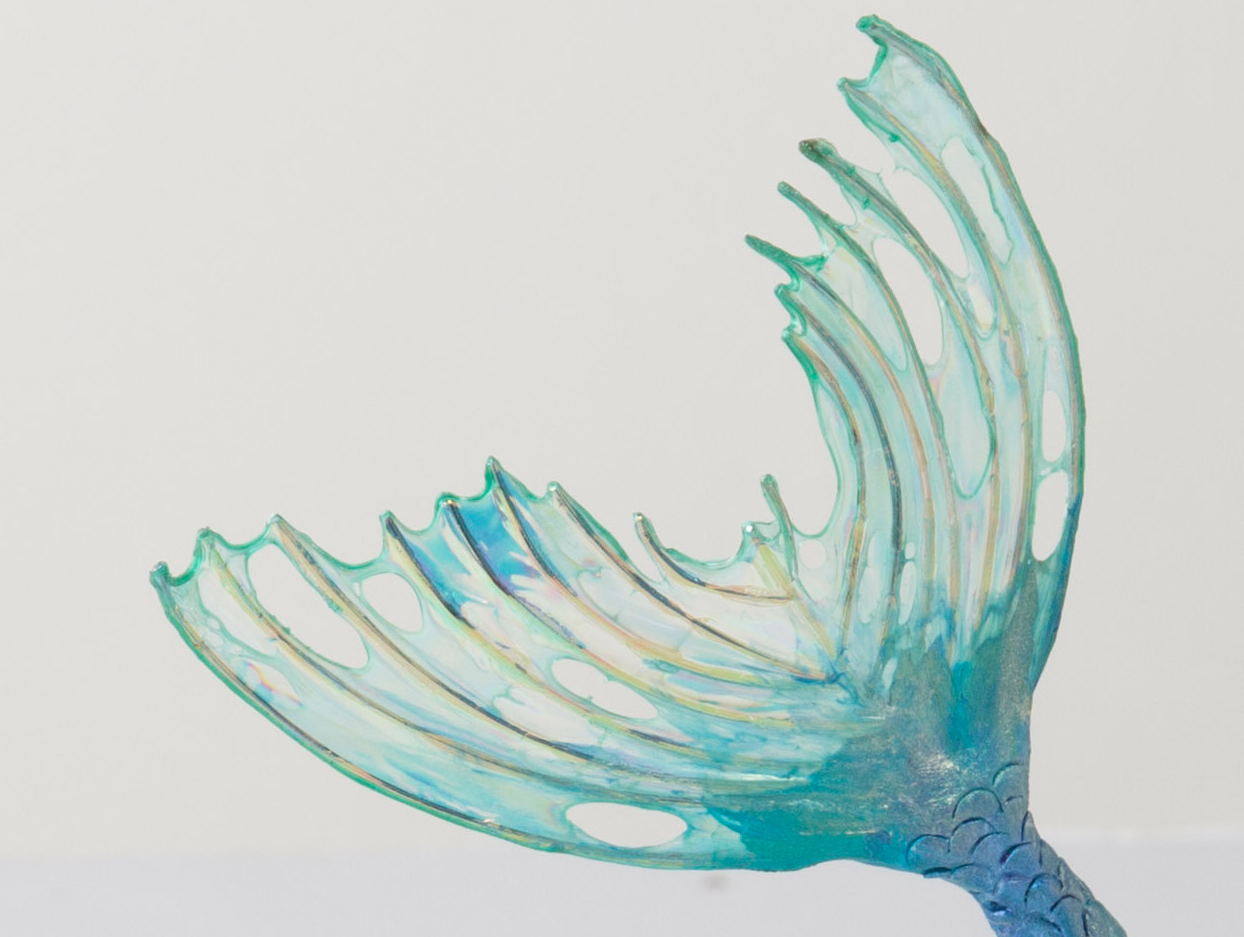
And there it is. The tail is about 10 inches tall and made from air drying paper clay, wire and some iridescent film. I googled and found a super detailed tutorial from a doll maker about how she made a mermaid tail from shrinking angelina film around a wire form and I pretty much followed her instructions. It worked pretty great and I loved the very organic texture of the slightly tattered holes in the webbing.
I didn’t want to deal with baking such a big thing in polymer clay, so I used paper clay for mine. It is an air dry clay and although I read a bunch of reviews that warned about it cracking and shrinking, I had neither problem. I let it dry slowly for about 4 days before I painted it. The texture of the scales I made with a drinking straw. I cut a snip off of the end so I had a half circle and carefully carved scales the whole length of the tail.
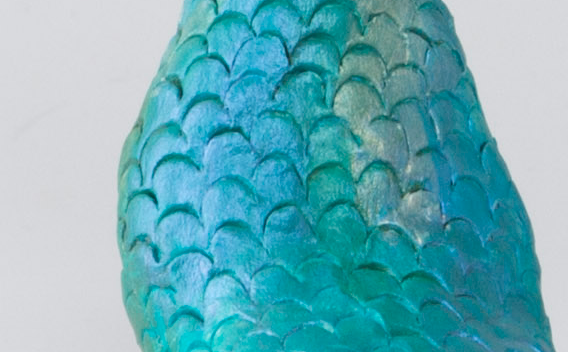
I painted it with acrylic paints. Golden Acrylics makes a series of interference colors that you can mix in with other opaque paint, so I blended my own mix of turquoise with interference gold and blue to make a beautiful iridescent.
We photographed the tail by itself against a piece of pale blue paper. Originally we photographed it against white, but we realized that the iridescent quality of the tail fin film was showing up very dirty gold against white paper. We spent some time being really frustrated trying to color correct that, but when we switched to blue and reshot it was so much better.
When we talked about creating a “set” for this scene, I wanted to be leaning on a sea wall with my tail flipped up and Newt could be sitting nearby to do the interview. We didn’t have a set piece, among the chairs and sawhorses that we often use, that was going to make a realistic looking wall, so we decided to make that as a miniature too. It is made from the same air dry clay and a bag of aquarium gravel. It was about 12 inches long and 2 1/2 inches high.
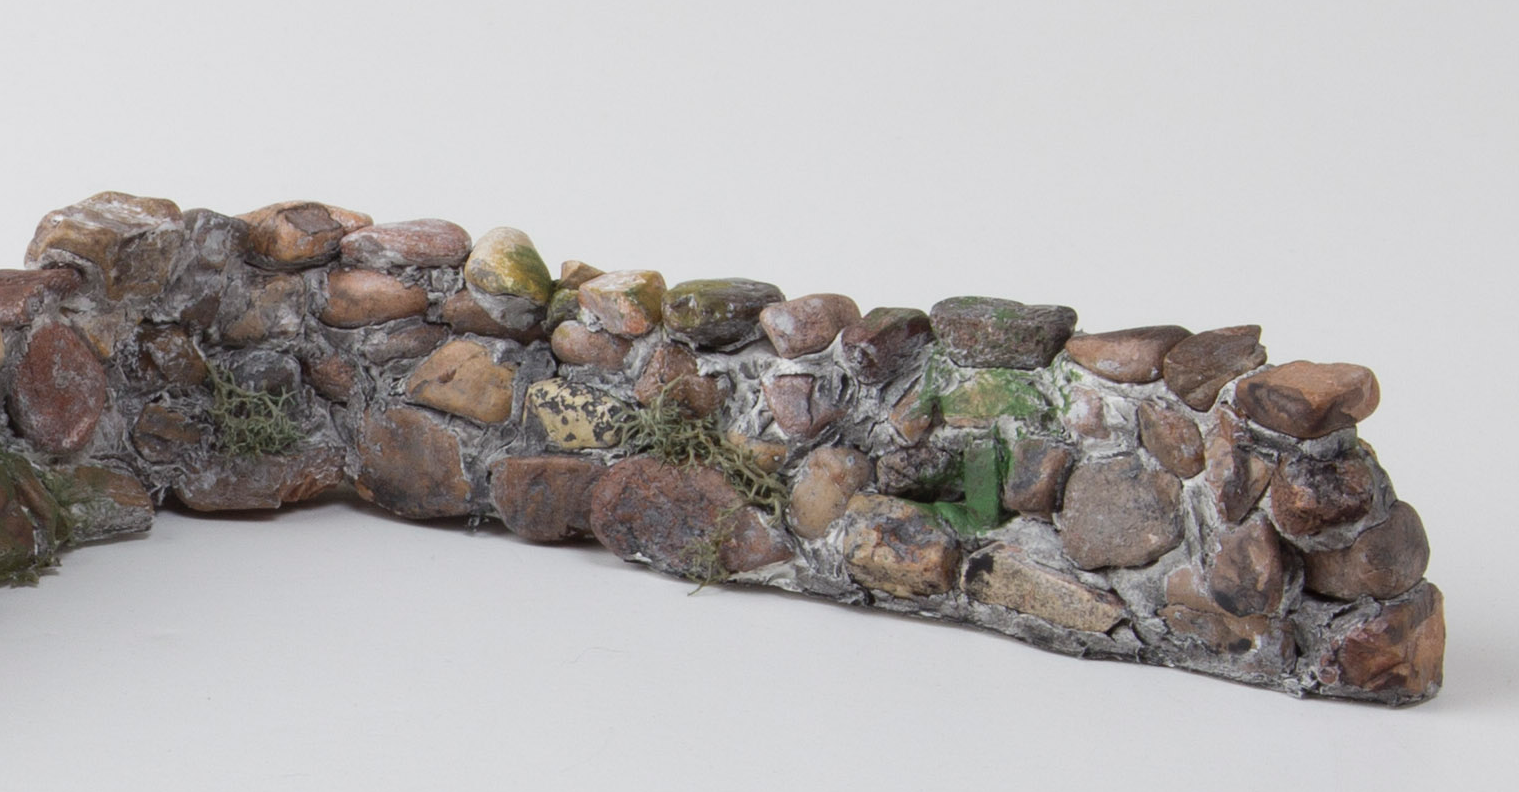
We built it on a cardboard base and decided to make an “L” shaped wall so we could adjust the angles to match our scene. The clay was white, so after this had dried, I gave it a wash of muddy grey paint to tint the “grout” between the stones. I tore off little bits of some sphagnum moss to glue on for some weeds and painted on some lichens with green paint.
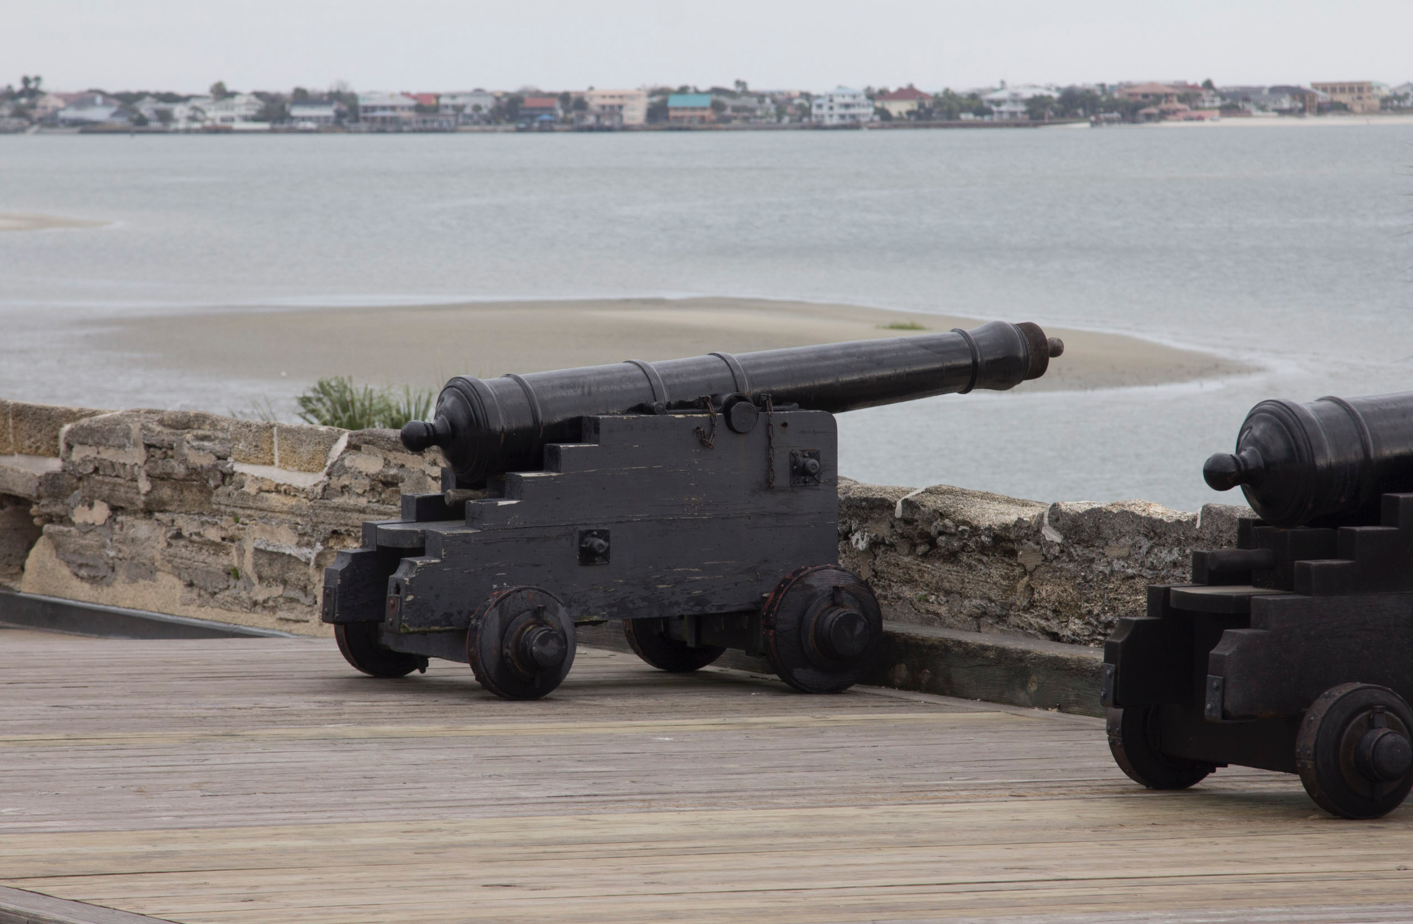
We borrowed the wooden decking from a photo we took in St Augustine, FL. I think our ocean comes from a kayaking photo from Lake Superior.
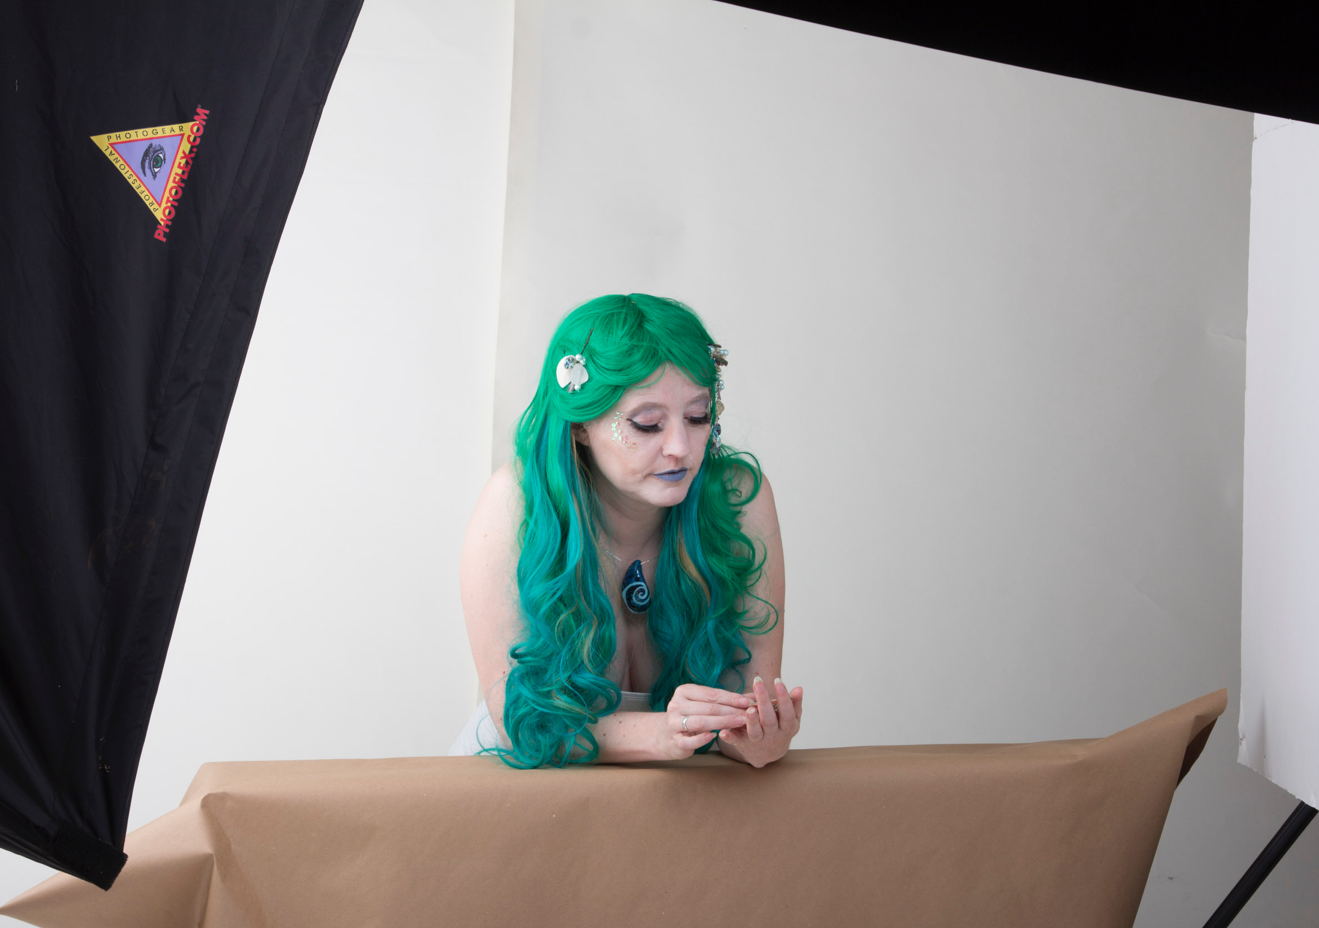 The photos of us were taken one at a time with pretty low-effort costumes. I had an awesome turquoisy-green wig, a few sequin scales glued to my face with honey, and some seashells on bobby pins in my hair. The honey sounds crazy, but latex makes me itch and many costume adhesives have latex. Honey worked perfectly for both the scales and to stick on some long false eyelashes. Andy’s costume was a lucky clearance sale find for the coat and bits and pieces of his own clothes. We recycled his vest from this year and toned down the color a little in Photoshop. I made the bowtruckle in his pocket from a piece of felt and a couple of pipecleaners. For the shots, I leaned on an apple crate and Andy sat on it, so we were at the same height and easy to assemble into one photo.

I already know what next year’s theme is going to be and it is going to have some fun bits and pieces to assemble too. It takes most of a day to shoot and assemble the photo, but it is one of my favorite annual projects.
Awesome!