

I am teaching a Photo Help class tonight and one of the hands-on projects we are going to do is resizing some images using PicMonkey. As a bonus I thought I would post one of my favorite PicMonkey features that I know we won’t have time to cover in class: Photo Collage. You can totally do this in Photoshop, but it is about 23 extra steps. PicMonkey makes it super easy.
When you go to the front page at PicMonkey, there is an option right in the middle of the page for “Create a Collage”. Click that and the steps are basically to follow the icons.

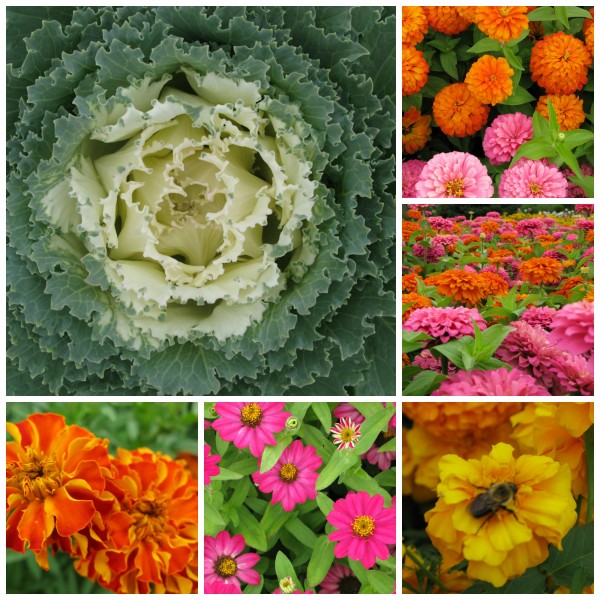
You just drag your photos from this thumbnail grid over and place them in the template where you want them. Click on a photo with the 4-way arrow tool that pops up when you hover over the image and you can reposition within its box. By hovering on the border of a box, it also allows you to drag around and resize the boxes within the template using the double sided arrow tool, so you really can customize it any way you want to. It even has some built in templates that are sized perfectly for your Facebook page, for instance, so that you can make a new banner with a cool collage of pictures on it pretty easily.
When you save, it gets a little silly.

You can choose a low/medium/high resolution to save it at depending on what you want to do with it. It gives you the pixel size at the bottom there and you can also adjust that if you want or need to. PicMonkey Basic is free and you can do a LOT with the free version. The upgraded “Royale” just has more fun bells and whistles. Abby at While She Naps has also written some great PicMonkey tutorials for some other fun effects, so you should check out her posts too.
Can’t wait to try this out! Sadly, my iPad does not support Flash – will have to wait till I get home.