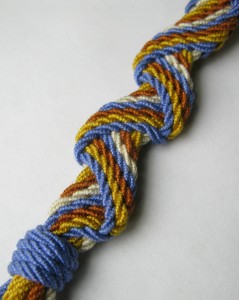
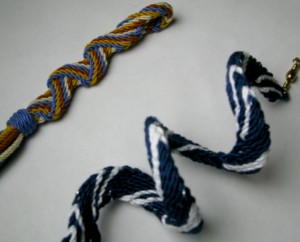
 This is ply split braiding. I have been completely fascinated with this technique for about 2 years and finally was able to take a class from the Weavers Guild on Wednesday.
 We made cool twirly ornaments and I sweet-talked the instructor into teaching me the “wave” pattern also. It was a lovely group of students in the class and we had fun chatting as we worked. Ply split braiding is an Indian technique, used by nomadic peoples to make camel tack. Those must be some pretty well dressed camels! The general idea is that you are using 4 ply cords and pulling the cords in between the plys of another cord. You have a little tool called a gripfid that helps you get in between the plys. It’s a little bit addictive. I bought some cords from the Guild so that I can practice a little on my own before I decide if I need a cord maker.
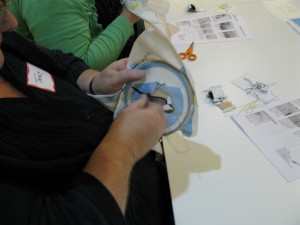
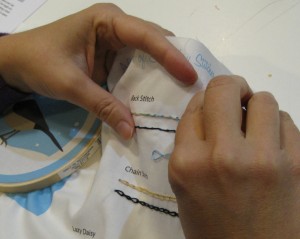
After I had a fun morning taking a class, in the evening I got to teach a class on beginning embroidery. I had a ball and I hope my students did too. Three of the five students were named Tracy, which had to mean this class was special! They let me take some pictures of their hands working.
 They are stitching on some fabric I designed and had printed at Spoonflower. On the right side was a “stitch along” section with colored dots. Everyone could follow along – “put your needle down at the blue dot, then poke it back up at the red dot, wrap the thread around the back of your needle and pull it through.” At the end of class you had this stitched sampler to go long with the handout, so you had a reference to remember how you did each one. We learned back stitch, threaded & whipped backstitch, chain stitch, detatched chain & lazy daisy, and the chinese knot (which is way better than the french knot.)
Then the left side of the fabric had either a chickadee or a goldfinch, which you could embellish with all of these new stitches. I had the idea to make the class about stitching on printed fabric because starting from a blank white “page” is so intimidating and it takes way more than a class period to finish anything that looks like something. This way we added texture to the wings, outlined birds with backstitch and stitched lazy daisy snowflakes and you only had to master a few stitches to make a beautiful finished project. I showed the class three different ways to finish off your winter bird (pillow, pincushion/ornament, wall art).
I am hoping to do the same class next semester and this class requested session number two where I teach them 5 more new stitches. Alternating chain stitch, satin stitch, blanket stitch, feather…. Hmmmm.


It all looks so cool! So many new ideas to try!
What sort of bribe would work to convince you to make that embroidered bird/sampler available for sale on Spoonflower?
Beth – Consider it done. :)