

11
June, 2011
1
June, 2011
Yellow & Tidbits
We have had so much rain here that there are a lot of these in the yard.
 Lots of art in progress and not much to show here yet.
- I am presenting a seminar on Etsy in two weeks at the International Surface Design Association Conference and Etsy just revamped a whole bunch of things on the site. I spent tonight doing research.
- My looms have arrived! The second batch of little frame looms are here and I will start shipping out my pre-orders tomorrow. Then they will be in the shop with no waiting.
- I will have 3 pieces of art in three different exhibitions in June. Details to come.
- I just got the coolest piece of fabric from Spoonflower yet! I drafted and printed a skirt with a giant waterlily on it. Linen/cotton. Printed so that I just had to cut it out and sew it up. That’s a sample for a class that I am teaching in just over 2 weeks for the MN Quilters Annual conference. I am going to wear it to class.
10
February, 2011
Work in progress thursday
I took a class in dyeing wool last night.
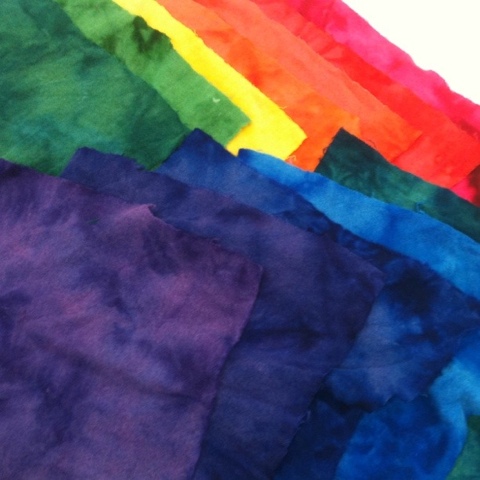
We did a 12 step color wheel. Such beautiful saturated colors. Don’t know what to do with these pieces yet but they are pretty to look at.
3
February, 2011
summer camp?
 Work in progress this week? Not really. It’s the week for scheduling summer camps and I keep getting sidetracked at work and not getting it done. It will happen today. I am bringing the laptop and retreating to the coffee shop if I have to. This is a felted “geode” made by one of the students in a field trip last week.
27
August, 2010
Transfer Dyes


I took a class on Tuesday night about using transfer or disperse dyes. These are the kinds of dyes used on polyester, which is not a very dyeable fiber. The process we used for these was to paint with them on paper. At the strength we used them they were almost like painting with watercolors. You could do all kinds of drips and play with salt and spray bottles to make textures in the wet paint. I mostly used a really grungy beat up paintbrush because I wanted a lot of brush strokes and stray smears for texture.
The colors when you paint with them are very dull and in most cases nothing at all like the finished piece once it is printed. The yellow is a deep mustard color as paint, but bright bright sunflower yellow when printed. It is very much a leap of faith to know that what you are painting and what you will get are not going to be the same colors. I didn’t want saturated primaries, so I dulled my colors down by adding a few drops of the complementary color to the mix – my red got some green in it etc and I mixed a custom palette before I started painting.
You paint enough paper to cover your piece of fabric. I made 3 large sheets and a bunch of smaller ones. Wait for everything to dry. Then you sandwich your fabric against the painted side of the paper and put the whole thing in to a heat press. My friend Karen has a press that is 15 inches across, so we could do 15 inch sections at a time. 16 seconds at 400 degrees and the colors transfer from paper to fabric. It is the combination of the high temperature and the pressure of the press that makes the dyes vaporize and then re-combine with the polyester fibers. Magic.
This is about 3 layers of printing and I printed the back as well. The fabric is a drapy peachskin polyester. Karen taught me how to do a hand-rolled hem, too, so I am hemming this one to wear it as a scarf.
21
August, 2010
5 Rules of Sewing

Andy was being super-sneaky and grabbed this shot of me working on the “5 Rules of Sewing” banner. Do you know the 5 rules? We write these on the white board in our sewing classroom every year when summer camp starts.
- Put the foot down.
- Two eyes and two hands on the machine.
- Three back stitches at the beginning and end.
- Hold your ends.
- If it makes a funny noise, STOP.
I used a bunch of kid-dyed fabric to make a portable version of the rules so we can take it on the road. We are working on the “5 rules of Ironing” for next year.