I have been writing a lot of “behind the scenes” posts here lately and I think that is kind of fun. That’s the season I am in right now. I am not making a lot of new work, but I am working a lot with others. Spring is a busy time for projects with kids. I know that from my years administrating those kinds of programs for Textile Center. I am very fortunate to have made some great connections while I was there that have lead to a couple of neat projects for me this spring. I posted an update to my Facebook page each day of this most recent residency (which I have quoted below) and I wanted to tell you a little about what it is like to be the artist who comes into a classroom.
8th grade residency: Day 1
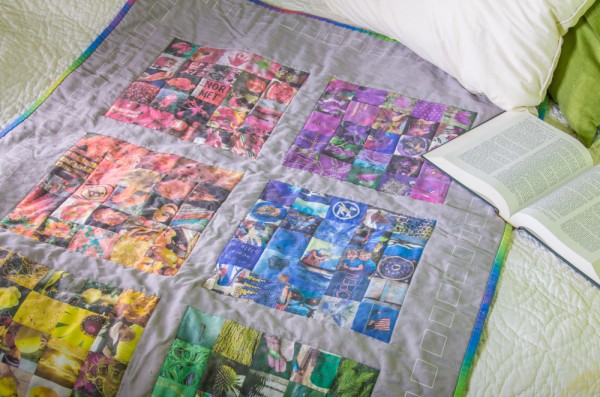
This quilt got verbal “oooohs” from the 8th graders. I started a residency today doing digital fabric designs with the Fiber Art 3 class. I wasn’t sure they were really in to what I was showing them, but this was a hit.
Lesson One: Bring good show and tell.
We didn’t do any hands-on projects the first day of this residency, but I talked about my art and what it’s like being a full time artist. I talked about fabric design and repeats and border prints and we looked at a lot of examples of clothing and places you see patterns. The classroom teacher told me that they might be pretty squirrely because they weren’t used to a “lecture” kind of class, but it was a great opportunity for them to practice taking notes. They looked pleasantly bored for a lot of the time (as is completely normal for 8th graders) but they completely came to life when I brought out this quilt to show them and I had a mob around me at the end of the period as I pointed out the photo of Chester in the pool or my nephew with his bright yellow ball. I didn’t know this was going to be a hit, but I am glad that it worked.
8th grade residency: Day 2
What’s cool today? The dress I wore that has a pattern of zippers on it was moderately cool. With the exception of The Table Who Whines, drawing was sorta cool. The fact that my sister is a computer programmer and a girl? Awesome.
Lesson Two: Share.
It is tough to come in and not know names and know that I won’t be there quite long enough to learn them. So I try to make any connections I can with the kids as we chat. I tell them about my dogs and my favorite color. I brought new show-and-tell every day by wearing something I made. They picked up on the fact that I was doing that and started to ask me about it. When they left the room at the end of day one, they were anxious about drawing the next day (What if I can’t draw? I am a really bad drawer!). So my sister volunteered to make a sample that I could show them from “not an artist”. They totally connected with that and thought my sister sounded cool. I told them about how I really hate painting and when I was going to school I didn’t want to study to be an artist because I thought I would have to do so much painting. I gave them permission to call me Becka (instead of Mrs Rahn). I let them chat all they wanted to while they were working (you can’t stop 8th graders from doing that) and I chatted too as I walked around the tables. The “I can’t draw” attitude totally went away once they were doing it.
I also shared some eye rolling with the classroom teacher about “The Table Who Whines” (which is her affectionate name for them) and a nod from across the room when the phones crept out, because although they are technically not allowed, the kids were using them to look for photos to do drawings from and we decided that was a good thing.
8th grade residency: Day 3
Collages are easier than drawing. Some people count their pieces to make sure that they only do the 8 minimum that is required. Lace doilies were a big hit. Especially when you got to peel them apart.
Lesson Three: Find your role.
This residency was a treat because the teacher I worked with is someone I have known for a while. The kids love her and she genuinely shares the room when you come in to make art with the kids. She is the best kind of teacher to work with. As “the artist” you can be presented to the kids in many different ways:
- The Babysitter. The classroom teacher spends the time grading papers at the desk or talking to the parent volunteer and you are on your own.
- The Alien. The teacher constantly explains to the kids that she doesn’t know what you are doing either so she can’t help and we all better listen up.
- The Treat. No one has any idea why you are there or what you are doing, but they are ready with their desks cleaned off for you to begin the show.
- The Afterthought. The teacher takes up half of your teaching time doing the daily writing thing and homework reminders, followed by lecturing the kids about how to behave. Then you try to teach your lesson in half the time and nobody gets done.
- The Assistant. The teacher re-teaches everything you just said, or jumps ahead to an instruction you haven’t gotten to yet, and every kid in the room is asking her the questions instead of you.
- The Goddess. The teacher constantly points out to kids how amazing your sample is and how it’s ok if theirs looks bad because you are An Artist and they are just learning.
- The Partner. The teacher works with you, directs questions from the kids to you and asks questions on behalf of the group.
None of these are bad necessarily, but you almost never know until you arrive which role you will be expected to play. The best question I ever learned to ask right away is what the signal is for the kids to be quiet and listen. With 8th grade this isn’t as essential, but with 3rd graders, knowing the clap-clap-clapclapclap sequence can make the whole day go much differently. I can teach as any of these artist roles, although I enjoy some more than others, and I have learned to adapt.
8th grade residency: Day 4
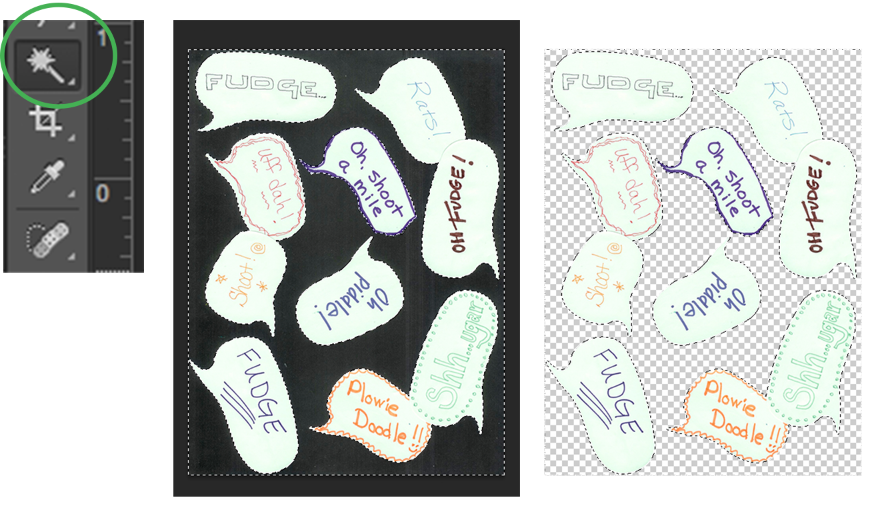
Computers are a success! I was much nervous about trying to do a computer thing with 34 8th graders on Chromebooks (which I had not seen before today.) Technology cooperated and I think we got everything saved onto the thumb drives. Double checking, that is my afternoon project.
Lesson Four: Have a backup plan.
I always have an extra 10 minute lesson planned. I am a complete nut and agreed to do this residency with kids on computers which I had never used or seen. I like to live dangerously. It worked out fantastically, but I did bring an extra simple hands-on project with me just in case we had to bail on the laptops and do something else. I planned an extra day into our lesson plans in case we couldn’t get everything done in our 45 minute periods (which are really short!) One day we got done a little early and there was a little bit of noisy chaos at the end of class. One day they were total speed demons and claimed to be “DONE” after 5 minutes. The teacher and I made up some new “rules” about their designs and that they had to try more things before they could say they were done.
I also did a lot to make sure I knew everything I could about the technology before I got to class. I know the art form no problem, but I made sure I was extra prepared with the tools and things that were out of my control. I had 2 other online graphics programs picked out and tested in case PicMonkey didn’t work or was blocked by the school firewall. I had 8 thumb drives ready to save kids artwork, but I knew that PicMonkey could also email the files to me in a pinch and I had tested that out. Which was really good because for some reason 3 kids couldn’t get theirs to save and we emailed them instead. I made 2 extra “generic” versions of the original art work for each project (a pencil drawing and a paper collage) so that the kids who missed the day when we made the original art wouldn’t have to sit and not participate on the day we did the digital editing.
8th Grade Residency: Day 5
Monday morning. First period. 8th graders. Grey and rainy day. These things do not mix. We got it done. But it was a slog.
Lesson Five: Don’t take it personally.
In every class, there are 4 kids who are 100% into whatever you are doing, they do amazing work and you are completely blown away by it. There are 12 kids who do great work and are about 80% engaged and will give you a high-five on your way out the door. There are 10 kids who are ambivalent and are having fun in the moment and will probably forget that they ever met you come next week. There are 5 kids who never quite get it and need help for every step. And there are 3 kids who don’t ever connect and although they probably do the project, they just really don’t care. And that’s ok.
Sometimes you can look at the “I am so cool I am bored” attitude and not see a glimmer of that fact that they are completely in love with what they are doing. I don’t ever get more than a moment with these kids, so I have no idea whether the lack of enthusiasm is the flu or just being 14. As artists, we know that not all art forms appeal to all of us. There’s a reason I am not a painter. I want them to try something new; they have my permission to not like it. I try to always teach my classes with that in mind.
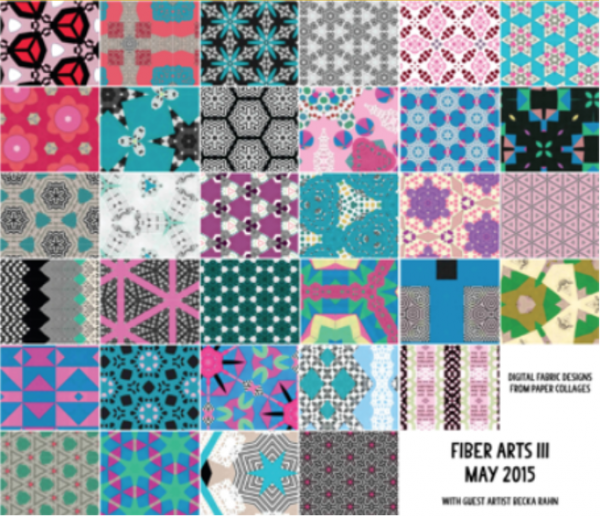
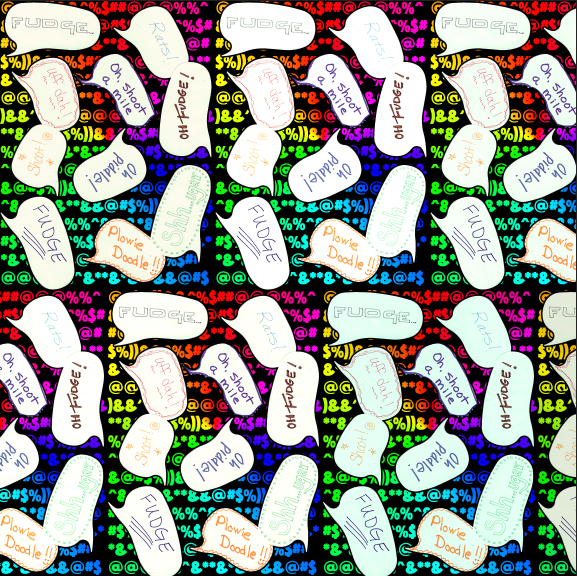
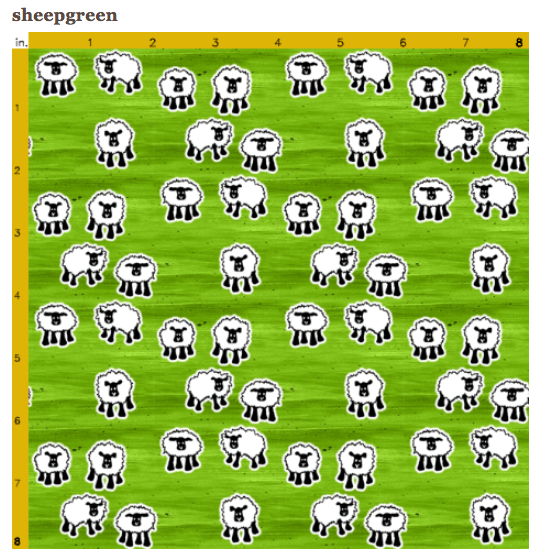
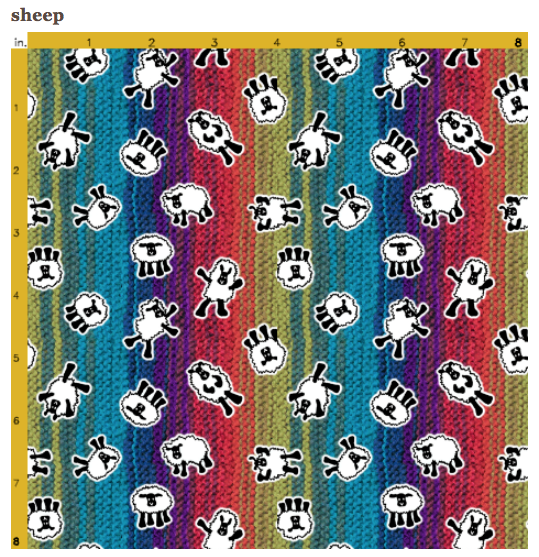
Day 6 hasn’t happened yet, but I am pretty sure it’s going to be a hit. We have collected and uploaded all of the kids art and I am ordering 2 fat quarters of fabric for each kid. This is a tiny thumbnail of their abstract designs all together. I will ask their permission to show you more detailed images at some point.
Our big show-and-tell day will be in a couple of weeks. I saved their original paper artwork to give back to them along with the fat quarters so they can see the before and after. This has been a really fun residency and it is a treat that the school got a “technology integration grant” that made this technique a perfect fit for the fiber arts class.