Behind the scenes of my setup for Online Teaching
I posted a couple of “behind the scenes” posts of my online teaching set up on my social media last week and I had LOTS of questions from all of you about how I put it together. So I thought maybe I’d write a post and talk about it. All of my setup are the results of many months worth of experiments, trial and error. I’ve been teaching via video/online since April when a couple of projects I was scheduled to do suddenly needed to pivot to something else. I started with what I had and added to my setup as I discovered I needed something.
My Space
I do all of my filming or video meetings in my studio. For a very long time, I just worked anywhere in the house, but this spring (before all of the work-at-home things happened) I had decided to reclaim a room in our house into a space that would be easier for me to record things because I was intending to start doing more video based classes. We have a 1920s house so my studio is basically a “sun room” or “sitting room” space, but that means it has amazing huge windows on two sides. So I have tons of natural light, which is really helpful. I’d say 80% of the time, I can work with just that natural light. The wall behind my desk is a creamy white about the color of masking tape, so it makes a pretty neutral background and having a light color helps my space look brighter.
My Laptop & Microphone
I use my laptop as my webcamera and I film all of my class videos and screensharing videos with it. I have a Macbook Air. I don’t have an external microphone because so far, I haven’t needed one. The one in my laptop works great for what I need and because I am working in a pretty small room, the space doesn’t sound like it’s echoing. We have wood floors, and I did get a plush throw rug to put under my desk, which helped the sound a lot.
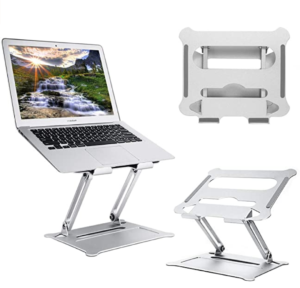 I did get a stand for my laptop to sit on. I realized quickly that leaving my laptop on my desk put the camera at a weird angle that was kind of aimed up my nose. It wasn’t flattering. And when you spend several hours editing video of yourself, you start to notice these things. I was using a couple of boardgame boxes as a way to make my laptop sit at eye level, but they took up a lot of desk space, so I found an adjustable aluminum stand. It gets the laptop up so I have a little more space to work and it’s ventilated so my laptop doesn’t get as hot. Processing video is a lot of work and listening to the cooling fans makes me nuts. So that’s a bonus. This is the one I have and it works great. If I need to type a lot while the laptop is on the stand, I have a bluetooth keyboard I can pair with it so I can type more comfortably. I don’t need it often, but it is helpful when I do. In the photo above, you can also see I put the stand on a thick rubber mat. I use this for my serger because it vibrates a lot, but it’s also perfect when I am doing video to keep the stand stable and I think it cuts down on the wiggle when I bump the table.
My Overhead Camera
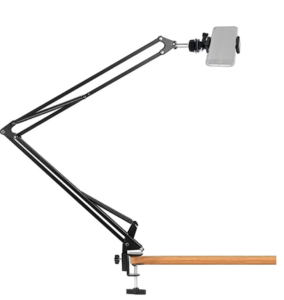 I use my iPhone as my overhead camera. I got an articulated arm that clamps on to my desk and it has something that looks like a hair clip that holds my phone. With it, I can aim my phone’s camera to capture nearly any part of my desk, so I can do how-to classes with steps where people need to see my hands. I have used it to show fabric samples for lectures about fabric design and to teach a whole series of art making classes. This is basically the one I have; I think they’ve updated it since I bought mine.
I can use an extra camera directly through screenshare when doing something in Zoom and you don’t need to log in as yourself multiple times (which is one tutorial I saw.) The software I use to record my other video also supports a second camera. (I’ll talk about that software a little later in this post.)
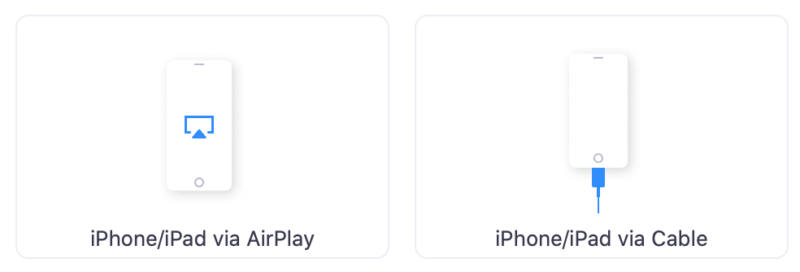
I learned that it works best to have my phone plugged directly into my laptop to get the best video. I have a new Macbook which only has USB-C ports (which is one of the more annoying things that Apple has ever done) and I had a multi-port adaptor so I could have a mouse plugged in and a couple of other things, but the camera doesn’t work at all through the adaptor. I got a USB-C to Lightning cable so I could plug it directly into the laptop and that was like magic. I tried using the camera in Zoom using Airplay, which is one of the screenshare options, but it only worked for about a minute before the video would freeze up or lag about 15 seconds behind what I was doing, which was not cool. But plugging it in directly and screensharing that way works beautifully.
 The key thing that I learned about using my phone as my extra camera is to keep it simple. It’s really kind of a hack. I tried looking for an app and setting up different video settings, but I realized that I don’t need any of that. I set my phone to the Camera app, set the “Auto-lock” to “never” and just screenshare it.
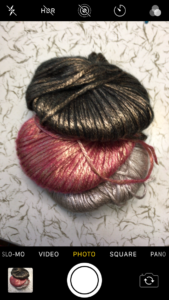
It looks just like this. Yes, you can see the “camera” controls on the screen, but it turns out no one really even notices that. I don’t switch it to video mode and I don’t actually record anything. I just screenshare what my camera is seeing. I told you it was a hack. But the thing is, it’s super simple so it just works. There isn’t any trouble shooting or updates or weird things not connecting or incompatibility.
For live video like teaching a Zoom class, I just use it exactly like this. When I pre-record something for a video class, I use the same trick and I just crop the camera controls out of the video later, which just takes a few seconds.
The last thing I did was to get a tiny LED ring light. I don’t use it to light myself, but I clip it to my phone and aim it at the table to light up the work surface. This made a HUGE difference in how clear the video is and it has an easier time with focus. I won’t link to the one I have because although the light is decent and I like how it clips to my phone, the battery life is literally about 10 minutes. I have to keep it plugged in all the time. I actually mounted a small powerstrip with USB ports to the bottom of my desk so I can plug the light in (since I can’t plug it into my computer because I don’t have enough ports). There are a zillion different ring lights available and basically anything would work.
You can see the laptop stand, camera arm clip, and ring light in the photo at the top. The last thing I’ll talk about is the surface I am filming. You can see from the photo just below that my studio table is a vintage formica table. It’s awesome. But it makes a super distracting background. So I got a vinyl desk blotter in a pale blue/grey that I roll out on my desk when I am using the overhead camera. It’s soft so it cuts down on noise when I pick up and put down things like scissors and it makes a really nice neutral background so people can easily see my fingers demonstrating an embroidery stitch or whatever. When I’m not filming, I roll it up and it lives on my bookshelf.

More Light
In this view of my desk you can see my hidden light. I realized that when I am doing video in the evening, the light is fading and it was making my video look grainy. So I brought my LED panel up from the basement. I realize that you probably don’t have one of these just sitting around, but I have a photo studio for shooting my work and so I borrowed this panel from the photo setup. In the evening, I put the panel on my desk just behind the laptop stand and point it directly at the ceiling. My ceiling is white and so the bright light just diffuses all over the room. Because it’s behind my laptop stand, I don’t have light glaring in my eyes and it’s not making a harsh light on me. It depends on your room, but an extra bright desk lamp pointed at the ceiling or something similar might work for you if you don’t have a panel like this.
Software
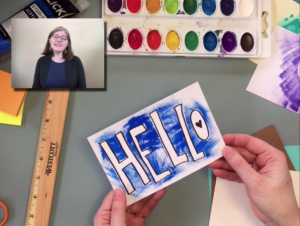 If I am pre-recording video for one of my online classes or to post on Facebook etc, I use video editing software called Screenflow. It costs about $130 and it only works on the Mac. The reason I chose it is because in addition to just basic video editing, it is designed to do screen capture and picture-in-picture video. Since I teach a lot of technology related things that means I can show full screen video of my screen showing you how to do something in Photoshop and I can have a tiny video of me talking in the corner of the screen. Or I can fill my screen with the overhead camera shot and you can also see me talking (shown at left). It can capture these simultaneously, so everything is synched up and so so easy to put together. I can also add closed captions, which is something I didn’t even think about previously, but when a partner I was teaching with asked me if I could do it, it took me only minutes to figure out. Like any software, there is a learning curve, but it’s not too difficult.
Edited to add: Get an external hard drive. A big one if you can. I did not appreciate quite how enormous video files are. I had filled up my laptop’s hard drive after a week of filming. Now I get done with a video, compress and upload it to my class site and then I move it to the external hard drive and delete it from my laptop. I have the laptop and external drive set to do two backups every night (yes I am completely paranoid about this) so I don’t panic about deleting anything. But my computer works a LOT better when the drive isn’t full of video files.
My Backdrop
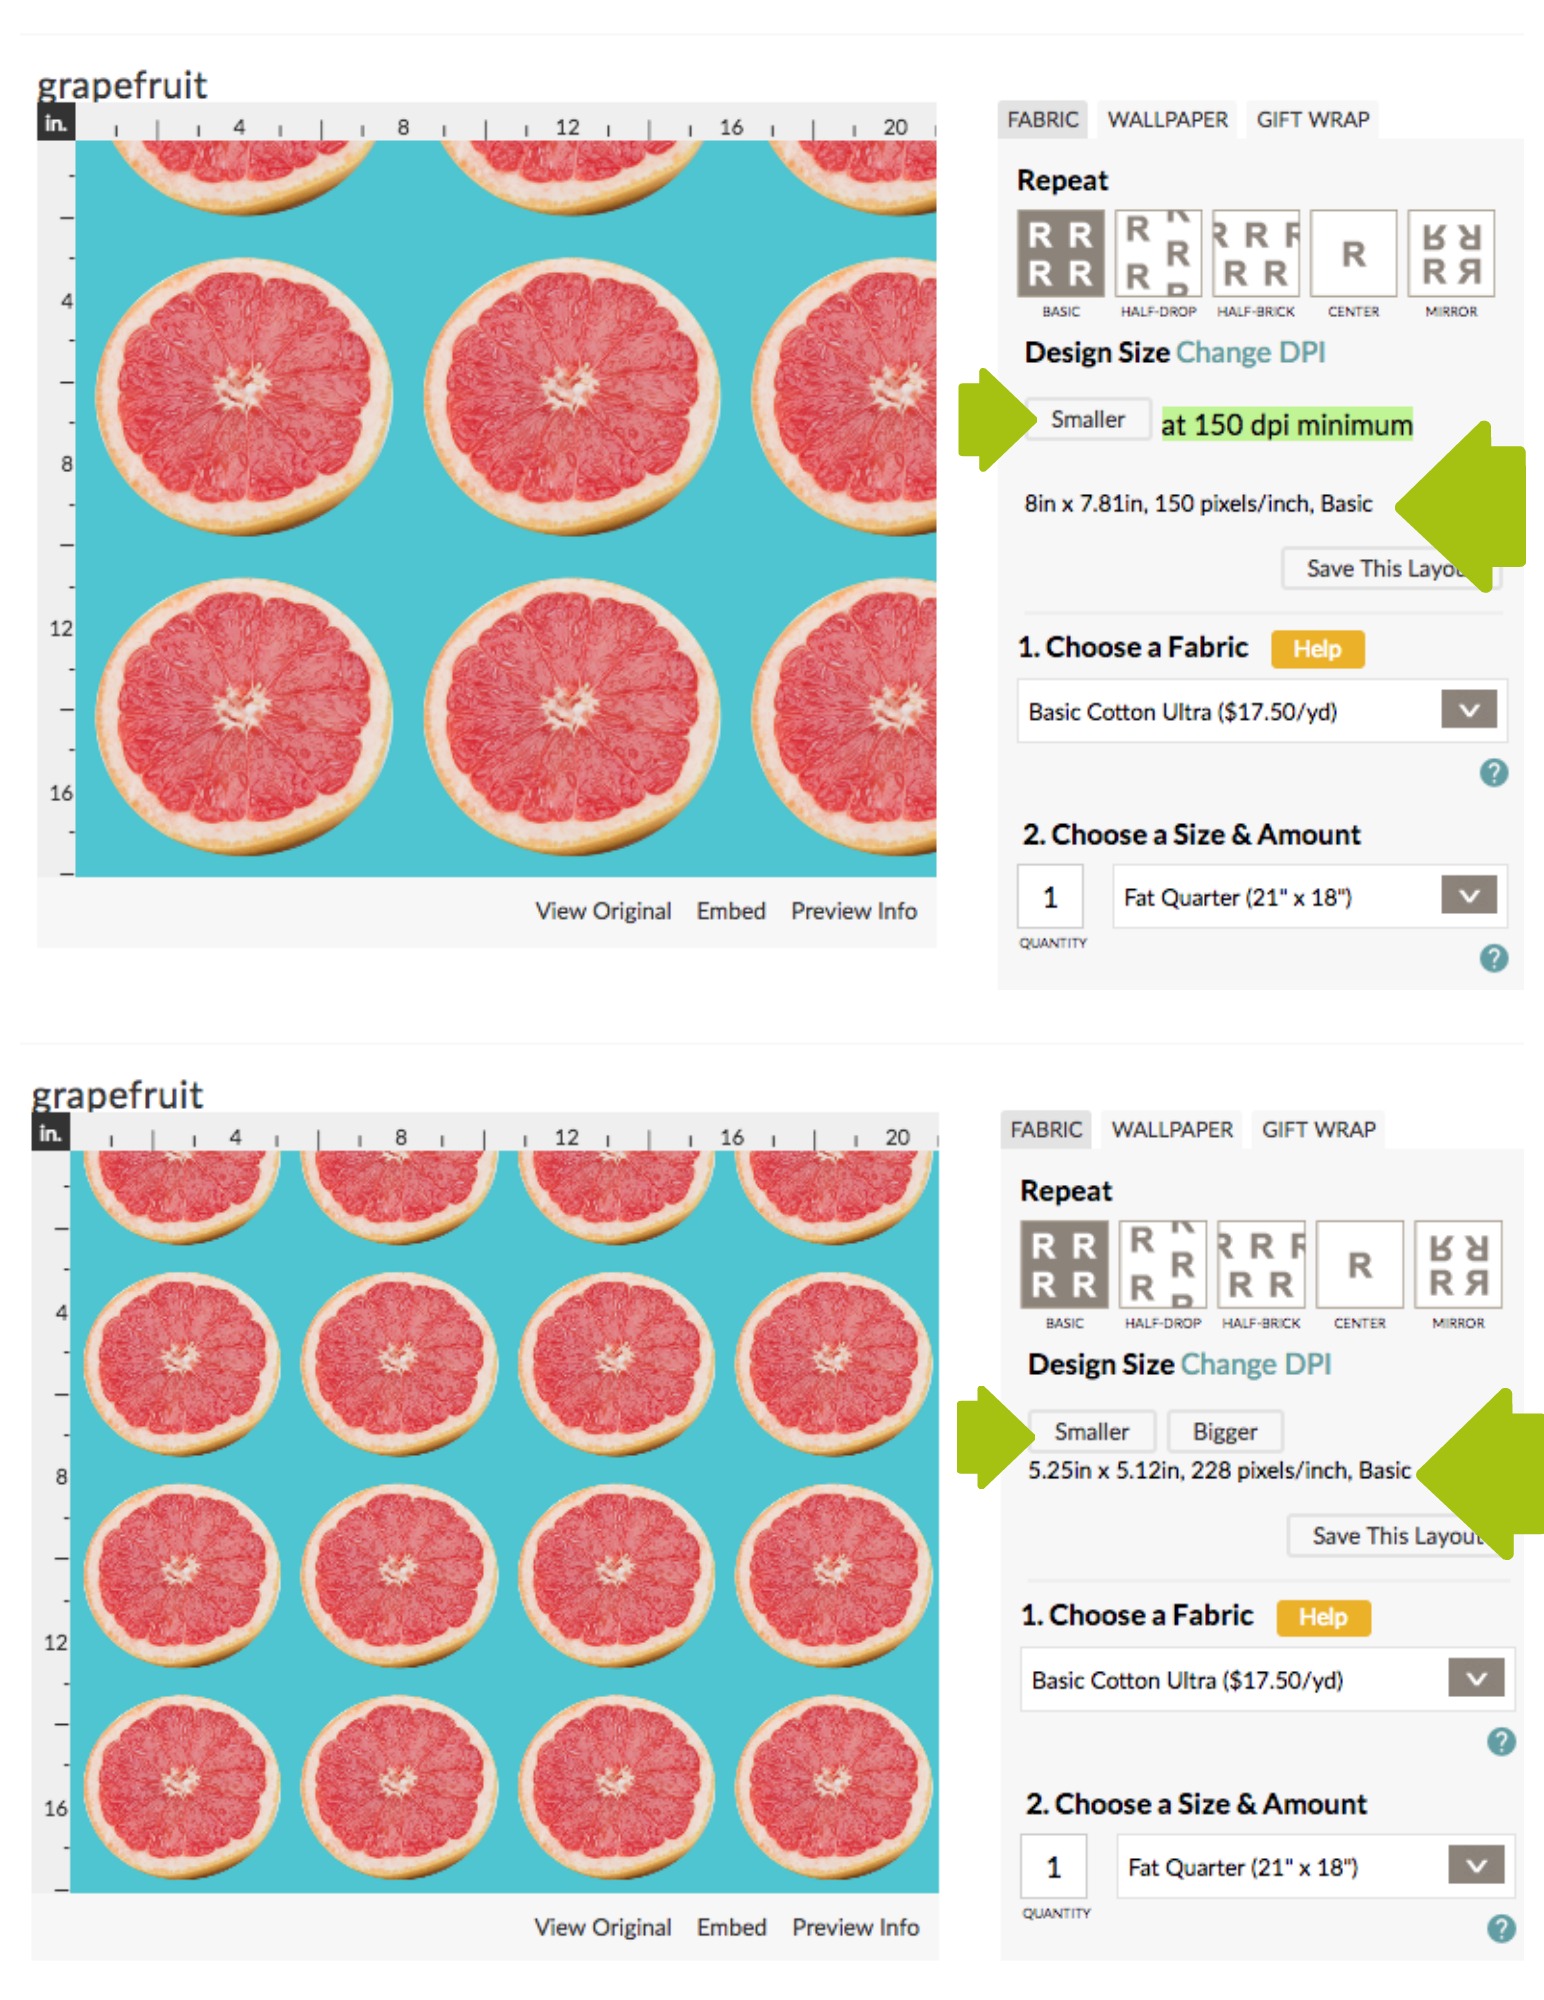
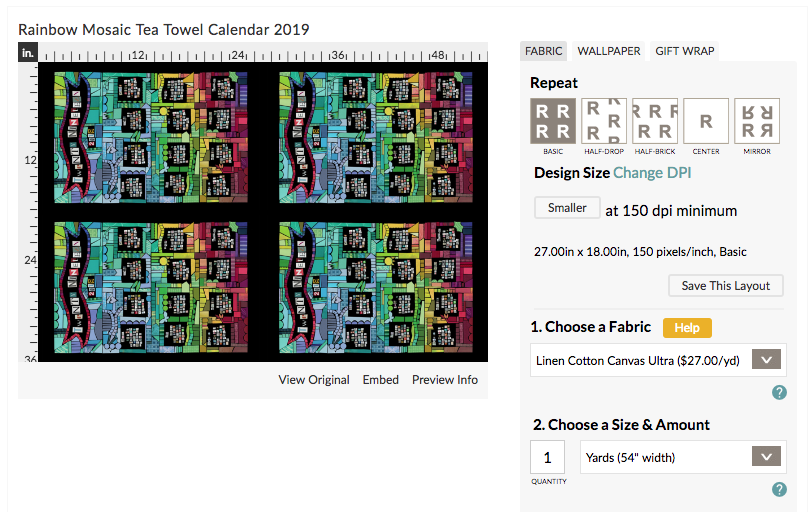
 One of the “treats” I got myself for my new studio space is a background curtain so I can have a pretty background if I want to. It is 2 yards of Spoonflower’s Longleaf Sateen Grande, which is 116″ wide. That is bigger than my room is. I stitched buttonholes into the top edge and put up a shower curtain rod and curtain rings. I can pull it back if I want my neutral cream colored wall or I can pull it out and have a sea of kelp. It’s one of my fabric designs and so it always gives me something to show people and it often makes sense with what I am teaching. The extra-wide fabric is only available to Spoonflower Pro members, but there are several 60″ fabrics that might also work in your space.
I did have a green-screen curtain behind me for a while and while that was fun to experiment with, it turns out that I don’t have enough light in this space to really make it work well. My hair, which has far more white in it than I am really delighted with right now, either ended up looking green from the curtain or the video filter that removed the green-screen would just edit it out, so I would lose the top of my head. I’m trying to be an “embrace the grey” kind of girl, but it’s challenging when it comes to video.
I hope this has given you some ideas for how you might make video work better in your space. My set up works really well for me and I like that I’ve managed to put it together with some pretty simple extras that have made big improvements. Do you have any video meeting/teaching tricks or tips you’ve discovered? Share!
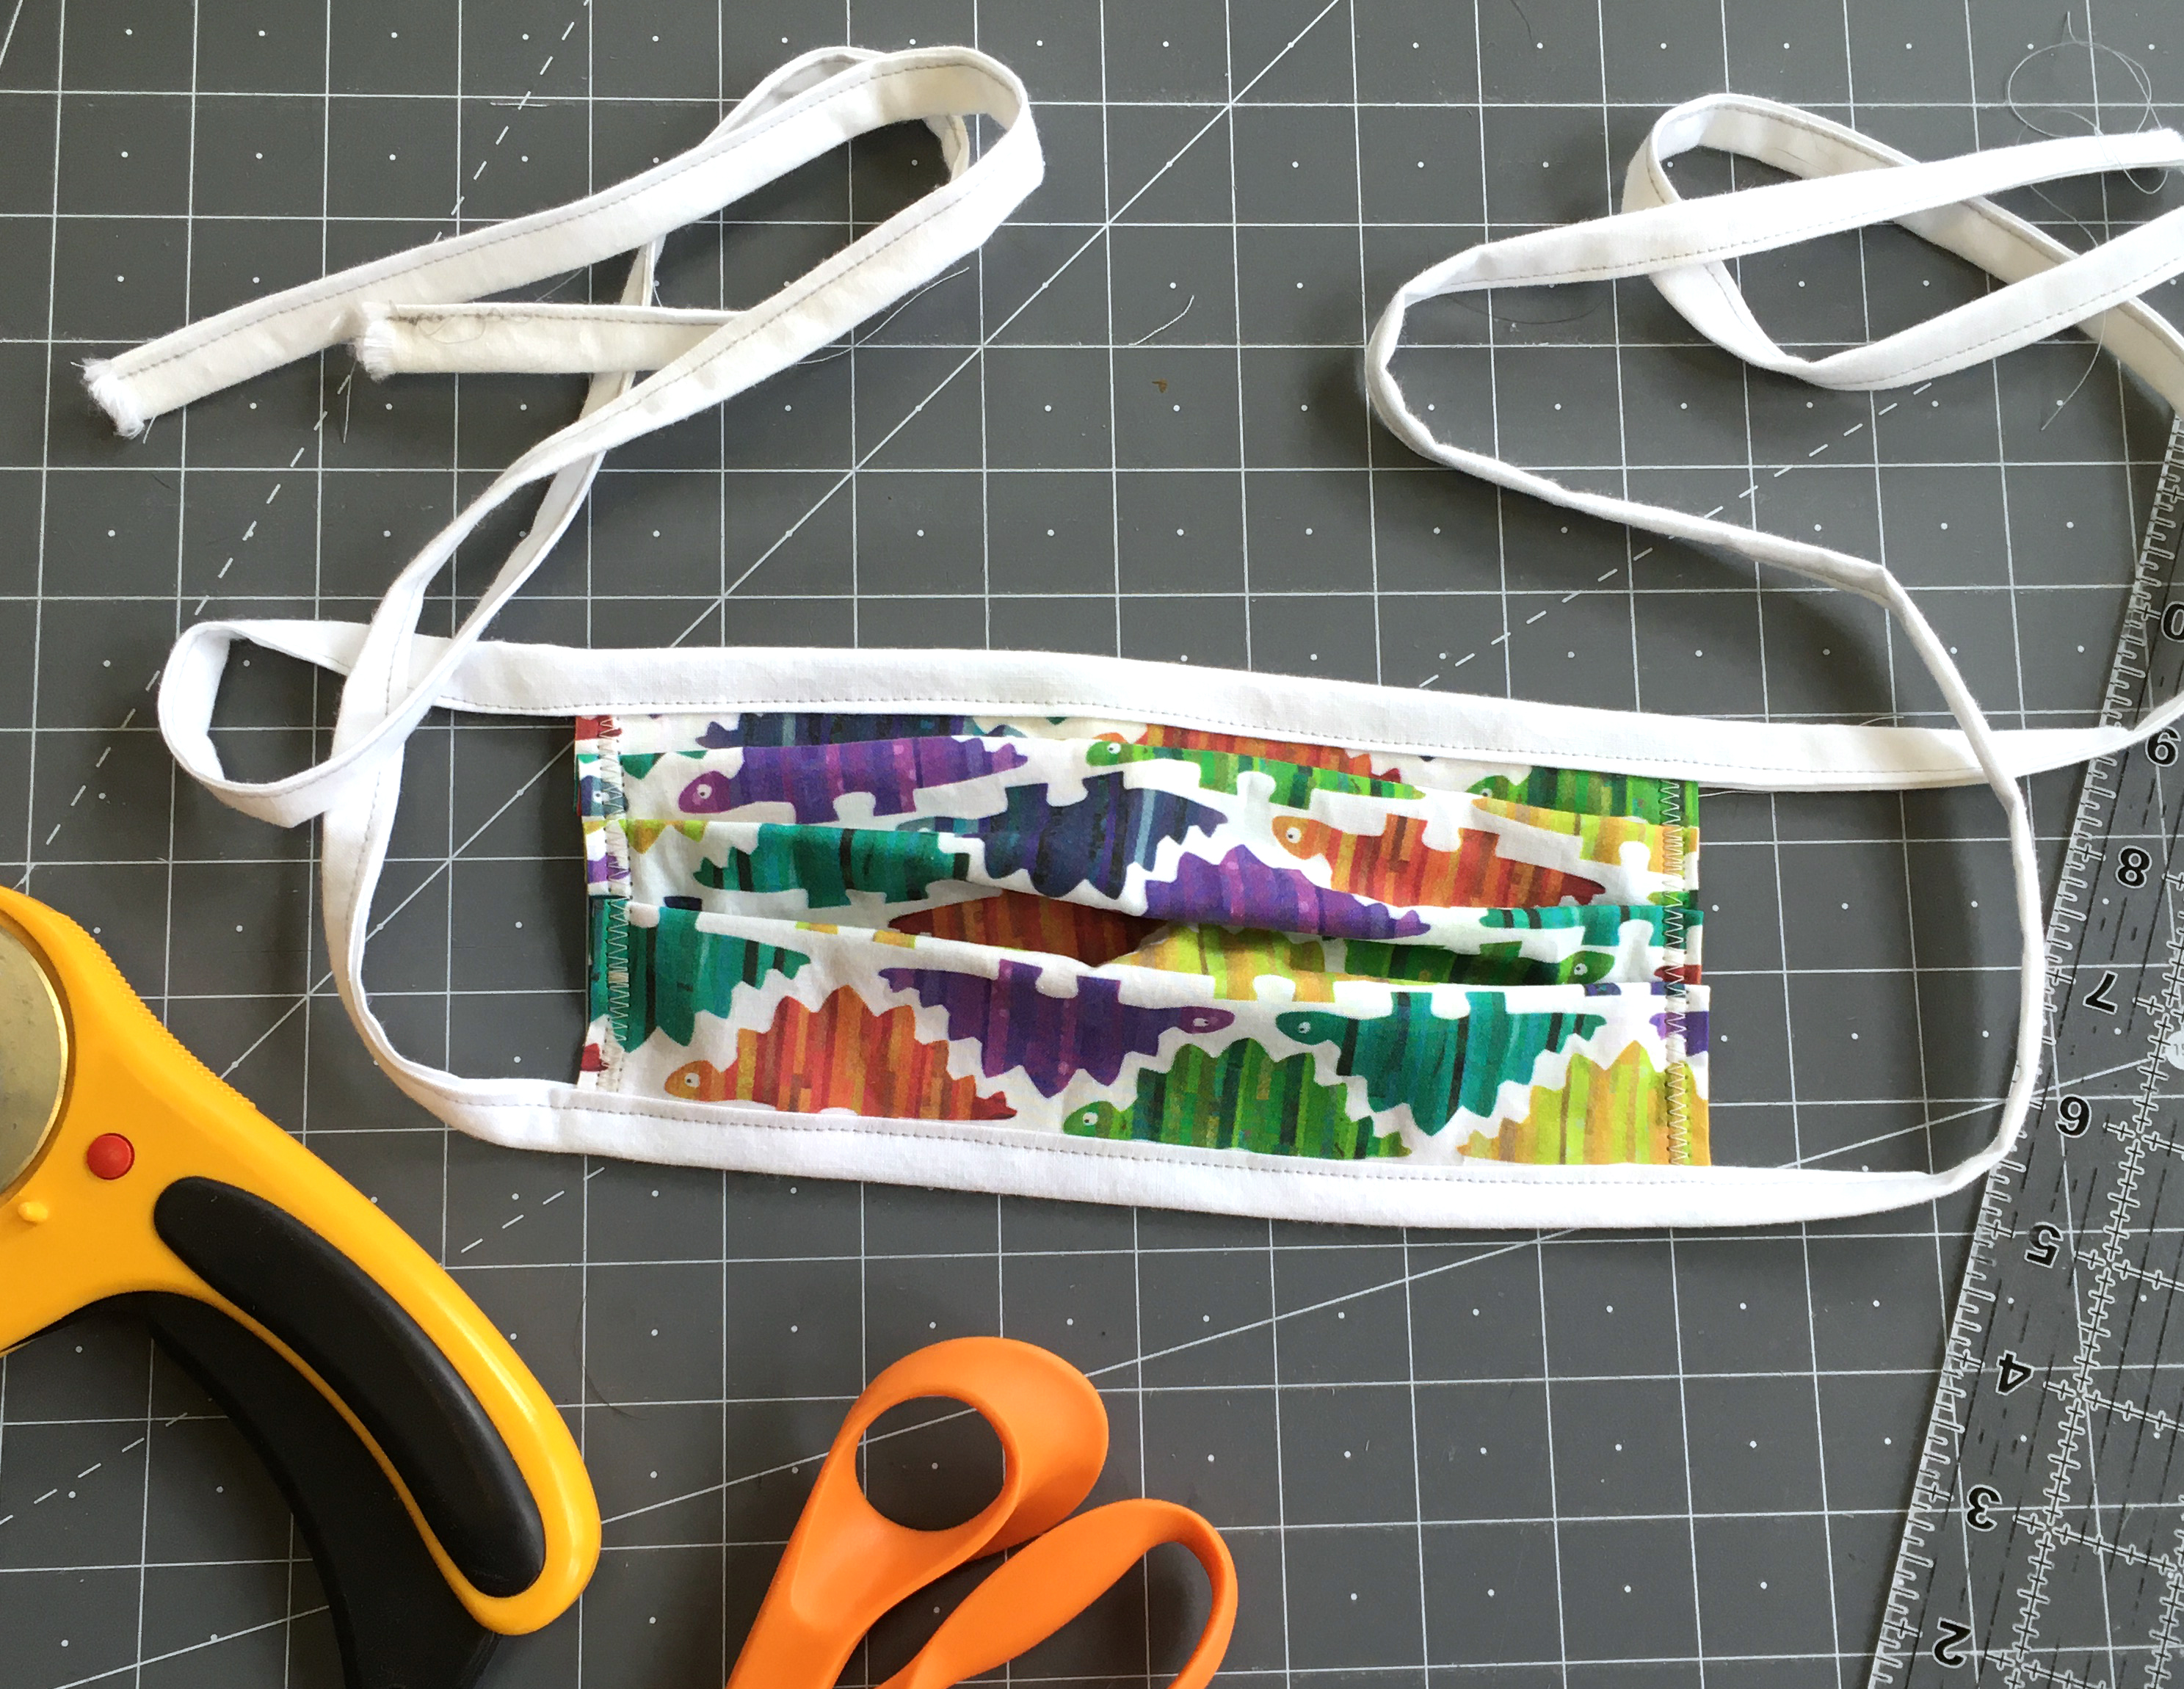
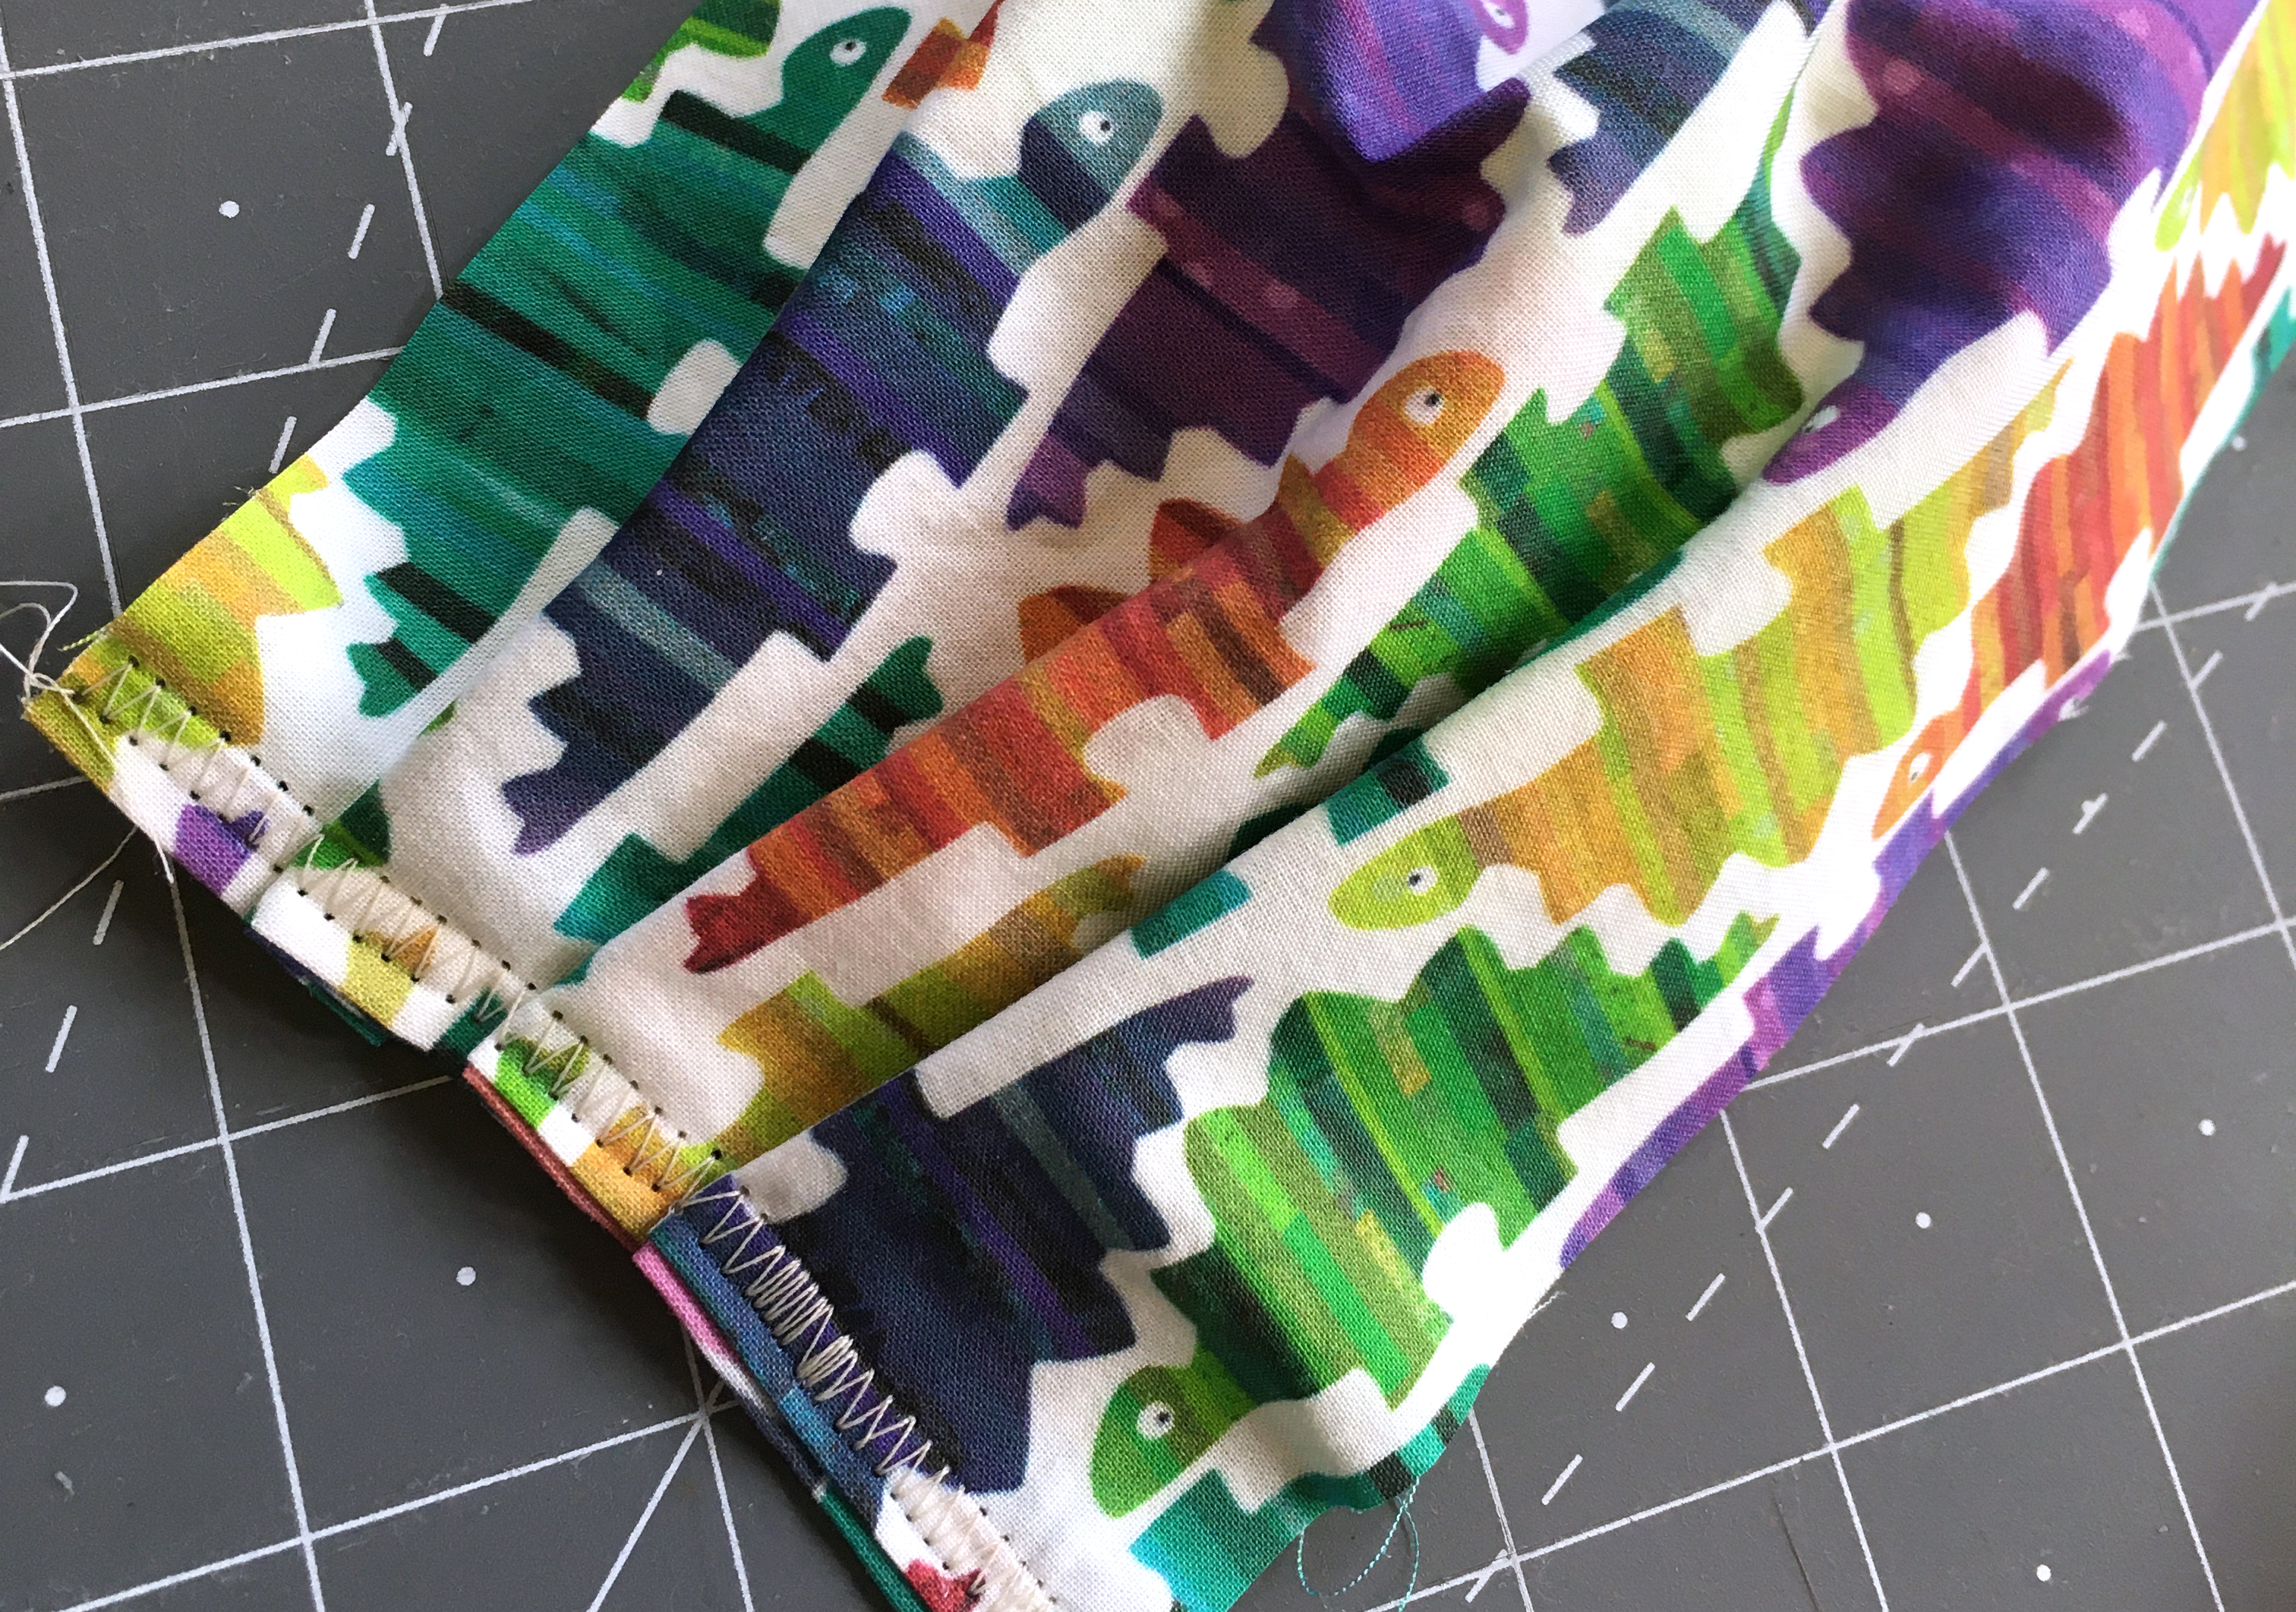
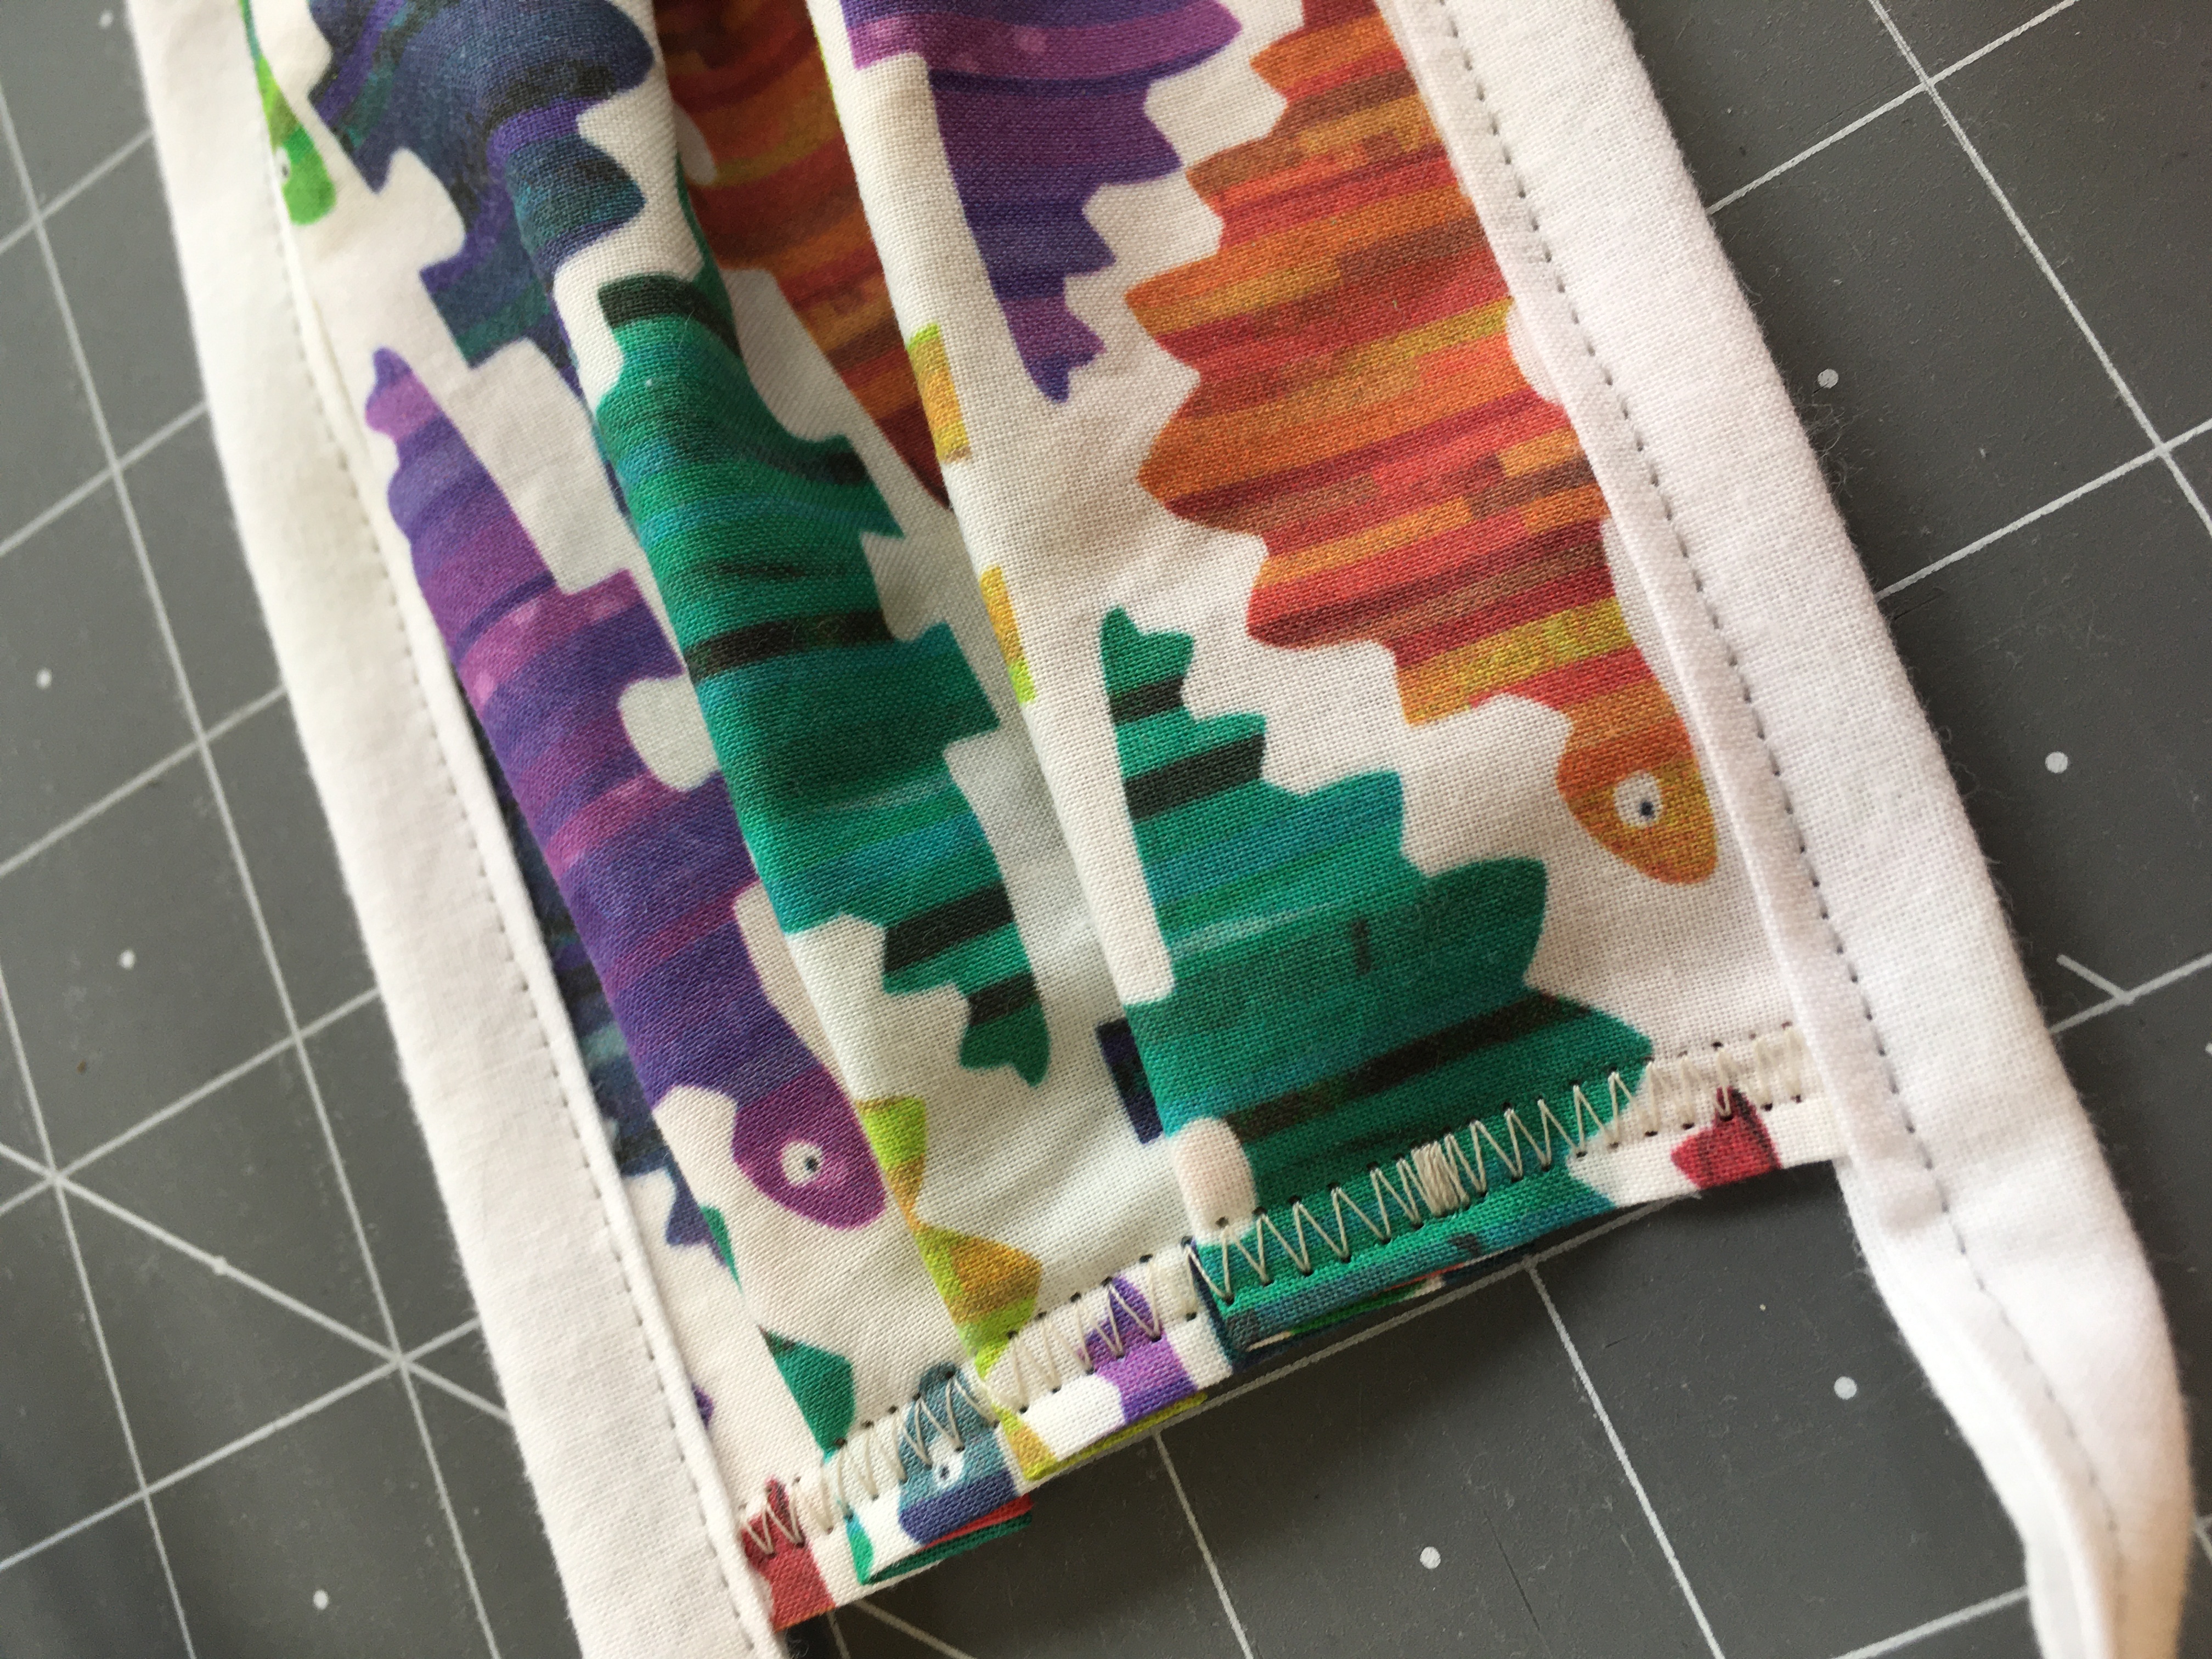 Use a 1 inch bias tape maker to press the long edges of your strips (see video below). Fold the strips in half (the short way) to find the center and pin that to the center of one long edge of the mask. Starting at the end of the tie strip, fold in half the long way (matching the folded edges) and stitch close to the fold. When you get to the mask (pinned to the center of the strip), slide the mask raw edge inside the folded strip and keep stitching all the way to the end of the tie. Repeat for the other long edge of the mask. You don’t need to worry about finishing the short ends of the ties, because they are the fabric selvedge, they won’t fray. These are reversible (top to bottom and inside outside)