Spoonflower just introduced their new Performance Velvet fabric and I thought that it was a great time to do a fabric review of the Three Plush Fabrics of Spoonflower. As always with my other reviews of Spoonflower fabrics, I just want to say that these are my own opinions and experiences with these fabrics. I don’t get any kind of promotional, incentive, or other kickbacks; I just like to be able to share some in-depth info with students in my classes and all of you out there trying to get started designing your own fabrics.
Spoonflower has three great fabrics with a napped or plush finish: Minky, Celosia Velvet, and Performance Velvet. You can click through any of those links to see the detailed specs on each of those fabrics.
What they have in common.
All three of the fabrics have several things in common. All three are 100% polyester and 54″ printable width. All three have a plush or napped surface, which vary in pile length from .5mm (celosia) to 2mm (minky). All three are heavier or thicker weight fabrics compared to quilting cotton.
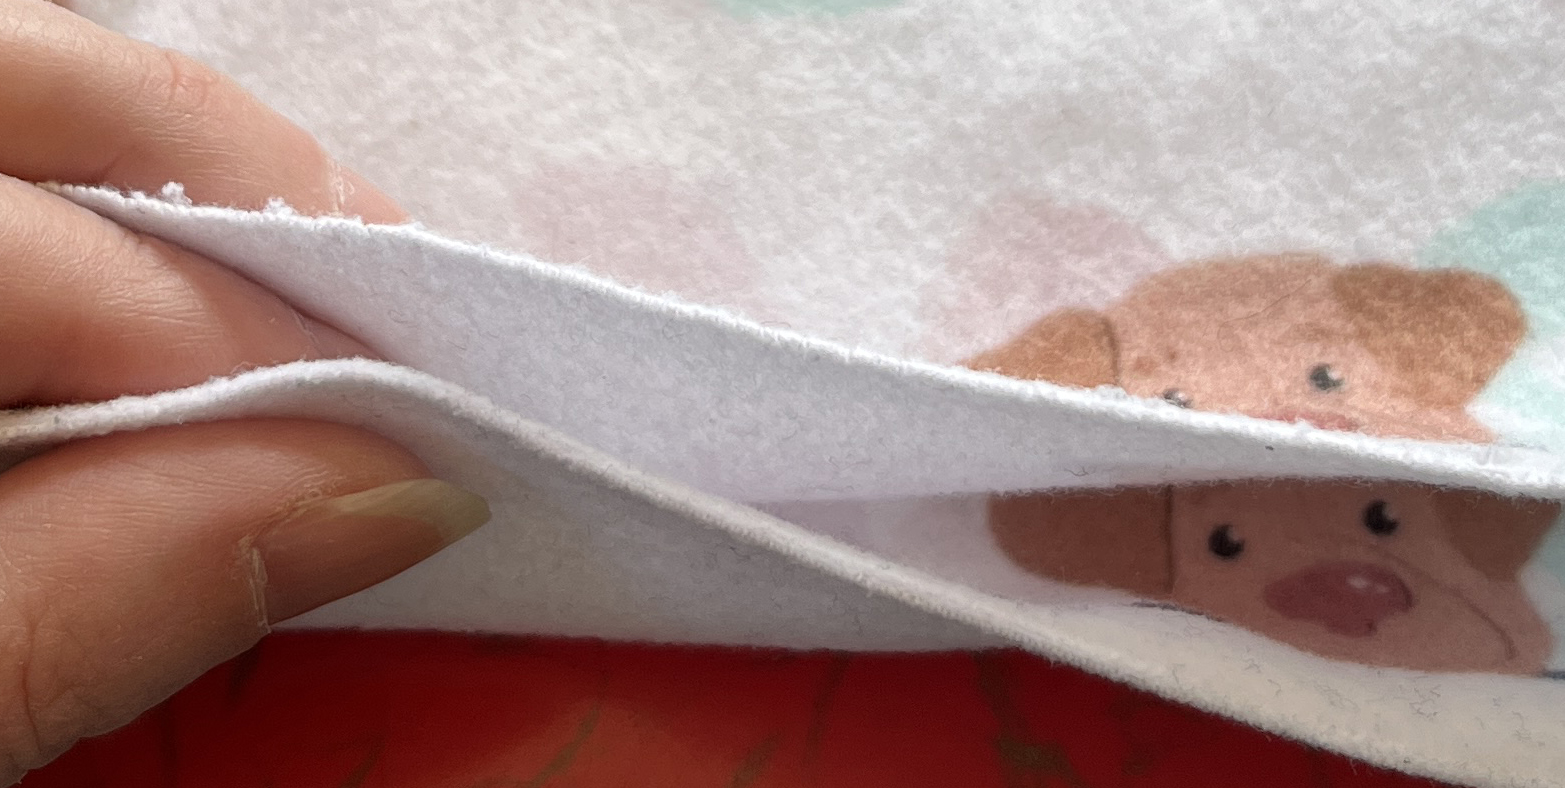
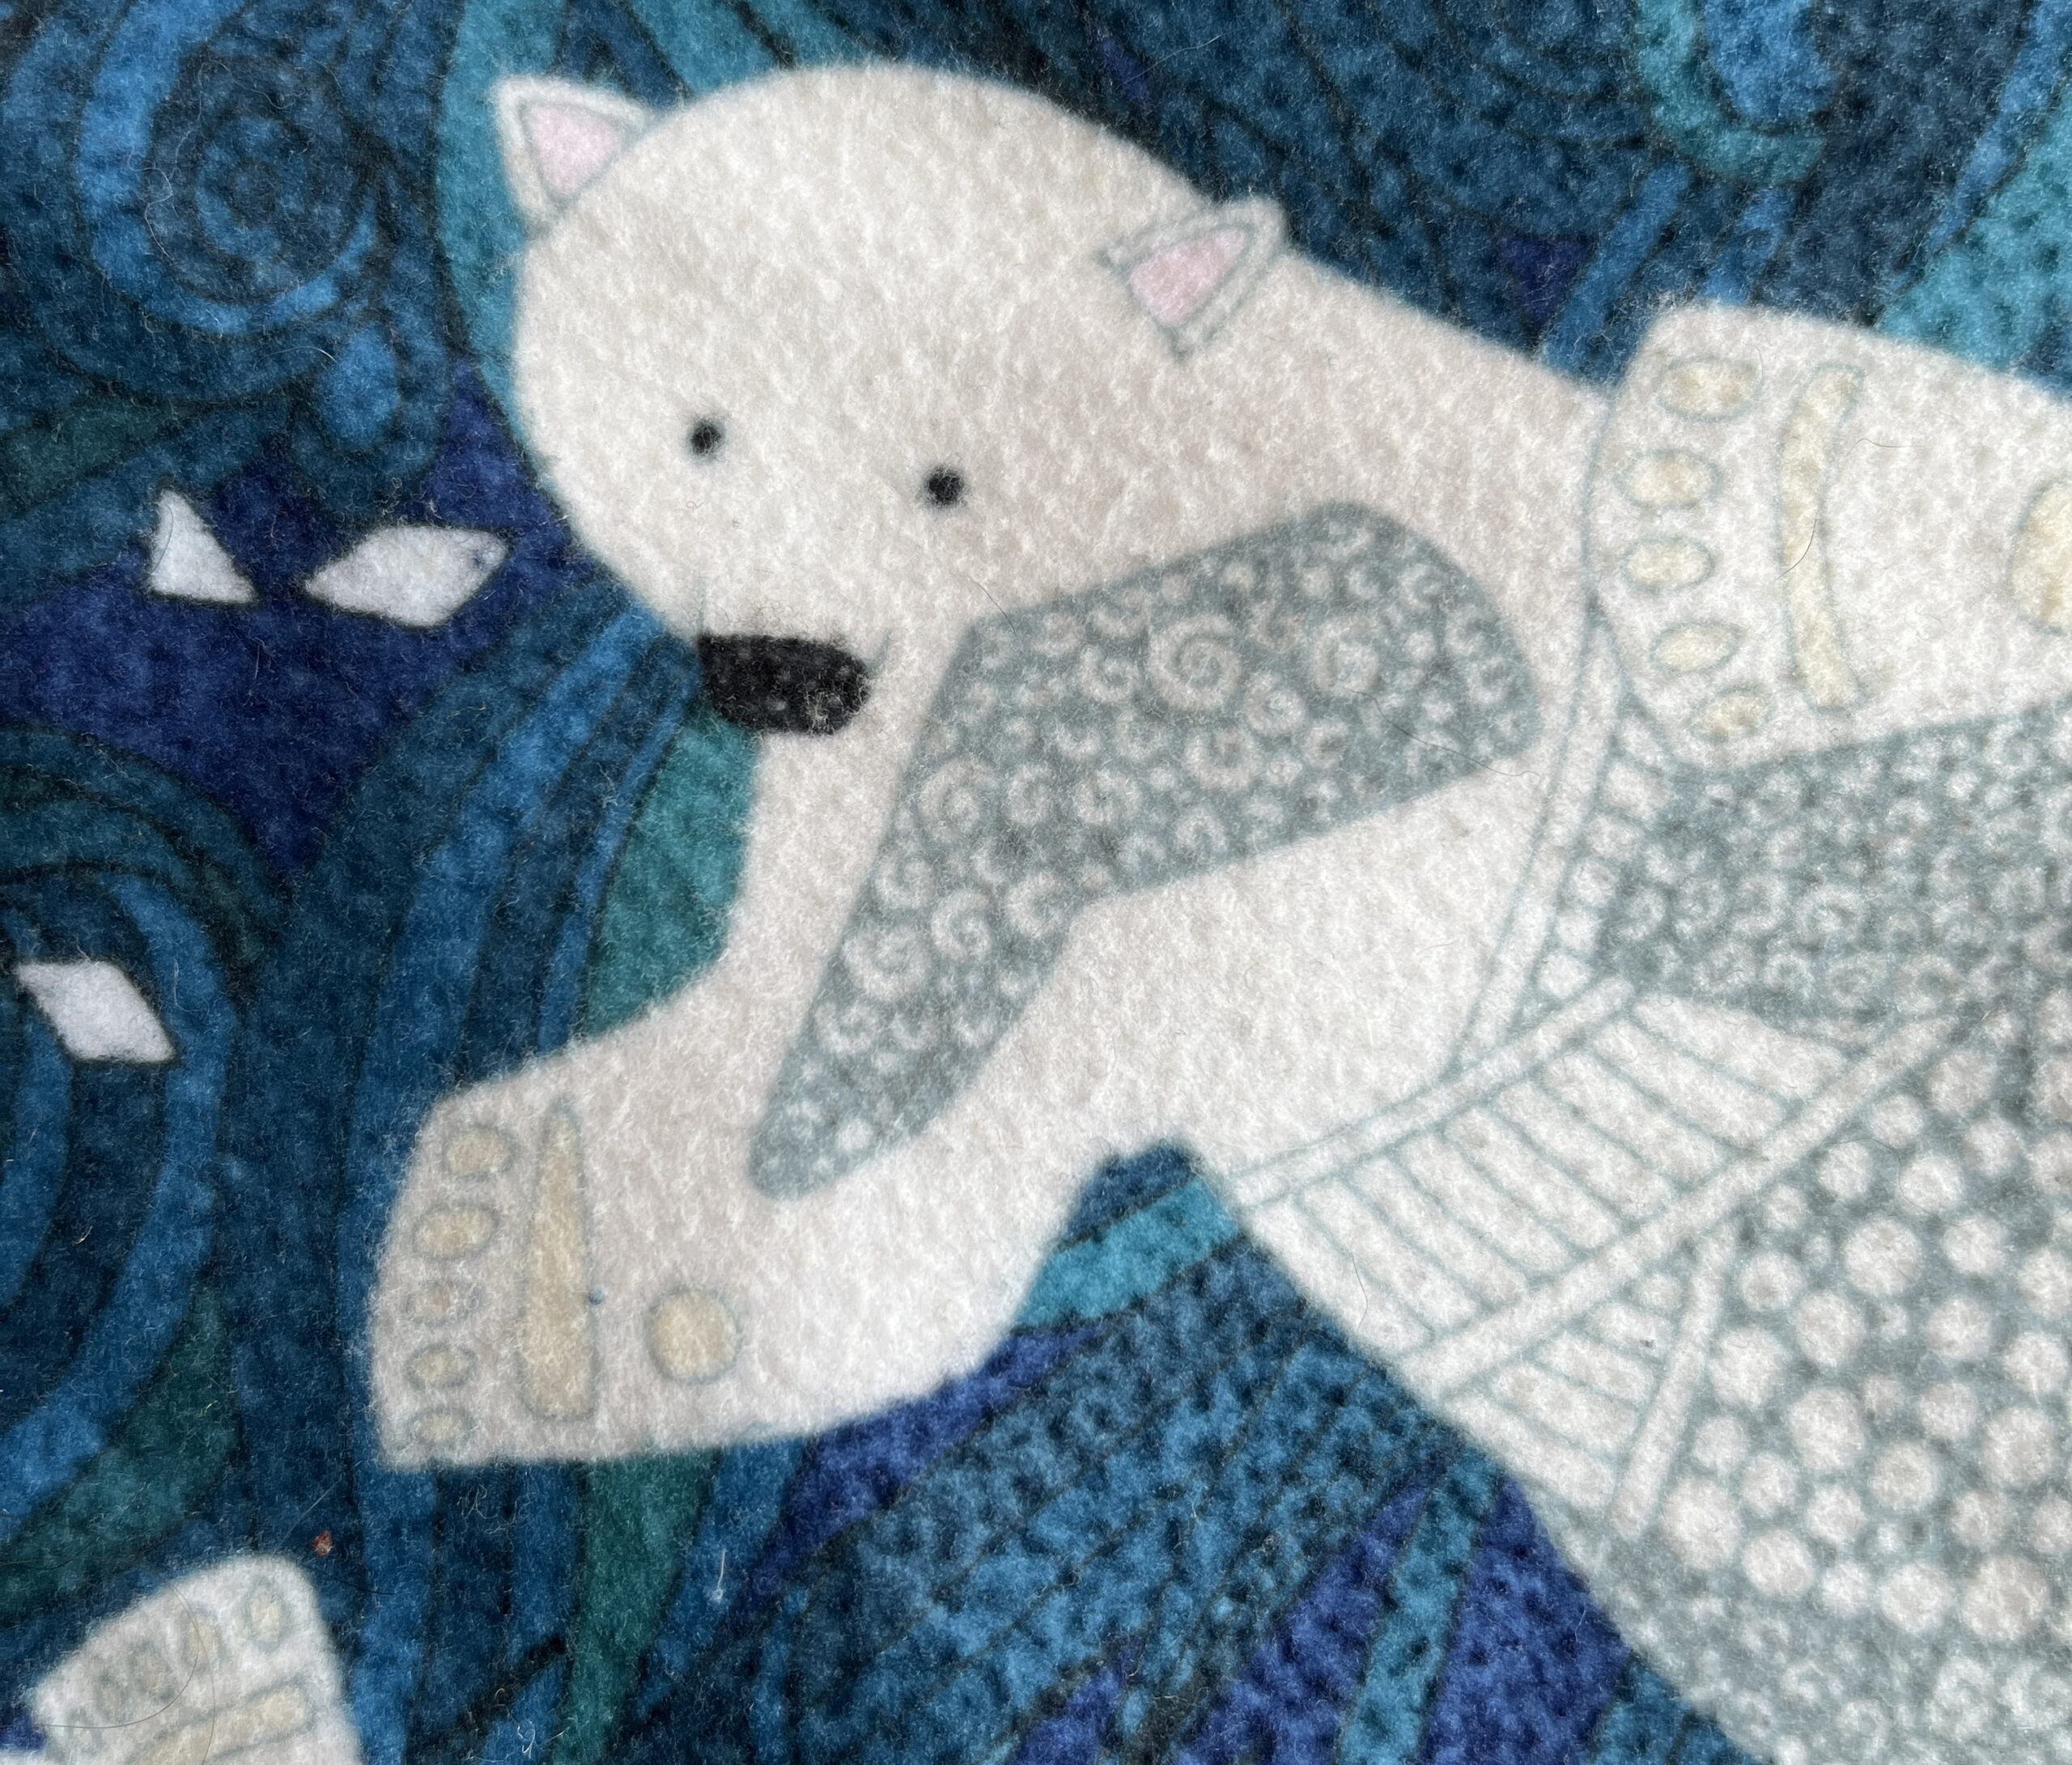
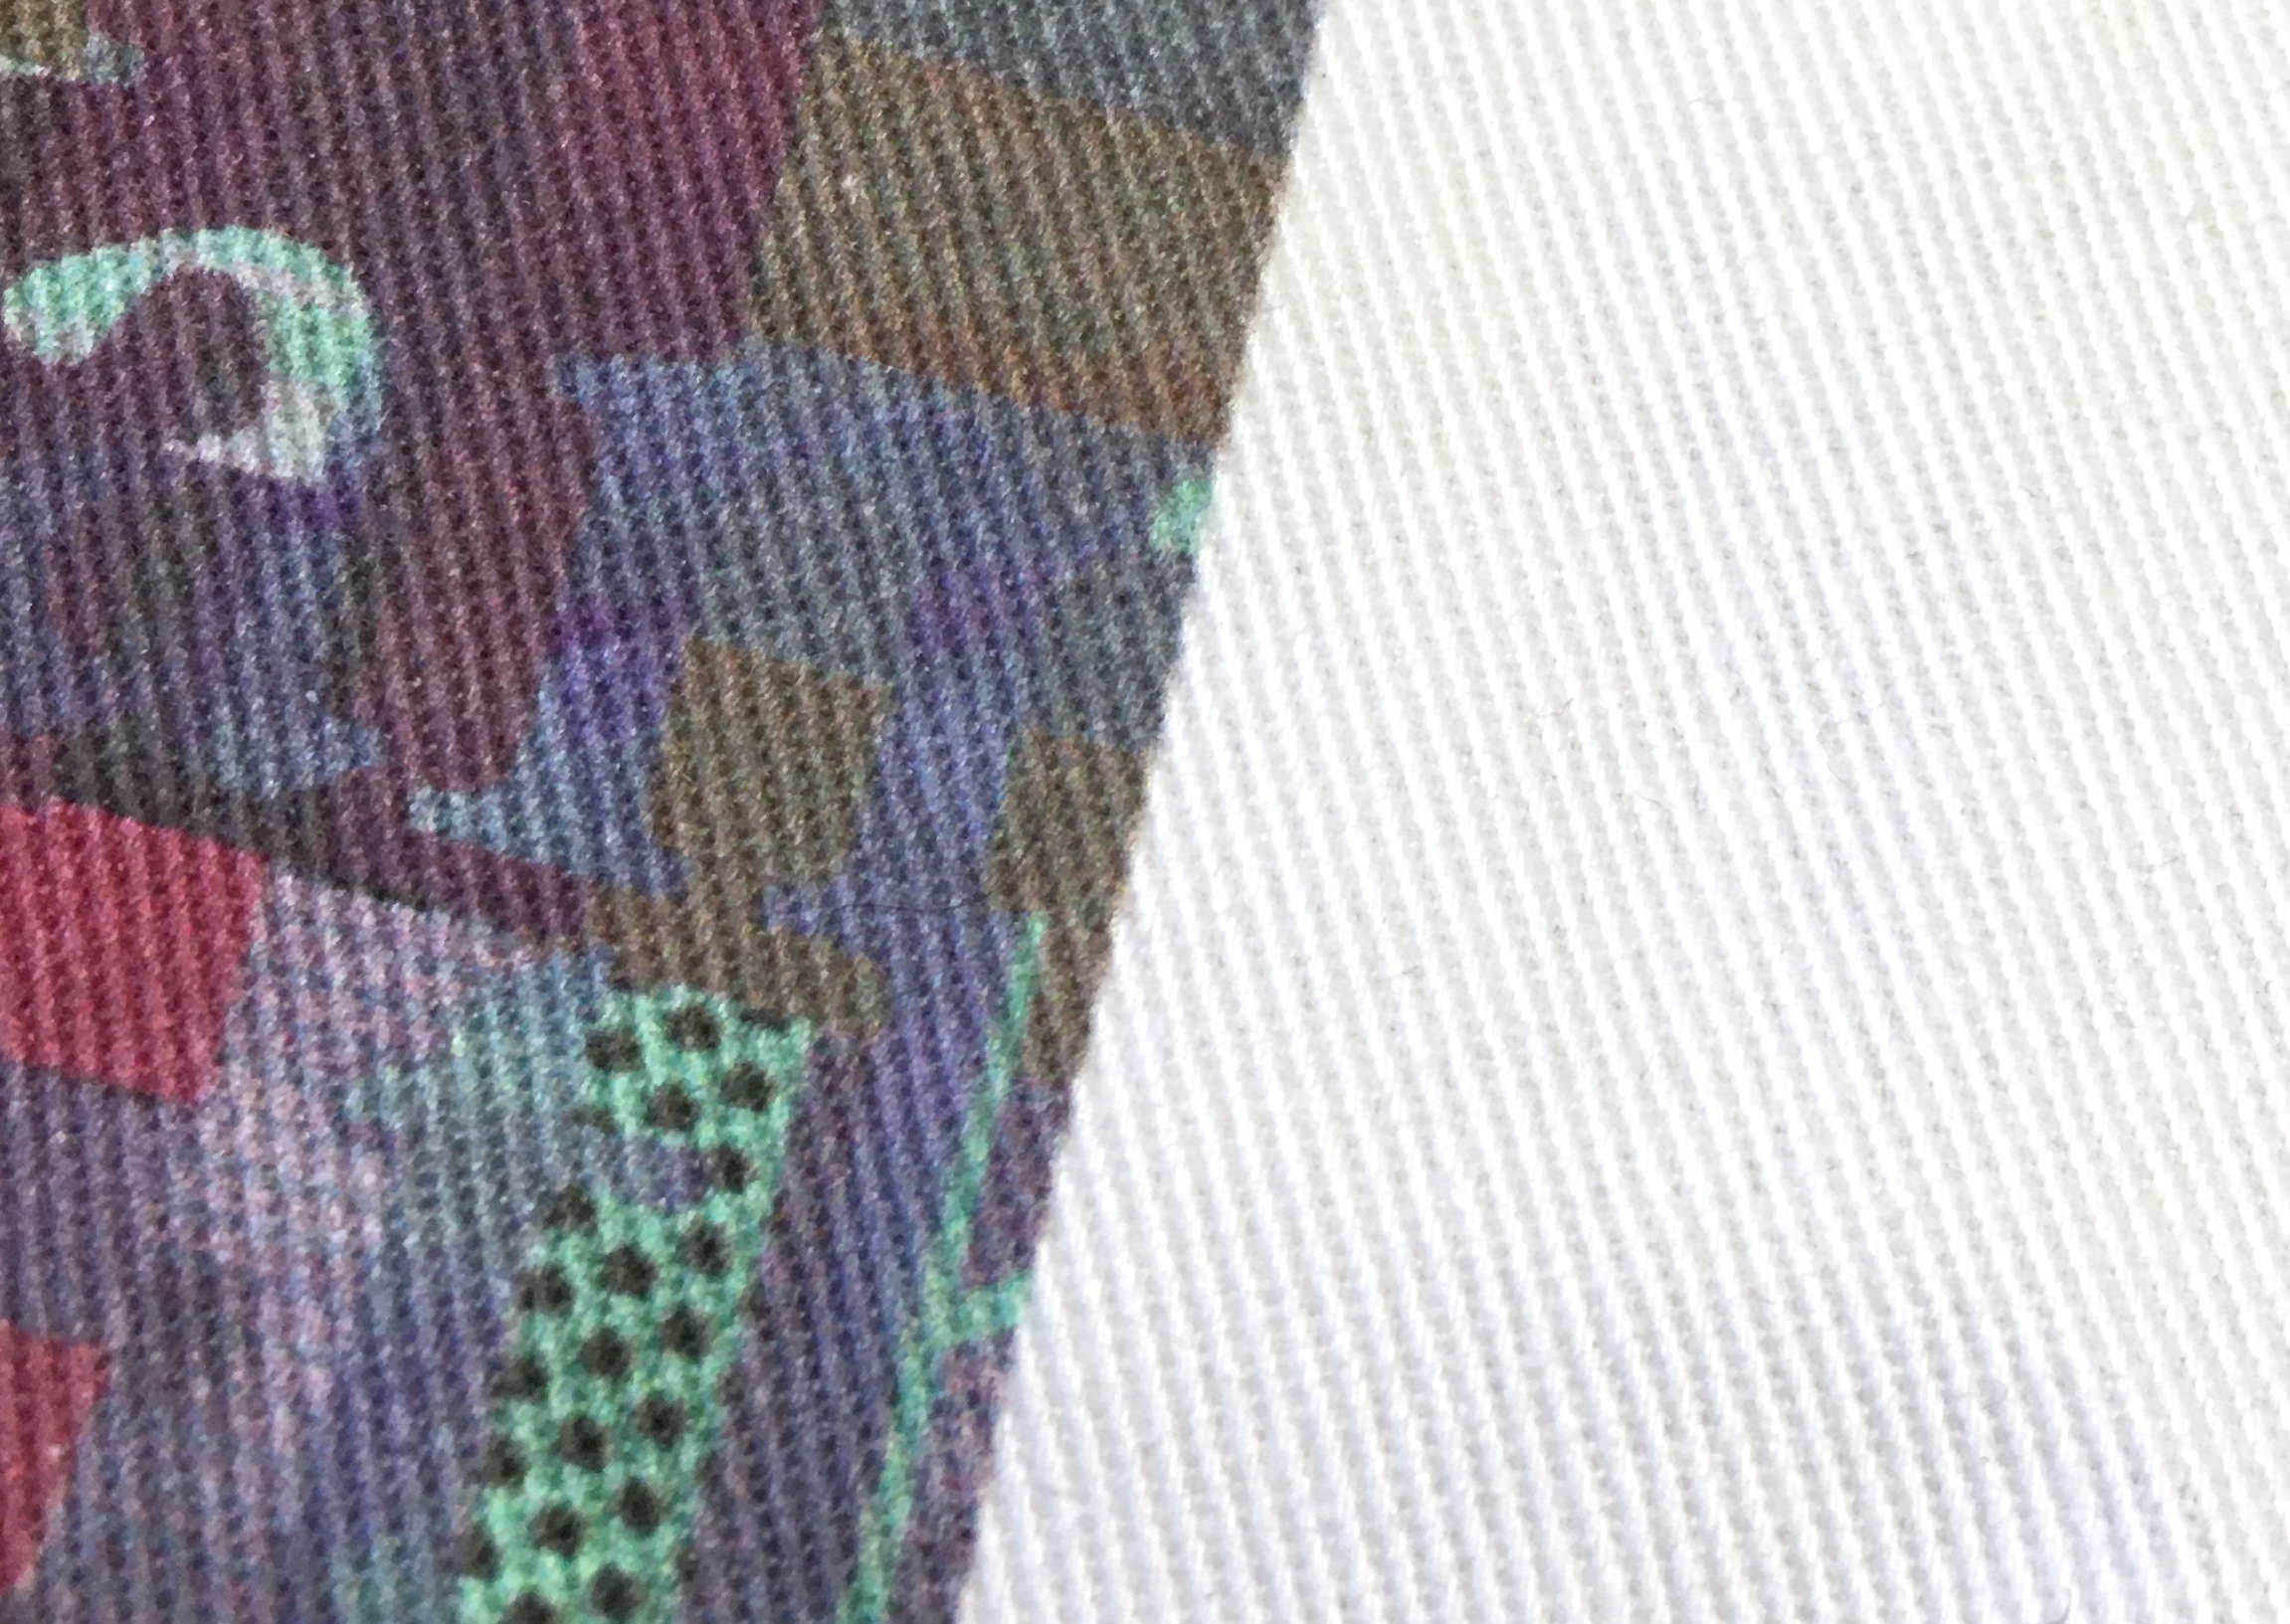
All of the printed designs are technically sharp, because the plush fabrics move around as you brush your hand over the surface, that can make fine details disappear and edges look softer than if you print on a smooth fabric like Sateen or Poplin.
Key Differences.
Here are some of the key differences I noticed that might help you choose which fabric is best for your project.

Fabric Base Color
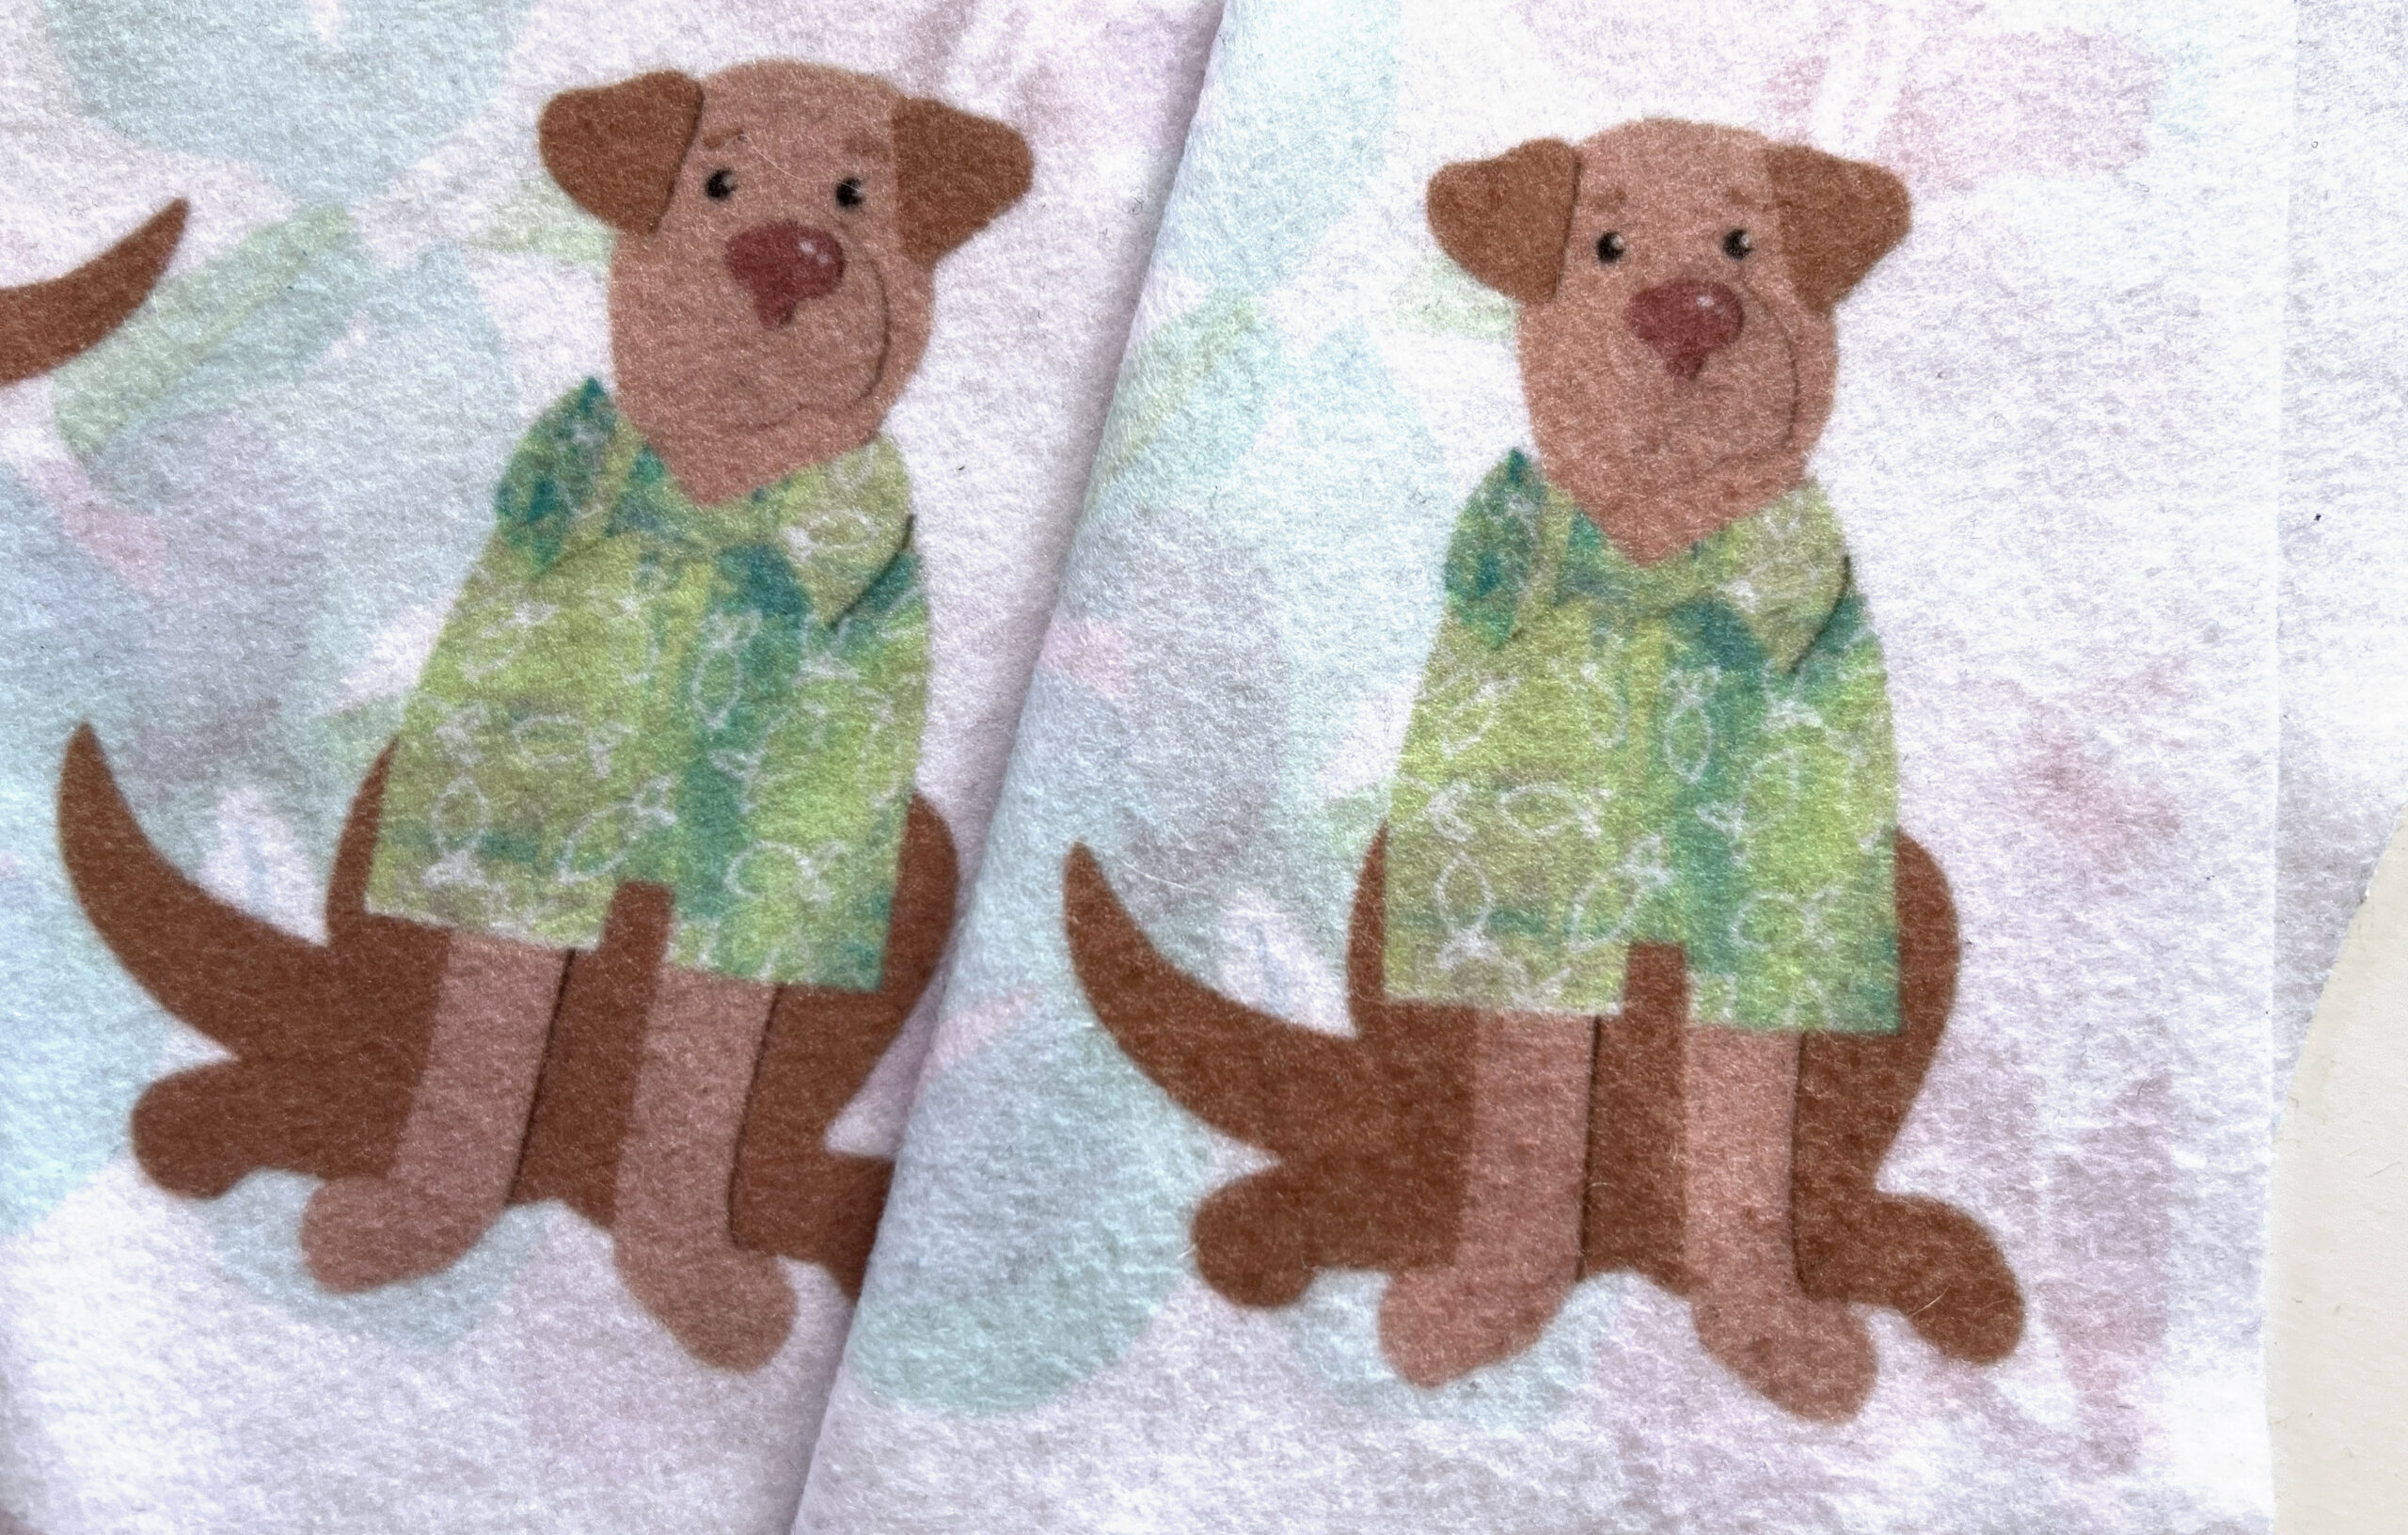
Minky and Performance Velvet are bright white, where Celosia has a little more cream undertone. I don’t think it effects the print colors substantially, but you would notice if your design had a lot of white space or lighter colors in it. You can see in the photo above that the pale blue on the bottom of the design is slightly greener on the Celosia Velvet because of the warm base color underneath.
Look and Feel of the Fabrics
All three are very soft to the touch, but I think the Performance Velvet has the nicest hand feel with a very soft surface and a thick plush feeling fabric. Although Minky is very soft on the surface, it is also the thinnest of the fabrics, so it doesn’t feel as substantial. Celosia Velvet has a plush that feels slightly stiffer, more of what I think of as “upholstery velvet”.
Each fabric also has a distinct finish. Celosia Velvet has a subtle shine that is my personal favorite. I think that little bit of reflection gives it a more luxe look than the others. Performance Velvet has a matte finish. It reminds me of a vintage cotton velvet that you occasionally find in a thrift store. Minky looks “furry” to me and I think you see the nap or the fact that it’s a plush much more obviously than the others.

Drape
I think this is one of the most distinct differences between the three fabrics. In the photo above I tried to demonstrate so you can see how each fabric behaves. On the left, I pinched the fabric and picked it up, so you can see how the folds fall naturally. On the right, the fabric is laid flat, pinched and twisted.
Celosia Velvet is the stiffest, even though it’s about 2oz lighter per yard than the Performance Velvet. It has a more structural feel and no stretch. You can see it falls in very stiff folds.
Performance Velvet is the next softer drape. Although it is technically a thicker/heavier fabric, it falls in softer folds when you pick it up and it moves a little more freely.
Minky has the most drape of the three, with a more liquid sort of movement. It is only 6 oz per yard compared to Performance Velvet’s 11 oz, so even though it reads as “thick” it is really lighter weight. You can see the “furry” surface of Minky most when it is bent or rippled. Minky is also the only one of the three fabrics with a little stretch on the widthwise or cross grain.

The Back
One thing I think is always missing is a little info about what the reverse side of these fabrics look and feel like, which really is important for some projects.
Celosia Velvet is the most “upholstery” like with a plain woven back. Although Spoonflower’s site says it is a knit, it’s definitely not, as you can see the structure and it frays exactly as you’d expect a woven to do. It’s not exactly rough on the back, but it feels sturdy rather than soft.
Performance Velvet has a backing that feels and looks a lot like craft felt. It’s soft and has a slightly brushed look. The Performance Velvet is much creamier white on the back than it is on the front.
Minky has a smooth knit on the reverse.

What can you make with them?
I’ve used all three of these fabrics for different projects: Sara Coat (left), Filter Other Offset Jacket (middle), SeaSerpent Pillow (right). (you can click on any of those titles to read more and see larger photos)
Before Spoonflower had introduced either of the velvet options, I decided to try making a coat out of Minky. Because the Minky is so relatively light weight and stretchy, I actually backed all of the fabric with an inner lining of a lightweight twill before I sewed this coat so it looks much less drapey than it really is. That was a good choice for this project. It has a great texture, almost like a faux fur and the cuffs were made with velvet ribbon stitched in stripes. It was easy to sew, although I think my choice to line it also helped with that. If I were going to make a throw or a cuddly quilt, I would go for Minky with something else as a backing because it is so drapey; the others would make very stiff blankets.
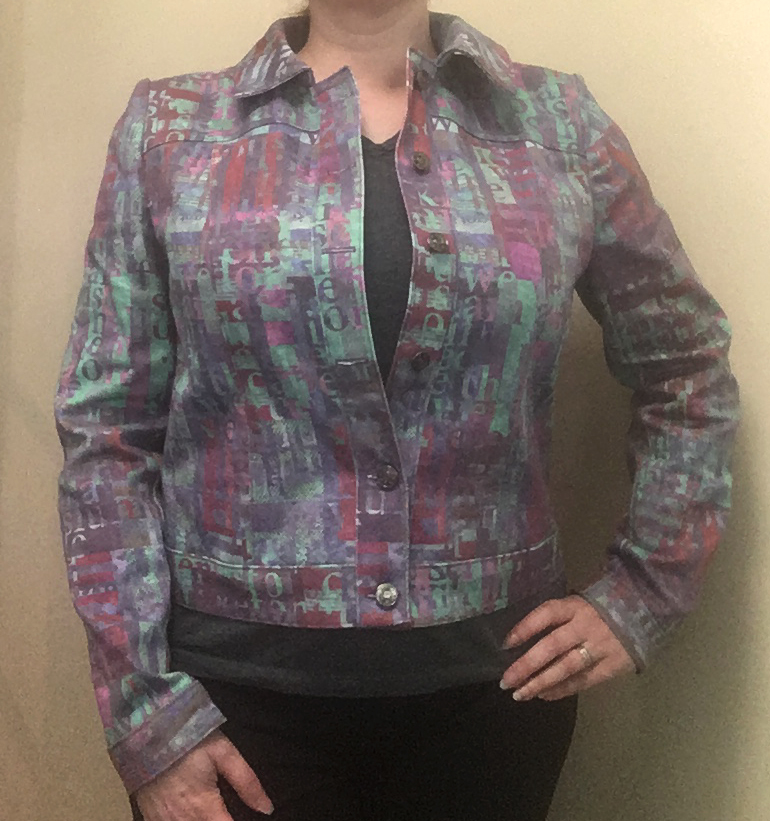
The Filter Other Offset jacket is made from Celosia Velvet and I think the photo almost captures some of the sheen. Because velvet has a nap that wants to “push” the pieces out of alignment with each other as you sew, this took a lot of pinning and I really appreciated the walking foot on my sewing machine. I have also made a number of tote bags and other project bags from Celosia and everyone always comments on how nice it feels. I think Celosia makes a project look lush. I don’t think Celosia would be really great for clothing other than outerwear type uses. It really doesn’t have much drape so it’s good for structured or tailored shapes. I have also done a little upholstery with the Celosia Velvet.
The pillow was made from a sample fat quarter I ordered of the Performance Velvet. It’s a great pillow fabric! It was easier to sew than the Celosia (with much less slipping) and I really like the way it felt substantial and it went together so fast. I would really like to make a jacket from the Performance Velvet next. I think because it is a little softer/drapier than Celosia that it might make a great casual jacket or a winterweight skirt. I also think Performance Velvet would make great stuffed toys.
The fabric design featured in this post is called Wildflowers. It is made from a cut paper illustration made from handpainted paper and is available in my Spoonflower shop.